从零打造“乞丐版” React(一)——从命令式编程到声明式编程
这个系列的目的是通过使用 JS 实现“乞丐版”的 React,让读者了解 React 的基本工作原理,体会 React 带来的构建应用的优势
1 HTML 构建静态页面
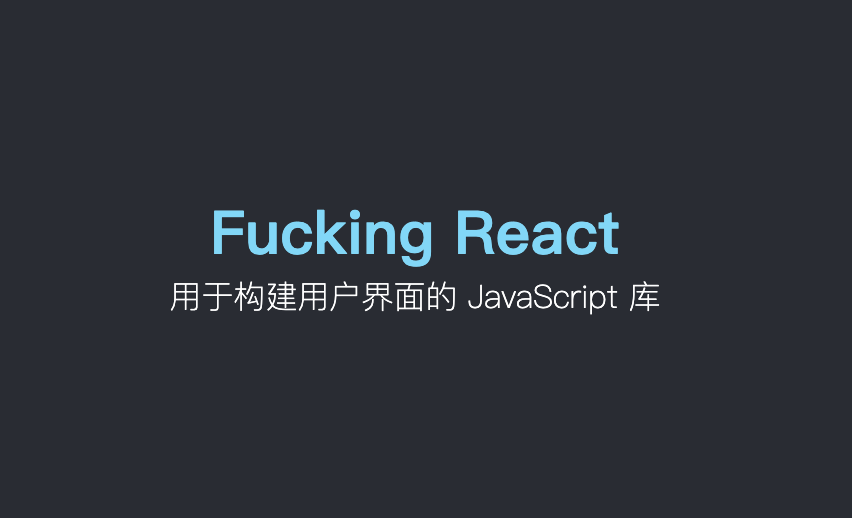
使用 HTML 和 CSS,我们很容易可以构建出上图中的页面
<!DOCTYPE html>
<html lang="en">
  <head>
    <title>Build my react</title>
    <style>
      div {
        text-align: center;
      }
      .father {
        display: flex;
        flex-direction: column;
        justify-content: center;
        height: 500px;
        background-color: #282c34;
        font-size: 30px;
        font-weight: 700;
        color: #61dafb;
      }
      .child {
        color: #fff;
        font-size: 16px;
        font-weight: 200;
      }
    </style>
  </head>
  <body>
    <div class="father">
      Fucking React
      <div class="child">用于构建用户界面的 JavaScript 库</div>
    </div>
  </body>
</html>
当然这只是一个静态的页面,我们知道,网站中最重要的活动之一是和用户产生交互,用户通过触发事件来让网页产生变化,这时就需要用到 JS
2 DOM 构建页面
使用 DOM 操作,我们也可以构建上面的静态页面,并且可以动态地改变页面、添加事件监听等来让网页活动变得更加丰富
我们先改写一下 HTML 的 body(如果没有特殊说明,本文不会更改 CSS 的内容),我们将 body 中的内容都去掉,新增一个 id 为 root 都 div 标签,并且引入index.js。
 <div id="root"></div>
 <script src="./index.js"></script>
index.js内容如下:
const text = document.createTextNode("Fucking React");

const childText = document.createTextNode("用于构建用户界面的 JavaScript 库");
const child = document.createElement("div");
child.className = "child";
child.appendChild(childText);

const father = document.createElement("div");
father.className = "father";
father.appendChild(text);
father.appendChild(child);

const container = document.getElementById("root");
container.appendChild(father);
使用 DOM 操作,我们也可以构建出同样的页面内容,但是缺点很明显
<div class="father">
   Fucking React
   <div class="child">用于构建用户界面的 JavaScript 库</div>
</div>
原本只要寥寥几行 HTML 的页面。使用 DOM 之后,为了描述元素的嵌套关系、属性、内容等,代码量骤增,并且可读性非常差。这就是命令式编程,我们需要一步一步地指挥计算机去做事
这还只是一个简单的静态页面,没有任何交互,试想一下,如果一个非常复杂的网页都是用 DOM 来构建,不好意思,我不想努力了~
3 从命令式到声明式
观察上述 index.js,我们不难发现,在创建每个节点的时候其实可以抽象出一组重复操作:
- 根据类型创建元素
- 添加元素属性(如 className)
- 逐一添加子元素
对于元素的嵌套关系和自身属性,我们可以利用对象来描述
const appElement = {
  type: "div",
  props: {
    className: "father",
    children: [
      {
        type: "TEXT",
        props: {
          nodeValue: "Fucking React",
          children: [],
        },
      },
      {
        type: "div",
        props: {
          className: "child",
          children: [
            {
              type: "TEXT",
              props: {
                nodeValue: "用于构建用户界面的 JavaScript 库",
                children: [],
              },
            },
          ],
        },
      },
    ],
  },
};
其中,type表示元素类型,特殊地,对于字符串文本,我们用TEXT表示;props对象用来描述元素自身的属性,比如 CSS 类名、children 子元素、nodeValue
我们将页面中的元素用 JS 对象来描述,天然地形成了一种树状结构,接着利用递归遍历对象就可以将重复的 DOM 操作去除,我们构建如下 render 函数来将上述 JS 对象渲染到页面上:
const render = (element, container) => {
  const dom =
    element.type == "TEXT"
      ? document.createTextNode("")
      : document.createElement(element.type);

  Object.keys(element.props)
    .filter((key) => key !== "children")
    .forEach((prop) => (dom[prop] = element.props[prop]));

  element.props.children.forEach((child) => render(child, dom));

  container.appendChild(dom);
};
调用 render 函数:
render(appElement, document.getElementById("root"));
现在我们只需要将我们想要的页面结构通过 JS 对象描述出来,然后调用 render 函数,JS 就会帮我们将页面渲染出来,而无需一步步地书写每一步操作
这就是声明式编程,我们需要做的是描述目标的性质,让计算机明白目标,而非流程。
对比命令式和声明式编程,体会两者的区别
4 JSX
对比 JS 对象和 HTML,JS 对象的可读性还是不行,所以 React 引入了 JSX 这种 JavaScript 的语法扩展
我们的 appElement 变成了这样:
// jsx
const appElement = (
  <div className="father">
    Fucking React
    <div className="child">"用于构建用户界面的 JavaScript 库"</div>
  </div>
);
现在描述元素是不是变得超级爽!
然而这玩意儿 JS 并不认识,所以我们还得把这玩意儿解析成 JS 能认识的语法,解析不是本文的重点,所以我们借助于 babel 来进行转换,我们在浏览器中引入 babel
<script src="https://unpkg.com/@babel/standalone/babel.min.js"></script>
并将包含jsx的script的type改为type/babel
<script type="text/babel">
const appElement = (
  <div className="father">
    Fucking React
    <div className="child">"用于构建用户界面的 JavaScript 库"</div>
  </div>
);
</script>
默认情况下,babel 解析 jsx 时会调用React.createElement来创建 React 元素
我们可以自定义创建元素的方法,我们这里的元素就是我们自定义的对象,见 appElement。通过添加注解即可指定创建元素的方法,此处指定 createElement
const createElement = (type, props, ...children) => {
  console.log(type);
  console.log(props);
  console.log(children);
};

/** @jsx createElement  */
const appElement = (
  <div className="father">
    Fucking React
    <div className="child">"用于构建用户界面的 JavaScript 库"</div>
  </div>
);
现在 babel 进行转换的时候会调用我们自定义的 createElement 函数,该函数接受的参数分别为:元素类型type、元素属性对象props、以及剩余参数children即元素的子元素
现在我们要做的是通过这几个参数来创建我们需要的 js 对象,然后返回即可
const createElement = (type, props, ...children) => {
  return {
    type,
    props: {
      ...props,
      children,
    },
  };
};

/** @jsx createElement  */
const appElement = (
  <div className="father">
    Fucking React
    <div className="child">用于构建用户界面的 JavaScript 库</div>
  </div>
);

console.log(appElement);
打印一下转换后的 appElement:
{
  type: "div",
  props: {
    className: "father",
    children: [
      "Fucking React",
      {
        type: "div",
        props: {
          className: "child",
          children: ["用于构建用户界面的 JavaScript 库"],
        },
      },
    ],
  },
};
对比一下我们需要的结构,稍微有点问题,如果节点是字符串,我们需要转换成这种结构:
{
  type: "TEXT",
  props: {
    nodeValue: "Fucking React",
    children: [],
  },
},
改进一下createElement
const createElement = (type, props, ...children) => {
  return {
    type,
    props: {
      ...props,
      children: children.map((child) =>
        typeof child === "string"
          ? {
              type: "TEXT",
              props: {
                nodeValue: child,
                children: [],
              },
            }
          : child
      ),
    },
  };
};
现在我们可以在代码中使用 jsx 而不用再写对象了,babel 会帮我们把 jsx 转换成对应的对象结构,然后调用 render 方法即可渲染到页面上
5 总结
至此,我们完成了从命令式编程到声明式编程的转变,我们已经完成了“乞丐版 React”的功能有:
createElement创建元素render渲染元素到页面- 支持
jsx
接下来我们会从不同方向继续完善我们的“洪七公”,敬请期待!
6 完整代码
<!DOCTYPE html>
<html lang="en">
  <head>
    <meta charset="UTF-8" />
    <meta http-equiv="X-UA-Compatible" content="IE=edge" />
    <meta name="viewport" content="width=device-width, initial-scale=1.0" />
    <title>Build my react</title>
    <style>
      div {
        text-align: center;
      }
      .father {
        display: flex;
        flex-direction: column;
        justify-content: center;
        height: 500px;
        background-color: #282c34;
        font-size: 30px;
        font-weight: 700;
        color: #61dafb;
      }
      .child {
        color: #fff;
        font-size: 16px;
        font-weight: 200;
      }
    </style>

    <script src="https://unpkg.com/@babel/standalone/babel.min.js"></script>
  </head>
  <body>
    <div id="root"></div>
    <script type="text/babel" src="./index.js"></script>
  </body>
</html>
// index.js
const createElement = (type, props, ...children) => {
  return {
    type,
    props: {
      ...props,
      children: children.map((child) =>
        typeof child === "string"
          ? {
              type: "TEXT",
              props: {
                nodeValue: child,
                children: [],
              },
            }
          : child
      ),
    },
  };
};

/** @jsx createElement  */
const appElement = (
  <div className="father">
    Fucking React
    <div className="child">用于构建用户界面的 JavaScript 库</div>
  </div>
);


const render = (element, container) => {
  const dom =
    element.type == "TEXT"
      ? document.createTextNode("")
      : document.createElement(element.type);

  Object.keys(element.props)
    .filter((key) => key !== "children")
    .forEach((prop) => (dom[prop] = element.props[prop]));

  element.props.children.forEach((child) => render(child, dom));

  container.appendChild(dom);
};

render(appElement, document.getElementById("root"));

 浙公网安备 33010602011771号