

Retrofit2.0的简单使用
刚开始探索......
第一步先了解要请求的json数据
如我要请求的是:图灵机器人最简单的json数据:请求示例为:
请求示例:
{
“key”:“APIKEY”,
“info”:“你好”
}
返回的数据:
{
"code":100000,
"text":"你也好 嘻嘻"
}
那么就根据这个来创建一个简单的NewsBean实体类:
public class NewsBean implements Serializable {
    private int code;
    private String text;
    private String url;

    public NewsBean() {

    }

    public NewsBean(String text) {
        this.text = text;
    }

    public NewsBean(int code, String text) {
        this.code = code;
        this.text = text;
    }

    public NewsBean(int code, String text, String url) {
        this.code = code;
        this.text = text;
        this.url = url;
    }

    public int getCode() {
        return code;
    }

    public void setCode(int code) {
        this.code = code;
    }

    public String getText() {
        return text;
    }

    public void setText(String text) {
        this.text = text;
    }

    public String getUrl() {
        return url;
    }

    public void setUrl(String url) {
        this.url = url;
    }
}
这里有一点需要特别注意的是:保证我们定制的javabean对象的字段要和服务器返回的数据字段一一对应,不然解析会出错(PS ^_^复杂的数组类型有待探索,更新.....
---------------------------------------------------------------------------------------
基本使用:
1、get请求:
要请求的URL 和 KEY 为:
public class TulingParams {

    public static final String TULING_URL = "http://www.tuling123.com/openapi/";
    public static  final String TULING_KEY = "xxxxxxxxxxxxxxxxxxxxxxxxxxxxxxx";  //自己去图灵注册一个 免费
}
由上面的数据分析可知 要请求的参数为"key" 和 "info",定义服务接口对象:
public interface RetrofitApi {

    @GET("api")
    Call<NewsBean> getTuringInfo(@Query("key") String key, @Query("info") String info);
}
@GET标识为get请求,@GET中所填写的value值和TULING_URL组成完整的路径,TULING_URL在构造retrofit对象时给出;@Query 标识为接口查询的关键字,有两个参数标记为两;
当我们的参数过多的时候我们可以通过@QueryMap注解和map对象参数来指定每个表单项的Key,value的值。
在MainActivity中定义一个requestApiByRetrofit方法:
private void requestApiByRetrofit(String info) {
Retrofit retrofit = new Retrofit.Builder()
.baseUrl(TuringParms.TULING_URL)
.addConverterFactory(GsonConverterFactory.create())
.build();
RetrofitApi api = retrofit.create(RetrofitApi.class);
Call<NewsBean> call = api.getTuringInfo(TuringParms.TULING_KEY, info);
call.enqueue(new Callback<NewsBean>() {
@Override
public void onResponse(Call<NewsBean> call, Response<NewsBean> response) {//打印返回结果
NewsBean news = null;
news = response.body();//将返回的数据解析成一个NewsBean对象
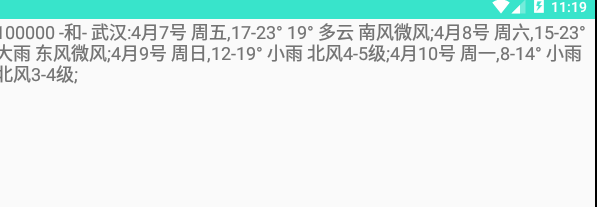
showText.setText(news.getCode()+" -和- "+news.getText());
        }

        @Override
        public void onFailure(Call<NewsBean> call, Throwable t) {
            //进行异常情况处理
        }
    });
}
Retrofit的构建使用的是构造者模式,指定一个baseUrl,添加一个对象转换器,用于将服务器返回的数据转换成对应实体类对象。
构造完成以后,调用create方法就可以拿到我们的接口实例。然后再调用我们之前定义好的获取城市的方法,得到一个call对象,通过call.enqueue即可完成异步的网络请求。
最后在数据请求成功的时候,通过response.body()即可拿到我们定义在Call< T >中需要返回的对象,数据请求失败的时候,进行异常的处理。
TextView打印的结果为:
------------------------------------------------待更新----------------------------------------------------------

 浙公网安备 33010602011771号