

场景
Centos中Redis的下载编译与安装(超详细):
https://blog.csdn.net/BADAO_LIUMANG_QIZHI/article/details/103967334
Redis的启动和关闭(前台启动和后台启动):
https://blog.csdn.net/BADAO_LIUMANG_QIZHI/article/details/103972348
RedisDesktopManager客户端可视化工具下载安装与使用:
https://blog.csdn.net/BADAO_LIUMANG_QIZHI/article/details/103983147
通过以上教程将Redis的环境搭建起来后,使用SpringDataRedis在Java中对Redis进行操作。
SpringDataRedis
SpringDataRedis是spring大家族中的一部分,提供了在spring应用中通过简单的配置访问redis服务,对redis底层开发包(Jedis,JRedis,andRJC)进行了高度封装,RedisTemplate提供了redis各种操作,异常处理及序列化,支持发布订阅
SpringDataRedis针对Jedis提供了如下功能:
1.连接池自动管理,提供了一个高度封装的RedisTemplate类
2.针对Jedis客户端中大量api进行了归类封装,将同一类型操作封装为operation接口
ValueIoerations:简单K-V操作
SetIOperations:set类型数据操作.
ZSetOperations:zset类型数据操作
HashOperations:针对map类型的数据操作
ListOperations:针对list类型的数据操作.
实现
打开IDEA新建project-Maven Project
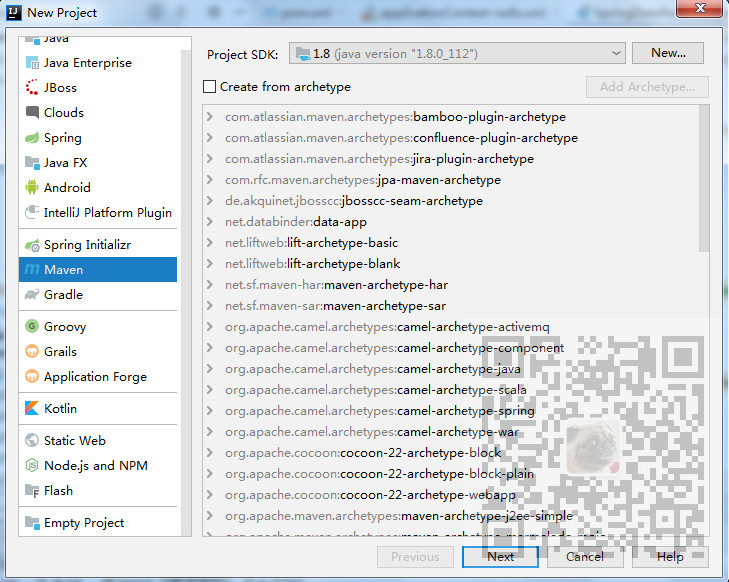
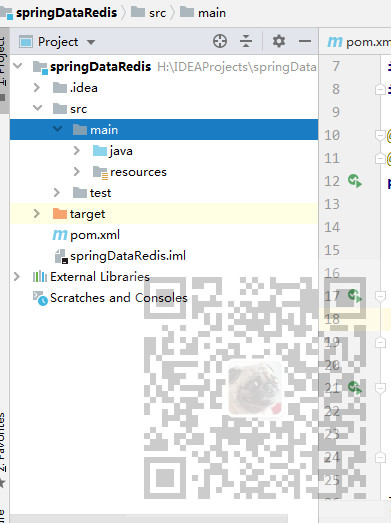
依次输入坐标,建成后目录
然后打开pom.xml,添加spring和jedis以及junit的依赖
<?xml version="1.0" encoding="UTF-8"?>
<project xmlns="http://maven.apache.org/POM/4.0.0"
         xmlns:xsi="http://www.w3.org/2001/XMLSchema-instance"
         xsi:schemaLocation="http://maven.apache.org/POM/4.0.0 http://maven.apache.org/xsd/maven-4.0.0.xsd">
    <modelVersion>4.0.0</modelVersion>

    <groupId>com.badao.redis</groupId>
    <artifactId>springDataRedis</artifactId>
    <version>1.0-SNAPSHOT</version>

    <dependencies>
        <dependency>
            <groupId>junit</groupId>
            <artifactId>junit</artifactId>
            <version>4.12</version>
        </dependency>
        <!-- Spring -->
        <dependency>
            <groupId>org.springframework</groupId>
            <artifactId>spring-context</artifactId>
            <version>4.2.4.RELEASE</version>
        </dependency>
        <dependency>
            <groupId>org.springframework</groupId>
            <artifactId>spring-beans</artifactId>
            <version>4.2.4.RELEASE</version>
        </dependency>
        <dependency>
            <groupId>org.springframework</groupId>
            <artifactId>spring-context-support</artifactId>
            <version>4.2.4.RELEASE</version>
        </dependency>
        <dependency>
            <groupId>org.springframework</groupId>
            <artifactId>spring-test</artifactId>
            <version>4.2.4.RELEASE</version>
        </dependency>
        <!-- 缓存 -->
        <dependency>
            <groupId>redis.clients</groupId>
            <artifactId>jedis</artifactId>
            <version>2.8.1</version>
        </dependency>
        <dependency>
            <groupId>org.springframework.data</groupId>
            <artifactId>spring-data-redis</artifactId>
            <version>1.7.2.RELEASE</version>
        </dependency>
    </dependencies>
        <build>
            <plugins>
                <!-- java编译插件 -->
                <plugin>
                    <groupId>org.apache.maven.plugins</groupId>
                    <artifactId>maven-compiler-plugin</artifactId>
                    <version>3.2</version>
                    <configuration>
                        <source>1.7</source>
                        <target>1.7</target>
                        <encoding>UTF-8</encoding>
                    </configuration>
                </plugin>
            </plugins>
        </build>
</project>
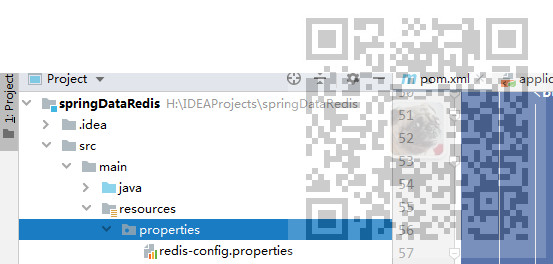
然后在src/main/resources下创建properties文件夹,然后新建文件redis-config.properties

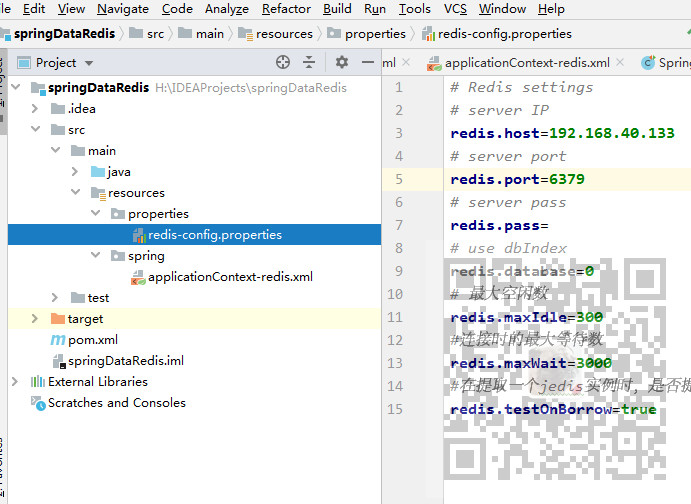
在此属性文件中配置redis连接的ip和端口等信息
# Redis settings
# server IP
redis.host=192.168.40.133
# server port
redis.port=6379
# server pass
redis.pass=
# use dbIndex
redis.database=0
# 最大空闲数
redis.maxIdle=300
#连接时的最大等待数
redis.maxWait=3000
#在提取一个jedis实例时,是否提前进行验证操作;如果为true,则得到的jedis实例均是可用的;
redis.testOnBorrow=true
同理再在src/main/resources下创建spring文件夹,然后新建文件applicationContext-redis.xml
<?xml version="1.0" encoding="UTF-8"?>
<beans xmlns="http://www.springframework.org/schema/beans"
       xmlns:xsi="http://www.w3.org/2001/XMLSchema-instance" xmlns:p="http://www.springframework.org/schema/p"
       xmlns:context="http://www.springframework.org/schema/context"
       xmlns:mvc="http://www.springframework.org/schema/mvc"
       xmlns:cache="http://www.springframework.org/schema/cache"
       xsi:schemaLocation="http://www.springframework.org/schema/beans
            http://www.springframework.org/schema/beans/spring-beans.xsd
            http://www.springframework.org/schema/context
            http://www.springframework.org/schema/context/spring-context.xsd
            http://www.springframework.org/schema/mvc
            http://www.springframework.org/schema/mvc/spring-mvc.xsd
            http://www.springframework.org/schema/cache
            http://www.springframework.org/schema/cache/spring-cache.xsd
            http://www.springframework.org/schema/mvc ">

    <context:property-placeholder location="classpath*:properties/*.properties"/>

    <!-- redis 相关配置 -->
    <bean id="poolConfig" class="redis.clients.jedis.JedisPoolConfig">
        <property name="maxIdle" value="${redis.maxIdle}"/>
        <property name="maxWaitMillis" value="${redis.maxWait}"/>
        <property name="testOnBorrow" value="${redis.testOnBorrow}"/>
    </bean>

    <bean id="JedisConnectionFactory" class="org.springframework.data.redis.connection.jedis.JedisConnectionFactory"
          p:host-name="${redis.host}" p:port="${redis.port}" p:password="${redis.pass}" p:pool-config-ref="poolConfig"/>

    <bean id="redisTemplate" class="org.springframework.data.redis.core.RedisTemplate">
        <property name="connectionFactory" ref="JedisConnectionFactory"/>
    </bean>

</beans>
然后在src/main下新建包,包中新建类,开启Redis服务端后进行测试存取值
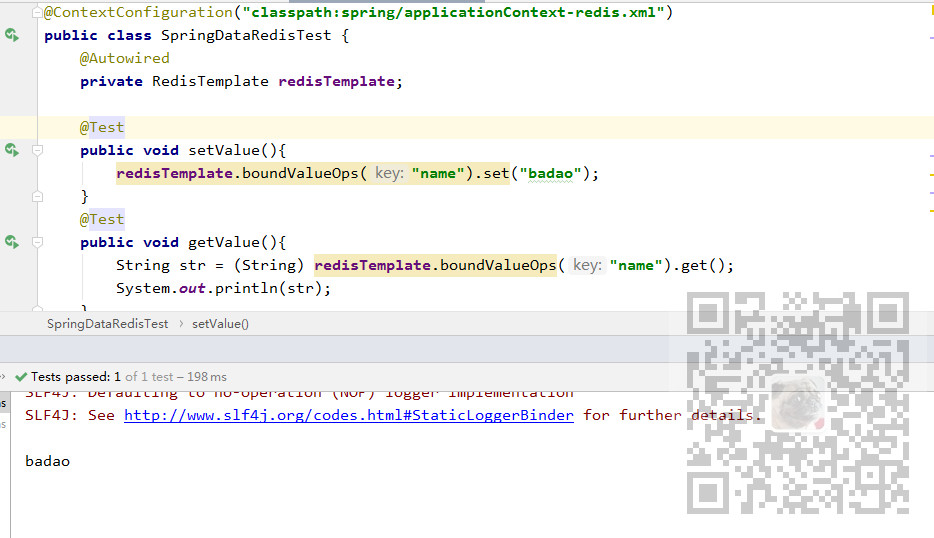
package com.badao.test;

import org.junit.Test;
import org.junit.runner.RunWith;
import org.springframework.beans.factory.annotation.Autowired;
import org.springframework.data.redis.core.RedisTemplate;
import org.springframework.test.context.ContextConfiguration;
import org.springframework.test.context.junit4.SpringJUnit4ClassRunner;

@RunWith(SpringJUnit4ClassRunner.class)
@ContextConfiguration("classpath:spring/applicationContext-redis.xml")
public class SpringDataRedisTest {
    @Autowired
    private RedisTemplate redisTemplate;

    @Test
    public void setValue(){
        redisTemplate.boundValueOps("name").set("badao");
    }
    @Test
    public void getValue(){
        String str = (String) redisTemplate.boundValueOps("name").get();
        System.out.println(str);
    }

}
运行单元测试方法,先存值再取值结果

 浙公网安备 33010602011771号