create-react-app的TS支持以及css模块化
开始:
利用官方脚手架,搭建react工程。参考:https://react.docschina.org/docs/create-a-new-react-app.html。
过程:
1.暴露webpack配置 执行eject脚本,操作不可逆,在执行前要将之前内容提交到git,以便恢复。
执行 npm run eject 执行后产生webpack配置文件。
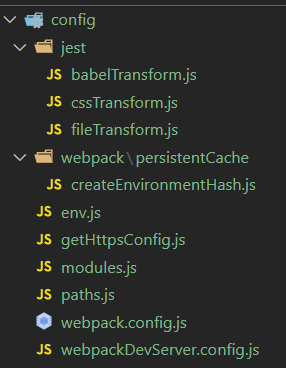
2.调整,使css文件可以模块化引入。
主要是利用css-loader模块。配置,获取其它插件请参考:https://webpack.docschina.org/loaders/css-loader/。
稍微调整一下原本的默认配置项。此处注意本文编辑时间,未来官方可能会调整,也许不能完全对应,但是本质不变。

然后就可以以单一模块的方式引入css文件了,通过hash保证唯一性:
app.css

.app{
    // css
}


js:
mport styles from './app.css';

styles[‘app’]; // 使用
3.添加TS支持。注意,官方提供创建TS版本。本例可以用来给现有工程改造。
npm/yarn/其它包管理 添加typescript @types/node @types/react @types/react-dom @types/jest;
typescript作为ts基础依赖包,其它作为常用的ts解释包。
安装完毕后,在根目录添加两类文件,以帮助编辑器做文本提示:
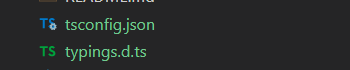
tsconfig.json 一些简单配置

{
  "compilerOptions": {
    "target": "esnext",
    "module": "esnext",
    "moduleResolution": "node",
    "resolveJsonModule": true,
    "importHelpers": true,
    "jsx": "react-jsx",
    "esModuleInterop": true,
    "sourceMap": true,
    "baseUrl": "./",
    "strict": true,
    "paths": {
      "@/*": ["src/*"],
    },
    "allowSyntheticDefaultImports": true
  },
  "include": [
    "mock/**/*",
    "src/**/*",
    "config/**/*",
    ".umirc.ts",
    "typings.d.ts"
  ],
  "exclude": [
    "node_modules",
    "lib",
    "es",
    "dist",
    "typings",
  ]
}
d.ts 自定义的一些声明

declare module '*.css';
declare module '*.less';
declare module '*.png';

declare module 'uuid';
declare module '*.svg' {
  export function ReactComponent(
    props: React.SVGProps<SVGSVGElement>,
  ): React.ReactElement;
  const url: string;
  export default url;
}
之后可正常使用ts/tsx文件,编辑器提示也会同步。
结束:
本文暂时只做简单介绍,其中部分内容笔者也在学习,给自己挖个坑,以后继续细化。
本文来自博客园,作者:axelccc,转载请注明原文链接:https://www.cnblogs.com/axelccc/p/16065229.html

 浙公网安备 33010602011771号