Elasticsearch 插件head和kibana
本次安装在win7下,linux操作差不多。
Elasticsearch的版本是6.5.1
一、前置条件
1、安装nodejs,如果已经安装了,检查一下版本,最好大于6以上,不然后面会失败,官网上已经到10了
https://nodejs.org/en/download/
2、安装grunt
Grunt 是基于 Node.js 的项目构建工具
npm install -g grunt-cli
验证一下:

二、下载head包
https://github.com/mobz/elasticsearch-head 下载zip包后解压
三、安装各种依赖
进入elasticsearch-head-master目录
使用命令:npm install
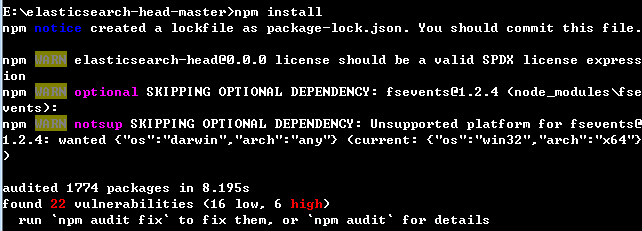
这里提示修复22个脆弱性漏洞什么的,还有6个事高危的,可以根据提示修复一下:npm audit fix
四、配置elasticsearch
vi config/elasticsearch.yml
加入:
# ---------------------------------- head plugin -----------------------------------
# head等插件访问es。设置参数的时候[key: value]中,冒号后面要有空格
http.cors.enabled: true
http.cors.allow-origin: "*"
五、修改elasticsearch-head-master配置
修改Gruntfile.js文件里的connect属性,加入hostname。
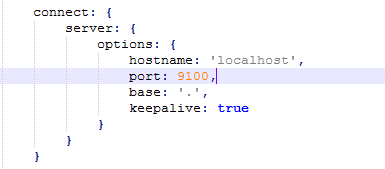
如果出现以下问题,说明是js文件格式有问题,比如中文逗号或者没有逗号。
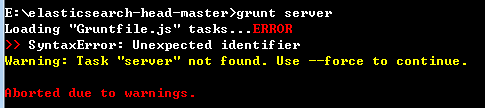
六、运行head插件
E:\elasticsearch-head-master>grunt server

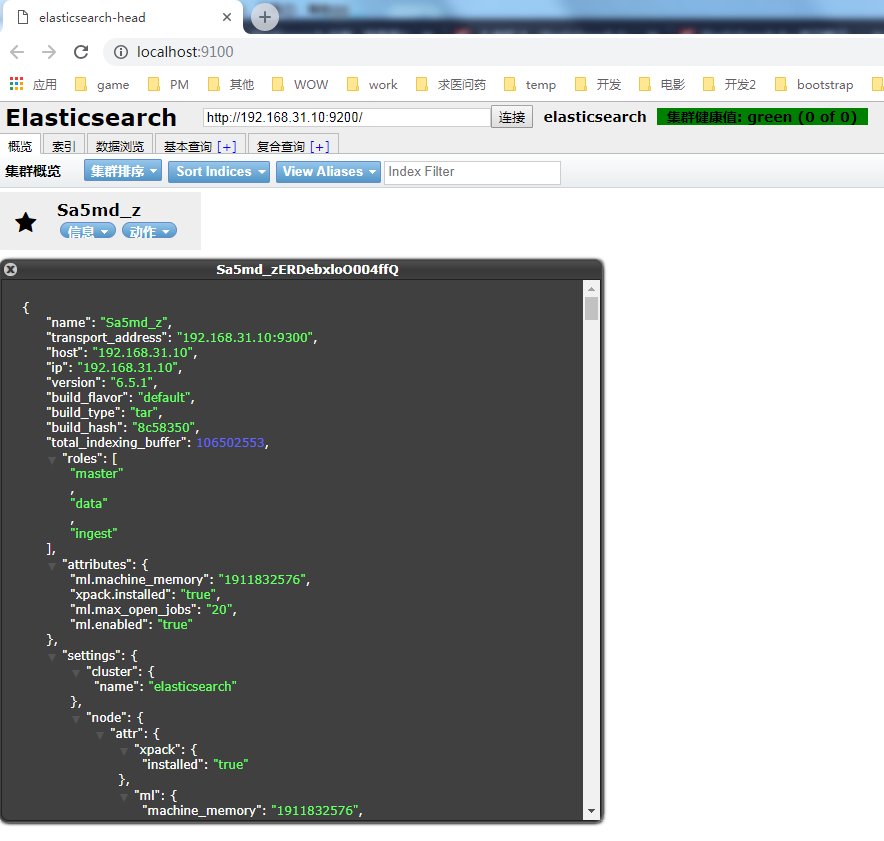
页面上链接测试一下,head安装在win7上,elasticseach安装在虚拟机192.168.31.10上,是一个单节点,测试OK。
################################################################################
一、安装kibana插件
地址:https://www.elastic.co/downloads/kibana
二、配置
修改config目录下kibana.yml文件
# The URL of the Elasticsearch instance to use for all your queries.
elasticsearch.url: "http://192.168.31.10:9200"
如果需要非本机访问kibana,则需要修改下面的配置,假设kibana运行在192.168.31.1上
# To allow connections from remote users, set this parameter to a non-loopback address.
#server.host: "localhost"
server.host:192.168.31.1

 浙公网安备 33010602011771号