2018-2019-1 20189219《Linux内核原理与分析》第九周作业
进程的切换
对于进程切换,有两个关键问题,一是进程什么时候进行切换,即进程调度的时机,二是进程如何占用CPU,即进程切换的过程。
进程调度的时机
对于linux系统来说,内核是通过schedule函数来进行进程调度的,因此,调用schedule函数的时机即进程调度的时机。一般来说,进程调度分为两种:
- 1.中断过程中直接调用schedule函数
- 2.若设置need_resched标志,则在中断处理程序返回用户态时进行调度。
进程切换的过程
前面我们学习了系统调用,从用户态陷入到内核态时同样需要保存现场,而此处的进程切换是从一个进程切换至另外一个进程,因此此处保存的状态远多于系统调用中断时的现场保存:
- 1.用户地址空间:包括程序代码、数据、用户堆栈等
- 2.控制信息:进程描述符、内核堆栈等
- 3.硬件上下文,相关寄存器的值。
在每次进程切换前,系统将对当前的进程上下文保存一次快照,以便切换回此进程。
关键代码分析
- schedule()
asmlinkage__visible void __sched schedule(void)
{
         struct task_struct *tsk = current;

         sched_submit_work(tsk);
         __schedule();
}
schedule()的尾部调用了__schedule(),__schedule()内容较长,这里只查看其关键部分:
static void __sched __schedule(void)
{
	struct task_struct *prev, *next;
	unsigned long *switch_count;
	struct rq *rq;
	int cpu;
        ……
	schedule_debug(prev);
	……
	next = pick_next_task(rq, prev);  //使用pick_next_task函数(其中包含调度算法)进行下一个进程的挑选
        ……
	if (likely(prev != next)) {
		rq->nr_switches++;
		rq->curr = next;
		++*switch_count;

		context_switch(rq, prev, next);  /* unlocks the rq */  //实现上下文切换
		/*
		 * The context switch have flipped the stack from under us
		 * and restored the local variables which were saved when
		 * this task called schedule() in the past. prev == current
		 * is still correct, but it can be moved to another cpu/rq.
		 */
		cpu = smp_processor_id();
		rq = cpu_rq(cpu);
	} else
		raw_spin_unlock_irq(&rq->lock);
        ……
	if (need_resched())
		goto need_resched;
}
在__schedule()中,系统调用了context_switch函数进行上下文切换,并将传入进程队列的前后指针。
- context_switch()
context_switch(struct rq *rq, struct task_struct *prev,
	       struct task_struct *next)
{
	struct mm_struct *mm, *oldmm;

	prepare_task_switch(rq, prev, next);
        ……
	if (!mm) {
		next->active_mm = oldmm;
		atomic_inc(&oldmm->mm_count);
		enter_lazy_tlb(oldmm, next);
	} else
		switch_mm(oldmm, mm, next);
        ……
	if (!prev->mm) {
		prev->active_mm = NULL;
		rq->prev_mm = oldmm;
	}
        ……
	switch_to(prev, next, prev);
        ……
	finish_task_switch(this_rq(), prev);
}
context_switch函数中,首先调用switch_mm切换进程页目录表,然后使用关键宏switch_to来进行硬件上下文切换。
- switch_to()
#define switch_to(prev, next, last) //prev指向当前进程,next指向被调度的进程
do {

         unsigned long ebx, ecx, edx, esi, edi;

         asm volatile("pushfl\n\t"  //把prev进程的flag保存到prev进程的内核堆栈中
                      "pushl %%ebp\n\t" //把prev进程的基址ebp保存到prev进程的内核堆栈中

                      "movl %%esp,%[prev_sp]\n\t"//把prev进程的内核栈esp保存到prev->thread.sp中
                      "movl %[next_sp],%%esp\n\t"//esp指向next进程的内核堆栈栈顶(next->thread.sp)

                      "movl $1f,%[prev_ip]\n\t"//把"1:\t"地址赋给prev->thread.ip,当prev进程下次被switch_to切回来时,从"1:\t"处执行,即往后执行"popl %%ebp\n\t"和"popfl\n"
                      "pushl %[next_ip]\n\t"//把next->thread.ip压入next进程的内核堆栈栈顶
                      __switch_canary
                      "jmp __switch_to\n"//执行__switch_to()函数,完成硬件上下文切换
                      "1:\t"
                      "popl %%ebp\n\t"
                      "popfl\n"

                      /* output parameters */
                      : [prev_sp] "=m"(prev->thread.sp),
                        [prev_ip] "=m"(prev->thread.ip),
                        "=a" (last),

                      /* clobbered output registers: */
                        "=b" (ebx), "=c"(ecx), "=d" (edx),
                        "=S" (esi), "=D"(edi)

                       __switch_canary_oparam

                          /* input parameters: */
                      : [next_sp]  "m" (next->thread.sp),
                        [next_ip]  "m" (next->thread.ip),

                      /* regparm parameters for __switch_to():*/
                      //jmp通过eax寄存器和edx寄存器传递参数
                        [prev]     "a" (prev),
                        [next]     "d" (next)

                        __switch_canary_iparam

                      : /* reloaded segment registers */
                     "memory");
} while (0)
为了避免混淆,直接使用[prev_sp]而不是使用%1等来进行标记。切换过程在书中阐述的很详细了,这里就不再提及。
使用gdb跟踪进程调度
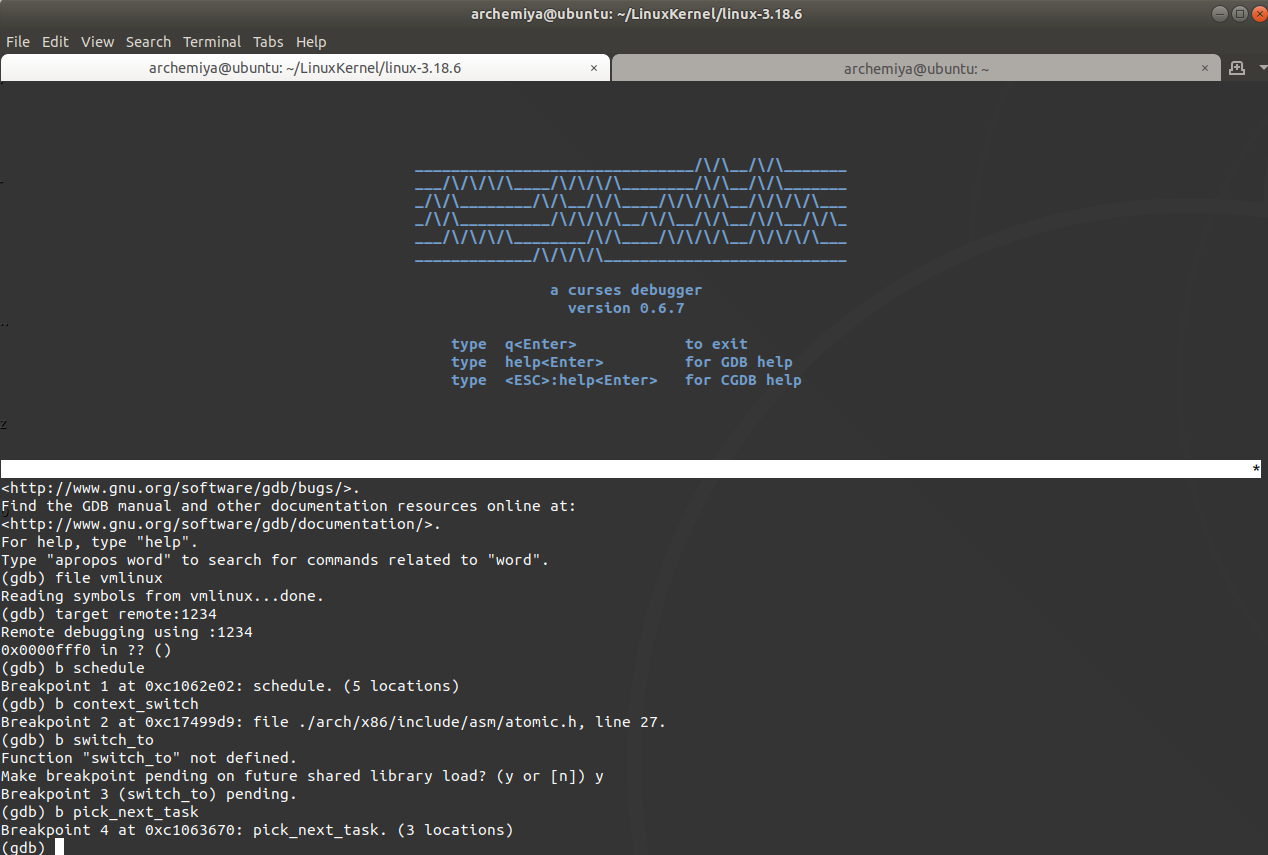
设置相关断点

跳至schedule函数
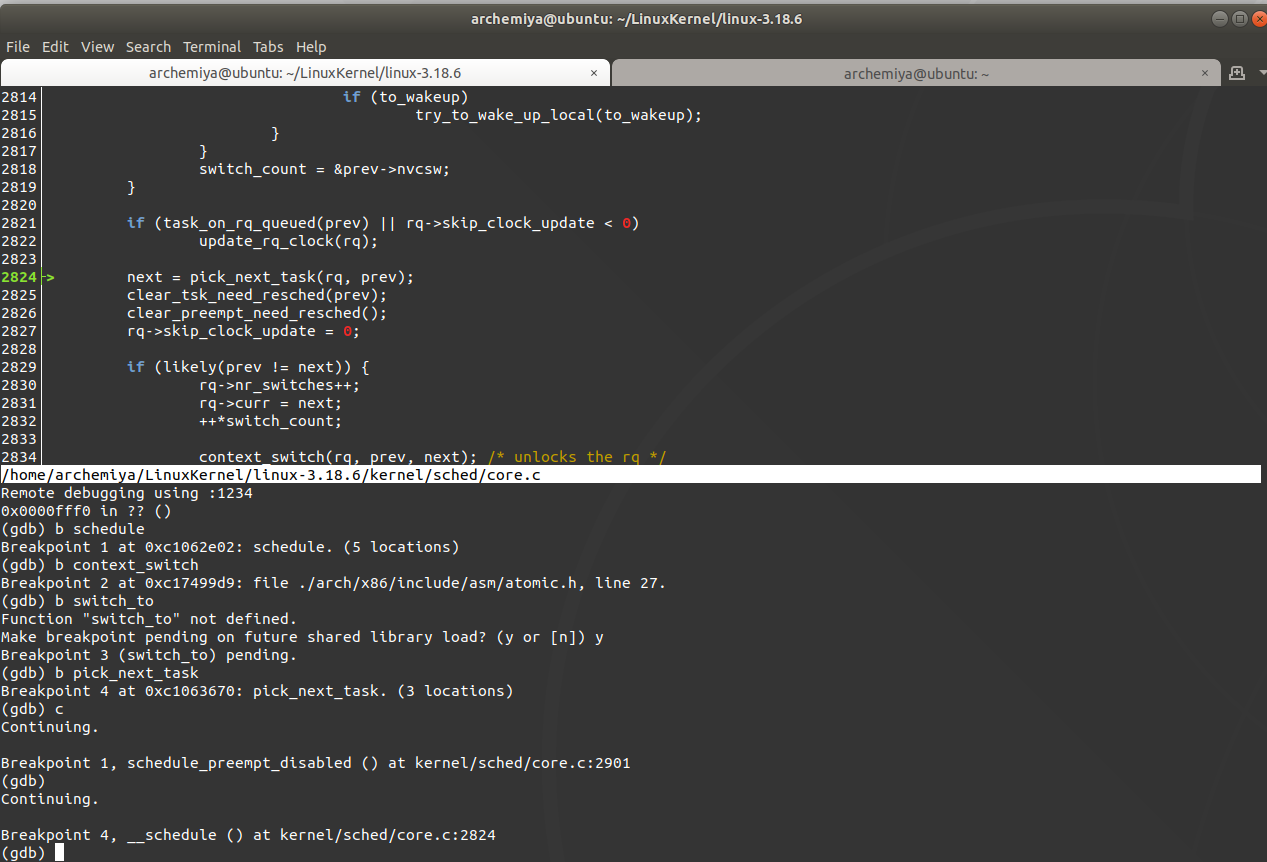
使用CFS调度算法选择下一个进程切换

实现进程切换
由于switch_to函数是内嵌汇编代码,这里无法使用gdb跟踪。
之后继续continue,将一直在上述步骤循环,不断的完成进程的切换工作。
感兴趣的地方
CFS调度算法
在CFS中,即完全公平调度算法,是仅针对SCHED_NORMAL,也即普通进程进行调度的算法。这里有几个较为关键的概念,下面我们一一缕清一下:
权重
在CFS算法中,为了能够将优先级量化,将优先级与另一个重要概念权重联系在一起,将两者的关系映射在/linux-3.18.6/kernel/sched/sched.h中的prio_to_weight[40]数组表中:
static const int prio_to_weight[40] = {
 /* -20 */     88761,     71755,     56483,     46273,     36291,
 /* -15 */     29154,     23254,     18705,     14949,     11916,
 /* -10 */      9548,      7620,      6100,      4904,      3906,
 /*  -5 */      3121,      2501,      1991,      1586,      1277,
 /*   0 */      1024,       820,       655,       526,       423,
 /*   5 */       335,       272,       215,       172,       137,
 /*  10 */       110,        87,        70,        56,        45,
 /*  15 */        36,        29,        23,        18,        15,
};
在这个数组中附上了一段注释:
/*
 * Nice levels are multiplicative, with a gentle 10% change for every
 * nice level changed. I.e. when a CPU-bound task goes from nice 0 to
 * nice 1, it will get ~10% less CPU time than another CPU-bound task
 * that remained on nice 0.
 *
 * The "10% effect" is relative and cumulative: from _any_ nice level,
 * if you go up 1 level, it's -10% CPU usage, if you go down 1 level
 * it's +10% CPU usage. (to achieve that we use a multiplier of 1.25.
 * If a task goes up by ~10% and another task goes down by ~10% then
 * the relative distance between them is ~25%.)
 */
这段注释解释了prio_to_weight[40]数组中每个值是如何定义的:
对于普通进程的不同优先级(即nice值),表示着该进程所能够占用cpu的有效时间的不同,通常每一个等级是10%的变化,而这个变化是乘算而不是加算。nice值越大表示着该进程的优先级越小,相对的,cpu的占用时间就越少。在linux中,设置了从-20到19的40个不同的nice值,其中以nice=0为基准进行设置,并定义nice_0_load(nice=0进程的权重)为1024。由此推算出其他所有nice值所表示的权重。接下来我们来看看根据上述规则是如何具体定义的。首先我们假设最开始有两个nice都为0的进程:
| nice值 | cpu占用时间 | 比例 |
|---|---|---|
| 0 | 50% | 1:1 |
| 0 | 50% | 1:1 |
当其中一个nice值变为1的时候:
| nice值 | cpu占用时间 | 比例 |
|---|---|---|
| 1 | 45% | 0.9:1.1 |
| 0 | 55% | 1.1:0.9 |
可以看到,当其中一个进程的nice值比另一个高1的时候,分配的cpu时间是相对变化的,即nice+=1的进程cpu时间减少了10%的同时,nice值保持不变的进程cpu时间也相对增加了10%,得到的比例就不再是之前的1:1也不是1:0.9,而是1.1:0.9=1.222……,因此linux将变化率设为1.25,也即表格中的所有值都是在nice=0的权重即1024的基础上乘或除n个1.25得到的。
wmult值
在prio_to_weight数组下面还有个prio_to_wmult数组,这个数组中的值是使用2^32/x(x为对应的权重)替代weight数组中的每个值的:
/*
 * Inverse (2^32/x) values of the prio_to_weight[] array, precalculated.
 *
 * In cases where the weight does not change often, we can use the
 * precalculated inverse to speed up arithmetics by turning divisions
 * into multiplications:
 */
static const u32 prio_to_wmult[40] = {
 /* -20 */     48388,     59856,     76040,     92818,    118348,
 /* -15 */    147320,    184698,    229616,    287308,    360437,
 /* -10 */    449829,    563644,    704093,    875809,   1099582,
 /*  -5 */   1376151,   1717300,   2157191,   2708050,   3363326,
 /*   0 */   4194304,   5237765,   6557202,   8165337,  10153587,
 /*   5 */  12820798,  15790321,  19976592,  24970740,  31350126,
 /*  10 */  39045157,  49367440,  61356676,  76695844,  95443717,
 /*  15 */ 119304647, 148102320, 186737708, 238609294, 286331153,
};
为何要设置这样一个数组?注释中表示用于加快运算,这里我们很难看出是怎么加速的,那么这里我们需要查看书中所提及的vruntime的计算方法的相关代码。
- calc_delta_fair:
/*
 * delta /= w
 */
static inline u64 calc_delta_fair(u64 delta, struct sched_entity *se)
{
	if (unlikely(se->load.weight != NICE_0_LOAD))    //如果当前进程权重是NICE_0_WEIGHT,虚拟时间就是delta,不需要__calc_delta()计算,这里设置if项是为了减少nice=0的计算开支。
		delta = __calc_delta(delta, NICE_0_LOAD, &se->load);

	return delta;
}
- __calc_delta:
/*
 * delta_exec * weight / lw.weight
 *   OR
 * (delta_exec * (weight * lw->inv_weight)) >> WMULT_SHIFT
 *
 * Either weight := NICE_0_LOAD and lw \e prio_to_wmult[], in which case
 * we're guaranteed shift stays positive because inv_weight is guaranteed to
 * fit 32 bits, and NICE_0_LOAD gives another 10 bits; therefore shift >= 22.
 *
 * Or, weight =< lw.weight (because lw.weight is the runqueue weight), thus
 * weight/lw.weight <= 1, and therefore our shift will also be positive.
 */
static u64 __calc_delta(u64 delta_exec, unsigned long weight, struct load_weight *lw)//这里weight传入即NICE_0_LOAD,lw传入的为&se->load,也即当前进程的相关属性的结构体的内部指针。
{
	u64 fact = scale_load_down(weight);    //将weight权重赋予fact
	int shift = WMULT_SHIFT;	//WMULT_SHIFT=32

	__update_inv_weight(lw);	//对lw的inv_weight进行数组对照更新

	if (unlikely(fact >> 32)) {		//fact为权重值,主要防止权重过大的情况。
		while (fact >> 32) {
			fact >>= 1;
			shift--;
		}
	}

	/* hint to use a 32x32->64 mul */
	fact = (u64)(u32)fact * lw->inv_weight;		//将fact的值乘以当前进程的inv_weight值,即prio_to_wmult数组中对应的值

	while (fact >> 32) {
		fact >>= 1;
		shift--;
	}

	return mul_u64_u32_shr(delta_exec, fact, shift);
}
上述函数中使用了unlikely宏,查阅后发现在compile.h中有此函数宏的定义:
# define likely(x)  __builtin_expect(!!(x), 1)
# define unlikely(x)    __builtin_expect(!!(x), 0)
__builtin_expect函数用来引导gcc进行条件分支预测。在一条指令执行时,由于流水线的作用,CPU可以同时完成下一条指令的取指,这样可以提高CPU的利用率。简单从表面上看if(likely(value)) == if(value),if(unlikely(value)) == if(value)。 也就是likely和unlikely是一样的,但是实际上执行是不同的,加likely的意思是value的值为真的可能性更大一些,那么执行if的机会大,而unlikely表示value的值为假的可能性大一些,执行else机会大一些。所以上述代码使用unlikely表示fact过大的场合基本不会出现。
- mul_u64_u32_shr:
#ifndef mul_u64_u32_shr
static inline u64 mul_u64_u32_shr(u64 a, u32 mul, unsigned int shift)
{
	return (u64)(((unsigned __int128)a * mul) >> shift);    //即注释中的(delta_exec * (weight * lw->inv_weight)) >> WMULT_SHIFT公式。
}
#endif /* mul_u64_u32_shr */
看完上述一系列函数之后,我们发现,在最后的运算中将原本的除法替换成移位运算,这样速度确实是大大的提升了,对于32位的数来,移位运算的速度是除法运算的40倍以上。


 浙公网安备 33010602011771号