
windows Makefile指南(二)
1、CMake 的一个重要作用是 生成 Makefile。
CMake 开发始于 1999 年,CMake是跨平台的 免费开源软件,通过使用独立于编译器的方法来构建自动化、测试、打包和安装软件。
著名的mysql5.6就是使用cmake进行的构建。
Makefile 是一种定义编译规则的文件,通常用于描述哪些文件需要编译、如何编译以及文件之间的依赖关系。CMake是一个跨平台的工具, 通过自动生成 Makefile,避免了手动编写的复杂性,同时确保了构建过程的正确性和高效性。
CMake 支持的一些非标准组件包括:
Borland Makefiles
MSYS Makefiles
MinGW Makefiles
NMake Makefiles
NMake Makefiles JOM
Watcom WMake

对于这些不同的 Makefiles,实际编译中使用的工具是不同的。例如,在Borland Makefile 中,用于编译 C++ 文件的编译器称为 bcc32。而 Nmake,
是与微软 Visual Studio 捆绑的 make 工具,使用的编译器则是微软 C++ 编译器,cl。

尽管 make 已经存在很长时间了,但是维护 Makefiles 的复杂性促使了其他构建系统的开发——其中最成功的是 Ninja。Ninja 代替 make 的独特卖点,
在于 Ninja 支持并行构建。在 Ninja 中,构建总是并行运行,而 make 依赖于底层编译器支持的标志来实现这一点。由于 Ninja 是一个现代工具,其暗含的意思是拥有多核 CPU,
且所有 CPU 都可以在构建过程中使用,从而提高吞吐量。另外,Ninja 确保在命令完成前缓存其输出,这让并行编译期间出现的错误或失败显而易见。
(如果你想进一步减少编译时间,可以查看 Incredibuild 解决方案。这个方案打破了一个系统的局限,让构建在本地网络甚至云中的空闲 CPU 上并发分布进行,因此构建速度非常快。)
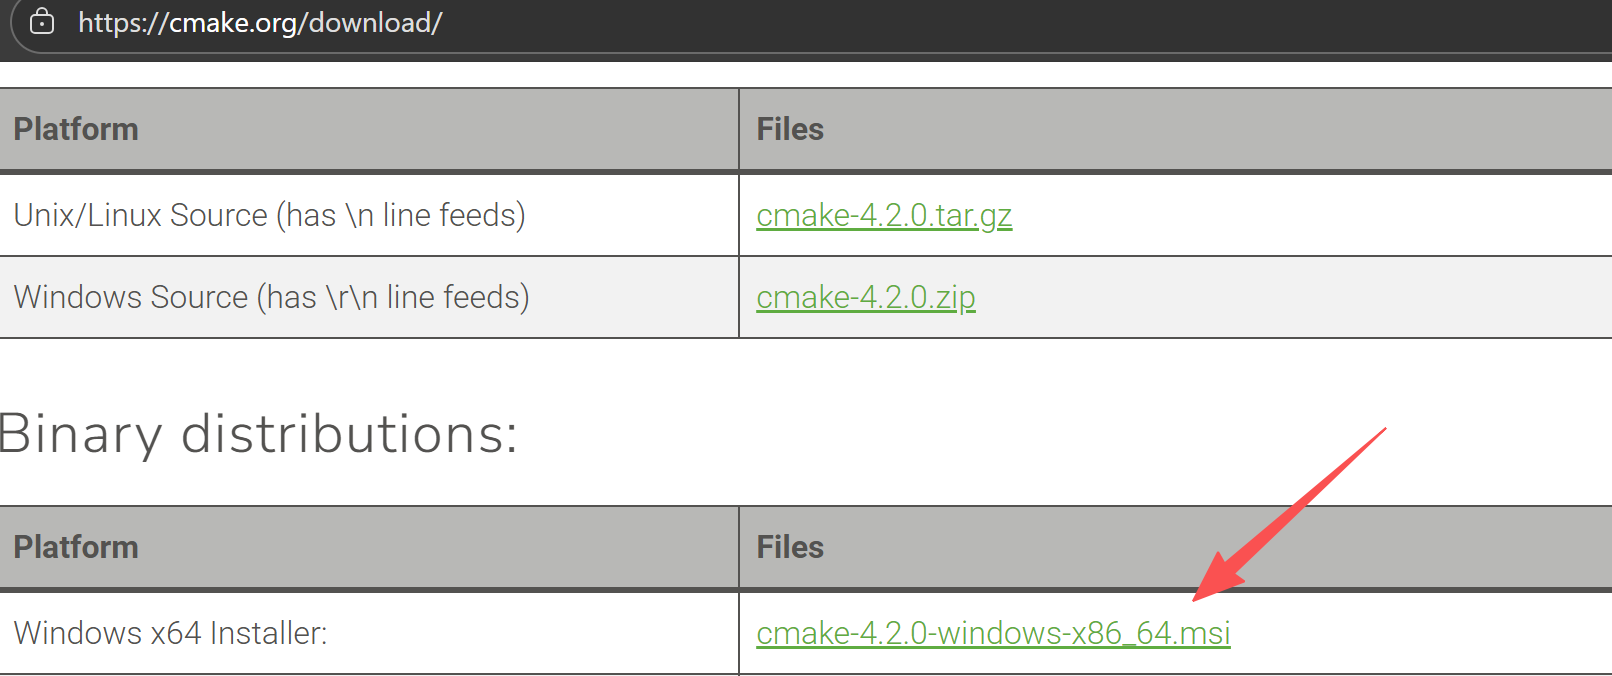
下载地址:
https://cmake.org/download/
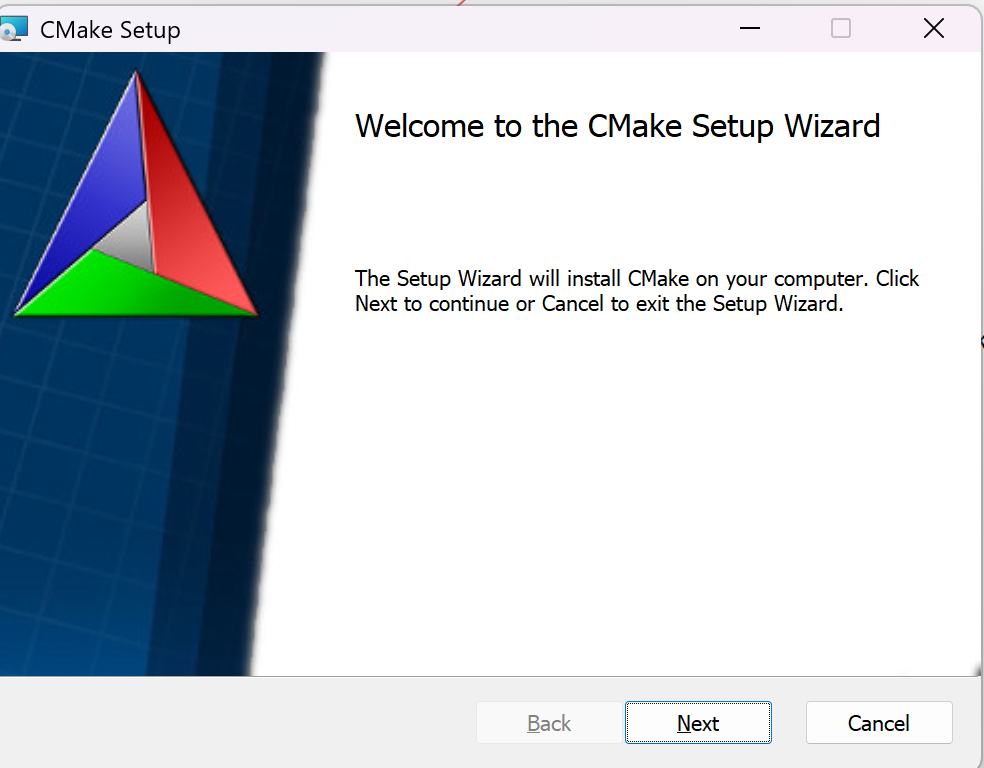
点击 下载
执行下面命令表示安装成功
C:\Users\king>cmake
Usage
  cmake [options] <path-to-source>
  cmake [options] <path-to-existing-build>
  cmake [options] -S <path-to-source> -B <path-to-build>

Specify a source directory to (re-)generate a build system for it in the
current working directory.  Specify an existing build directory to
re-generate its build system.

Run 'cmake --help' for more information.
C:\Users\king>cmake -version
cmake version 4.2.0
CMake suite maintained and supported by Kitware (kitware.com/cmake).
请看我的另一篇文章(linux 下手工编写Makefile文件)
https://www.cnblogs.com/aozhejin/p/17233324.html
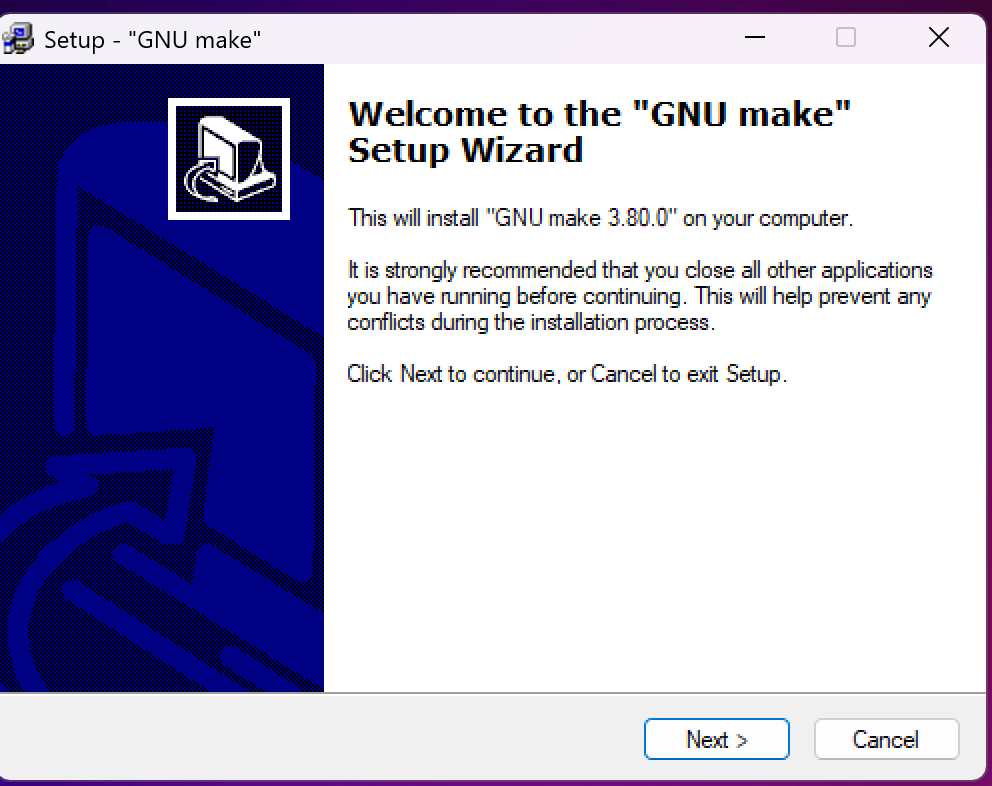
二、下载 mingw32-make 软件
来自老牌的sourceforge
https://twds.dl.sourceforge.net/project/mingw/MinGW/Extension/make/mingw32-make-3.80-3/mingw32-make-3.80.0-3.exe?viasf=1
在windows本地可以执行make命令,类似linux make命令,很多软件以前在linux 下都是直接执行 make && make install 即可安装的
例如:在linux安装nginx
$wget https://nginx.org/download/nginx-1.28.0.tar.gz && \
$tar zxf nginx-1.28.0.tar.gz
$./configure \
--sbin-path=/usr/local/nginx/nginx \
--conf-path=/usr/local/nginx/nginx.conf \
--pid-path=/usr/local/nginx/nginx.pid \
--with-pcre=../pcre2-10.43 \
--with-zlib=../zlib-1.3.1 \
--with-http_ssl_module \
--with-stream \
--with-mail=dynamic \
--add-module=/usr/build/nginx-rtmp-module \
--add-dynamic-module=/usr/build/3party_module
$make && make install
./congigure主要把 Makefile.in 变成最终的 Makefile 文件。configure会把一些配置参数配置到Makefile文件里面
但是这种实际是另一种工具Autotools来生成最终生成configure、makefile等),详细可以看Auatotools的构建Makefile的相关文章
而make工具是一个程序,用来读取并执行 Makefile 中的规则,自动完成编译、链接等操作。
Linux会预装make,Windows中使用mingw32-make。
我安装在c:/mingw32在本地执行
D:\nodejssource>mingw32-make
mingw32-make: *** No targets specified and no makefile found.  Stop.
 你可以把mingw32-make名字 改成make即可
三、根据Cmake和mingw32-make来制作简单的样例
1、样例1
创建cmake文件夹
1.编写c文件,放在cmake文件夹下
#include <stdio.h>
int main(void)
{
    printf("I am aozhejin\n");
    return 0;
}

2.编写CMakeLists.txt 同样放在cmake文件夹下
cmake_minimum_required (VERSION 4.2.0)
project (cmake)
add_executable(main main.c)

3.在dos窗口,main.c所在的目录下,输入以下命令cmake,执行编译
D:\cmake>cmake .

执行
D:\cmake>cmake .
-- Building for: Visual Studio 17 2022
-- The C compiler identification is MSVC 19.44.35221.0
-- The CXX compiler identification is MSVC 19.44.35221.0
-- Detecting C compiler ABI info
-- Detecting C compiler ABI info - done
-- Check for working C compiler: C:/Program Files (x86)/Microsoft Visual Studio/2022/BuildTools/VC/Tools/MSVC/14.44.35207/bin/
  Hostx64/x64/cl.exe - skipped
-- Detecting C compile features
-- Detecting C compile features - done
-- Detecting CXX compiler ABI info
-- Detecting CXX compiler ABI info - done
-- Check for working CXX compiler: C:/Program Files (x86)/Microsoft Visual Studio/2022/BuildTools/VC/Tools/MSVC/14.44.35207/bin/
 Hostx64/x64/cl.exe - skipped
-- Detecting CXX compile features
-- Detecting CXX compile features - done
-- Configuring done (6.6s)
-- Generating done (0.0s)
-- Build files have been written to: D:/cmake  #文件已经写入到...
其中提到了ABI接口,有一篇文章是关于ABI接口,你可以看下, 汇编教程十五(10 分钟 Linux ABI 指南) - jinzi - 博客园
下面是执行cmake命令后悔产生很多文件

执行编译
D:\cmake>cmake --build .
适用于 .NET Framework MSBuild 版本 17.14.23+b0019275e

  1>Checking Build System
  Building Custom Rule D:/cmake/CMakeLists.txt
  main.c
  main.vcxproj -> D:\cmake\Debug\main.exe
  Building Custom Rule D:/cmake/CMakeLists.txt

D:\cmake>dir
 驱动器 D 中的卷没有标签。
 卷的序列号是 7C23-817E

 D:\cmake 的目录

2025/12/06  21:58    <DIR>          .
2025/12/06  21:47    <DIR>          ALL_BUILD.dir
2025/12/06  21:47            41,677 ALL_BUILD.vcxproj
2025/12/06  21:47               263 ALL_BUILD.vcxproj.filters
2025/12/06  21:47             3,497 cmake.sln
2025/12/06  21:47            13,921 CMakeCache.txt
2025/12/06  21:58    <DIR>          CMakeFiles
2025/12/06  21:46                86 CMakeLists.txt
2025/12/06  21:47             1,834 cmake_install.cmake
2025/12/06  21:58    <DIR>          Debug
2025/12/06  21:45                87 main.c
2025/12/06  21:47    <DIR>          main.dir
2025/12/06  21:47            53,167 main.vcxproj
2025/12/06  21:47               527 main.vcxproj.filters
2025/12/06  21:58    <DIR>          x64
2025/12/06  21:47    <DIR>          ZERO_CHECK.dir
2025/12/06  21:47            41,817 ZERO_CHECK.vcxproj
2025/12/06  21:47               500 ZERO_CHECK.vcxproj.filters
              11 个文件        157,376 字节
               7 个目录 601,064,087,552 可用字节

D:\cmake>cd Debug

D:\cmake\Debug>main.exe
I am aozhejin
我们改进下,形成平常的一些逻辑
1.编写c文件,放在cmake文件夹下
#include <stdio.h>
int main(void)
{
    printf("I am aozhejin\n");
    return 0;
}

2.编写CMakeLists.txt 同样放在cmake文件夹下
#我的当前版本时4.2.0
cmake_minimum_required (VERSION 4.2.0)
project (cmake)
add_executable(main src/main.c)
3.同时在cmake根目录下创建build目录
cmake/
├── build
├── CMakeLists.txt
└── src
    └── main.c
这样的结构
#我重新组织了下目录,看一下就明白了,项目还是cmake
#需要你到build目录下执行
D:\cmaketest\cmake\build>cmake ../
-- Configuring done (0.0s)
-- Generating done (0.0s)
-- Build files have been written to: D:/cmaketest/cmake/build
D:\cmaketest\cmake\build>cmake --build .
适用于 .NET Framework MSBuild 版本 17.14.23+b0019275e
  1>Checking Build System
  Building Custom Rule D:/cmaketest/cmake/CMakeLists.txt
  main.c
  main.vcxproj -> D:\cmaketest\cmake\build\Debug\main.exe
  Building Custom Rule D:/cmaketest/cmake/CMakeLists.txt
#这种方式,生成的一大堆cmake文件都会在build目录下
当然你也可以编写一个c++文件例如:
1.创建src目录,在目录下编写main.cpp
#include <iostream>
int main()
{
    std::cout << "I am aozhejin!" << std::endl;
}
2.编写CMakeLists.txt
# CMake 版本
cmake_minimum_required(VERSION 4.2.0)
# 设置项目名
project(cpptest)
# 添加一个可执行文件
add_executable(main src/main.cpp)

3.结构如下
cpptest/
├── build
├── CMakeLists.txt
└── src
    └── main.cpp
产生的文件,你会发现有个.sln文件,这个你就可以用vs来打开了,如果你安装了visual stdio ide开发工具的话。
另外你可以利用c:/CMake 我安装的目录下会有一个cmake-gui.exe文件,是图形化的进行编译,使用也很简单。前提是你 写好类似上面的代码
但是你会发现一个问题,Makefile文件并没有产生,这是由于默认他用的是msvc
上面的输出当中有这样一段 .... The C compiler identification is MSVC 19.44.35221.0
解决方案
1.C:\mingw\bin\mingw-make.exe
   改成make.exe,改成这个cmd下就不认他了
2.需要把C:\mingw\bin 目录添加到环境变量PATH当中
3. 执行命令改成下面的
 D:\cmaketest\cmake\build>cmake .. -G "Unix Makefiles"
4.删除以前的build下生成的内容,执行下面的命令
 D:\cmaketest\cmake\build>cmake .. -G "Unix Makefiles"
-- The C compiler identification is GNU 14.2.0
-- The CXX compiler identification is GNU 14.2.0
-- Detecting C compiler ABI info
-- Detecting C compiler ABI info - done
-- Check for working C compiler: D:/mingw64/bin/gcc.exe - skipped
-- Detecting C compile features
-- Detecting C compile features - done
-- Detecting CXX compiler ABI info
-- Detecting CXX compiler ABI info - done
-- Check for working CXX compiler: D:/mingw64/bin/c++.exe - skipped
-- Detecting CXX compile features
-- Detecting CXX compile features - done
-- Configuring done (11.2s)
-- Generating done (0.0s)
-- Build files have been written to: D:/cmaketest/cmake/build
D:\cmaketest\cmake\build 的目录执行编译之后内容:
2025/12/06 22:34 <DIR> .
2025/12/06 22:09 <DIR> ..
2025/12/06 22:34 16,645 CMakeCache.txt
2025/12/06 22:34 <DIR> CMakeFiles
2025/12/06 22:34 2,018 cmake_install.cmake
2025/12/06 22:34 5,691 Makefile #产生了Makefile文件
3 个文件 24,354 字节
3 个目录 601,061,015,552 可用字节
D:\cmaketest\cmake\build>make
[ 50%] Building C object CMakeFiles/main.dir/src/main.c.obj
[100%] Linking C executable main.exe
[100%] Built target main
会生成一个CMakeFiles目录,放置大量之前方式产生的内容,同时当前build目录下会生成main.exe,目录结构内容也比较清爽
D:\cmaketest\cmake\build>main.exe
I am aozhejin
Makefile文件内容
# CMAKE generated file: DO NOT EDIT!
# Generated by "Unix Makefiles" Generator, CMake Version 4.2
# Default target executed when no arguments are given to make.
default_target: all
.PHONY : default_target

# Allow only one "make -f Makefile2" at a time, but pass parallelism.
.NOTPARALLEL:
#=============================================================================
# Special targets provided by cmake.

# Disable implicit rules so canonical targets will work.
.SUFFIXES:

# Disable VCS-based implicit rules.
% : %,v

# Disable VCS-based implicit rules.
% : RCS/%

# Disable VCS-based implicit rules.
% : RCS/%,v

# Disable VCS-based implicit rules.
% : SCCS/s.%

# Disable VCS-based implicit rules.
% : s.%

.SUFFIXES: .hpux_make_needs_suffix_list

# Command-line flag to silence nested $(MAKE).
$(VERBOSE)MAKESILENT = -s

#Suppress display of executed commands.
$(VERBOSE).SILENT:

# A target that is always out of date.
cmake_force:
.PHONY : cmake_force
.... 下面略
2、样例2
目录结构如下
adder3
├── build
├── CMakeLists.txt
├── main.cpp
└── math
    ├── cit.cpp
    ├── cit.h
    └── CMakeLists.txt
文件如下
1.编写main.cpp
#include "cit.h"
#include <iostream>
int main()
{
    std::cout << "2 -1  = "
              << sub(2, 1)
              << std::endl;
}
2.编写CMakeLists.txt(项目根目录下)
# 最低的 CMake 版本要求
cmake_minimum_required(VERSION 4.2.0)
# 项目名
project(cit)
# 添加math子目录
add_subdirectory(math)
# 获取目录下所有源文件
aux_source_directory(. SRC_LIST)
# 添加可执行文件
add_executable(cit ${SRC_LIST})
# 指定目标要链接的库
target_link_libraries(cit math)
# 指定在编译给定目标时要使用到的 include 目录
target_include_directories(adder PUBLIC
                          "${PROJECT_SOURCE_DIR}/math"
                          )

3.编写头文件
#ifndef CIT_H
#define CIT_H
double sub(double a, double b);
#endif

4.编写sub实现cit.cpp
double sub(double a, double b)
{
    return a - b;
}

5.编写math目录下的CMakeLists.txt
# 获取目录下的所有源文件
aux_source_directory(. MATH_SRC_LIST)
# 添加一个库
add_library(math ${MATH_SRC_LIST})
编译过程
D:\cmaketest\cit\build>cmake ../
-- Building for: Visual Studio 17 2022
-- The C compiler identification is MSVC 19.44.35221.0
-- The CXX compiler identification is MSVC 19.44.35221.0
-- Detecting C compiler ABI info
-- Detecting C compiler ABI info - done
-- Check for working C compiler: C:/Program Files (x86)/Microsoft Visual Studio/2022/BuildTools/VC/Tools/MSVC/14.44.35207/bin/Hostx64/x64/cl.exe - skipped
-- Detecting C compile features
-- Detecting C compile features - done
-- Detecting CXX compiler ABI info
-- Detecting CXX compiler ABI info - done
-- Check for working CXX compiler: C:/Program Files (x86)/Microsoft Visual Studio/2022/BuildTools/VC/Tools/MSVC/14.44.35207/bin/Hostx64/x64/cl.exe - skipped
-- Detecting CXX compile features
-- Detecting CXX compile features - done
-- Configuring done (6.3s)
-- Generating done (0.0s)
-- Build files have been written to: D:/cmaketest/cit/build

D:\cmaketest\cit\build>cmake --build .
适用于 .NET Framework MSBuild 版本 17.14.23+b0019275e

  1>Checking Build System
  Building Custom Rule D:/cmaketest/cit/math/CMakeLists.txt
  cit.cpp
  math.vcxproj -> D:\cmaketest\cit\build\math\Debug\math.lib
  Building Custom Rule D:/cmaketest/cit/CMakeLists.txt
  main.cpp
  cit.vcxproj -> D:\cmaketest\cit\build\Debug\cit.exe
  Building Custom Rule D:/cmaketest/cit/CMakeLists.txt

D:\cmaketest\cit\build>cd Debug

D:\cmaketest\cit\build\Debug>cit
2 -1  = 1
三、用CMake 生成nmake 的makefile(windows风格)
前提你需要安装 Microsoft Visual C++ 14.0,我已安装在 C:\Program Files (x86)\Microsoft Visual Studio 14.0\VC\bin\nmake ,注意
Glenn Fowler 的nmake 与同名的 Microsoft nmake无关。它的输入类似于 Make,但不兼容。该程序提供快捷方式和内置功能,根据其开发人员的说法,这些功能可将 makefile 的大小减少 10 倍。微软的 nmake,一个命令行工具,通常是Visual Studio . 它支持预处理器指令,例如包含和条件表达式,这些指令使用在命令行或 makefile 中设置的变量。推理规则不同于 Make;例如,它们可以包含搜索路径。随Embarcadero产品提供的 Make 工具有一个命令行选项“使 MAKE 模仿微软的 NMAKE”。 Qt Project的Jom工具是 nmake 的克隆。
1.目录结构
nmaketest/
├── CMakeLists.txt
└── src/
    └── main.c
2.main.c同上
3.CMakeLists.txt 有变化,要依据nmake规则,来生成makefile文件
cmake_minimum_required(VERSION 4.2.0)
project(nmaketest)
set(CMAKE_CXX_STANDARD 11)
add_executable(nmaketest src/main.c)
这时候需要设置
把下面加入到环境变量PATH中
C:\Program Files (x86)\Microsoft Visual Studio 14.0\VC\bin (bin目录下会有nmake.exe)
让编译的时候可以使用nmake程序
生成NMake的Makefile。
D:\cmaketest\nmaketest\build>cmake .. -G "NMake Makefiles" -B build
-- The C compiler identification is MSVC 19.0.24247.2
-- The CXX compiler identification is MSVC 19.0.24247.2
-- Detecting C compiler ABI info
-- Detecting C compiler ABI info - failed
-- Check for working C compiler: C:/Program Files (x86)/Microsoft Visual Studio 14.0/VC/bin/cl.exe
-- Check for working C compiler: C:/Program Files (x86)/Microsoft Visual Studio 14.0/VC/bin/cl.exe - broken
三、visual-cpp-build-tools
如果不想安装完整的visual studio,可以选择只安装build tools在命令行下进行编译等操作, 那么你可以使用Visual Studio 生成工具提供在 IDE 之外的 Windows 上构建 C++ 项目所需的核心组件,非常适合命令行工作流和持续集成管道。
这包括 Visual Studio 2015 及更高版本中提供的最新工具: Microsoft C++ (MSVC)编译器和链接器、标准库、ATL 和 MFC、Windows SDK、适用于 Windows 的 Clang 工具、AddressSanitizer 以及 vcpkg 包管理器
https://visualstudio.microsoft.com/zh-hans/visual-cpp-build-tools/
点击 下载 生成工具
四、Microsoft Visual C++ 14.0
Microsoft Visual C++ 14.0是由微软提供的Windows平台C++开发工具,包含编译器、标准库及多种开发组件,支持C++应用程序的构建与运行。 该压缩包包含完整的安装文件及运行库,适用于开发环境搭建以及Python等依赖C++编译的库安装
Microsoft Visual C++ 14.0 or greater 是由微软提供的一种软件开发工具包(SDK),用于在 Windows 操作系统上构建运行应用程序。它包含一组全面的库、头文件和工具,可以帮助开发人员创建高性能、可靠、安全的软件应用程序。
所需的 Microsoft Visual C++ 14.0 版本号可能因应用程序或软件的开发而有所不同。然而,通常认为使用 C++ 语言开发 Windows 桌面应用程序的最小版本为 14.0。
开发人员可以从微软网站下载 Microsoft Visual C++ 14.0 SDK 并在其计算机上安装它,以便在其开发项目中使用它。
本地已安装: C:\Program Files (x86)\Microsoft Visual Studio 14.0\VC\bin

 浙公网安备 33010602011771号