Java SpringBoot 图片转PDF示例
一个SpringBoot工程里面用到了第三方签章服务,支持PDF多页盖章,用户上传的是多张图片格式的文件,所以需要将图片转成PDF。
用了几个扩展包,出现过版本不兼容、转完的PDF带水印、还有操作复杂的。 最后借助 aspose-pdf 这个扩展包实现了,这里记录一下简单的 Demo。
pom.xml 文件引入 aspose-pdf 依赖
<dependencies>
  ...
  <dependency>
      <groupId>com.luhuiguo</groupId>
      <artifactId>aspose-pdf</artifactId>
      <version>23.1</version>
  </dependency>
  ...
 </dependencies>
创建一个 FileUtils 工具类文件 FileUtils.java
package com.cnblog.imgtopdf.util;

import com.aspose.pdf.Document;
import com.aspose.pdf.Image;
import com.aspose.pdf.Page;
import com.aspose.pdf.Rectangle;
import lombok.extern.slf4j.Slf4j;

import java.io.*;
import java.net.URL;

@Slf4j
public class FileUtils {

    /**
     * 根据文件路径获取文件
     * @param filePath 文件路径
     * @return File
     */
    public static File getFileByPath(String filePath) {
        log.info("------------开始获取图片文件------------");
        // 拆分路径,获取文件后缀名
        String[] split = filePath.substring(filePath.lastIndexOf("/") + 1).split("\\.");

        File file = null;
        URL url;
        InputStream inStream = null;
        OutputStream os = null;
        try {
            // 创建临时文件,使用路径名称和路径后缀名
            file = File.createTempFile(split[0], "." + split[1]);
            url = new URL(filePath);
            inStream = url.openStream();
            os = new FileOutputStream(file);

            int bytesRead;
            int byteSize = 1024 * 528;
            byte[] buffer = new byte[byteSize];
            // 写入文件
            while ((bytesRead = inStream.read(buffer, 0, byteSize)) != -1) {
                os.write(buffer, 0, bytesRead);
            }
            log.info("------------获取图片文件完成------------");
        } catch (Exception e) {
            e.printStackTrace();
        } finally {
            try {
                if (null != os) {
                    os.close();
                }
                if (null != inStream) {
                    inStream.close();
                }

            } catch (Exception e) {
                e.printStackTrace();
            }
        }
        return file;
    }

    /**
     * 图片转PDF
     * @param file 图片文件
     * @return File PDF文件
     */
    public static File imgToPdfFile(File file) {
        log.info("------------开始执行图片转PDF------------");
        // 获取classpath,还可使用临时文件夹
        String pdfPath = ClassLoader.getSystemResource("").getPath();
        String pdfName = "demo.pdf";
        try {
            String pdfFilePath = pdfPath + pdfName;
            // 创建一个新文档
            Document doc  = new Document();
            // 将页面添加到文档的页面集合
            Page page = doc.getPages().add();
            // 将图像加载到流中
            java.io.FileInputStream imageStream = new java.io.FileInputStream(file.getPath());
            // 设置边距,以便图像适合等。
            page.getPageInfo().getMargin().setBottom(0);
            page.getPageInfo().getMargin().setTop(200);
            page.getPageInfo().getMargin().setLeft(200);
            page.getPageInfo().getMargin().setRight(0);
            page.setCropBox(new Rectangle(0, 0, 595, 842));
            // 创建图像对象
            Image image1 = new Image();
            // 将图像添加到该部分的段落集合中
            page.getParagraphs().add(image1);
            // 设置图片文件流
            image1.setImageStream(imageStream);
            // 保存生成的 PDF 文件
            doc.save(pdfFilePath);
            //输出流
            File mOutputPdfFile = new File(pdfFilePath);
            // 判断临时文件否存在,如果存在可选择删除
            if (!mOutputPdfFile.exists()) {
                mOutputPdfFile.deleteOnExit();
                return null;
            }
            doc.close();
            log.info("------------图片转PDF执行完成------------");
            return mOutputPdfFile;
        } catch (IOException e) {
            log.error("图片转PDF失败:file:{}, error:{}", file.getPath(), e.getMessage());
        }
        return null;
    }
}
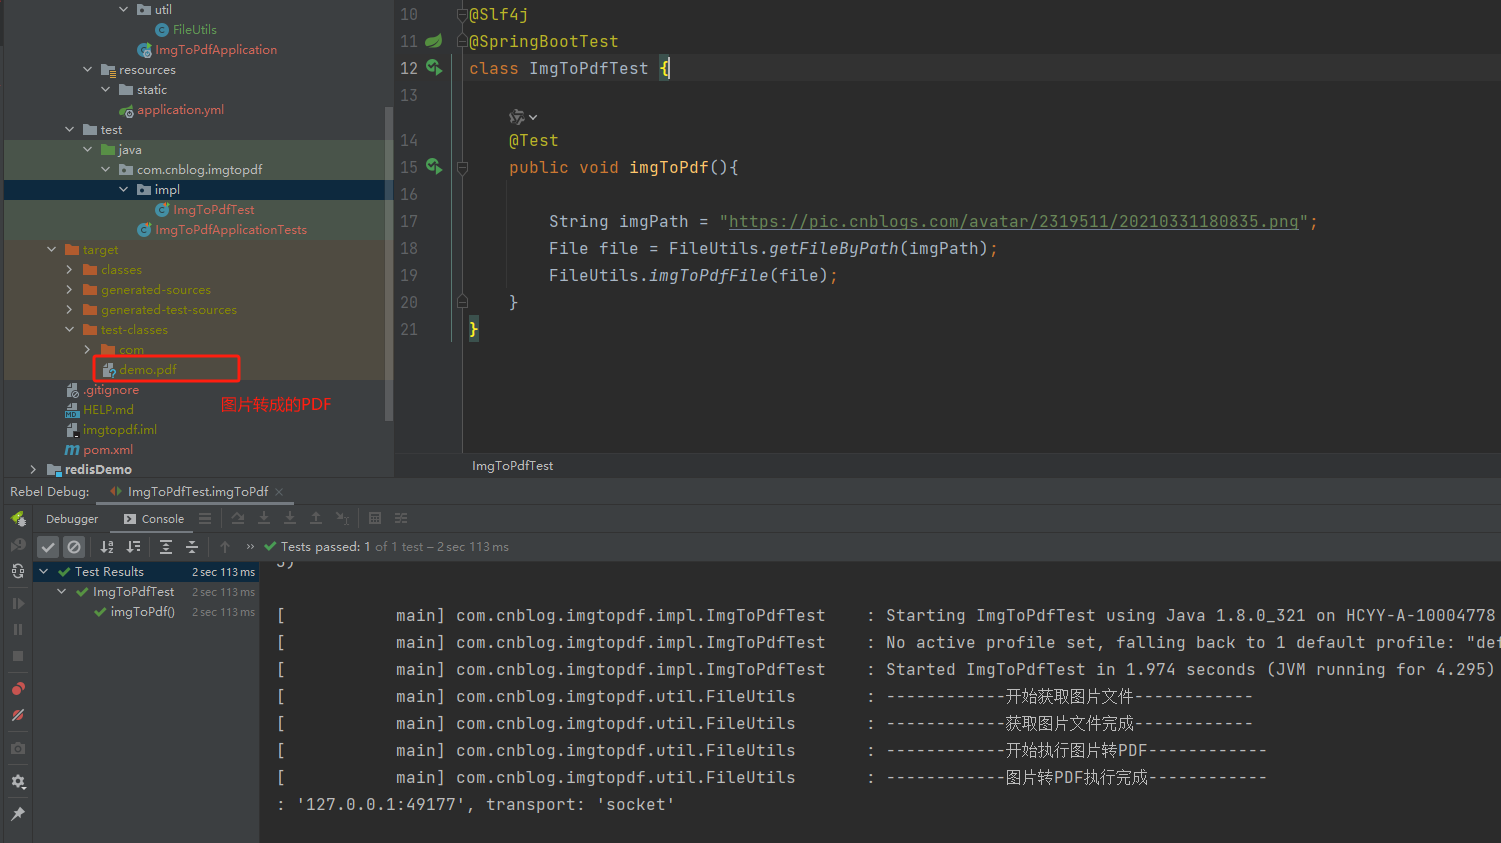
最后写一个测试类 ImgToPdfTest ,用这个博客的头像试试效果:
package com.cnblog.imgtopdf.impl;

import com.cnblog.imgtopdf.util.FileUtils;
import lombok.extern.slf4j.Slf4j;
import org.junit.jupiter.api.Test;
import org.springframework.boot.test.context.SpringBootTest;

import java.io.File;

@Slf4j
@SpringBootTest
class ImgToPdfTest {

    @Test
    public void imgToPdf(){

        String imgPath = "https://pic.cnblogs.com/avatar/2319511/20210331180835.png";
        File file = FileUtils.getFileByPath(imgPath);
        FileUtils.imgToPdfFile(file);
    }
}
执行结果及文件位置:
预览转换完成的PDF文件:
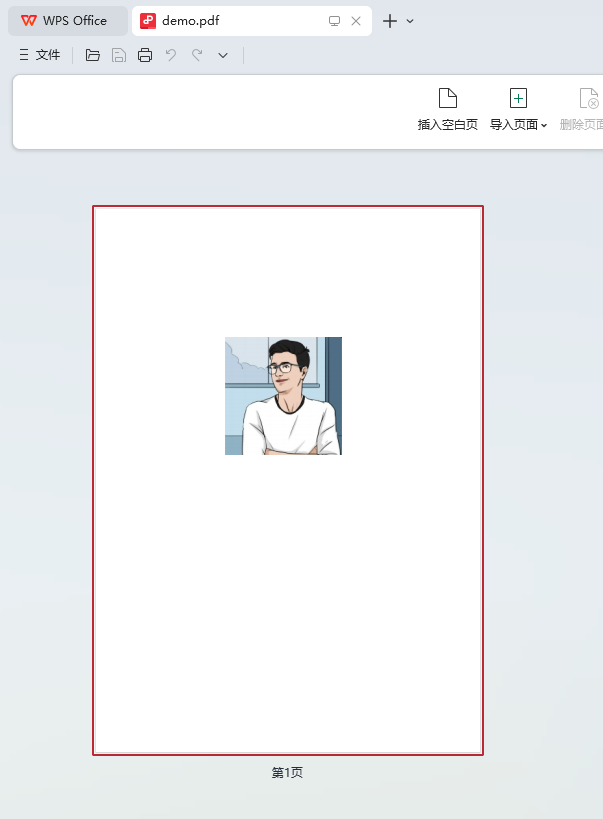
还可以根据需求设置不一样的转换参数,包括间距,画布大小等。
本篇代码Github:https://github.com/Journeyerr/cnblogs/tree/master/imgToPdf

 浙公网安备 33010602011771号