springboot apollo idea启动
1、添加依赖
<dependency>
<groupId>com.ctrip.framework.apollo</groupId>
<artifactId>apollo-client</artifactId>
<version>1.4.0</version>
</dependency>
2、Apollo创建新项目
3、Apollo不同的环境添加两个公共配置(developer-config //开发公共配置,yunwei-config //运维公共配置)
4、根据代码里面的不同环境对应的不同配置添加到对应环境的Apollo的application上进行发布
启动参数一:
-Dapollo.meta=http://test-apollo-config-service.abc.com:8091/  【获取测试环境的apollo配置】
-Dapollo.bootstrap.enabled=true
-Dapollo.bootstrap.eagerLoad.enabled=true
-Dapp.id=应用名(在apollo上的)
-Dapollo.cluster=default
-Dapollo.bootstrap.namespaces=application,developer-config,yunwei-config
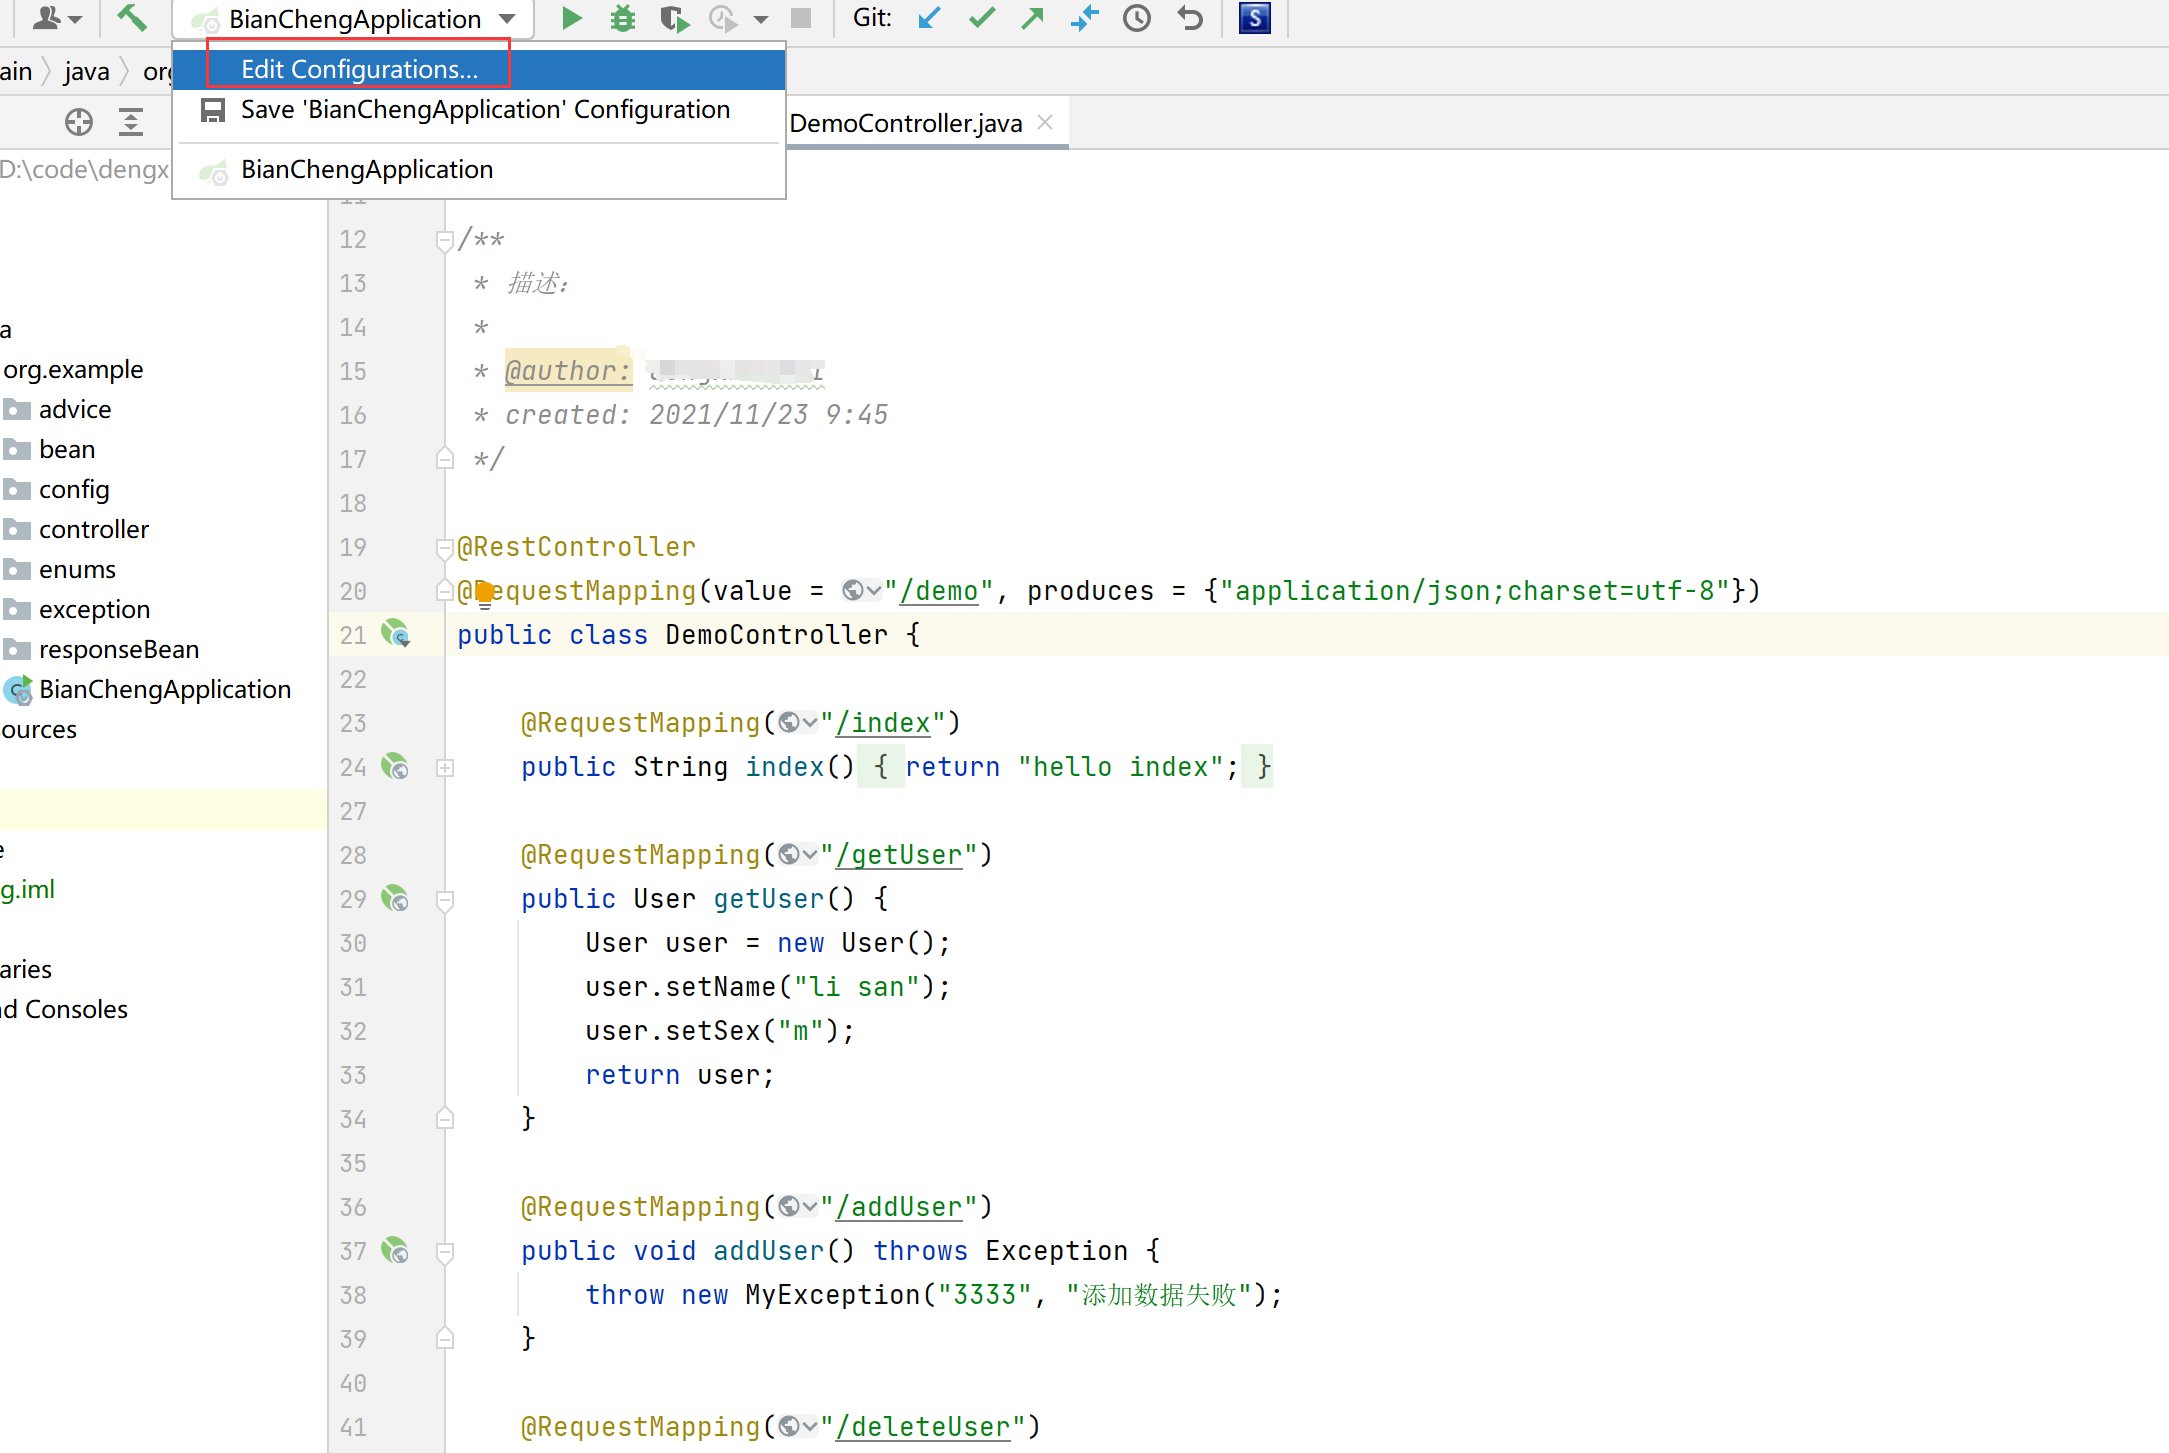
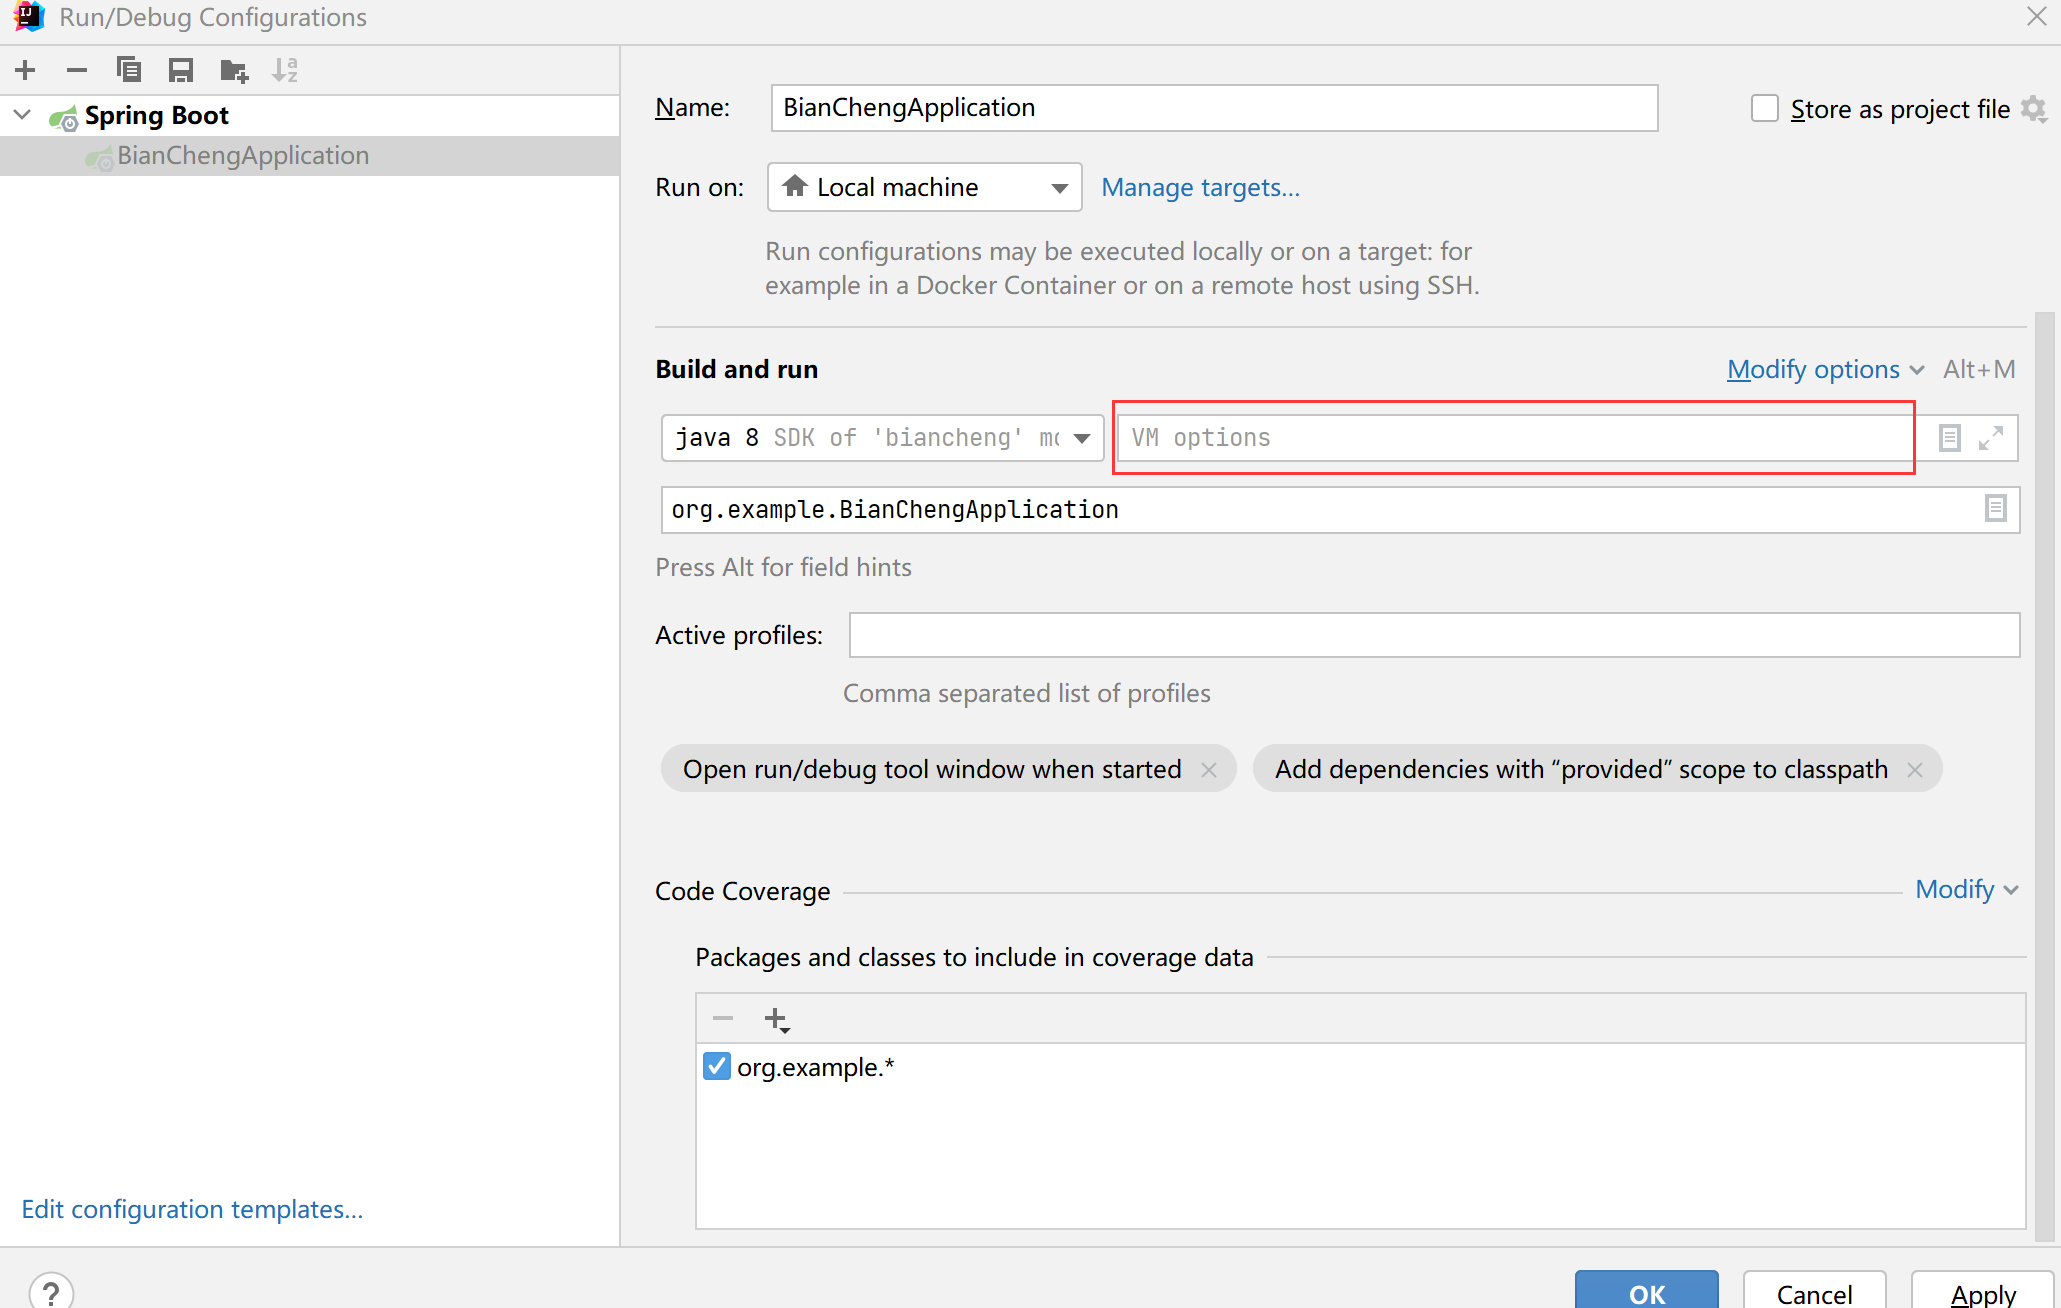
启动参数二:  在idea 里Edit Configurations里VM options 加上启动参数

-Dapp.id=xxx-service -Dapollo.meta=http://test-apollo-config-service.xxx.com:8091 -Dapollo.bootstrap.enabled=true -Dapollo.bootstrap.eagerLoad.enabled=true -Dapollo.cluster=default -Dapollo.logback.enabled=true -Dapollo.bootstrap.namespaces=application,developer-public-config,yunwei-public-config

 浙公网安备 33010602011771号