从0开始搭建基于Hugo的博客(MemE主题)
1. 安装Hugo
sudo apt install hugo
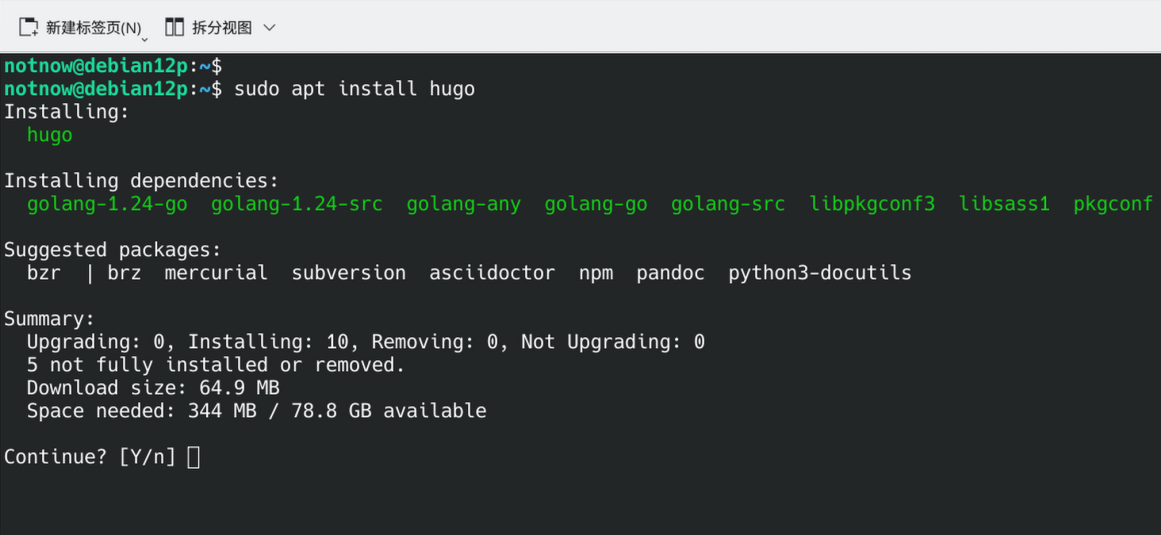
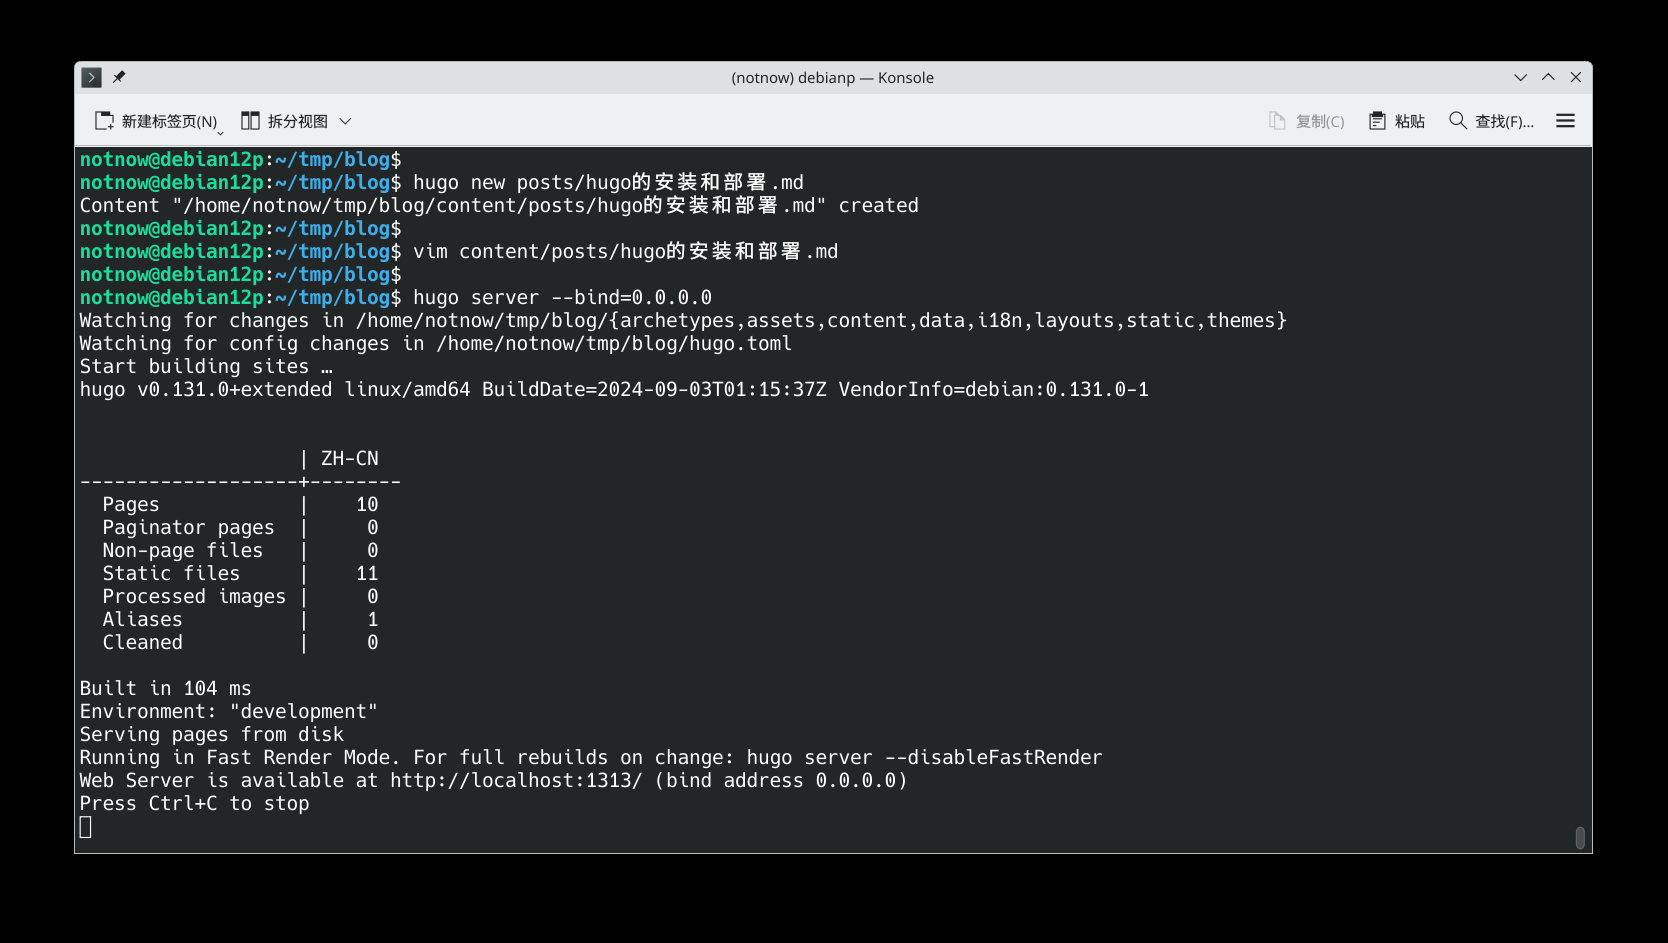
安装完如图:
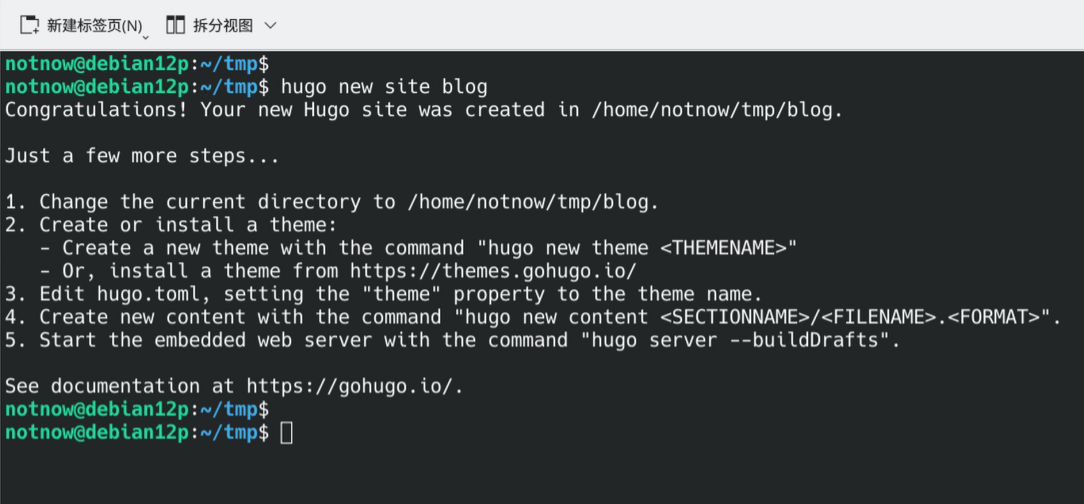
2. 创建新项目
hugo new site blog
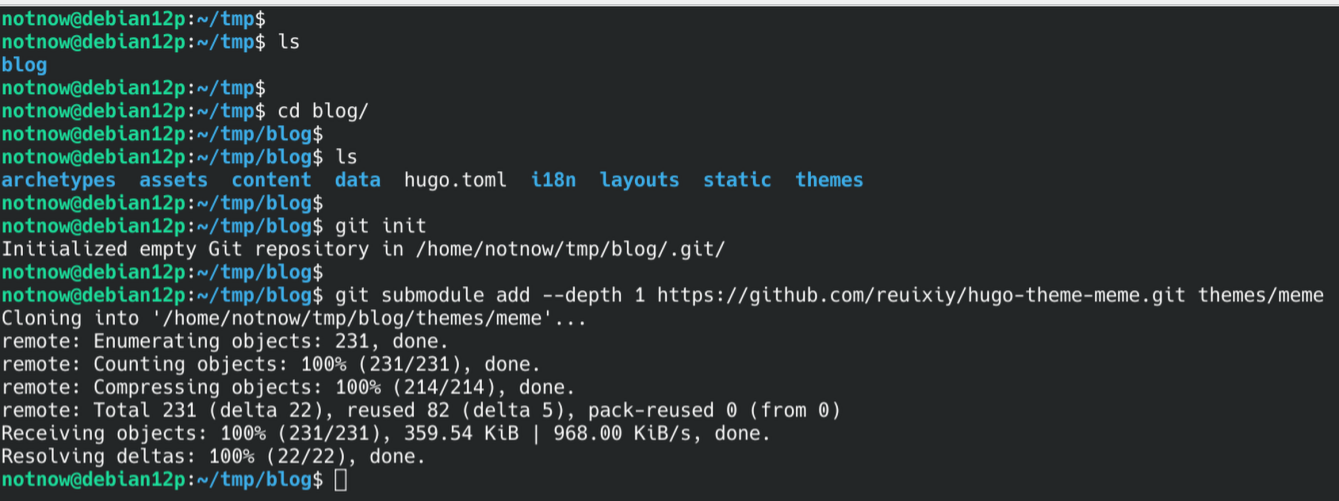
3. 安装 MemE 主题
- 进入到项目目录,添加MemE子模块。
cd blog
git init
git submodule add --depth 1 https://github.com/reuixiy/hugo-theme-meme.git themes/meme
- 拷贝主题配置文件覆盖默认hugo配置文件
rm hugo.toml
cp themes/meme/config-examples/zh-cn/config.toml hugo.toml

4. 启动站点并测试
# 默认地址是 localhost:1313
# 如果想用其他电脑访问就把地址绑定在 0.0.0.0
hugo server --bind=0.0.0.0
5. 新建博文
hugo new posts/hugo的安装和部署.md
# 然后编辑这个markdown文件,保存即可。
博文内容如下:
+++
title = 'hugo的安装和部署'
date = 2025-04-29T21:32:44+08:00
draft = false
+++
1. 安装 Hugo
bash sudo apt install hugo
2. 创建新项目
bash hugo new site blog
3. 安装 MemE 主题
bash cd blog git init git submodule add --depth 1 https://github.com/reuixiy/hugo-theme-meme.git themes/meme
使用 MemE 主题的配置文件
bash rm hugo.toml cp themes/meme/config-examples/zh-cn/config.toml hugo.toml
4. 启动站点并测试
bash hugo server --bind=0.0.0.0
5. 发布新博文
bash hugo new post/hugo安装和部署.md
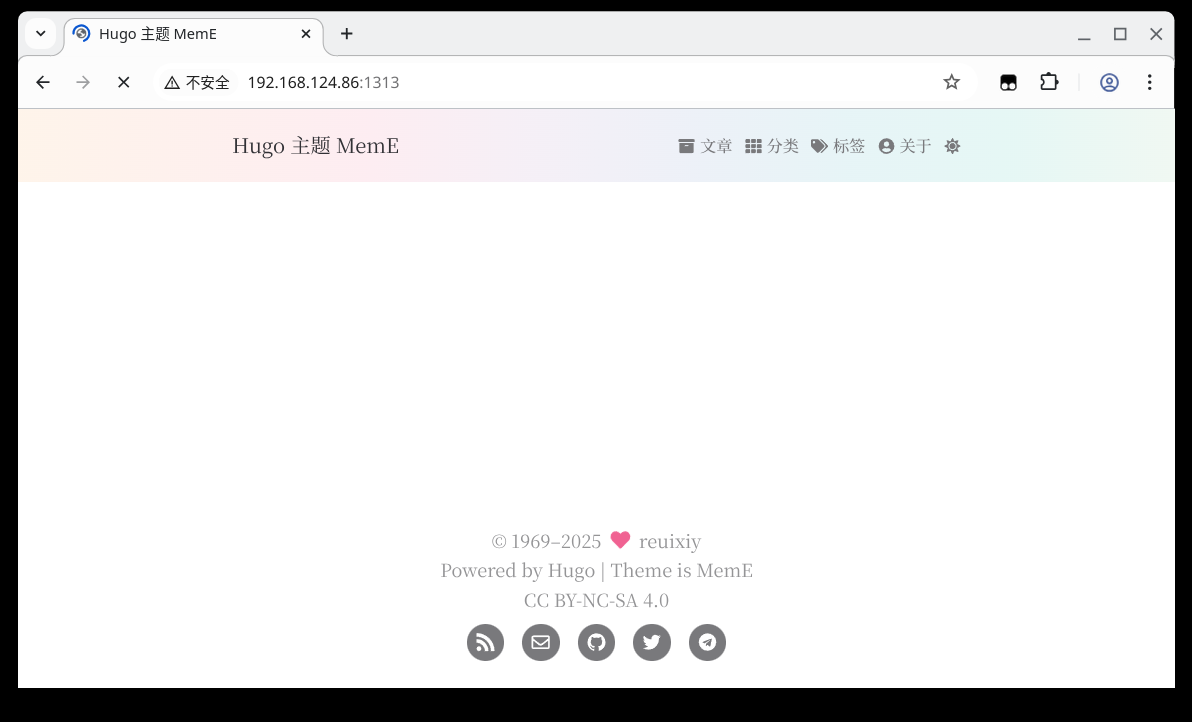
主页如图:
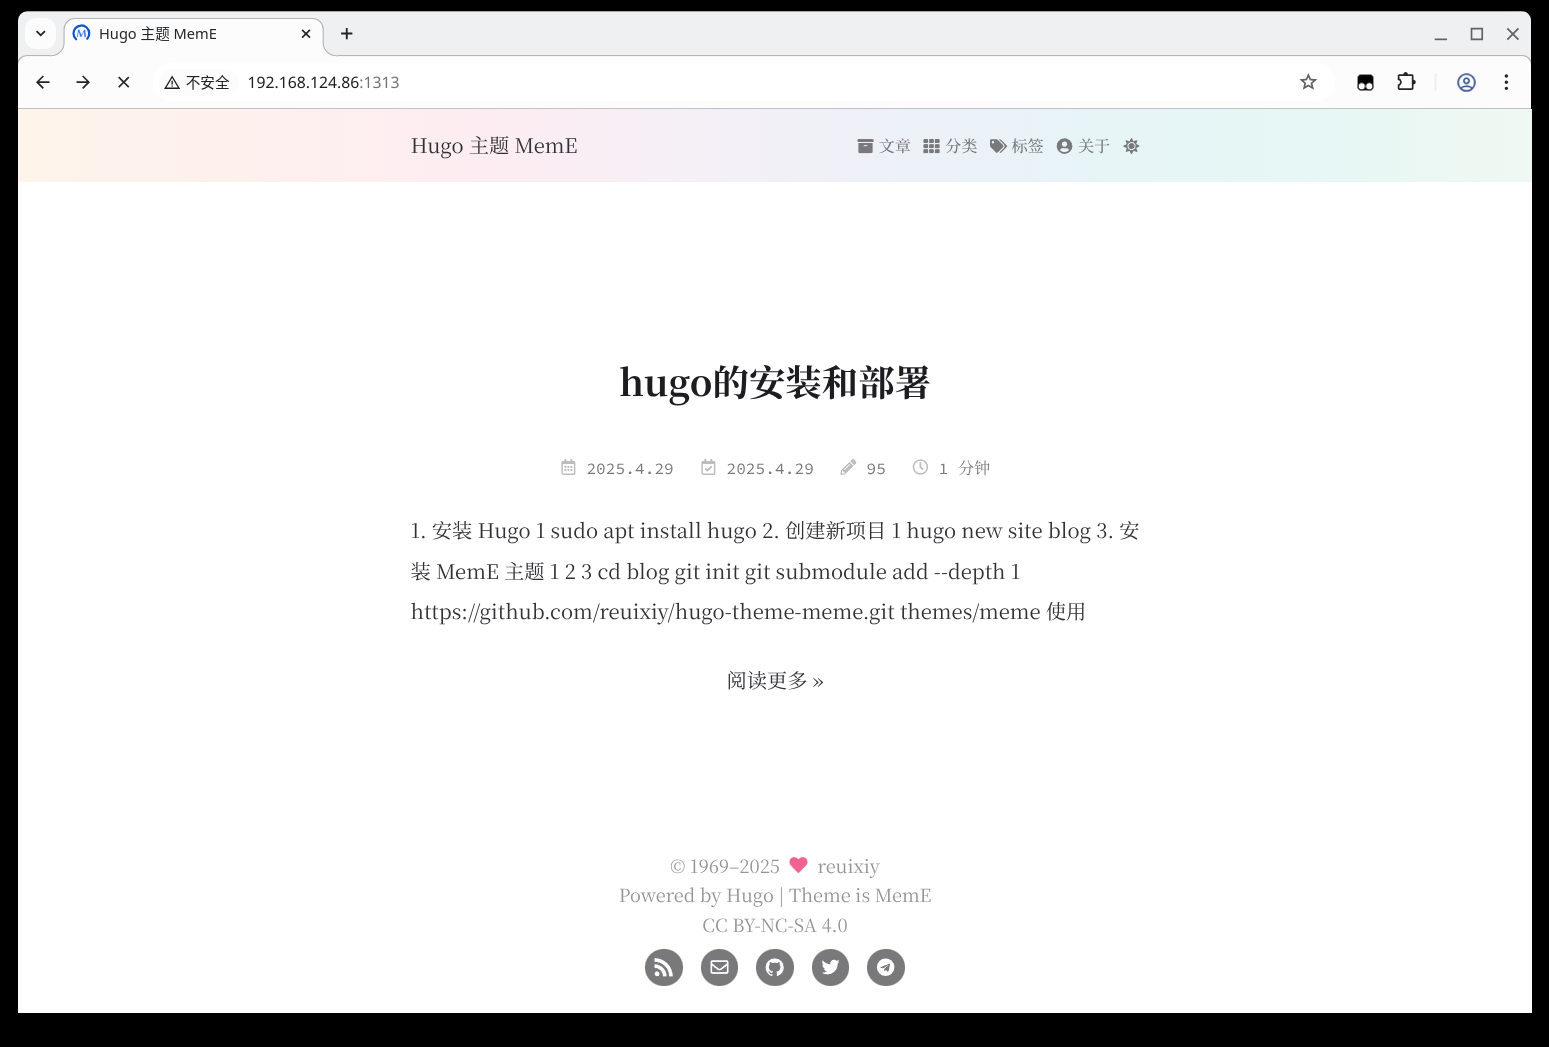
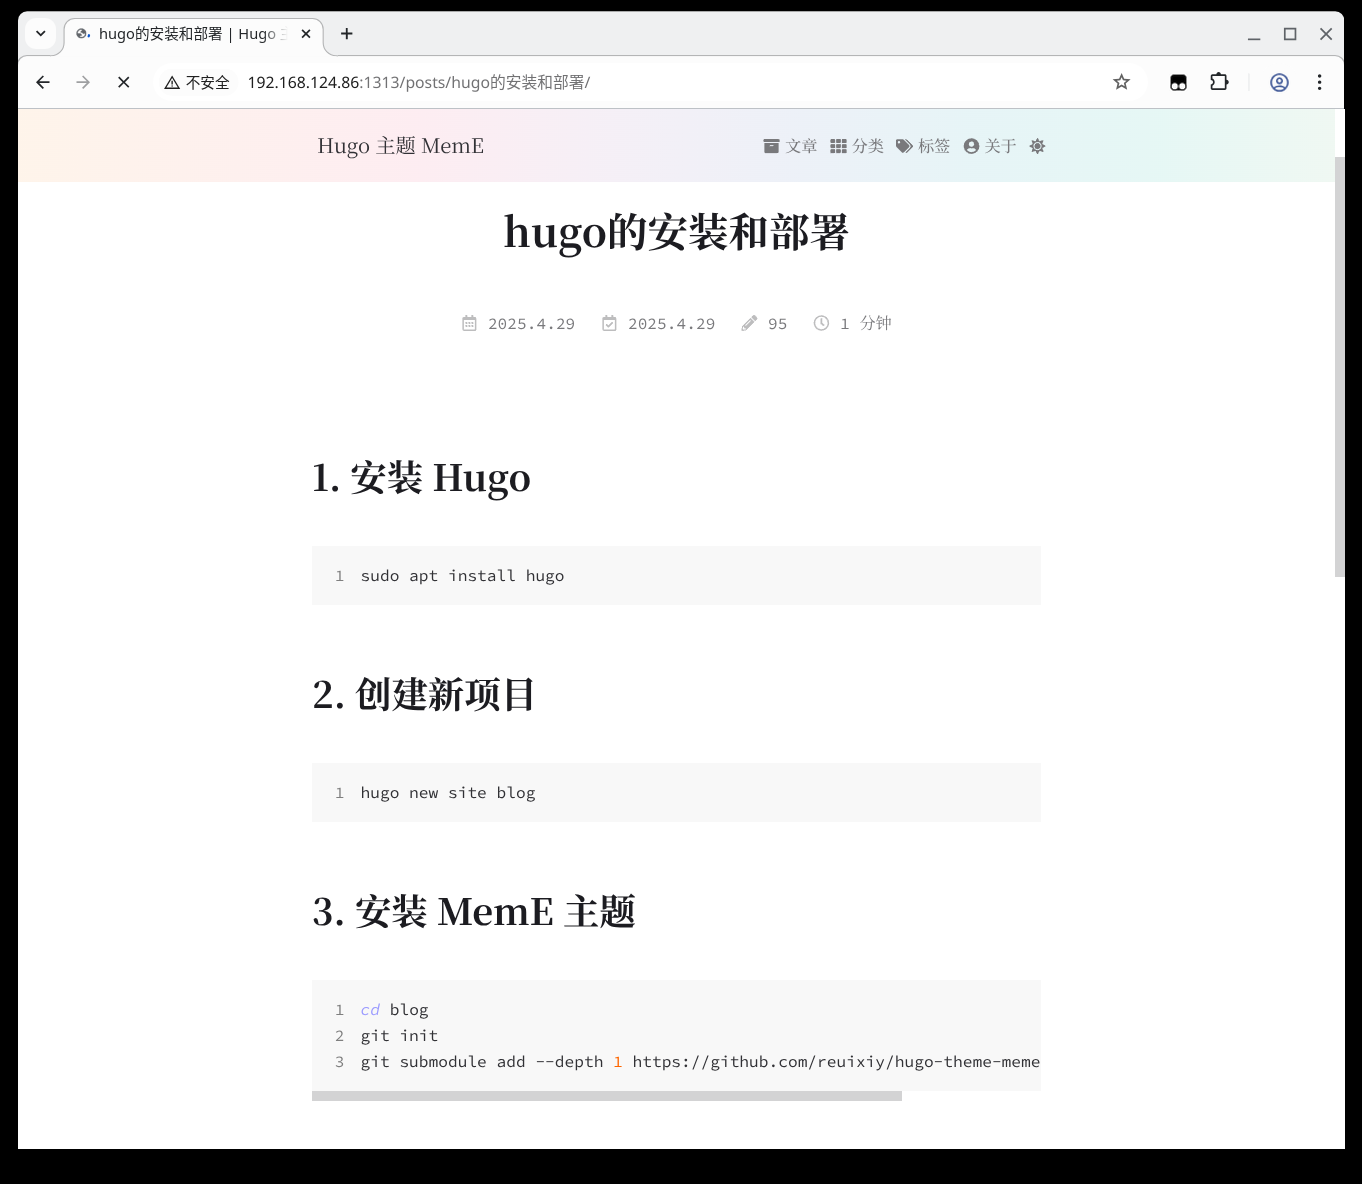
博文界面如图:
有了计划记得推动,不要原地踏步。

 浙公网安备 33010602011771号