Android 布局阴影实现

最近项目要求,ui有很多有关于阴影的设计要求,网上找了些实现方式,但都不是很理想。现在闲下来了,就寻思着自己写个阴影布局耍耍,以备后用。先说道说道我找到的几种阴影实现方式:

系统阴影

Andorid 系统自api 21之后就多了一个熟悉 android:elevation ,这是android最新引入的轴的概念,可通过设置elevation来设置阴影(z轴的大小),设置如下:

 1 <!-- base z depth of the view. -->
 2   <attr name="elevation" format="dimension" />
 3 
 4   <TextView
 5         android:id="@+id/shadow1"
 6         app:layout_constraintStart_toStartOf="parent"
 7         app:layout_constraintTop_toTopOf="parent"
 8         android:layout_marginStart="20dp"
 9         android:layout_marginTop="20dp"
10         android:text="系统阴影"
11         android:background="#fff"
12         android:gravity="center"
13         android:textSize="14sp"
14         android:textColor="@color/colorBlack"
15         android:layout_width="100dp"
16         android:elevation="3dp"
17         android:layout_height="80dp"/>


效果也是不错,可以完成一些简单的阴影设置效果。

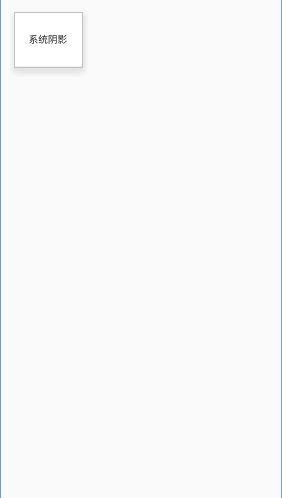
但需要注意些细节,不然 elevation 可能会无效:

  • 父布局要保留足够的空间,elevation本身不占有view的大小
  • 需要设置背景色且不可设置为透明色
  • 不能设置是否为扩散的还是指定方向的

layer-list 伪阴影

为什么说是伪阴影呢,layer-list本身很强大,器支持的层叠式绘制基本可以解决我们大多说的背景设计,对于一些要求不是很严格的阴影用它也不是不可以,但效果是真的不好,毕竟shape提供的层叠()并不支持模糊绘制(或者可以选择使用模糊背景图片绘制)。下面给一个用layer-list绘制的阴影做参考。

 1 <TextView
 2     android:id="@+id/shadow2"
 3     app:layout_constraintStart_toEndOf="@id/shadow1"
 4     app:layout_constraintTop_toTopOf="parent"
 5     android:layout_marginStart="50dp"
 6     android:layout_marginTop="20dp"
 7     android:text="layer-list阴影"
 8     android:gravity="center"
 9     android:background="@drawable/shadow_layer"
10     android:textSize="14sp"
11     android:textColor="@color/colorBlack"
12     android:layout_width="100dp"
13     android:layout_height="80dp"/>
14 
15 
16 
17 <!--shadow_layer.xml -->
18 <?xml version="1.0" encoding="utf-8"?>
19 <layer-list xmlns:android="http://schemas.android.com/apk/res/android">
20 
21     <item android:top="3dp"
22         android:left="3dp">
23         <shape android:shape="rectangle">
24             <solid android:color="#333333"/>
25             <gradient android:startColor="#80ff0000"
26                 android:type="radial"
27                 android:centerX="0.5"
28                 android:centerY="0.5"
29                 android:gradientRadius="30"
30                 android:endColor="#10ff0000"/>
31             <size android:width="100dp" android:height="80dp"/>
32         </shape>
33     </item>
34 
35     <item android:bottom="3dp"
36         android:right="3dp">
37         <shape android:shape="rectangle">
38             <solid android:color="#fff"/>
39             <size android:width="100dp" android:height="80dp"/>
40         </shape>
41     </item>
42 
43 </layer-list>


效果比较生硬,其本质就是颜色的渐变,如下:

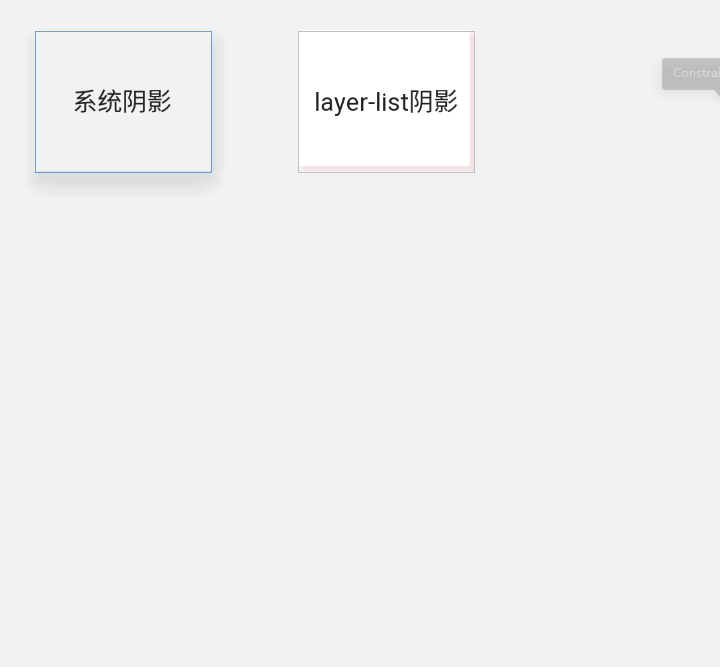
还有如让ui切阴影背景图,但由于控件大小规格差异较大,风格差异较大,并不推荐使用。

自定义阴影布局

这是我比较推荐的方式,可参考CardView的阴影实现自定义一个阴影布局实现。其实现是通过 setShadowLayer、setMaskFilter 实现。

1 //        mPaint.setShadowLayer(blurRadius,0,0,shadowColor);  
2         if (blurRadius>0){
3             mPaint.setMaskFilter(new BlurMaskFilter(blurRadius,BlurMaskFilter.Blur.NORMAL));
4         }


相较于 setShadowLayer 来说,setMaskFilter 可供选中的实现方式要多一个blur实现类型,效果更好些,所以我是通过使用 setMaskFilter 来实现自定义阴影布局。
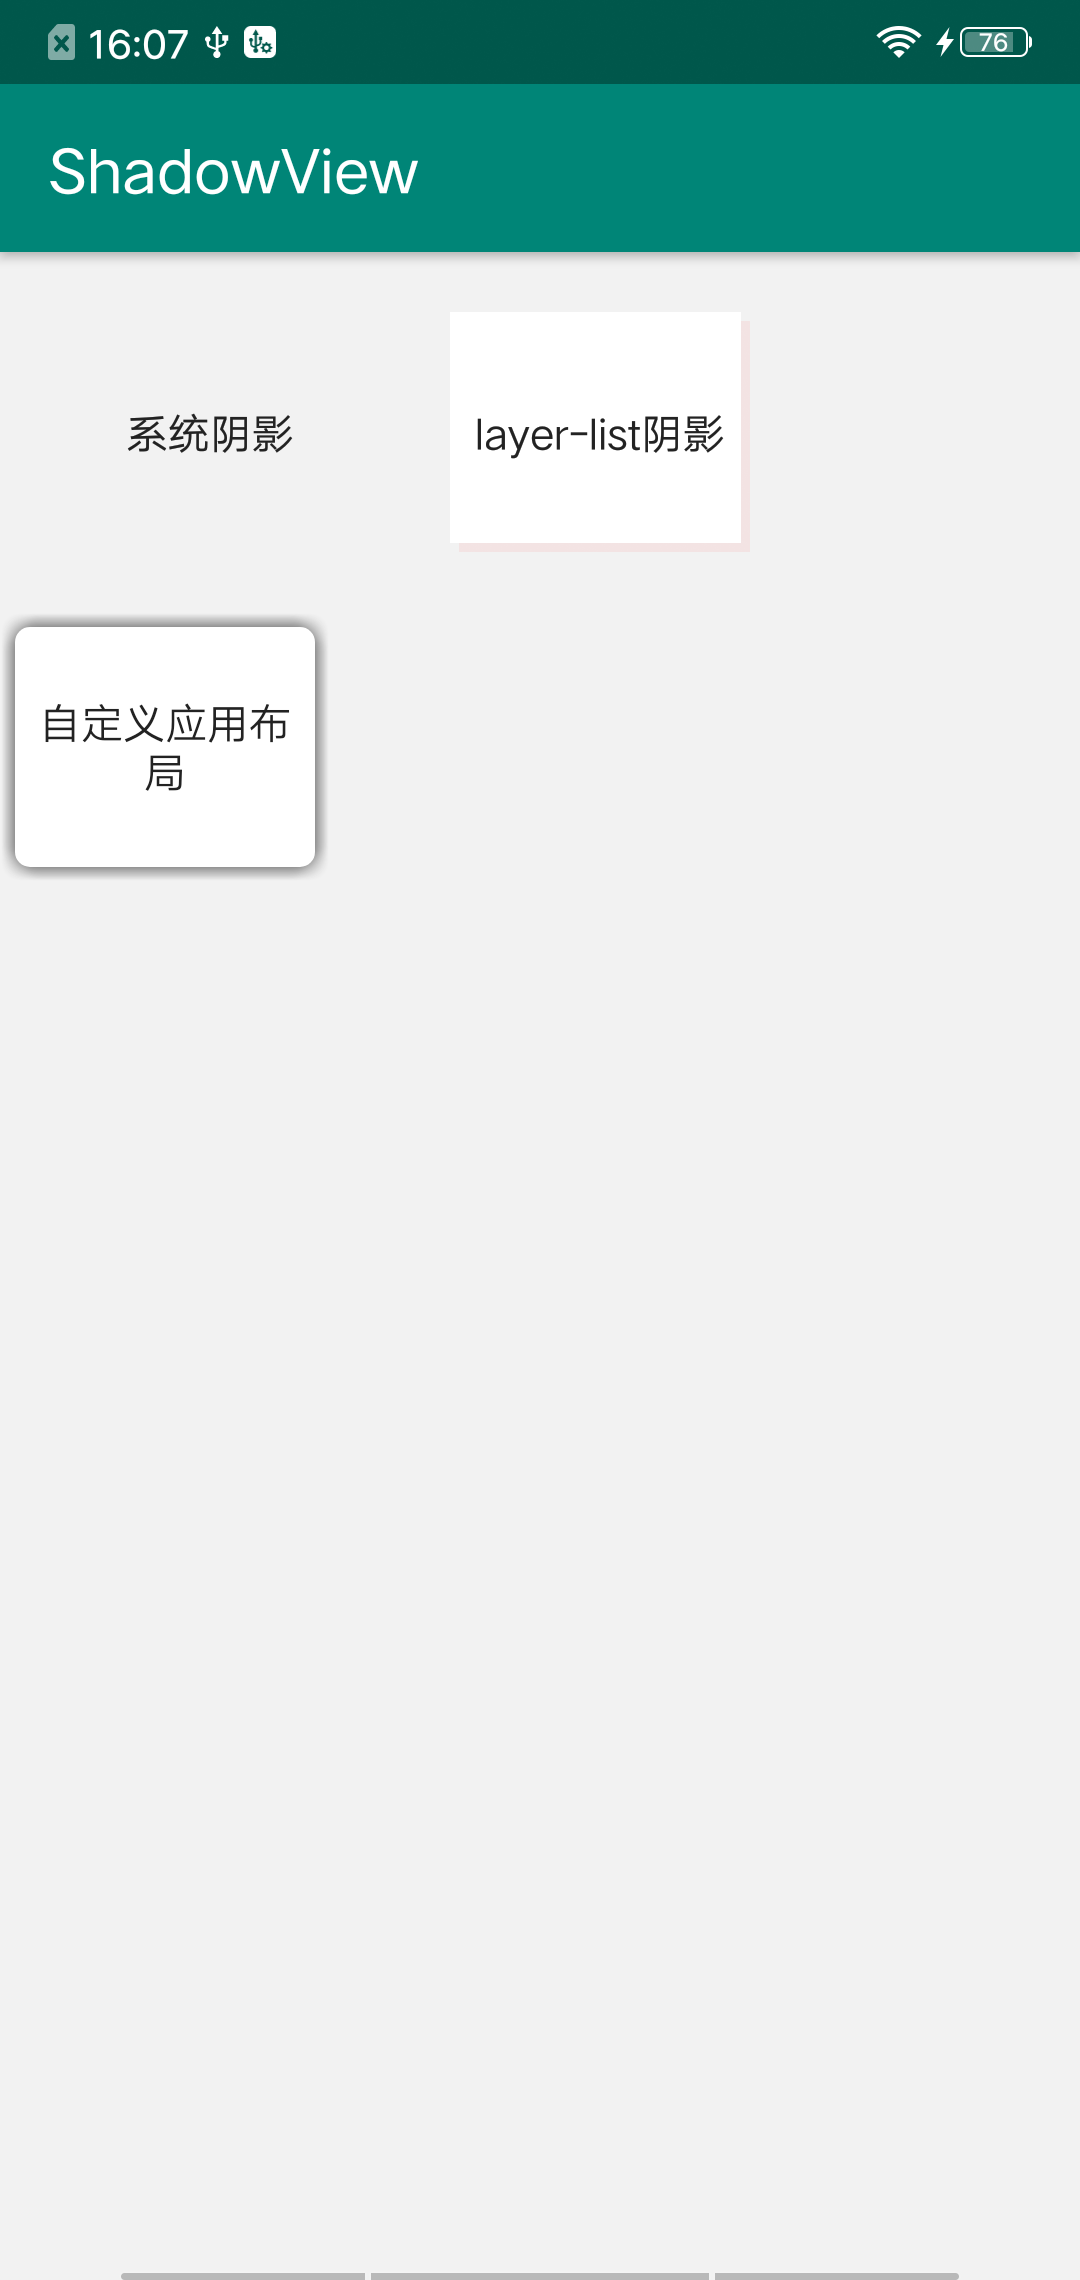

 1 <cn.enjoytoday.shadow.ShadowLayout
 2     android:id="@+id/shadow3"
 3     app:layout_constraintStart_toStartOf="parent"
 4     app:layout_constraintTop_toBottomOf="@id/shadow1"
 5     android:layout_marginTop="20dp"
 6     android:text=""
 7     app:shadowRadius="0dp"
 8     app:shadowColor="#333"
 9     app:blurRadius="5dp"
10     app:xOffset="0dp"
11     app:yOffset="0dp"
12     android:layout_marginStart="15dp"
13     android:gravity="center"
14     android:background="@drawable/shadow_layer"
15     android:textSize="14sp"
16     android:textColor="@color/colorBlack"
17     android:layout_width="wrap_content"
18     android:layout_height="wrap_content">
19 
20 
21     <TextView
22         android:padding="5dp"
23         android:text="自定义应用布局"
24         android:gravity="center"
25         android:textSize="14sp"
26         android:textColor="@color/colorBlack"
27         android:layout_width="100dp"
28         android:layout_height="80dp"/>
29 
30 </cn.enjoytoday.shadow.ShadowLayout>


使用

ShadowView 托管于GitHub, 仿照css的Box Shadow 的阴影实现效果设计实现,可通过设置水平、竖直偏移确认阴影方向,可设置模糊半径和圆角半径、阴影颜色等。可通过gradle直接依赖使用:

添加依赖

repositories {
    //...
    maven { url 'https://jitpack.io' }
}

dependencies {
    implementation 'com.github.amikoj:ShadowView:1.0.1'
}


xml中使用

 1   <cn.enjoytoday.shadow.ShadowLayout
 2         android:orientation="vertical"
 3         android:id="@+id/shadowLayout"
 4         app:layout_constraintBottom_toBottomOf="parent"
 5         app:layout_constraintLeft_toLeftOf="parent"
 6         app:layout_constraintRight_toRightOf="parent"
 7         app:layout_constraintTop_toTopOf="parent"
 8         android:gravity="center"
 9         app:shadowRadius="10dp"
10         app:shadowColor="#bebebe"
11         app:bgColor="#fff"
12         app:xOffset="10dp"
13         app:yOffset="0dp"
14         app:blurRadius="5dp"
15         android:layout_width="wrap_content"
16         android:layout_height="wrap_content">
17 
18    <!--嵌套需要添加阴影的布局 -->
19 
20     </cn.enjoytoday.shadow.ShadowLayout>


属性说明

属性名类型说明
shadowColor color 阴影渲染颜色
shadowRadius dimension 背景圆角半径(0为矩形)
blurRadius dimension 模糊半径
xOffset dimension 水平位移
yOffset dimension 竖直位移
bgColor color 背景色

代码设置

也可通过代码设置阴影属性:

1 shadowLayout.getShadowConfig()   //获取配置类
2             . setBlurRadius(blurRadius)  //设置模糊半径
3              .setXOffset(xoffset)   //设置水平位移,最大为20dp
4              .setYOffset(yoffset)   //设置竖直位移,最大为20dp
5              .setShadowRadius(shadowRadius) //设置圆角半径,为0时不是圆角
6              .setShadowColor(shadowColor)    //设置阴影颜色
7              .commit();             //生效修改


posted @ 2019-09-19 16:06  amiko  阅读(13620)  评论(0编辑  收藏  举报