

鸿蒙设备开发-环境搭建
说明
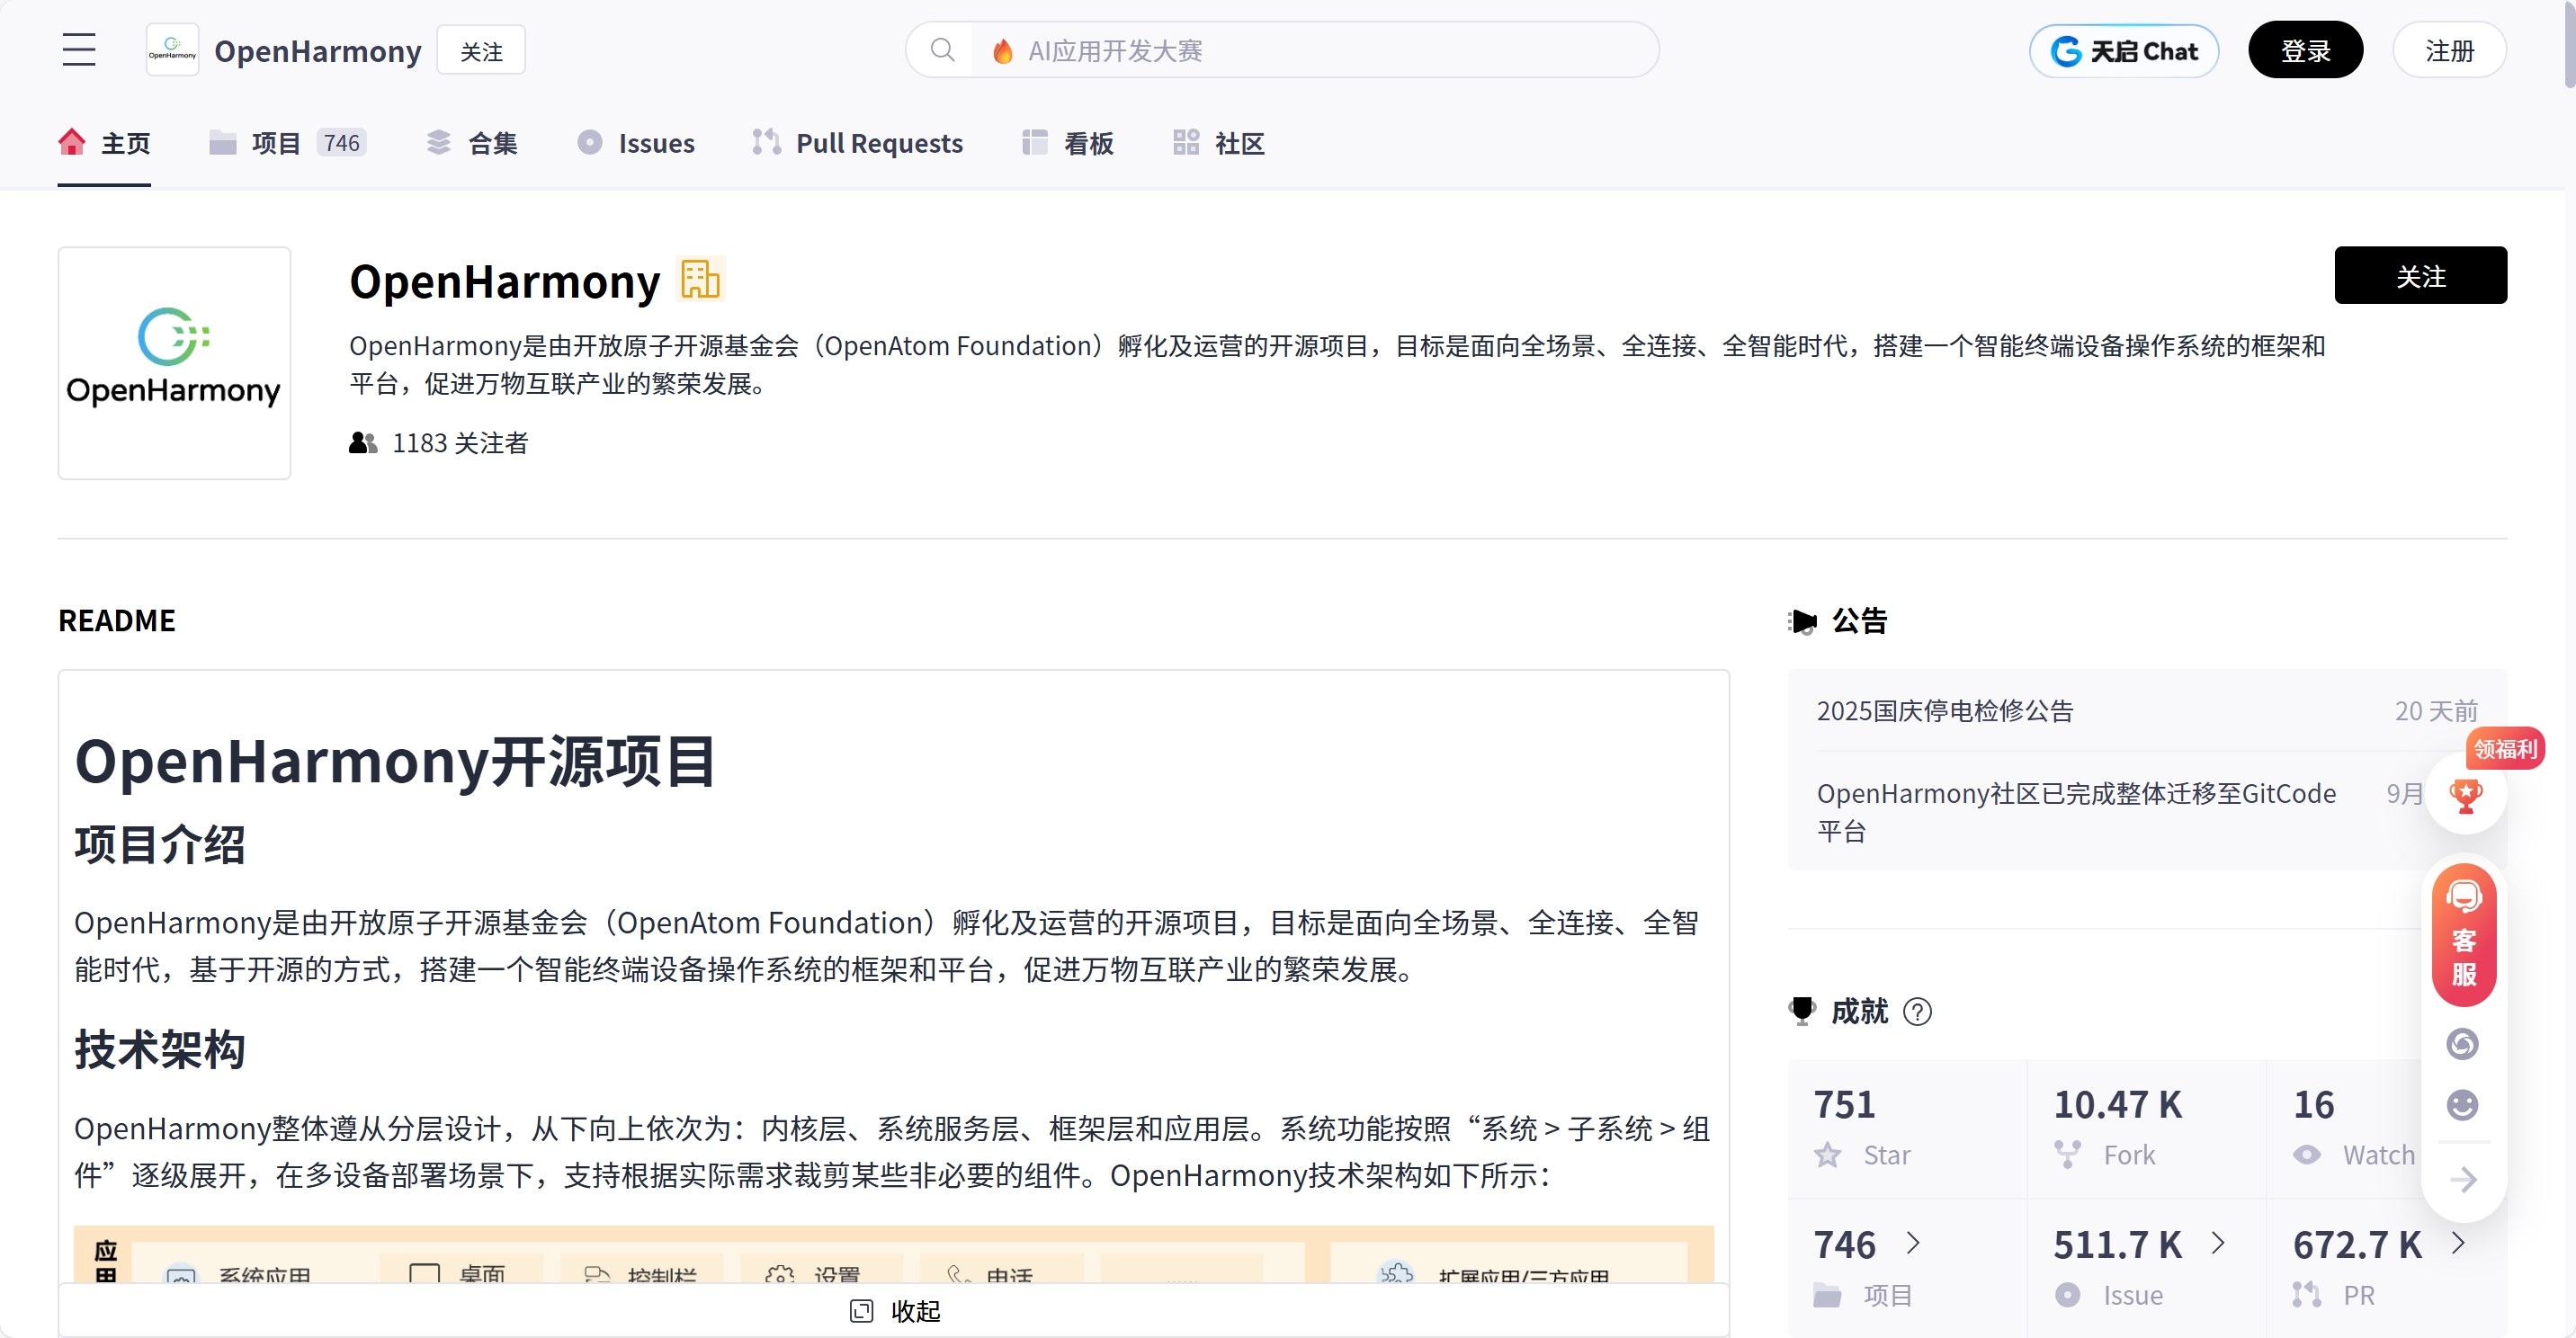
开源代码仓库 弃用了
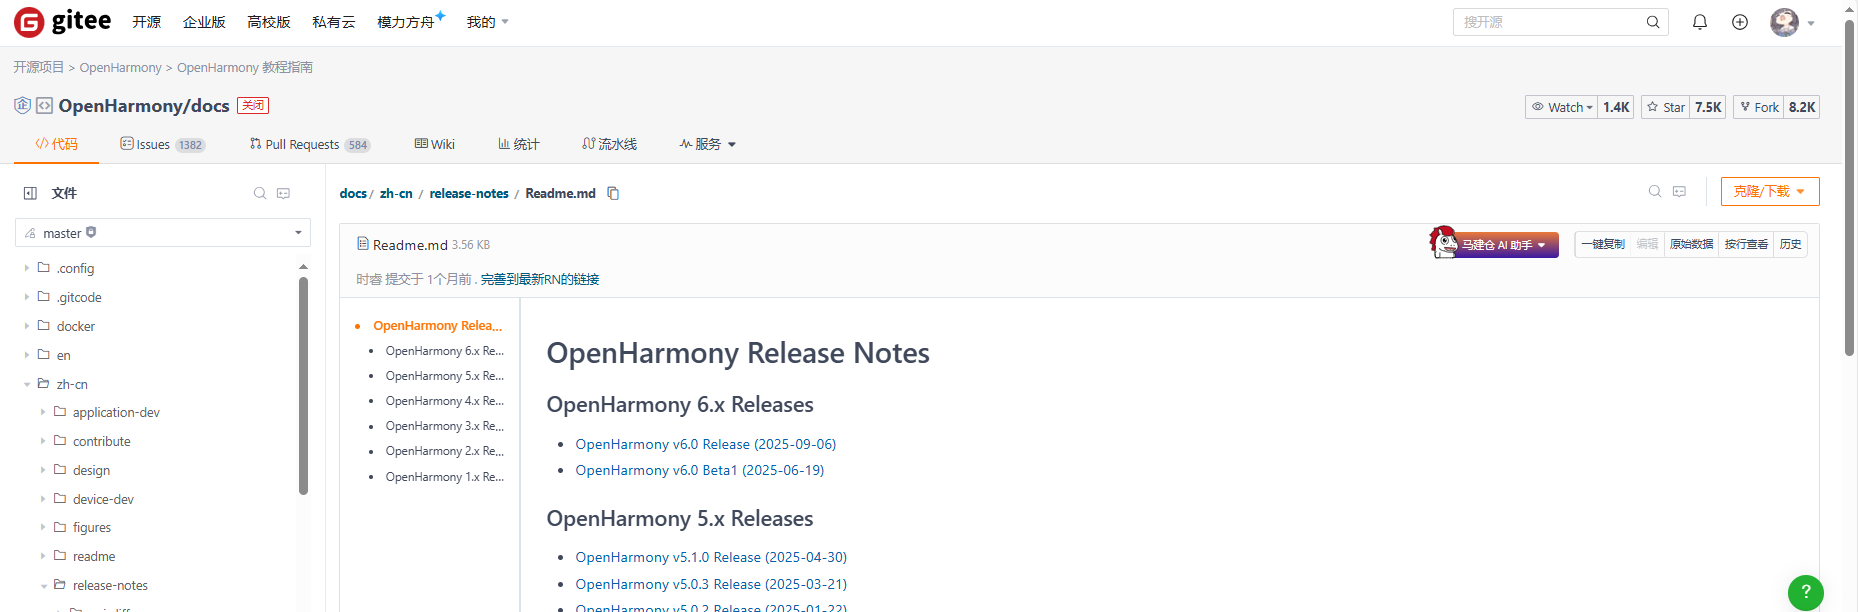
从gitee上直接搜索harmony即可,里面有快速入门的资料。 doc仓库里面。地址一直变就不放了。
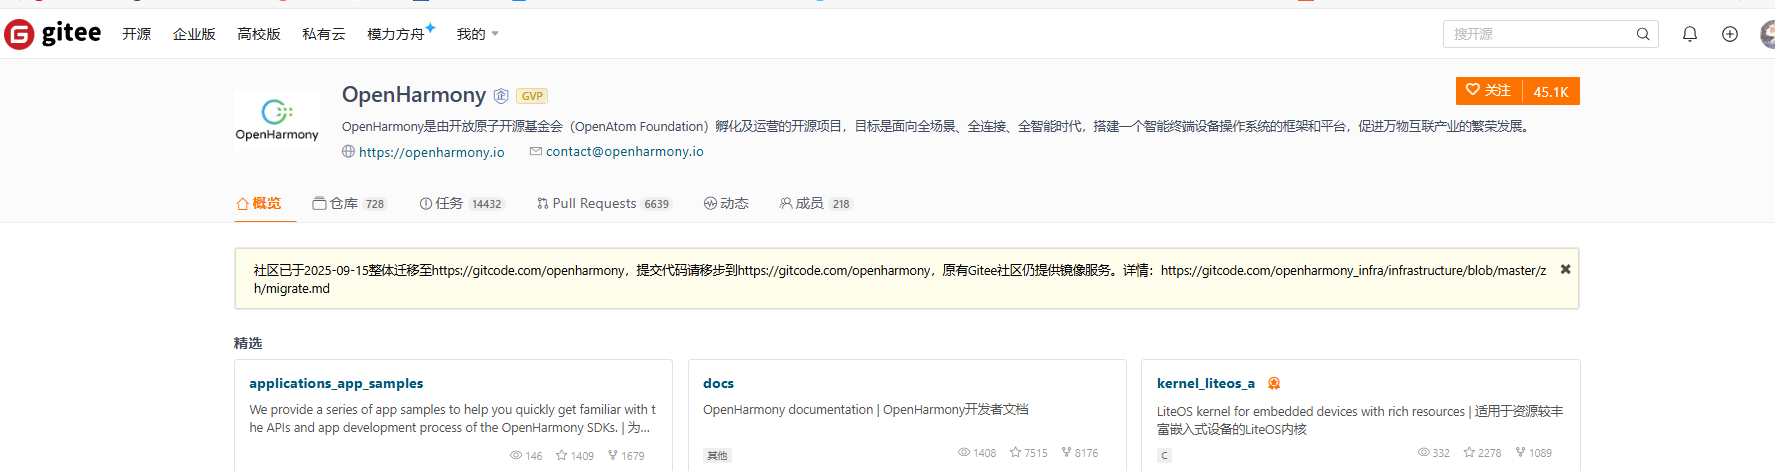
改为 gitcode
搭建的话,肯定是全量的标准系统。一个是IDE入门,一个是命令行入门,肯定是命令行入门了。
我先拉一个润和的RK3568的源码,harmony6,先编译成功再加自己的东西。这篇就是拉源码到编译成功的步骤。
环境搭建
我用的服务器是 40核80线程 128G内存,Ubuntu 20.04.6 LTS X86_64架构。
安装库和工具集
sudo apt-get update; y | sudo apt-get install binutils; y | sudo apt-get install binutils-dev; y | sudo apt-get install git; y | sudo apt-get install git-lfs; y | sudo apt-get install gnupg; y | sudo apt-get install flex; y | sudo apt-get install bison; y | sudo apt-get install gperf; y | sudo apt-get install build-essential; y | sudo apt-get install zip; y | sudo apt-get install curl; y | sudo apt-get install zlib1g-dev; y | sudo apt-get install gcc-multilib; y | sudo apt-get install g++-multilib; y | sudo apt-get install gcc-arm-linux-gnueabi; y | sudo apt-get install libc6-dev-i386; y | sudo apt-get install libc6-dev-amd64; y | sudo apt-get install lib32ncurses5-dev; y | sudo apt-get install x11proto-core-dev; y | sudo apt-get install libx11-dev; y | sudo apt-get install lib32z1-dev; y | sudo apt-get install ccache; y | sudo apt-get install libgl1-mesa-dev; y | sudo apt-get install libxml2-utils; y | sudo apt-get install xsltproc; y | sudo apt-get install unzip; y | sudo apt-get install m4; y | sudo apt-get install bc; y | sudo apt-get install gnutls-bin; y | sudo apt-get install python3.9; y | sudo apt-get install python3-pip; y | sudo apt-get install ruby; y | sudo apt-get install genext2fs; y | sudo apt-get install device-tree-compilersudo apt-get install make; y | sudo apt-get install libffi-dev; y | sudo apt-get install e2fsprogs; y | sudo apt-get install pkg-config; y | sudo apt-get install perl; y | sudo apt-get install openssl; y | sudo apt-get install libssl-dev; y | sudo apt-get install libelf-dev; y | sudo apt-get install libdwarf-dev; y | sudo apt-get install u-boot-tools; y | sudo apt-get install mtd-utils; y | sudo apt-get install cpio; y | sudo apt-get install doxygen; y | sudo apt-get install liblz4-tool; y | sudo apt-get install openjdk-8-jre; y | sudo apt-get install gcc; y | sudo apt-get install g++; y | sudo apt-get install texinfo; y | sudo apt-get install dosfstools; y | sudo apt-get install mtools; y | sudo apt-get install default-jre; y | sudo apt-get install default-jdk; y | sudo apt-get install libncurses5; y | sudo apt-get install apt-utils; y | sudo apt-get install wget; y | sudo apt-get install scons; y | sudo apt-get install python3.9-distutils; y | sudo apt-get install tar; y | sudo apt-get install rsync; y | sudo apt-get install git-core; y | sudo apt-get install libxml2-dev; y | sudo apt-get install lib32z-dev; y | sudo apt-get install grsync; y | sudo apt-get install xxd; y | sudo apt-get install libglib2.0-dev; y | sudo apt-get install libpixman-1-dev; y | sudo apt-get install kmod; y | sudo apt-get install jfsutils; y | sudo apt-get install reiserfsprogs; y | sudo apt-get install xfsprogs; y | sudo apt-get install squashfs-tools; y | sudo apt-get install pcmciautils; y | sudo apt-get install quota; y | sudo apt-get install ppp; y | sudo apt-get install libtinfo-dev; y | sudo apt-get install libtinfo5; y | sudo apt-get install libncurses5-dev; y | sudo apt-get install libncursesw5; y | sudo apt-get install libstdc++6; y | sudo apt-get install gcc-arm-none-eabi; y | sudo apt-get install vim; y | sudo apt-get install ssh; y | sudo apt-get install locales; y | sudo apt-get install libxinerama-dev; y | sudo apt-get install libxcursor-dev; y | sudo apt-get install libxrandr-dev; y | sudo apt-get install libxi-dev
还有是要配置python环境,查看quickstart-pkg-install-package.md文档即可。
创建工程
获取最新的源码,2025年10月18日 最新的是这个。然后点击链接。
# 在服务器自己的目录里面建立

# 这个是拉取最新的,每日更新的
repo init -u git@gitee.com:openharmony/manifest.git -b OpenHarmony-6.0-Release --no-repo-verify
repo sync -c
repo forall -c 'git lfs pull'

# 这个是拉取 tag节点的 ,就是发布节点的,编译肯定没问题的,readme上都有写 我凑下字数 ,拉这个。
repo init -u git@gitee.com:openharmony/manifest.git -b refs/tags/OpenHarmony-v6.0-Release --no-repo-verify
repo sync -c
repo forall -c 'git lfs pull'
1000M的带宽下载,repo sync -c 用时30分钟左右。
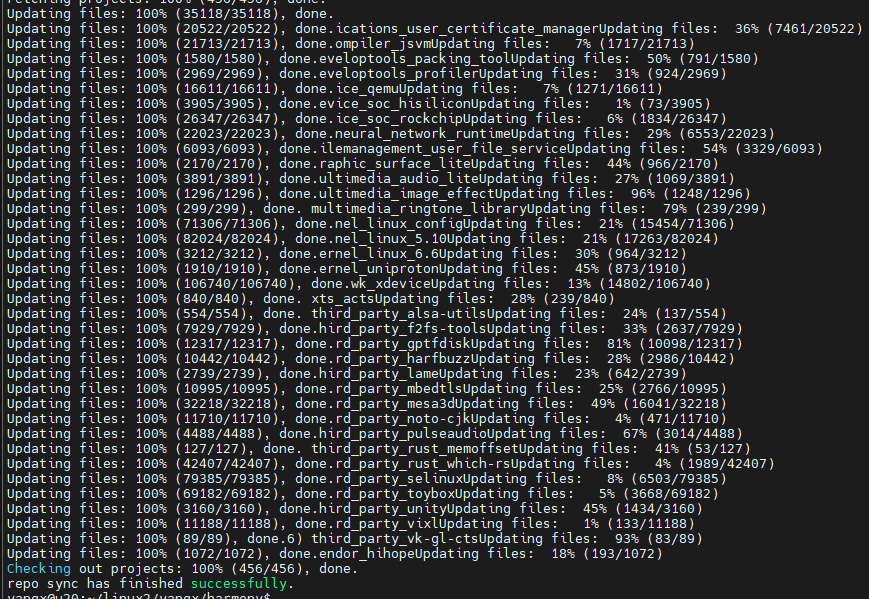
repo forall -c 'git lfs pull'用时6分钟。
下表是OpenHarmony源码目录:
源码目录:
| 目录名 | 描述 |
|---|---|
| applications | 应用程序样例,包括camera等 |
| base | 基础软件服务子系统集&硬件服务子系统集 |
| build | 组件化编译、构建和配置脚本 |
| docs | 说明文档 |
| domains | 增强软件服务子系统集 |
| drivers | 驱动子系统 |
| foundation | 系统基础能力子系统集 |
| kernel | 内核子系统 |
| prebuilts | 编译器及工具链子系统 |
| test | 测试子系统 |
| third_party | 开源第三方组件 |
| utils | 常用的工具集 |
| vendor | 厂商提供的软件 |
| build.py | 编译脚本文件 |
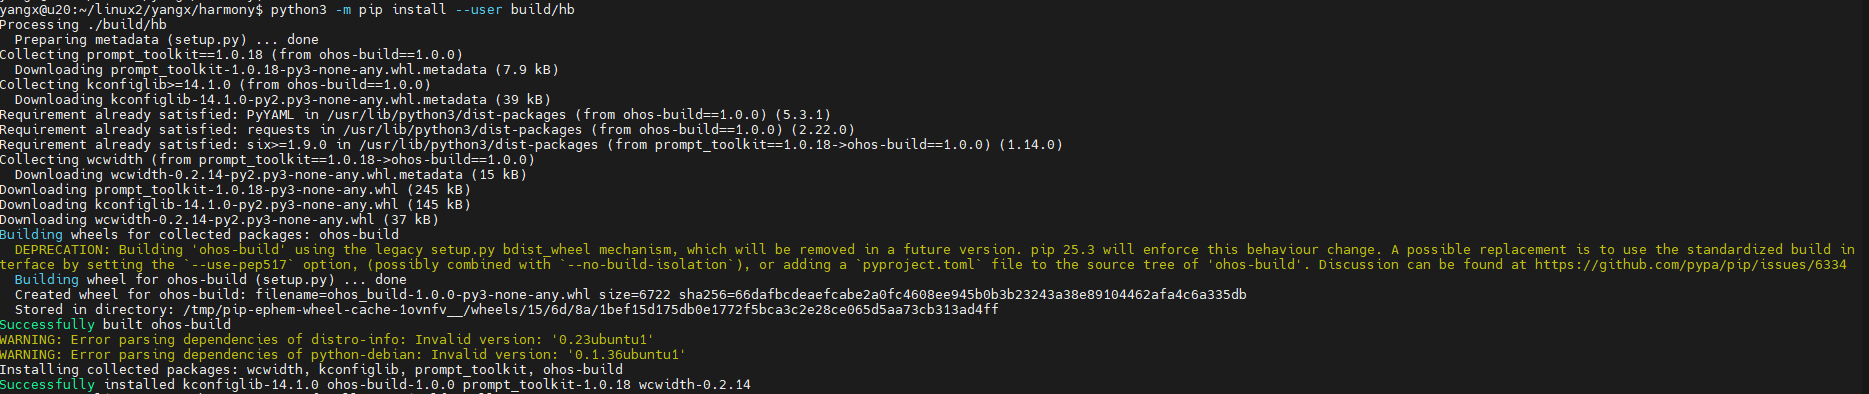
安装编译工具
查看 doc仓库的 quickstart-pkg-install-tool.md 文档。
python3 -m pip install --user build/hb
vim ~/.bashrc
export PATH=~/.local/bin:$PATH
source ~/.bashrc
完成图示:
卸载:
python3 -m pip uninstall ohos-build
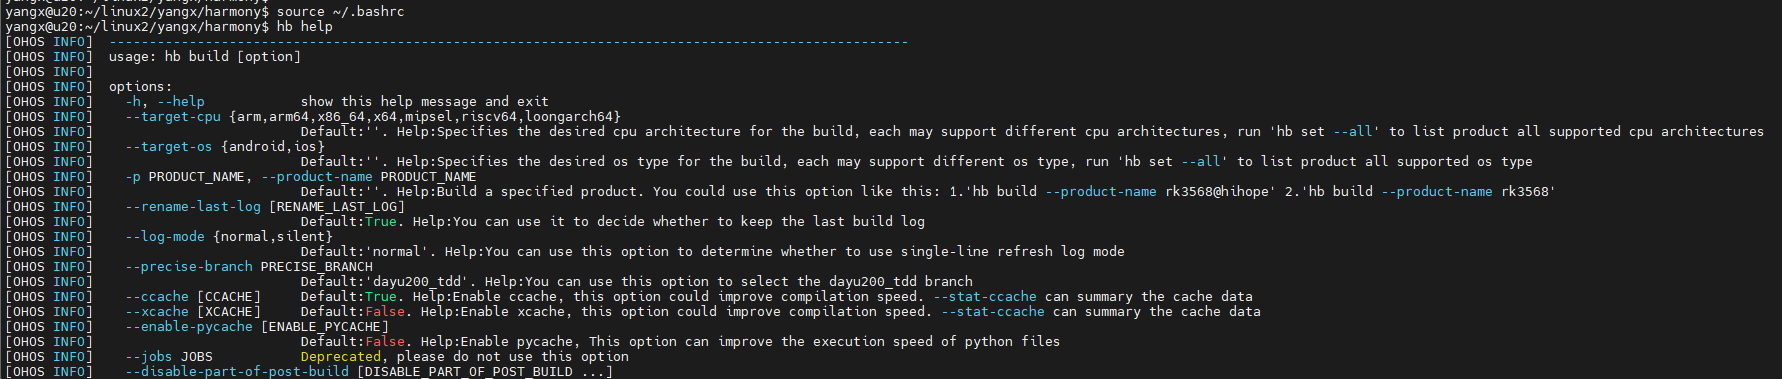
编译源码
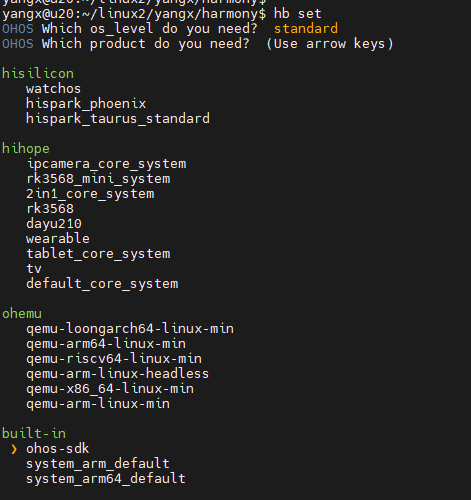
# 看图示的选择
hb set
# 会有报错 如下
hb build --target-cpu arm64
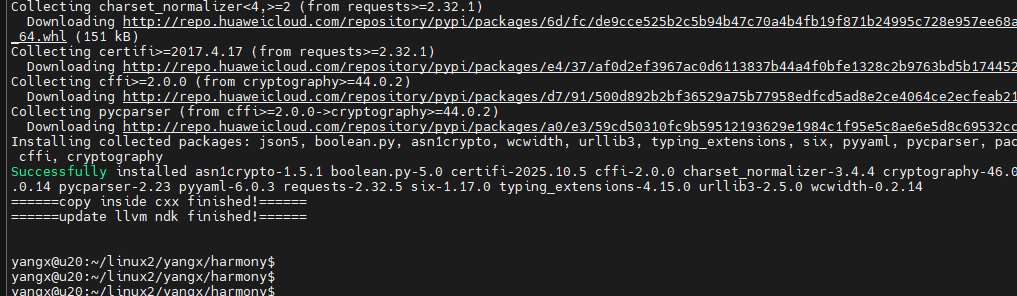
# 修复
build/prebuilts_download.sh
# 再次报错
hb build --target-cpu arm64
# 加上 sudo 即可 其中会有apt update之类的命令 第三次报错
sudo -E env PATH=$PATH hb build --target-cpu arm64

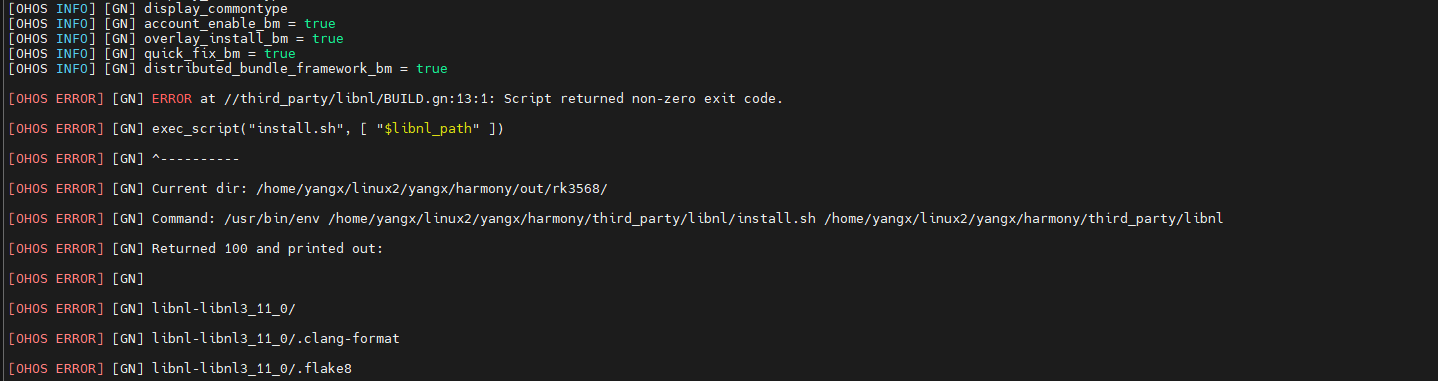
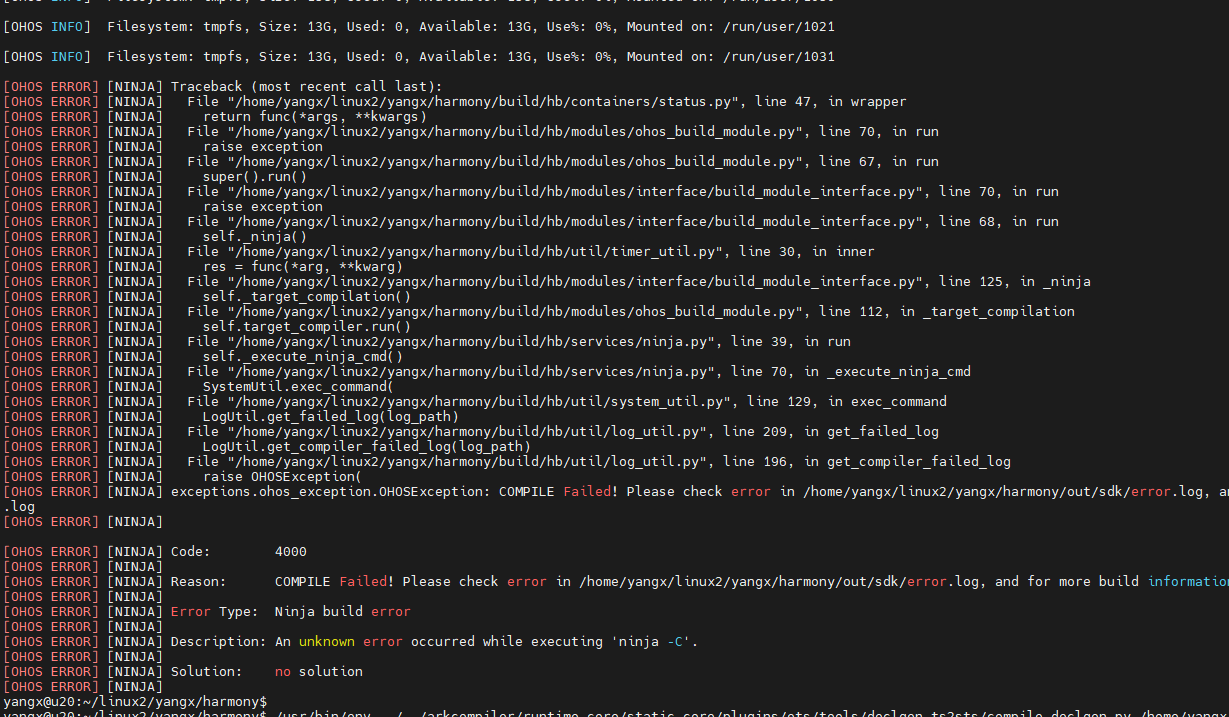
报错:
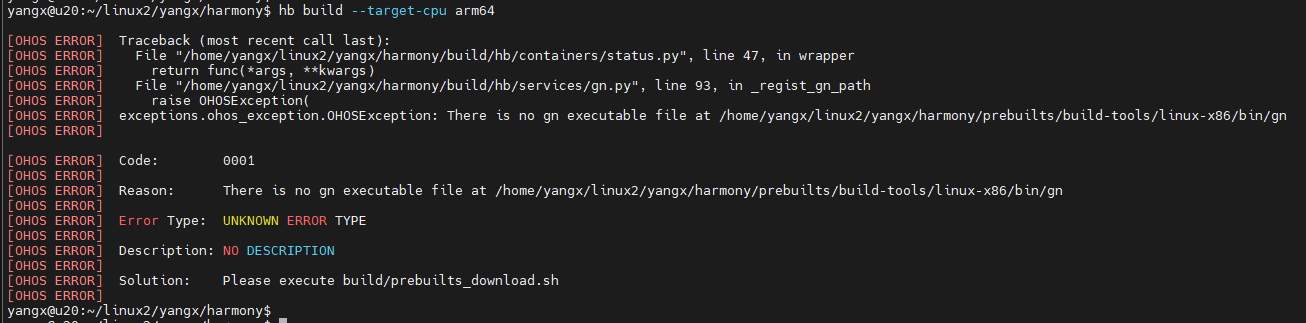
修复:
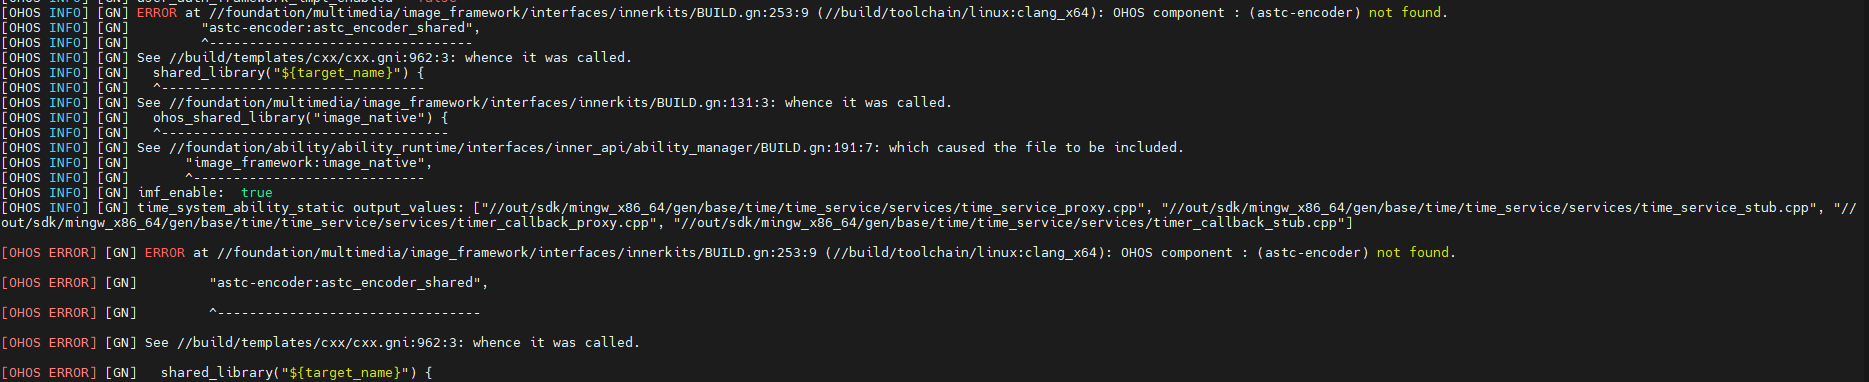
再次报错:
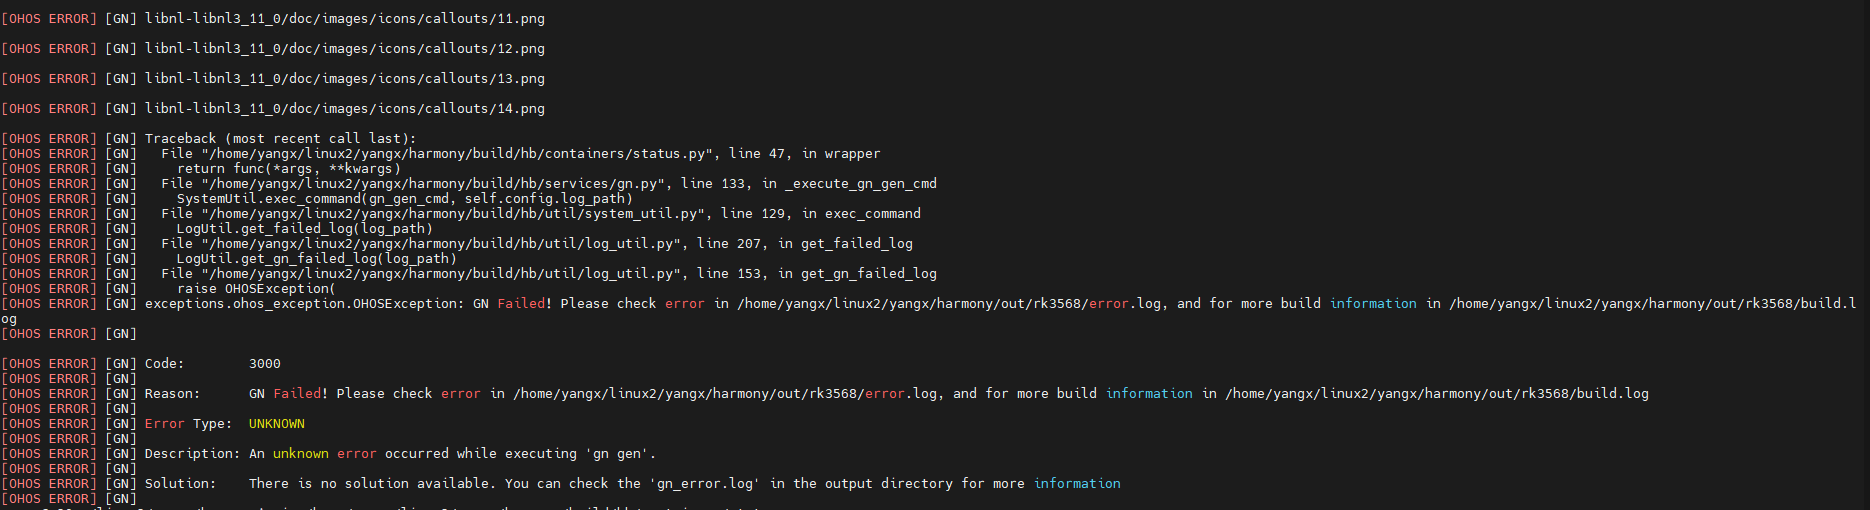
第三次报错:
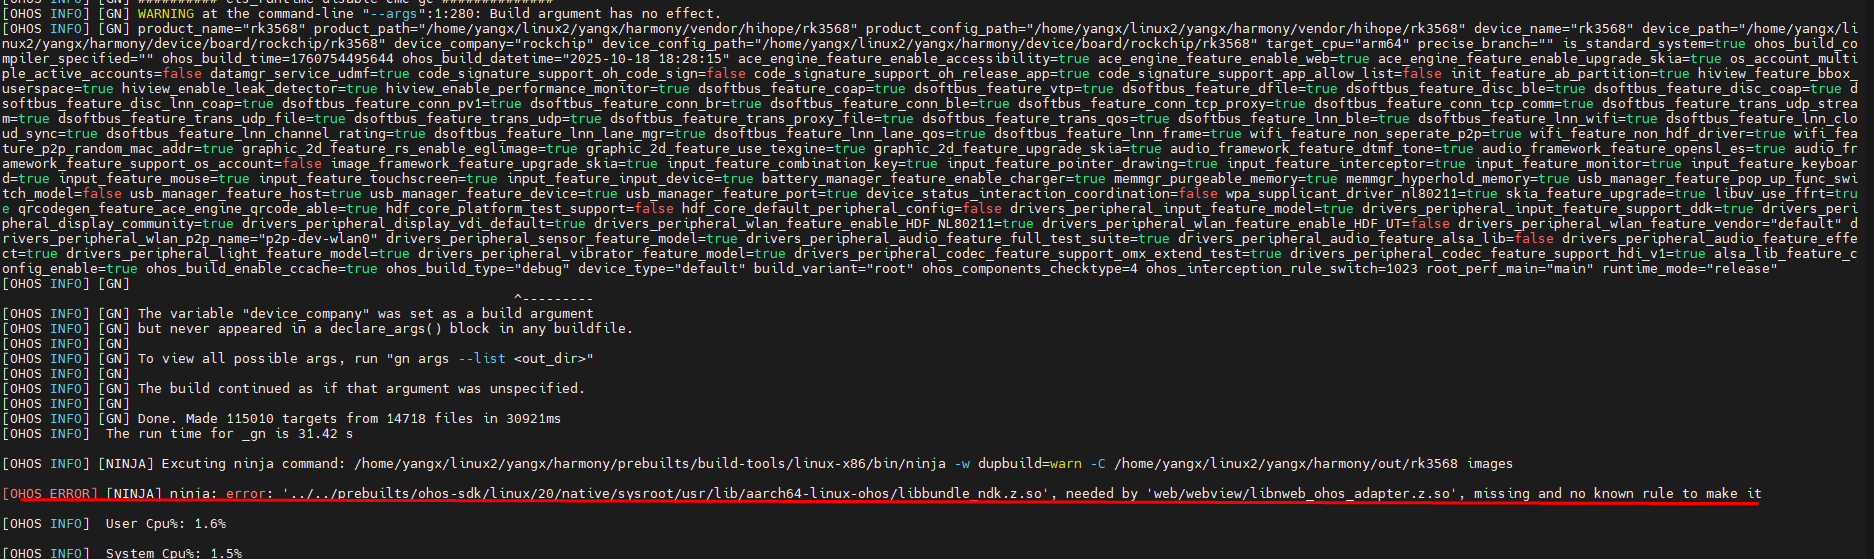
网上搜索,发现是第三方模块,https://gitee.com/openharmony-tpc/chromium_third_party_ohos_prebuilts
libnweb_ohos_adapter.z.so为OpenHarmony WebView仓有改动时编译构建生成,源码获取可参考OpenHarmony代码获取指导,编译构建可参考编译构建指导。
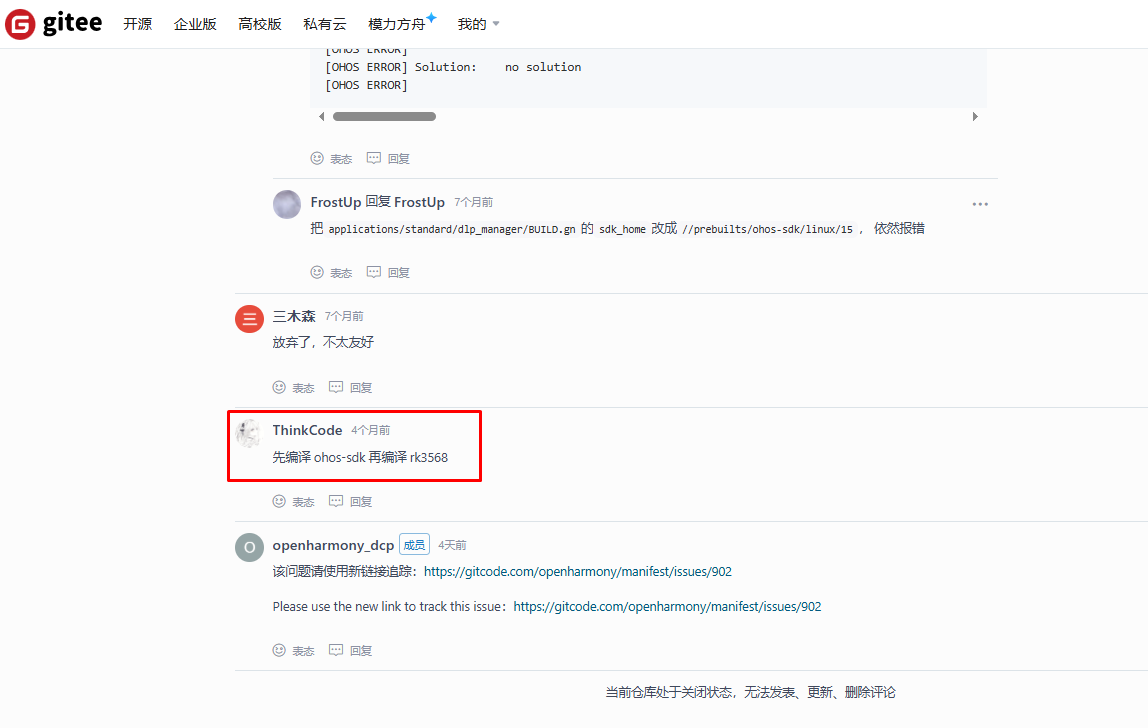
我看有仓库,但是这好像是用编译完成的产物。 然后看到 https://gitee.com/openharmony/manifest/issues/IBVOVO 说 先编译 ohos-sdk 再编译 rk3568。
编译 ohos-sdkbao报错:
解决:
# 安装 Node.js 16.x(OpenHarmony 推荐版本)
curl -fsSL https://deb.nodesource.com/setup_16.x | sudo -E bash -
sudo apt-get install -y nodejs

# 验证安装
npm -v  # 应输出版本号(如 8.x)
node -v # 应输出版本号(如 v16.x)
还有报错:
这样不是办法,换个设备编译先。
再次尝试 使用 system_arm64_default product 编译。
还是卡这里。没有办法了,,,, 不搞了 半道崩卒。。。。
不行 我还要再战 三气归来!!!!!!!
# say y
./build/build_scripts/env_setup.sh

source ~/.bashrc

# 使用另一种方式编译
./build.sh --product-name rk3568 --ccache

# 再次遇到权限问题

sudo -E env PATH=$PATH ./build.sh --product-name rk3568 --ccache
中间编译过程中服务器CPU满载,有假死机。
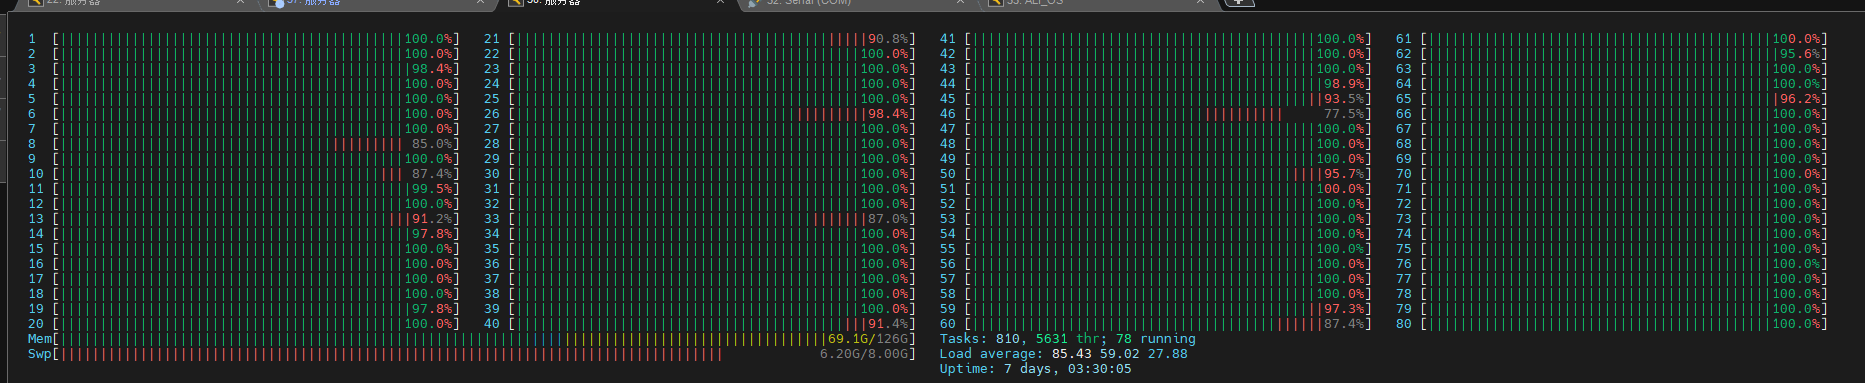
成功
编译两个多小时,编译成功。

# 其中 --build-target 参数可以编译指定的部件 例如
sudo -E env PATH=$PATH ./build.sh --product-name rk3568 --build-target vendor/hihope/rk3568/image_conf:custom_image_conf --ccache
//vendor/hihope/rk3568/ohos.build 里面的 module_list 可以看到部件。
可以看编译构建文档: https://gitcode.com/openharmony/docs/blob/master/zh-cn/device-dev/subsystems/subsys-build-all.md
唉 不过是些许风霜
本文来自博客园,作者:杨旭0324,转载请注明原文链接:https://www.cnblogs.com/allalonewithyou/p/19149787,个人邮箱:yaonie4444@foxmail.com

 浙公网安备 33010602011771号