

springboot集成springcache
今天尝试了一下springboot集成springcache做缓存,springcache是基于annotation(注释)的一个缓存技术
特点总结如下:
- 通过少量的配置 annotation 注释即可使得既有代码支持缓存
- 支持开箱即用 Out-Of-The-Box,即不用安装和部署额外第三方组件即可使用缓存
- 支持 Spring Express Language,能使用对象的任何属性或者方法来定义缓存的 key 和 condition
- 支持 AspectJ,并通过其实现任何方法的缓存支持
- 支持自定义 key 和自定义缓存管理者,具有相当的灵活性和扩展性
使用起来也非常的简单
第一步:添加maven依赖
        <dependency>
            <groupId>org.springframework.boot</groupId>
            <artifactId>spring-boot-starter-cache</artifactId>
        </dependency>
第二步:新建一个TestTime类
import java.util.Date;

public class TestTime {
    private Date time;
    public TestTime(Date time){
        this.time=time;
    }

    public Date getTime() {
        return time;
    }

    public void setTime(Date time) {
        this.time = time;
    }

    @Override
    public String toString() {
        return "{ 时间='" + time + '\'' + '}';
    }
}
第三步,再添加一个TestTime接口
import hello.entity.TestTime;

public interface TestTimeService {
    TestTime getTestTime();
}
第四步,到主函数添加:
@EnableCaching

开启缓存,这个非常重要
第五步,实现该接口:
import hello.Service.TestTimeService;
import hello.entity.TestTime;
import org.springframework.cache.annotation.Cacheable;
import org.springframework.stereotype.Component;

import java.util.Date;

@Component
public class TestTimeController implements TestTimeService {


    @Override
    @Cacheable(value = "time")
    public TestTime getTestTime(){
        return new TestTime(new Date());
    }

}
使用@Cachable就可以使用缓存了,非常简单。
关于缓存注解的仔细介绍可以参考文章:https://www.cnblogs.com/fashflying/p/6908028.html
第六步,创建一个测试类TestRun:
import hello.Service.TestTimeService;
import org.junit.Test;
import org.junit.runner.RunWith;
import org.slf4j.Logger;
import org.slf4j.LoggerFactory;
import org.springframework.beans.factory.annotation.Autowired;
import org.springframework.boot.test.context.SpringBootTest;
import org.springframework.test.context.junit4.SpringRunner;

@RunWith(SpringRunner.class)
@SpringBootTest
public class TestRun {

    private static final Logger log = LoggerFactory.getLogger(TestRun.class);

    @Autowired
    TestTimeService testTimeService;

    @Test
    public void getTime() throws InterruptedException {
        int i = 1;
        while (i <= 20) {
            log.info("" + "第" + i + "次获取时间" + testTimeService.getTestTime());
            i++;
            Thread.sleep(1000);
        }
    }


}
创建的目录如下:

最后:运行getTime测试方法:
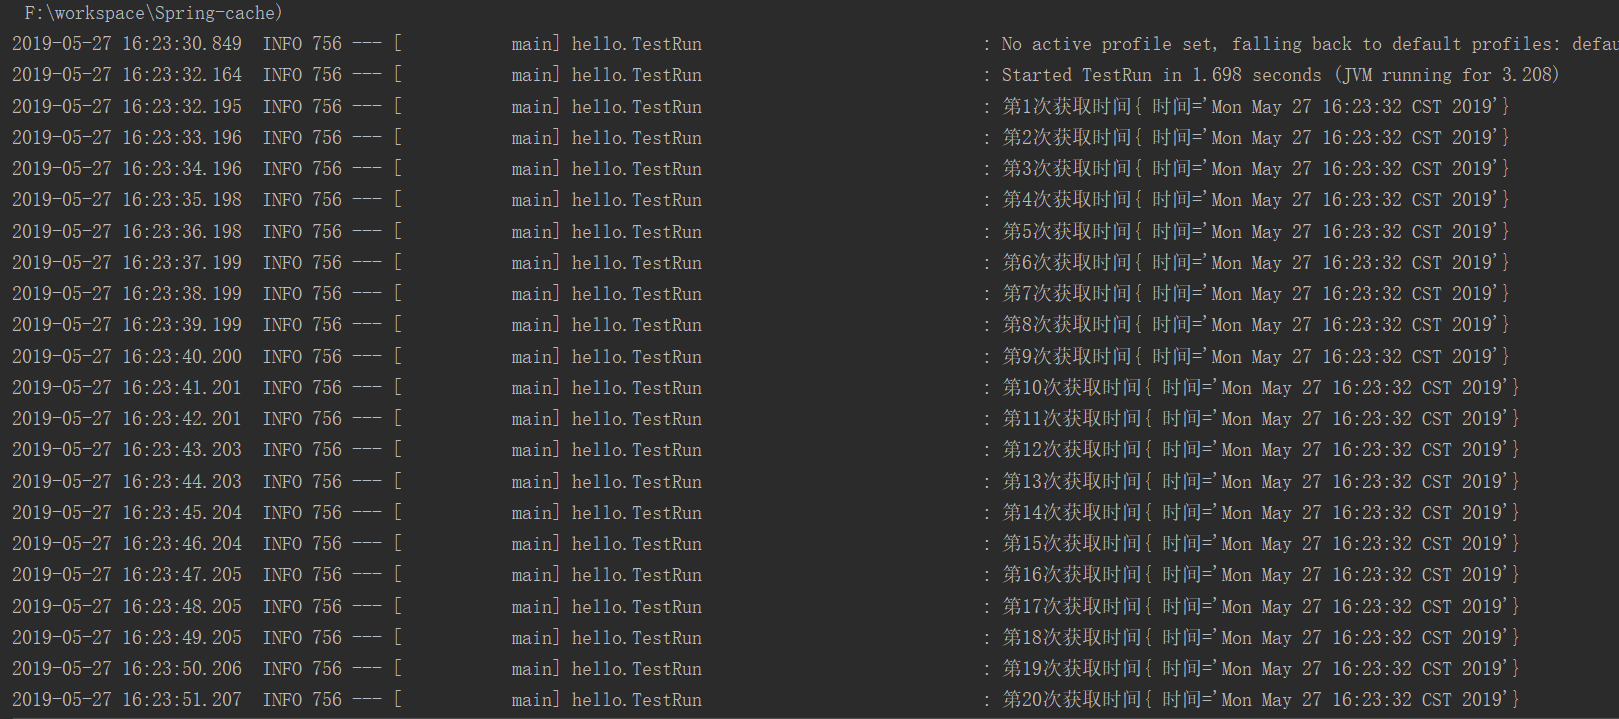
可以看到,20次去调用gettesttime,获取的并不是最新的时间,而是缓存内的时间。
本文源码:https://gitee.com/Hiro-D/Java/tree/master/Spring-cache
直接使用springcahce是无法设置缓存有效时间的,是要使用ehcache或者redis 或者guava设置,下篇讲一下springcahce设置过期时间。

 浙公网安备 33010602011771号