

1、准备条件
注册Tailscale账号
生成key,参考:https://tailscale.com/kb/1085/auth-keys?q=key
site-to-site参考:https://tailscale.com/kb/1214/site-to-site?q=key
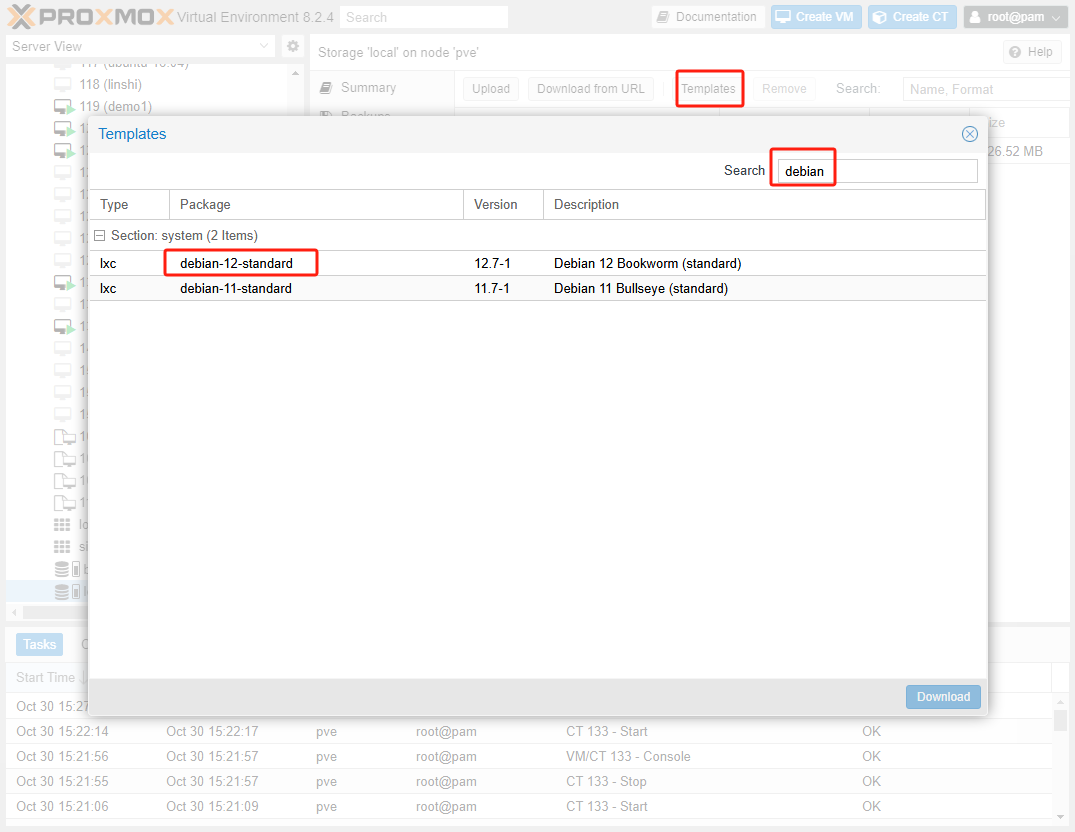
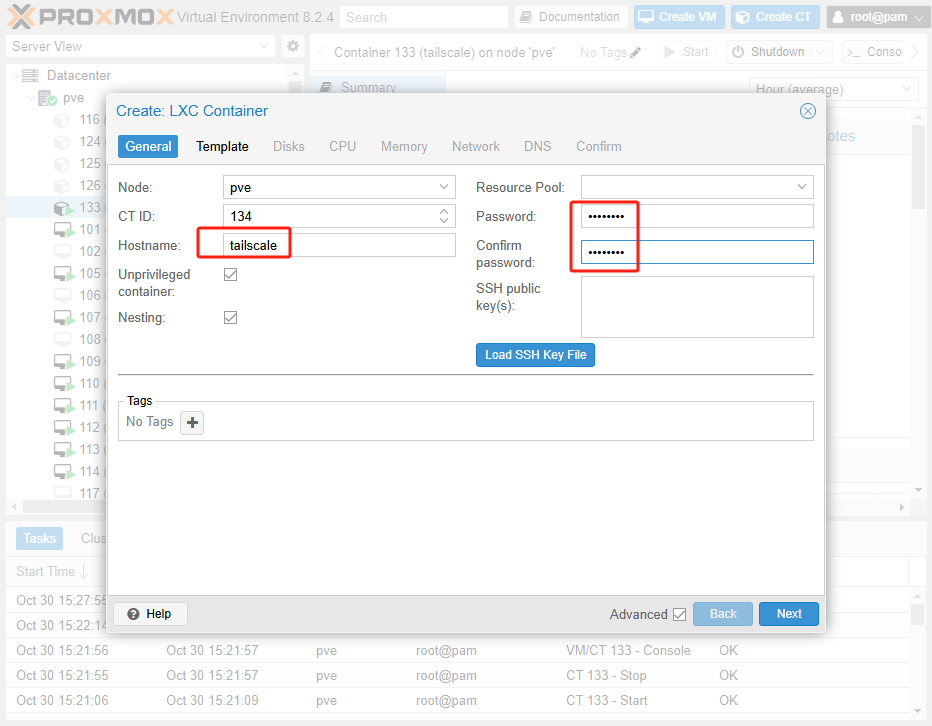
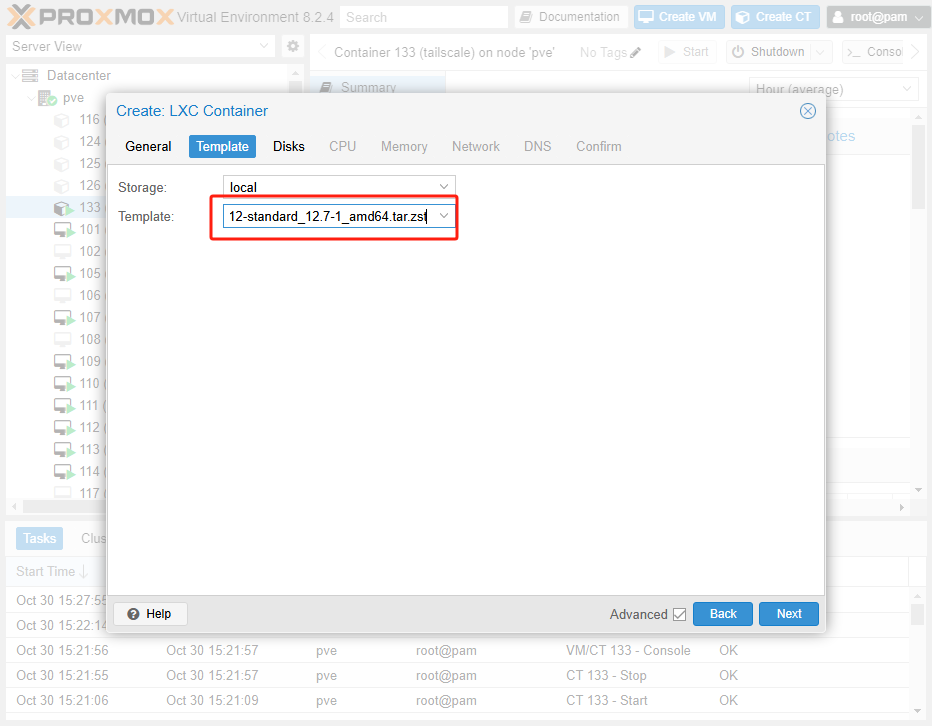
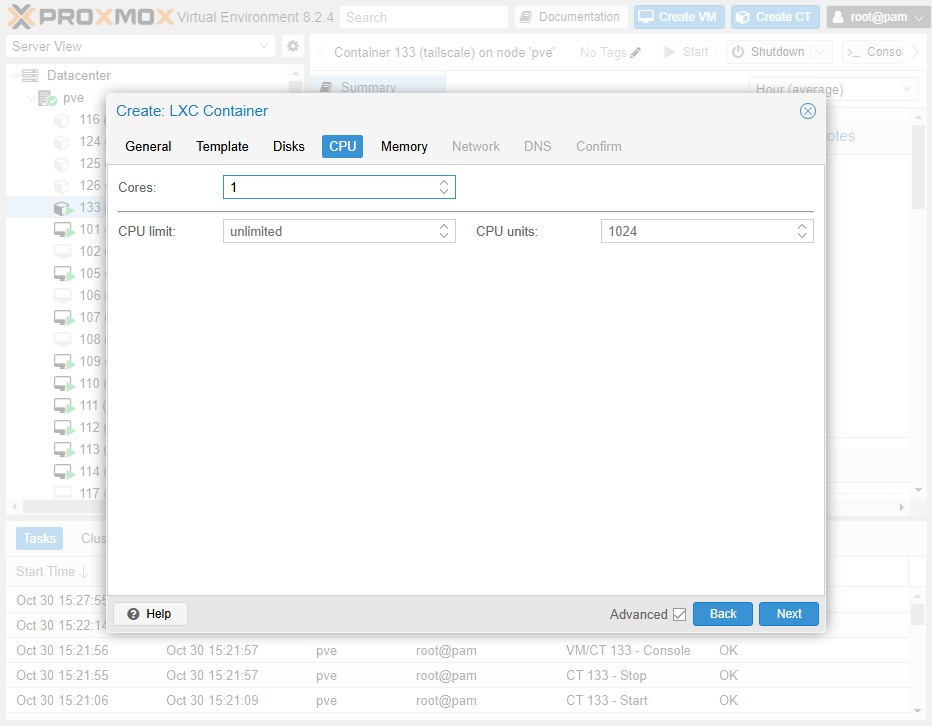
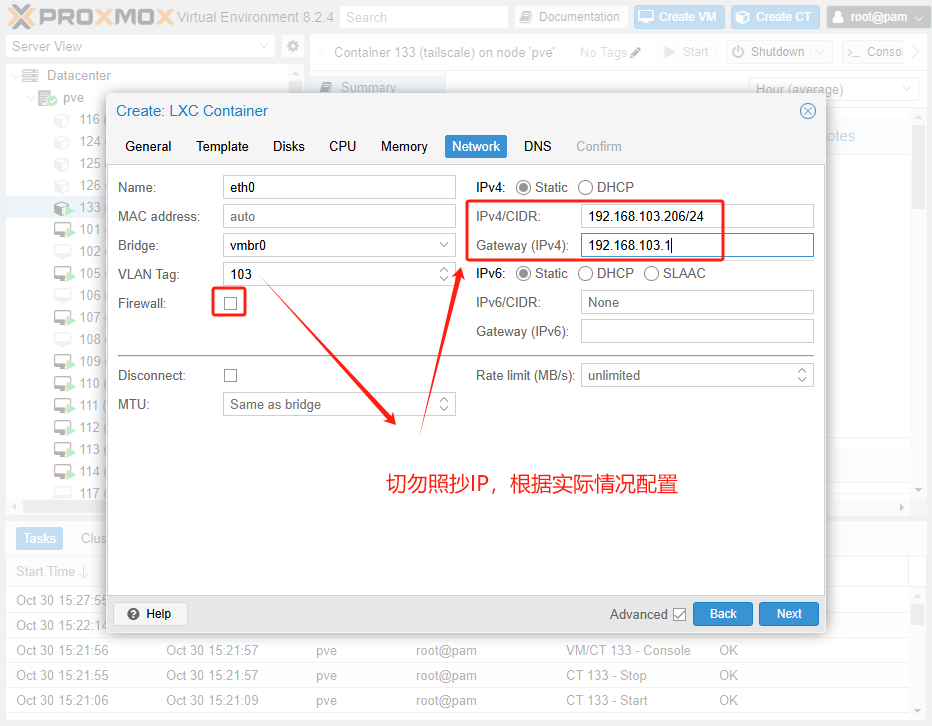
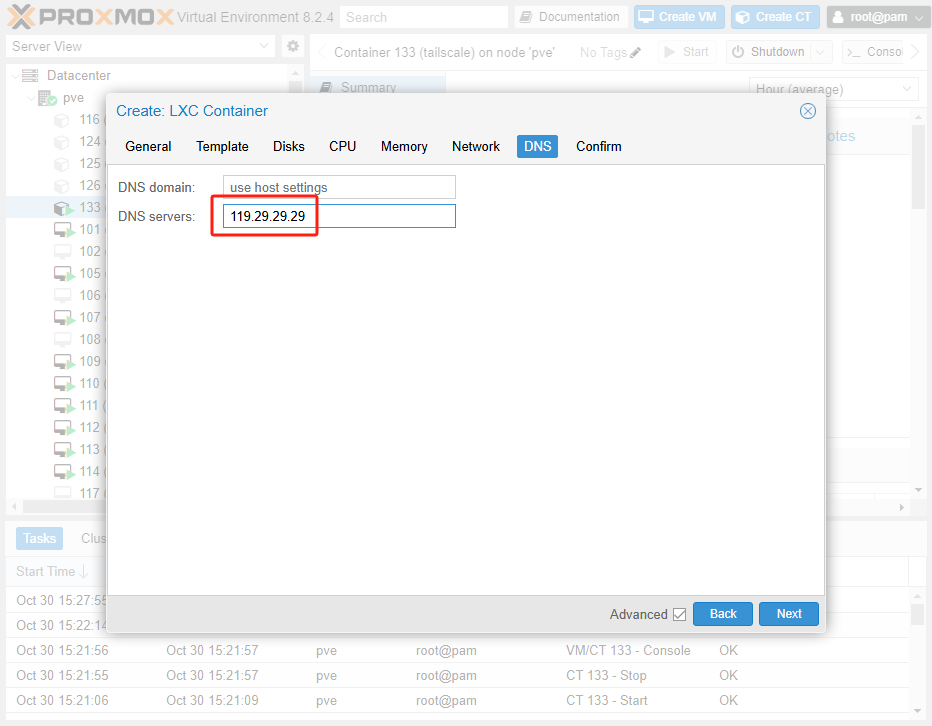
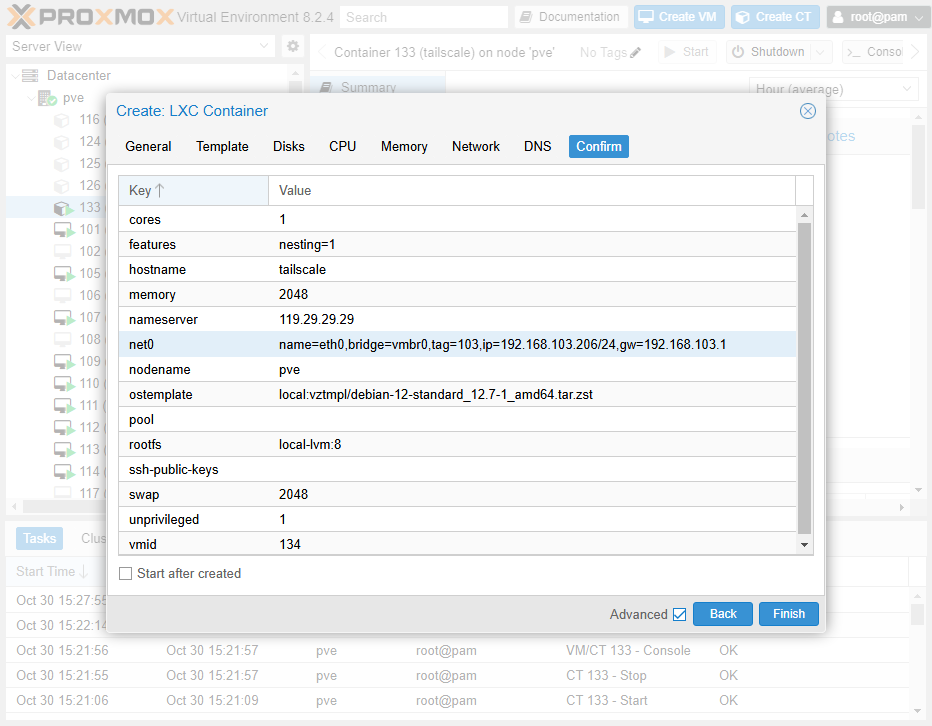
2、下载Debian CT模板并通过模板启动实例
创建后别开机

3、修改CT配置
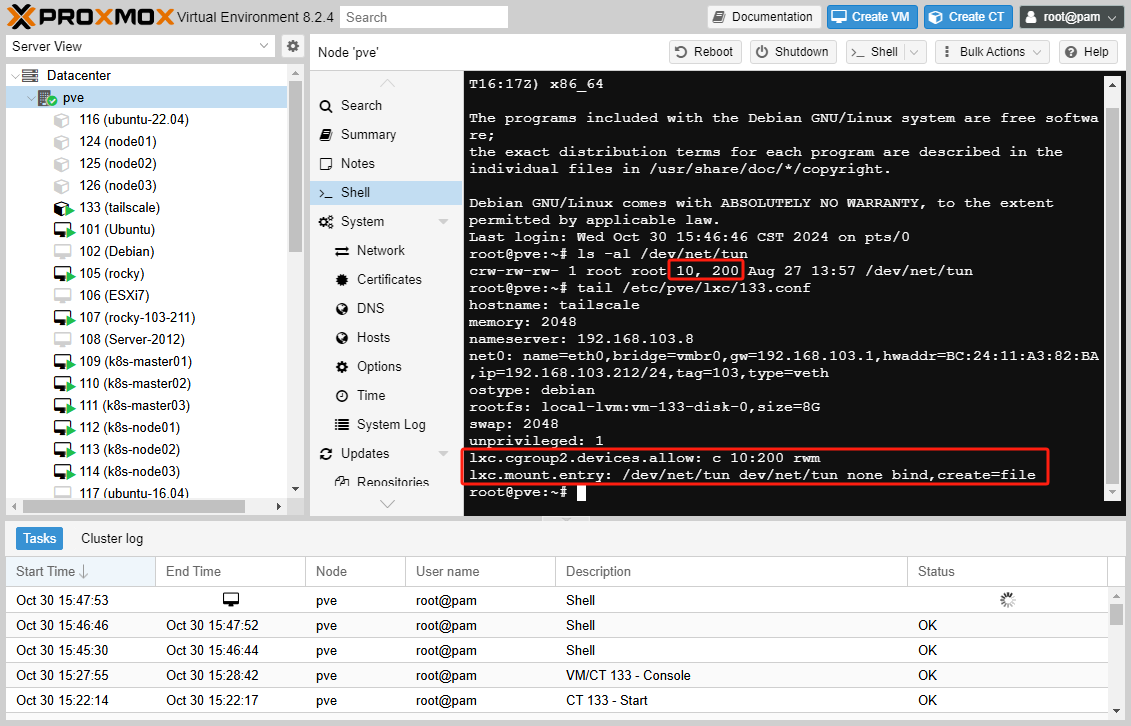
# 查看主机设备信息
# ls -al /dev/net/tun
crw-rw-rw- 1 root root 10, 200 Aug 27 13:57 /dev/net/tun

# 修改CT配置
# vim /etc/pve/lxc/133.conf
...
lxc.cgroup2.devices.allow: c 10:200 rwm
lxc.mount.entry: /dev/net/tun dev/net/tun none bind,create=file

# 启动CT实例
4、开启IP转发
# vim /etc/sysctl.conf
net.ipv4.ip_forward = 1
net.ipv6.conf.all.forwarding = 1

# sysctl -p
5、安装Tailscale
# 安装
curl -fsSL https://tailscale.com/install.sh | sh

# 安装基础软件包
apt install ethtool net-tools chrony -y

# 查看UDP转发及开启UDP GRO转发
ethtool -k eth0 | grep -e rx-gro-list -e rx-udp-gro-forwarding
ethtool -K eth0 rx-udp-gro-forwarding on

# 配置开机自动开启UDP GRO转发
# vim /etc/systemd/system/ethtool-config.service
[Unit]
Description=Apply ethtool settings

[Service]
Type=oneshot
ExecStart=/usr/sbin/ethtool -K eth0 rx-udp-gro-forwarding on
RemainAfterExit=yes

[Install]
WantedBy=multi-user.target

# 启动服务
systemctl enable --now ethtool-config
6、配置Site-to-Site
Site A配置
# 配置Site A启动服务脚本
# vim /etc/systemd/system/tailscale.service
[Unit]
Description=AutoStart tailscale
After=tailscaled.service
Requires=tailscaled.service

[Service]
Type=oneshot
ExecStart=/usr/bin/tailscale up --authkey=tailscale官网生成的key --accept-routes --snat-subnet-routes=false --advertise-routes=192.168.100.0/24 --hostname=tailscale-A
ExecStop=/usr/bin/tailscale down
RemainAfterExit=yes
Restart=on-failure

[Install]
WantedBy=multi-user.target

# 启动Site A服务
systemctl enable --now tailscale

# 配置iptables
# vim /etc/systemd/system/iptables-config.service
[Unit]
Description=Apply iptables settings

[Service]
Type=oneshot
ExecStart=/sbin/iptables -t mangle -A FORWARD -i tailscale0 -o eth0 -p tcp -m tcp --tcp-flags SYN,RST SYN -j TCPMSS --clamp-mss-to-pmtu
RemainAfterExit=yes

[Install]
WantedBy=multi-user.target

# 启动服务
systemctl enable --now iptables-config.service

# 配置路由
# vim /etc/systemd/system/ip-route-config.service
[Unit]
Description=Apply IP route settings

[Service]
Type=oneshot
ExecStart=/sbin/ip route add 100.64.0.0/10 via 192.168.100.2
ExecStart=/sbin/ip route add 192.168.100.0/24 via 192.168.100.2
RemainAfterExit=yes

[Install]
WantedBy=multi-user.target

# 启动服务
systemctl enable --now ip-route-config.service
Site B配置
# 配置Site B启动服务脚本
# vim /etc/systemd/system/tailscale.service
[Unit]
Description=AutoStart tailscale
After=tailscaled.service
Requires=tailscaled.service

[Service]
Type=oneshot
ExecStart=/usr/bin/tailscale up --authkey=tailscale官网生成的key --accept-routes --snat-subnet-routes=false --advertise-routes=192.168.110.0/24 --hostname=tailscale-B
ExecStop=/usr/bin/tailscale down
RemainAfterExit=yes
Restart=on-failure

[Install]
WantedBy=multi-user.target

# 启动Site B服务
systemctl enable --now tailscale

# 配置iptables
# vim /etc/systemd/system/iptables-config.service
[Unit]
Description=Apply iptables settings

[Service]
Type=oneshot
ExecStart=/sbin/iptables -t mangle -A FORWARD -i tailscale0 -o eth0 -p tcp -m tcp --tcp-flags SYN,RST SYN -j TCPMSS --clamp-mss-to-pmtu
RemainAfterExit=yes

[Install]
WantedBy=multi-user.target

# 启动服务
systemctl enable --now iptables-config.service

# 配置路由
# vim /etc/systemd/system/ip-route-config.service
[Unit]
Description=Apply IP route settings

[Service]
Type=oneshot
ExecStart=/sbin/ip route add 100.64.0.0/10 via 192.168.110.2
ExecStart=/sbin/ip route add 192.168.110.0/24 via 192.168.110.2
RemainAfterExit=yes

[Install]
WantedBy=multi-user.target

# 启动服务
systemctl enable --now ip-route-config.service
7、测试
# 登录Tailscale控制台--->机器--->编辑路由设置--->勾选内网网段,参考:https://tailscale.com/kb/1214/site-to-site

# 测试
ping 对端IP
参考:
https://www.bilibili.com/read/cv33665042/
https://isay.me/2023/07/pve-lxc-enable-tailscale-site-to-site-networking.html
https://isay.me/2023/07/tailscale-systemd-autostart.html
https://www.iigeek.com/archives/366

 浙公网安备 33010602011771号