微信小程序学习系列(8) 微信小程序组件(下)
前言
上一小节的学习总结了视图组件、基础内容组件以及表单组件相关内容。这一小节的主要是围绕的导航组件、媒体组件、地图组件组件进行学习。
导航组件
小程序可以使用导航组件进行页面的跳转的设置。可以使用navigator页面链接组件进行页面的跳转。示例代码如下:
在.wxml页面中
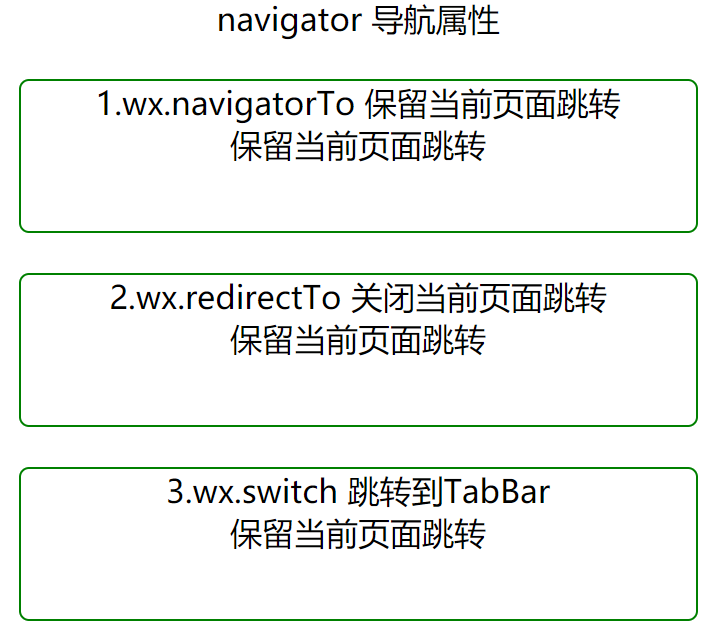
<view style="text-align:center;margin-button:10rpx;">navigator 导航属性</view>
<view class="section">
  <view class="section_title">1.wx.navigatorTo 保留当前页面跳转</view>
  <view class="section_body">
    <navigator url="/Component/button/button" open-type="navigate" hover-class="navigator-hover">
    保留当前页面跳转
    </navigator>
  </view>
</view>
<view class="section">
  <view class="section_title">2.wx.redirectTo 关闭当前页面跳转</view>
  <view class="section_body">
    <navigator url="/Component/checkbox/checkbox" open-type="redirectTo" hover-class="navigator-hover">
    保留当前页面跳转
    </navigator>
  </view>
</view>
<view class="section">
  <view class="section_title">3.wx.switch 跳转到TabBar</view>
  <view class="section_body">
    <navigator url="/Component/label/label" open-type="redirectTo" hover-class="navigator-hover">
    保留当前页面跳转
    </navigator>
  </view>
</view>
在.wxss页面中
.section {
  width: 90%;
  height: 150rpx;
  margin: 40rpx auto;
  border: 1px solid green;
  border-radius: 10rpx;
}

.section_title {
  text-align: center;
}

.section_body {
  text-align: center;
}

.section_body :hover{
  color: red;
}
效果如下图所示:
媒体组件
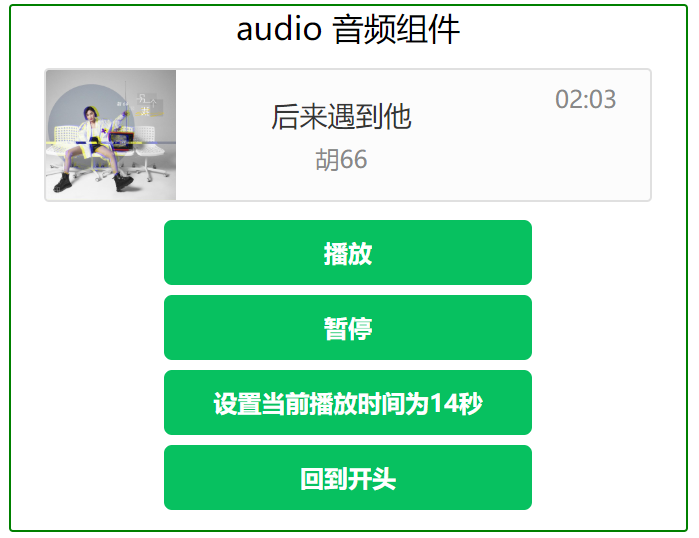
audio(音频)组件
audio 音频组件需要绑定唯一标识Id,使用wx.createAudioContext('Id');创建一个音频的播放环境。
src指定音频的播放路径;poster指定音频的播放图片;name指定音频名称。示例代码如下:
在.wxml页面中
<view class="section">
  <view class="section_title">audio 音频组件</view>
  <view class="section_body">
    <audio poster="{{poster}}" name="{{name}}" author="{{author}}" src="{{src}}" id="myAudio" controls loop></audio>

    <button type="primary" bindtap="audioPlay">播放</button>
    <button type="primary" bindtap="audioPause">暂停</button>
    <button type="primary" bindtap="audio14">设置当前播放时间为14秒</button>
    <button type="primary" bindtap="audioStart">回到开头</button>
  </view>
</view>
在.wxss页面中
.section {
  width: 90%;
  margin: 10rpx auto;
  border: 1px solid green;
  border-radius: 5rpx;
}
.section_title {
  text-align: center;
}
.section_body {
  text-align: center;
  margin: 20rpx;
}
.section_body button {
  margin: 10rpx;
  font-size: 24rpx;
}
在.js页面中
Page({
  onReady: function (e) {
    // 使用 wx.createAudioContext 获取 audio 上下文 context
    this.audioCtx = wx.createAudioContext('myAudio');
  },
  data:{
    poster: 'https://p3fx.kgimg.com/stdmusic/20200312/20200312194032367333.jpg',//音频的图片
    name: '后来遇到他',//音频的名字
    author: '胡66',//音频的作者
    src: 'https://webfs.yun.kugou.com/202003222011/624588a43dd5b65bf22910b5c9aadd9f/G209/M04/15/1B/sZQEAF5yIAGABKyMADz-g6dtNsQ387.mp3',//音频的播放路径
  },
  /*播放*/
  audioPlay:function(){
    this.audioCtx.play();
    console.log("播放");
  },
  /*暂停*/
  audioPause:function(){
    this.audioCtx.pause();
    console.log("暂停");
  },
  /*设置当前播放时间为14秒*/
  audio14:function(){
    this.audioCtx.seek(14);
    console.log("暂设置当前播放时间为14秒停");
  },
  /*回到开头*/
  audioStart:function(){
    this.audioCtx.seek(0);
    console.log("回到开头");
  }
});
效果如下:
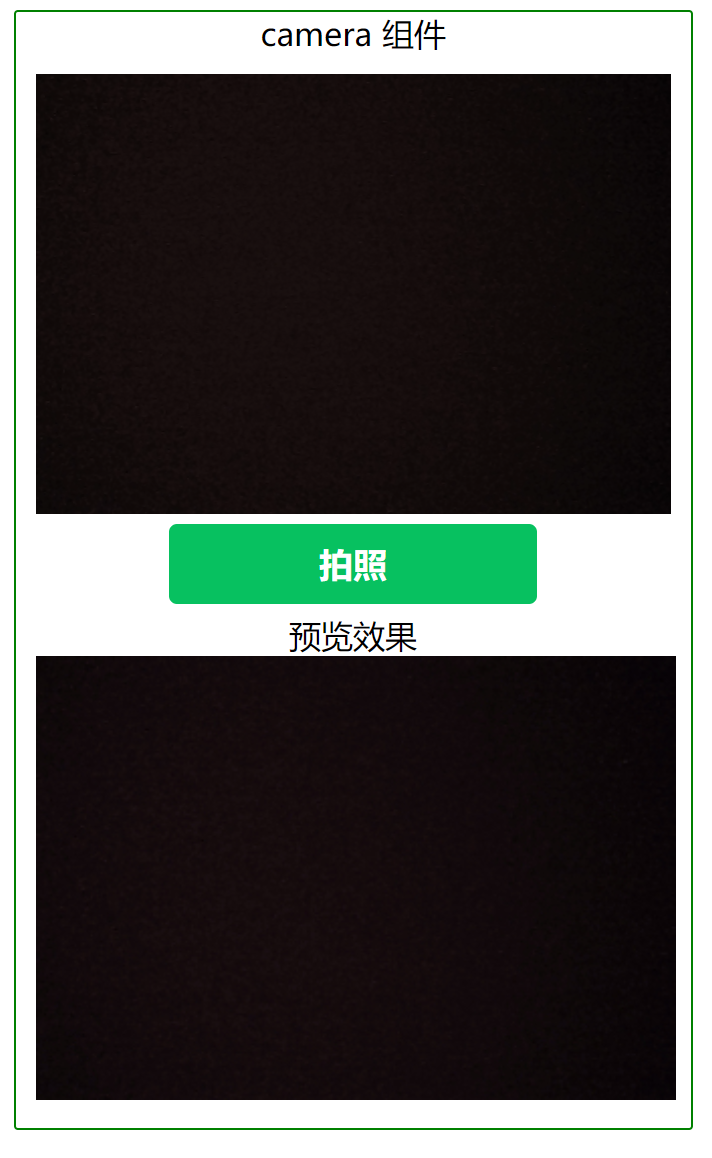
camera(拍照)组件
camera拍照组件相当于系统照片,扫描二维码功能。示例代码如下:
在.wxml页面中
<view class="section">
  <view class="section_title">camera 组件</view>
  <view class="section_body">
    <camera device-position="back" flash="off" binderror="error" class="cam"></camera>
    <button type="primary" bindtap="takePhoto">拍照</button>
    <view>预览效果</view>
    <image mode="widthFix" src="{{src}}"></image>
  </view>
</view>
在.wxss页面中
.section {
  width: 90%;
  margin: 10rpx auto;
  border: 1px solid green;
  border-radius: 5rpx;
}

.section_title {
  text-align: center;
}

.section_body {
  text-align: center;
  margin: 20rpx;
}

.cam {
  width: 100%;
  height: 300px;
}
.section_body button{
  margin: 10rpx;
}
在.js页面中
Page({
  takePhoto() {
    const ctx = wx.createCameraContext();
    ctx.takePhoto({
      quality: 'high',
      success: (res) => {
        this.setData({
          src: res.tempImagePath
        });
      }
    });
  },
  error(e) {
    console.log(e.detail)
  }
});
效果如下:
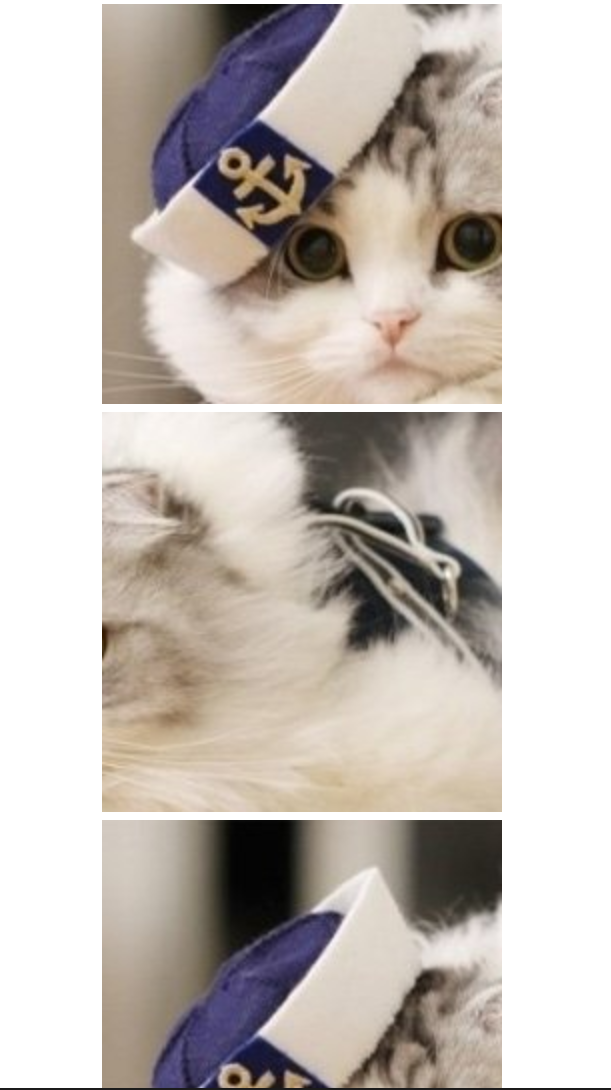
image(图片)组件
image组件有两类展示模式:一是缩放模式,有4种方式;二是裁剪模式,有9种方式。示例代码如下:
在.wxml页面种
<view class="section">
  <view class="section_title">image 图片组件</view>
  <view class="section_body">
    <view wx:for="{{array}}" wx:for-item="item">
      <view>{{item.name}}</view>
      <view><image class="img" mode="{{item.mode}}" src="{{src}}"></image></view>
    </view>
  </view>
</view>
在.wxss页面中
.section {
  width: 90%;
  margin: 10rpx auto;
  border: 1px solid green;
  border-radius: 5rpx;
}
.section_title {
  text-align: center;
}
.section_body {
  text-align: center;
  margin: 20rpx;
}
.section_body button {
  margin: 10rpx;
  font-size: 24rpx;
}
.img{
  width: 200px; height: 200px; background-color: #eeeeee;
}
在.js页面中
Page({
  data: {
    array: [{
        mode: 'scaleToFill',
        text: 'scaleToFill:不保持纵横比缩放图片,使图片完全适应'
      },
      {
        mode: 'aspectFit',
        text: 'aspectFit:保持纵横比缩放图片,使图片的长边能完全显示出来'
      },
      {
        mode: 'aspectFill',
        text: 'aspectFill:保持纵横比缩放图片,只保证图片的短边能完全显示出来'
      },
      {
        mode: 'top',
        text: 'top:不缩放图片,只显示图片的顶部区域'
      },
      {
        mode: 'bottom',
        text: 'bottom:不缩放图片,只显示图片的底部区域'
      },
      {
        mode: 'center',
        text: 'center:不缩放图片,只显示图片的中间区域'
      },
      {
        mode: 'left',
        text: 'left:不缩放图片,只显示图片的左边区域'
      },
      {
        mode: 'right',
        text: 'right:不缩放图片,只显示图片的右边边区域'
      },
      {
        mode: 'top left',
        text: 'top left:不缩放图片,只显示图片的左上边区域'
      },
      {
        mode: 'top right',
        text: 'top right:不缩放图片,只显示图片的右上边区域'
      },
      {
        mode: 'bottom left',
        text: 'bottom left:不缩放图片,只显示图片的左下边区域'
      },
      {
        mode: 'bottom right',
        text: 'bottom right:不缩放图片,只显示图片的右下边区域'
      }
    ],
    src: 'https://res.wx.qq.com/wxdoc/dist/assets/img/0.4cb08bb4.jpg'
  },
  imageError: function(e) {
    console.log('image3发生error事件,携带值为', e.detail.errMsg)
  },
});
效果如下:


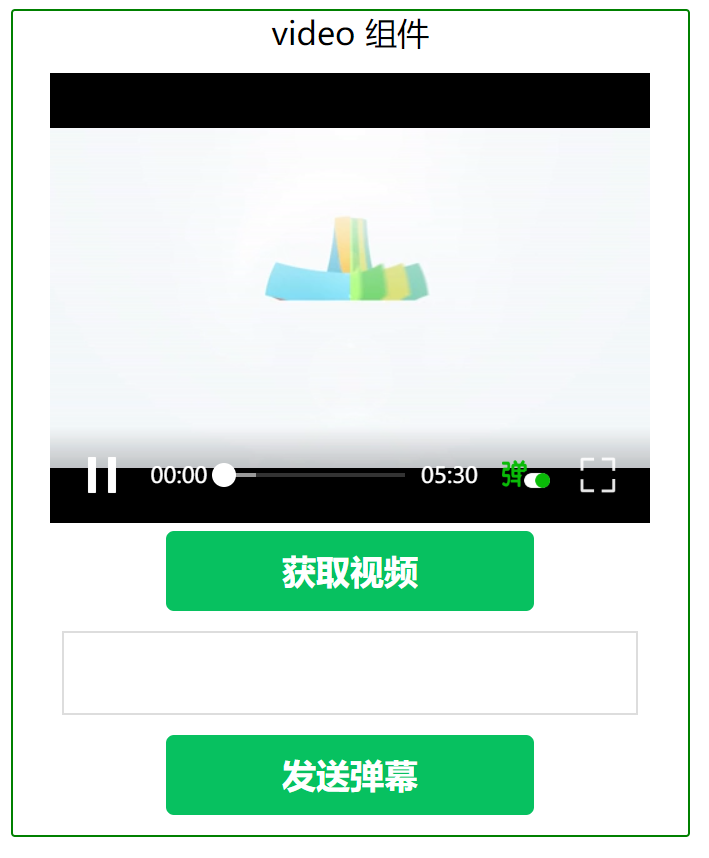
video(视频)组件
video组件用于播放视频,可以控制是否显示播放控件;video组件默认宽度为300px,高度为250px。示例代码如下:
在.wxml页面中
<view class="section">
  <view class="section_title">video 组件</view>
  <view class="section_body">
    <video id="myVideo" src="{{src}}" danmu-list="{{danmuList}}" enable-danmu danmu-btn controls></video>
    <button type="primary" bindtap="bindButtonTap">获取视频</button>
    <input bindblur="bindInputBlur" class="w-input"/>
    <button type="primary" bindtap="bindSendDanmu">发送弹幕</button>
  </view>
</view>
在.wsxx页面中
.section {
  width: 90%;
  margin: 10rpx auto;
  border: 1px solid green;
  border-radius: 5rpx;
}
.section_title {
  text-align: center;
}
.section_body {
  text-align: center;
  margin: 20rpx;
}
.w-input{
  border: 1px solid #ddd;
  height: 80rpx;
  width: 90%;
  margin: 20rpx auto;
}
在.js页面中
function getRandomColor() {
  let rgb = []
  for (let i = 0; i < 3; ++i) {
    let color = Math.floor(Math.random() * 256).toString(16)
    color = color.length == 1 ? '0' + color : color
    rgb.push(color)
  }
  return '#' + rgb.join('')
}
Page({
  onReady: function(res) {
    this.videoContext = wx.createVideoContext('myVideo')
  },
  data: {
    src: "http://wxsnsdy.tc.qq.com/105/20210/snsdyvideodownload?filekey=30280201010421301f0201690402534804102ca905ce620b1241b726bc41dcff44e00204012882540400&bizid=1023&hy=SH&fileparam=302c020101042530230204136ffd93020457e3c4ff02024ef202031e8d7f02030f42400204045a320a0201000400",
    inputValue: '',
    danmuList: [{
        text: '第 1s 出现的弹幕',
        color: '#ff0000',
        time: 1
      },
      {
        text: '第 3s 出现的弹幕',
        color: '#ff00ff',
        time: 3
      }
    ]
  },
  /*获取弹幕*/
  bindInputBlur: function(e) {
    this.inputValue = e.detail.value
  },
  /*获取视频*/
  bindButtonTap: function(e) {
    var that = this
    wx.chooseVideo({
      sourceType: ['album', 'camera'],
      maxDuration: 60,
      camera: ['front', 'back'],
      success: function (res) {
        that.setData({
          src: res.tempFilePath
        })
      }
    })
  },
  /*发送弹幕*/
  bindSendDanmu: function() {
    this.videoContext.sendDanmu({
      text: this.inputValue,
      color: getRandomColor()
    });
  },
});
效果如下:
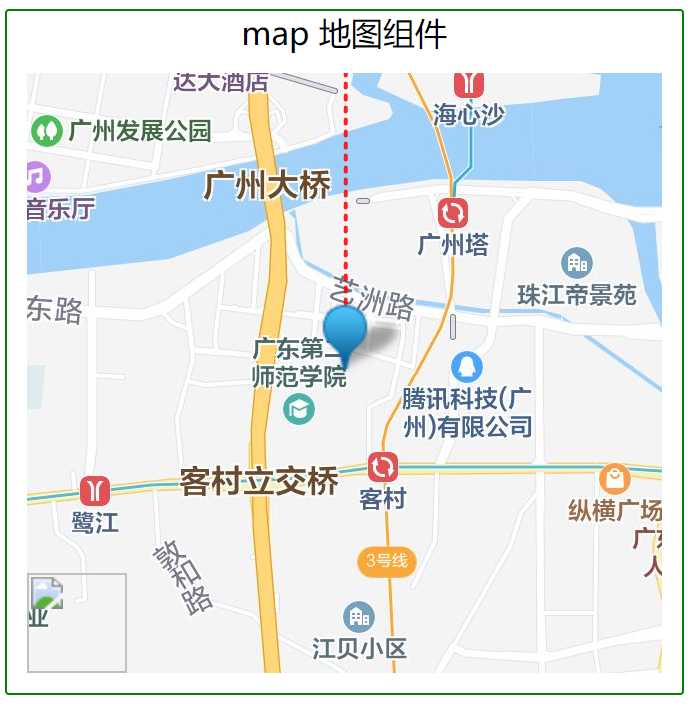
地图组件
我门可以使用地图组件开发与地图有关的的应用程序。例如:地图导航、打车软件等。示例代码如下:
在.wxml页面中
<view class="section">
  <view class="section_title">map 地图组件</view>
  <view class="section_body">
    <map id="map" longitude="113.324520" latitude="23.099994" scale="14" controls="{{controls}}" bindcontroltap="controltap" markers="{{markers}}" bindmarkertap="markertap" polyline="{{polyline}}" bindregionchange="regionchange" show-location class="mp"></map>
  </view>
</view>
在.wxss页面中
.section {
  width: 90%;
  margin: 10rpx auto;
  border: 1px solid green;
  border-radius: 5rpx;
}

.section_title {
  text-align: center;
}

.section_body {
  text-align: center;
  margin: 20rpx;
}

.mp {
  width: 100%;
  height: 300px;
}
在.js页面中
Page({
  data: {
    markers: [{
      iconPath: "",
      id: 0,
      latitude: 23.099994,
      longitude: 113.324520,
      width: 50,
      height: 50
    }],
    polyline: [{
      points: [{
        longitude: 113.3245211,
        latitude: 23.10229
      }, {
        longitude: 113.324520,
        latitude: 23.21229
      }],
      color: "#FF0000DD",
      width: 2,
      dottedLine: true
    }],
    controls: [{
      id: 1,
      iconPath: '',
      position: {
        left: 0,
        top: 300 - 50,
        width: 50,
        height: 50
      },
      clickable: true
    }]
  },
  regionchange(e) {
    console.log(e.type)
  },
  markertap(e) {
    console.log(e.markerId)
  },
  controltap(e) {
    console.log(e.controlId)
  }
});
效果如下:
总结
至此,微信小程序的组件学习到此为止。纸上得来终觉浅,绝知此事要躬行。实践,才是检验真理的唯一标准呀~
不能只是单纯的去看,最要的还是需要自动亲自动手去做才可以的~

 浙公网安备 33010602011771号