

Solidity合约编译部署脚本
编译合约的脚本
前提:需要有node环境
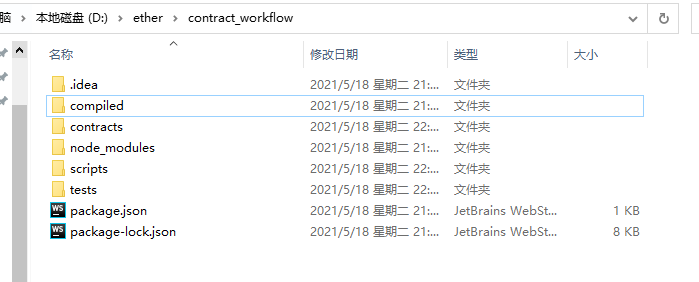
1、创建一个文件夹,contract_workflow
-
compiled文件夹存放编译后的文件
-
contracts文件夹存放合约文件
-
scripts文件夹存放脚本
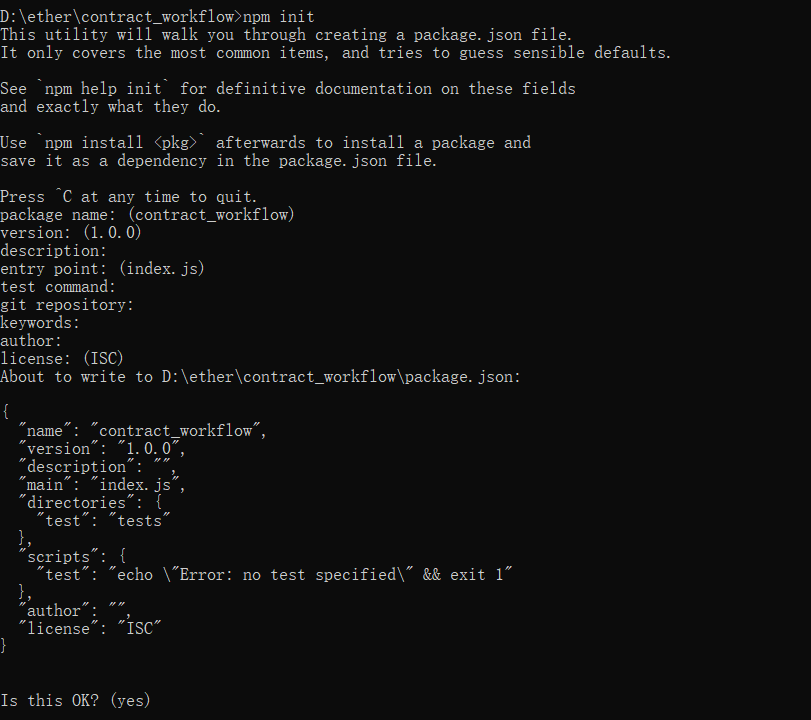
2、使用npm初始化该文件夹
npm init
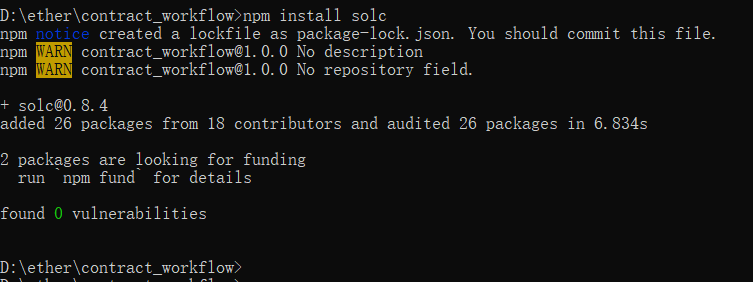
3、安装solc编译器
npm install solc
4、创建一个简单的合约文件Storage.sol,例如:
// SPDX-License-Identifier: GPL-3.0
pragma solidity >=0.7.0 <0.9.0;

contract Storage {
    uint256 number;
    function store(uint256 num) public {
        number = num;
    }
    function retrieve() public view returns (uint256){
        return number;
    }
}

5、编写编译脚本,compile.js
const fs = require("fs");
const solc = require("solc");
const path = require("path");
//Storage.sol合约文件的路径,__dirname表示当前文件所在目录
const contractPath = path.resolve(__dirname,"../contracts","Storage.sol");
//使用fs加载Storage.sol合约文件
const contractSource = fs.readFileSync(contractPath,"utf-8");

//预先定义编译源输入json对象
let jsonContractSource = JSON.stringify({
    language: 'Solidity',
    sources: {
        'Storage.sol': {  // 指明编译的文件名
            content: contractSource, // solidity 源代码
        },
    },
    settings: { // 自定义编译输出的格式。以下选择输出全部结果。
        outputSelection: {
            '*': {
                '*': [ '*' ]
            }
        }
    },
});
const result = solc.compile(jsonContractSource);
console.log(result);
6、使用node执行该脚本
node scripts/compile.js

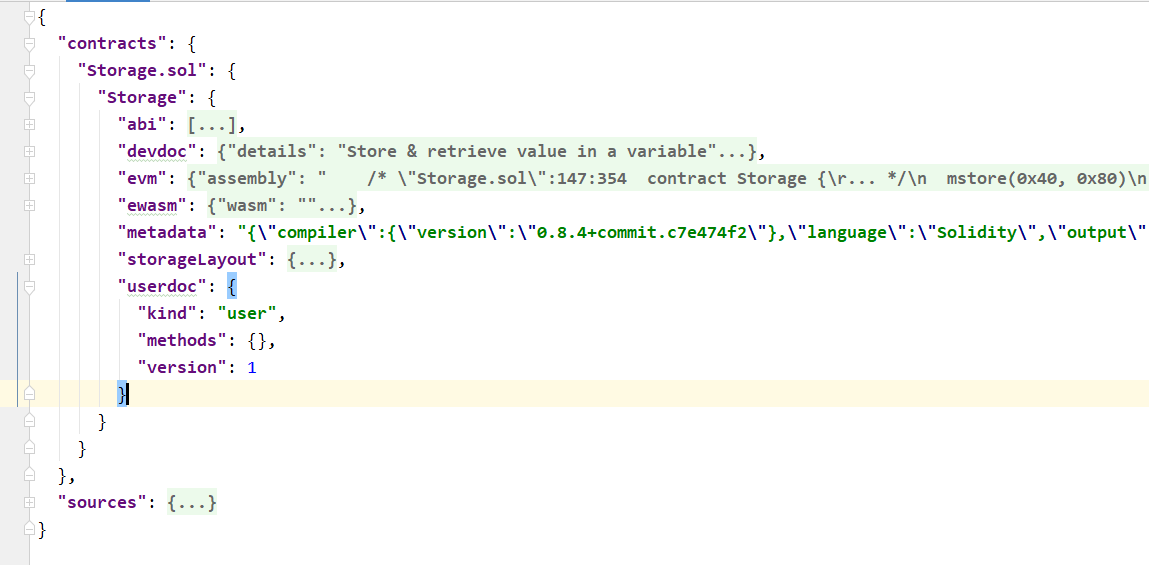
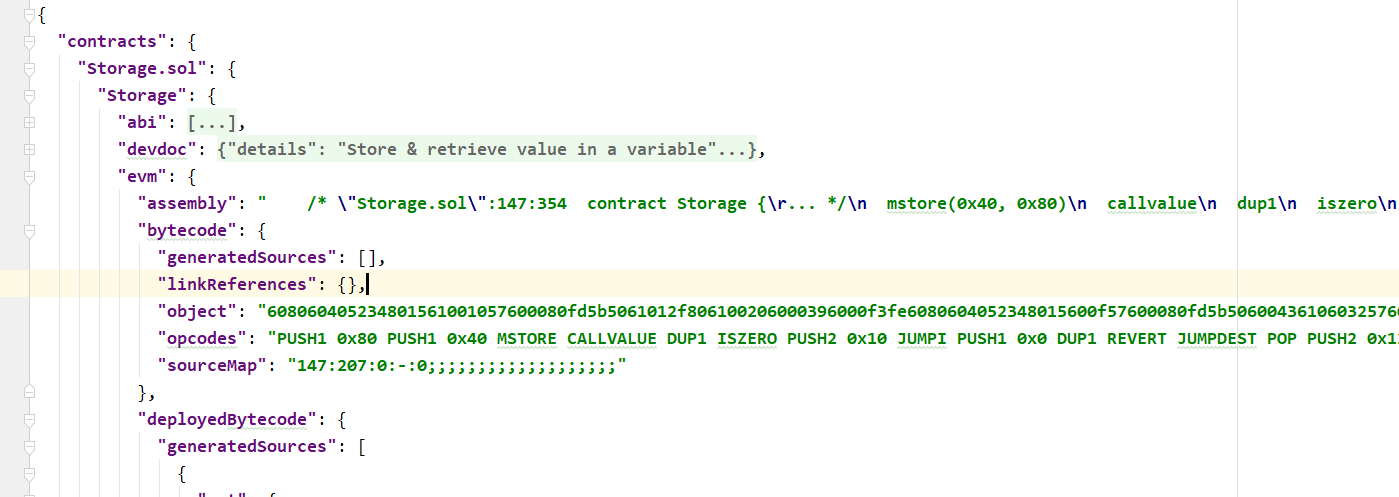
控制台打印编译后所有输出的结果,使用工具调整格式后如下:
编译后的输入输出json中各字段的含义,可以查看官方中文文档:https://solidity-cn.readthedocs.io/zh/develop/using-the-compiler.html#id5
7、将调用合约和部署合约需要的内容输出到文件(abi和bytecode)
-
abi根据下图可以看出,在contracts->Storage.sol->Storage->abi
-
bytecode在contracts->Storage.sol->Storage->evm->bytecode->object
在脚本中追加:
const fs = require("fs");
const solc = require("solc");
const path = require("path");

const contractPath = path.resolve(__dirname,"../contracts","Storage.sol");
const contractSource = fs.readFileSync(contractPath,"utf-8");

//预先定义编译源输入json对象
let jsonContractSource = JSON.stringify({
    language: 'Solidity',
    sources: {
        'Storage.sol': {  // 指明编译的文件名,方便获取数据
            content: contractSource, // 加载的合约文件源代码
        },
    },
    settings: { // 自定义编译输出的格式。以下选择输出全部结果。
        outputSelection: {
            '*': {
                '*': [ '*' ]
            }
        }
    },
});
const result = JSON.parse(solc.compile(jsonContractSource));
if(Array.isArray(result.errors) && result.errors.length){
    console.log(result.errors);
}

storageJson = {
  'abi': {},
  'bytecode': ''
};
//此时的Storage.sol与输入的json对象中定义的编译文件名相同
storageJson.abi = result.contracts["Storage.sol"]["Storage"].abi;
storageJson.bytecode = result.contracts["Storage.sol"]["Storage"].evm.bytecode.object;

//输出文件的路径
const compilePath = path.resolve(__dirname,"../compiled","Storage.json");

//将abi以及bytecode数据输出到文件或者将整个result输出到文件
fs.writeFile(compilePath, JSON.stringify(storageJson), function(err){
    if(err){
        console.error(err);
    }else{
         console.log("contract file compiled sucessfully.");
    }
});
8、部署合约脚本
(1)在当前目录下,安装web3
npm install web3
(2)在scripts文件夹下编写合约部署脚本deploy.js
const Web3 = require("web3");
//连接本地私链,可以使用ganache-cli搭建。
const web3 = new Web3("http://127.0.0.1:8545");
const fs = require("fs");
const path = require("path");
//加载合约编译后的abi文件以及bytecode文件
const compilePath = path.resolve(__dirname,"../compiled","Storage.json");
const storage = fs.readFileSync(compilePath,"utf-8");
const abi = JSON.parse(storage).abi;
const bytecode = JSON.parse(storage).bytecode;
console.log(abi);
console.log(bytecode);
console.log("-----------------------------------------------");
(async()=>{
let accounts = await web3.eth.getAccounts();
console.log("from:",accounts[0]);
let result = await new web3.eth.Contract(abi)
.deploy({data:bytecode,arguments:[]})
.send({from:accounts[0],gas:'1000000'})
.catch(err=>{
console.error(err);
});
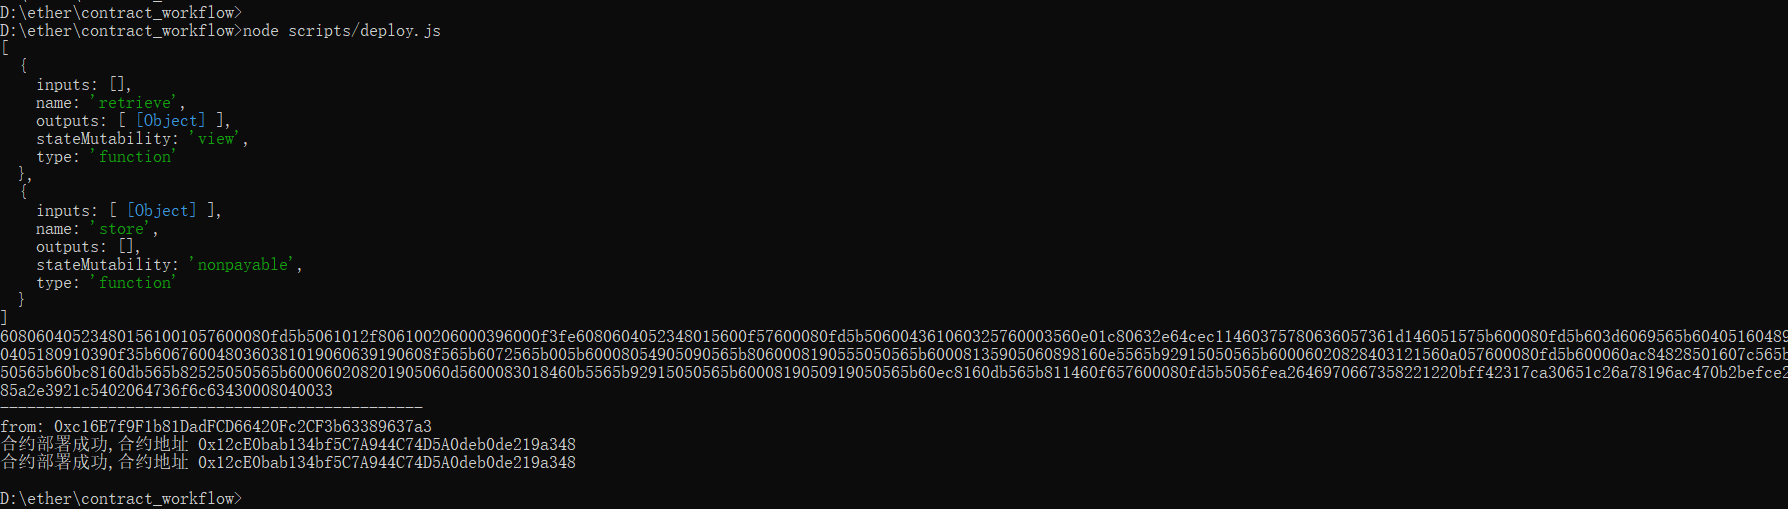
console.log("合约部署成功,合约地址:",result.options.address);
console.log("合约部署成功,合约地址:",result._address);
})();
(3)使用node执行deploy.js
node scripts/deploy.js
注意:如果本地还未搭建私链,可以使用ganache-cli工具,ganache-cli相当于一个geth客户端,它会在启动时创建10个账户,每个账户100ETH。默认端口8545,每次启动都会重新创建账户,相当于清理了之前的所有东西,每次启动都是全新的。
(1)在npm init初始化一个项目后,下载ganache-cli。
npm install ganache-cli
(2)进入node_modules/.bin/有一个ganache-cli.cmd双击启动或者使用下一步
然后js中使用如下代码就可以连接到本地私有区块链。
const Web3 = require("web3");
//连接本地私链,可以使用ganache-cli搭建。
const web3 = new Web3("http://127.0.0.1:8545");
(3)使用如下代码,不需要手动启动ganache-cli.cmd
const Web3 = require("web3");
const ganache = require("ganache-cli");
//连接本地私链,可以使用ganache-cli搭建。
const web3 = new Web3(ganache.provider());

 浙公网安备 33010602011771号