第一次使用Spring boot搭建了一个简单的web项目
我是用的IntelliJ IDEA,可以直接进行创建,如果是用的eclipse需要下载sts组件。
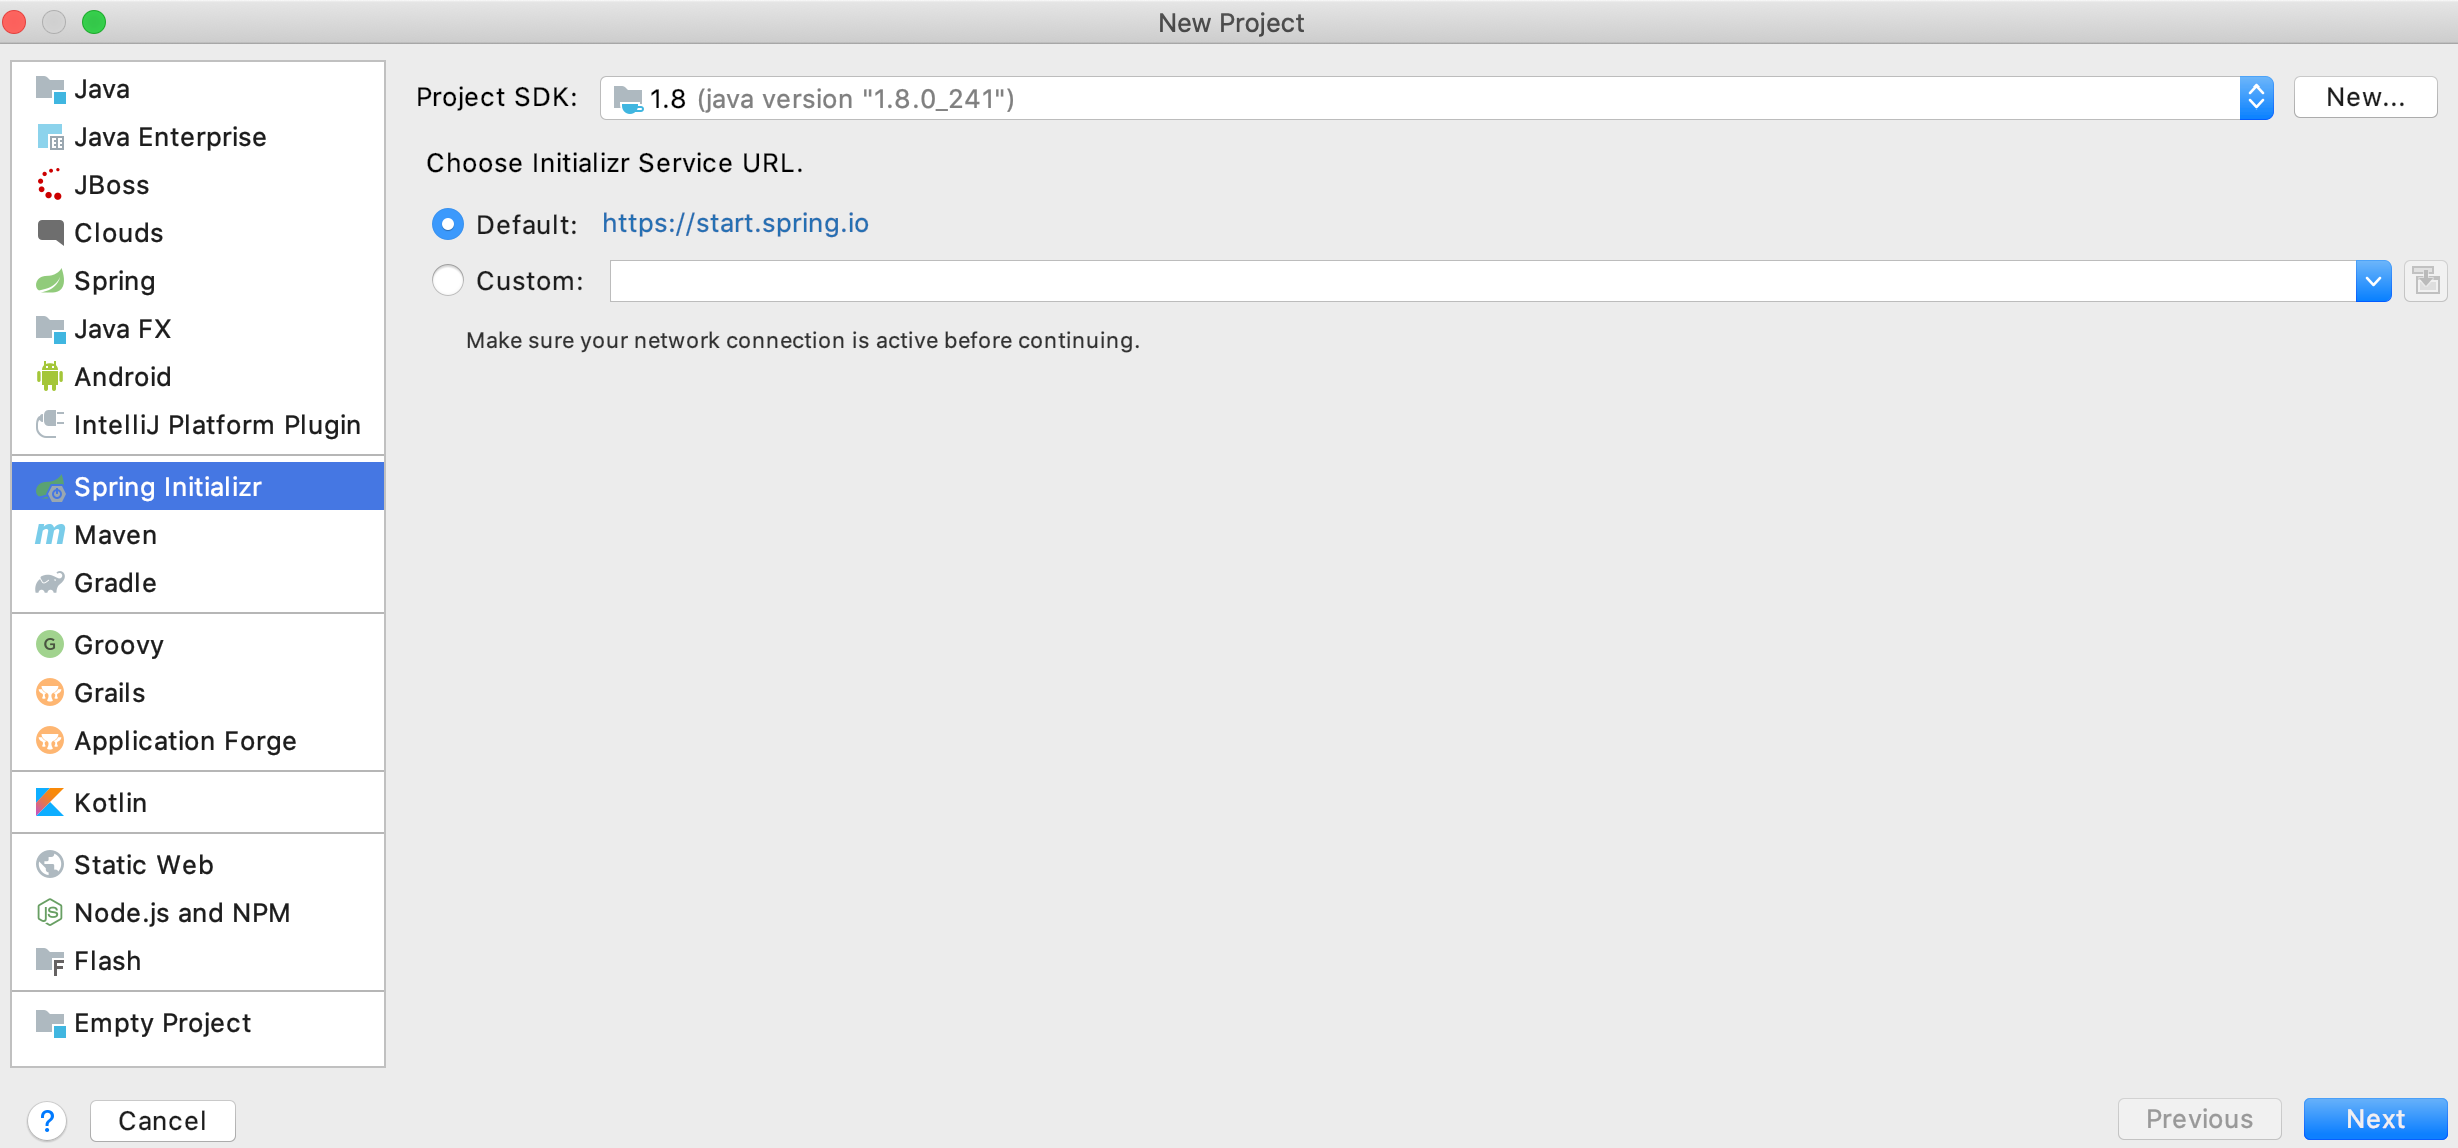
首先:File-new-Project
![]()
直接next
![]()
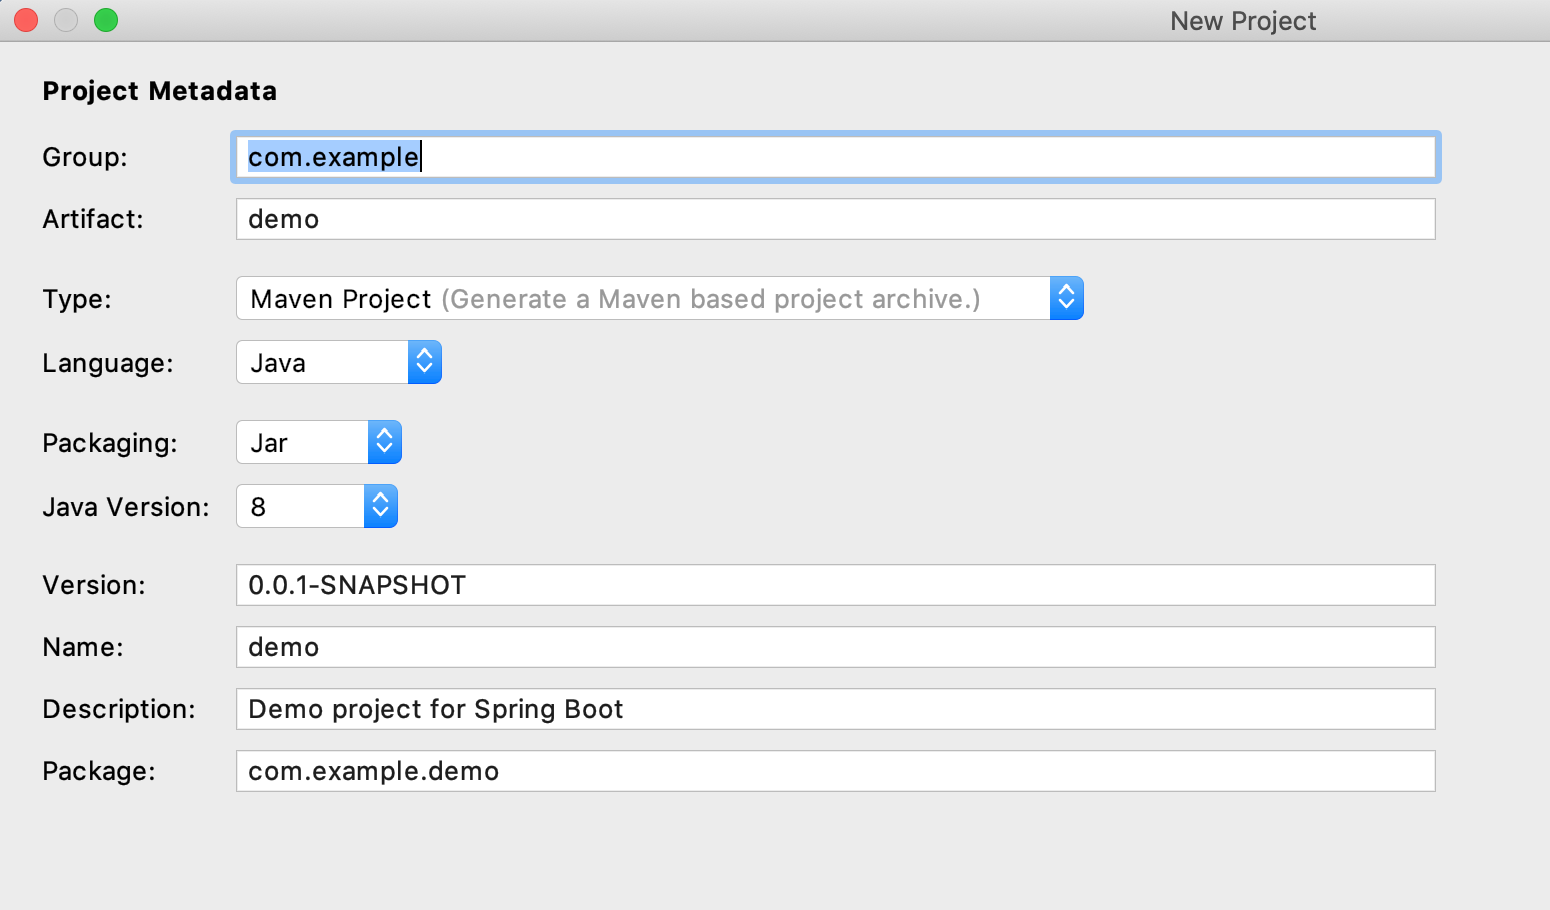
这里可以自由修改项目名称,我就不修改了
直接next
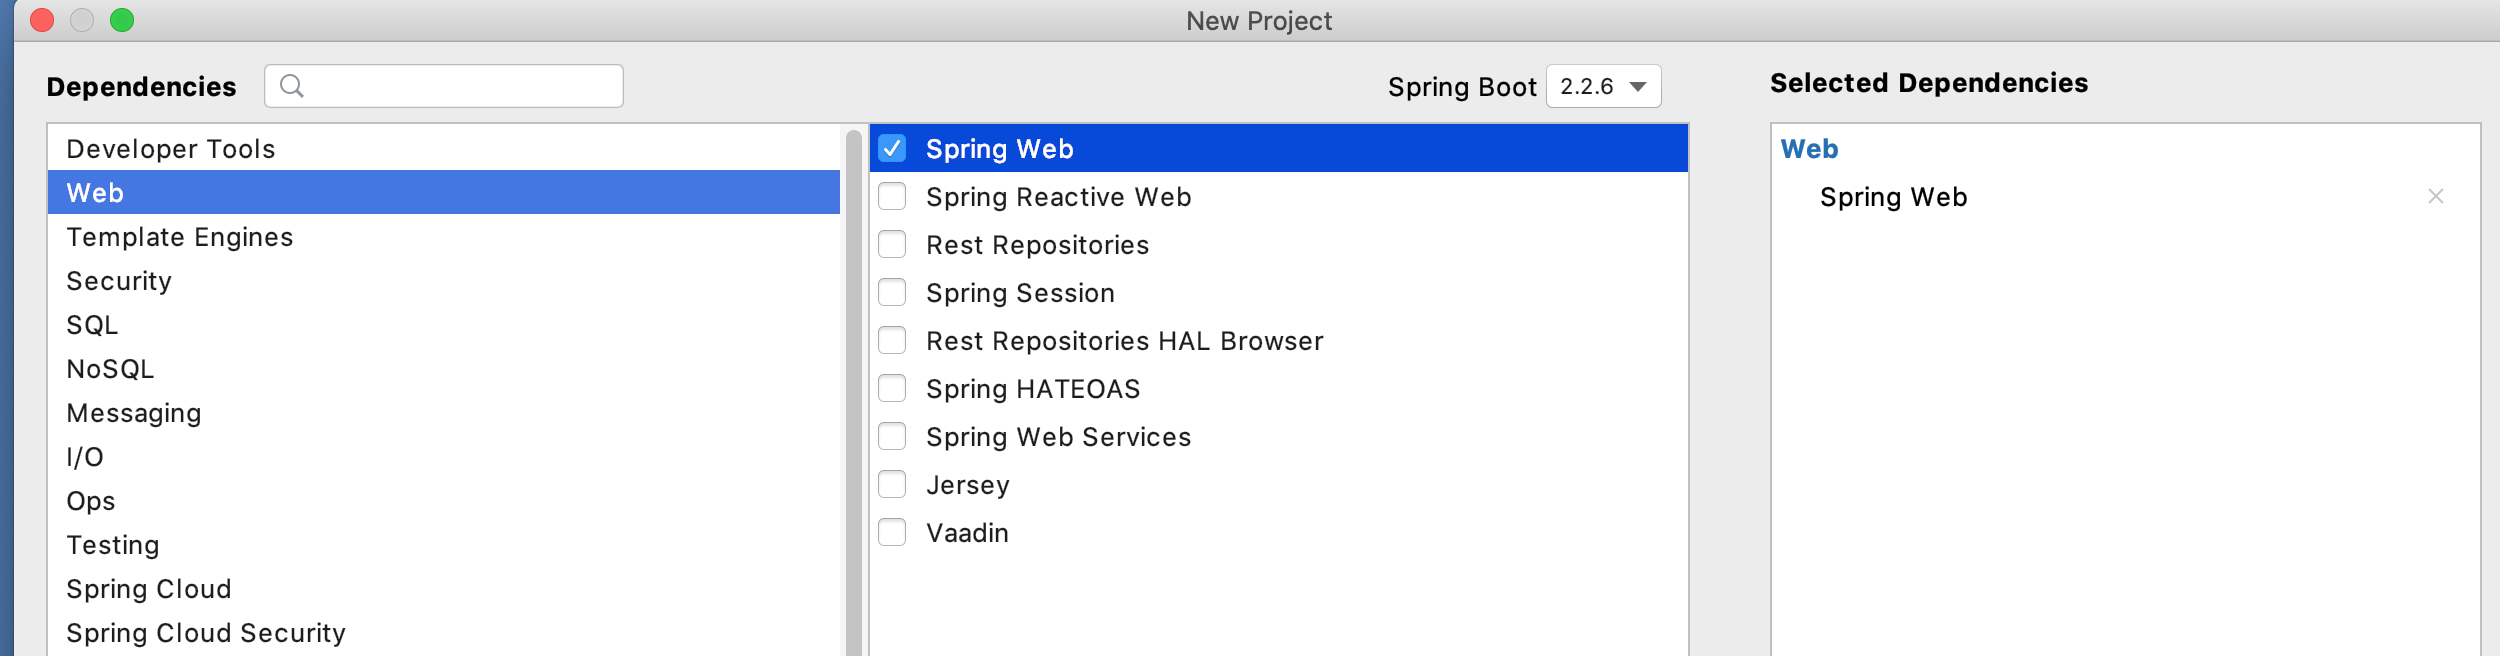
因为我们创建的是一个简单的web项目所以这里我们要选上web
![]()
最后直接finish
补上pom.xml文件
<?xml version="1.0" encoding="UTF-8"?>
<project xmlns="http://maven.apache.org/POM/4.0.0" xmlns:xsi="http://www.w3.org/2001/XMLSchema-instance"
         xsi:schemaLocation="http://maven.apache.org/POM/4.0.0 https://maven.apache.org/xsd/maven-4.0.0.xsd">
    <modelVersion>4.0.0</modelVersion>
    <parent>
        <groupId>org.springframework.boot</groupId>
        <artifactId>spring-boot-starter-parent</artifactId>
        <version>2.0.0.RELEASE</version>
        <relativePath/> <!-- lookup parent from repository -->
    </parent>
    <groupId>com.example</groupId>
    <artifactId>demo</artifactId>
    <version>0.0.1-SNAPSHOT</version>
    <name>demo</name>
    <description>Demo project for Spring Boot</description>

    <properties>
        <java.version>1.8</java.version>
    </properties>

    <dependencies>
        <dependency>
            <groupId>org.springframework.boot</groupId>
            <artifactId>spring-boot-starter-web</artifactId>
        </dependency>

        <dependency>
            <groupId>org.springframework.boot</groupId>
            <artifactId>spring-boot-starter-test</artifactId>
            <scope>test</scope>
            <exclusions>
                <exclusion>
                    <groupId>org.junit.vintage</groupId>
                    <artifactId>junit-vintage-engine</artifactId>
                </exclusion>
            </exclusions>
        </dependency>
        <dependency>
            <groupId>org.springframework.boot</groupId>
            <artifactId>spring-boot-starter-thymeleaf</artifactId>
        </dependency>

    </dependencies>

    <build>
        <plugins>
            <plugin>
                <groupId>org.springframework.boot</groupId>
                <artifactId>spring-boot-maven-plugin</artifactId>
            </plugin>
        </plugins>
    </build>

</project>
|
application.properties文件作如下配置:
server.port=8080

spring.application.name= yao

spring.mvc.view.prefix= classpath:/templates
spring.mvc.view.suffix = .html
spring.thymeleaf.mode= HTML
spring.thymeleaf.encoding=utf-8
spring.thymeleaf.cache=false
|
首先编写一个简单的controller
package com.example.demo.controller;

import org.springframework.web.bind.annotation.RequestMapping;
import org.springframework.web.bind.annotation.RestController;

@RestController
@RequestMapping
public class HelloDemo {

    @RequestMapping("/demo")
    public String hello(){
        return  "day day study";
    }
}
|
网页输入:http://localhost:8080/demo
![]()
下面我们在static目录下创建一个hello.html,通过直接访问http://localhost:8080/hello.html
<!DOCTYPE html>
<html lang="en">
<head>
    <meta charset="UTF-8">
    <title>Hello Spring Boot</title>
</head>
<body>
    <h1>this is static hello.html=http://localhost:8080/hello.html</h1>
</body>
</html>
![]()
最后我们创建一个动态controller跳转到html界面:
首先:
package com.example.demo.controller;

import org.springframework.stereotype.Controller;
import org.springframework.ui.Model;
import org.springframework.web.bind.annotation.RequestMapping;
import org.springframework.web.bind.annotation.RequestMethod;


import java.util.HashMap;

@Controller
public class HelloDemoContoller {

    /**
     * 本地访问路径:http://localhost:8080/toHello
     */
    @RequestMapping(value = "/toHello",method = RequestMethod.GET)
    public String toHello(Model model){
        model.addAttribute("key","欢迎来到学习Spring boot的第一个界面!");
        return "toHello";
    }

}
|
界面:
<!DOCTYPE html>
<html lang="en" xmlns:th="http://www.w3.org/1999/xhtml">


<head>
    <meta charset="UTF-8">
    <title>To Hello Demo</title>
</head>
<body>
    <h1>Hello Spring Boot !!</h1>
    <p th:text="${key}"></p>

</body>
</html>
|
这里需要注意的是引用参数时用到了th,所以
<html lang="en" xmlns:th="http://www.w3.org/1999/xhtml">,这里需要加上
xmlns:th="http://www.w3.org/1999/xhtml"的引用

最后我们访问:http://localhost:8080/toHello
![]()


 浙公网安备 33010602011771号