微信小程序设置动态tabBar,根据用户权限变化
1、微信小程序配置自定义tab-bar
🪄 这里可以参考 官方文档,关键就是配置app.json和新建custom-tab-bar文件夹
2、以下是关键代码
💡app.json
tabBar里放了四个路径,把要用到的路径都放在里面,最多5个,最少两个
{
  "pages": [
    "index/index",
    "example/example",
    "person/person"
  ],
  "window": {
    "backgroundTextStyle": "light",
    "navigationBarBackgroundColor": "#fff",
    "navigationBarTitleText": "Weixin",
    "navigationBarTextStyle": "black"
  },
  "tabBar": {
    "custom": true,
    "color": "#000",
    "selectedColor": "#4d94f0",
    "backgroundColor": "#fff",
    "borderStyle": "black",
    "list": [
      {
        "pagePath": "index/index",
        "iconPath": "image/icon_component.png",
        "selectedIconPath": "image/icon_component_HL.png",
        "text": "首页"
      },
      {
        "pagePath": "example/example",
        "iconPath": "image/example_unselect.png",
        "selectedIconPath": "image/example_selected.png",
        "text": "测试"
      },
      {
        "pagePath": "person/person",
        "iconPath": "image/icon_API.png",
        "selectedIconPath": "image/icon_API_HL.png",
        "text": "我的"
      }
    ]
  },
  "style": "v2",
  "sitemapLocation": "sitemap.json",
  "lazyCodeLoading": "requiredComponents"
}
✨utils/eventBus.js
关键-eventBus,跨组件跨页面间通讯
const eventBus = {
  // 存储所有事件和对应的订阅者
  eventList: new Map(),
  // 订阅事件
  on(event, callback) {
    if (!this.eventList.has(event)) {
      this.eventList.set(event, new Set())
    }
    this.eventList.get(event).add(callback)
  },
  // 取消订阅事件
  off(event, callback) {
    if (this.eventList.has(event)) {
      const callbacks = this.eventList.get(event)
      callbacks.delete(callback)
      if (callbacks.size === 0) {
        this.eventList.delete(event)
      }
    }
  },
  // 发布事件
  emit(event, ...args) {
    if (this.eventList.has(event)) {
      const callbacks = this.eventList.get(event)
      callbacks.forEach((callback) => {
        callback.call(null, ...args)
      })
    }
  }
}

module.exports = eventBus
🎀app.js
切换权限的函数我写在了这里
getApp().eventBus.emit(),发布事件,将一个事件发送给所有订阅了这个事件的回调函数
const eventBus = require('./utils/eventBus')
App({
  eventBus: eventBus,
  changeUserRight() {
    const i = wx.getStorageSync('rightId') || 0
    const id = i === 0 ? 1 : 0
    wx.setStorageSync('rightId', id)
    getApp().eventBus.emit('rightChange', id)
  },
})
🎉custom-tab-bar/index.js
自定义tabBar
1、tabBar 只展示list里面的路径
2、按权限分为 list1 和 list2 ,如果等级多的话可以有更多个,list里的路径必须是app.json里存在的
3、把用户权限rightId存在缓存中,根据rightId来判断展示什么tabBar
4、switchTab切换路由下标
5、 getApp().eventBus.on()是订阅事件,每次触发事件的时候,订阅了这个事件的回调函数将会被调用
// custom-tab-bar/index.js
Component({
  data: {
    rightId:wx.getStorageSync('rightId') || 0,
    list: [],
    list1: [{
        "pagePath": "/index/index",
        "iconPath": "/image/icon_component.png",
        "selectedIconPath": "/image/icon_component_HL.png",
        "text": "首页"
      },
      {
        "pagePath": "/person/person",
        "iconPath": "/image/icon_API.png",
        "selectedIconPath": "/image/icon_API_HL.png",
        "text": "我的"
      }
    ],
    list2: [{
        "pagePath": "/index/index",
        "iconPath": "/image/icon_component.png",
        "selectedIconPath": "/image/icon_component_HL.png",
        "text": "首页"
      },
      {
        "pagePath": "/example/example",
        "iconPath": "/image/example_unselect.png",
        "selectedIconPath": "/image/example_selected.png",
        "text": "测试"
      },
      {
        "pagePath": "/person/person",
        "iconPath": "/image/icon_API.png",
        "selectedIconPath": "/image/icon_API_HL.png",
        "text": "我的"
      }
    ]
  },
  attached() {
    this.changeList()
    getApp().eventBus.on('rightChange', data => {
      if (data !== this.data.rightId) {
        this.setData({
          rightId: data
        })
        this.changeList()
      }
    })
  },
  detached() {
    app.eventBus.off('rightChange')
  },
  methods: {
    changeList() {
      this.setData({
        rightId: wx.getStorageSync('rightId') || 0
      })
      if (this.data.rightId === 1) {
        this.setData({
          list: this.data.list2
        })
      } else {
        this.setData({
          list: this.data.list1
        })
      }
    },
    switchTab(e) {
      const data = e.currentTarget.dataset
      const url = data.path
      wx.switchTab({ url })
    }
  }
})
👉每个tabBar页面的onShow()中需加上, selected表示它的顺序,这个不能写错,不然tabBar会出现高亮混乱的问题
if (typeof this.getTabBar === 'function' &&
    this.getTabBar()) {
    this.getTabBar().setData({
        selected: 0
    })
}
🔔person.js 是列表的最后一个,列表内容变化,它的select也会动态变化,所以要加一个判断
 let num = this.data.rightId === 1 ? 2 : 1
 if (typeof this.getTabBar === 'function' &&
     this.getTabBar()) {
     this.getTabBar().setData({
         selected: num
     })
 }
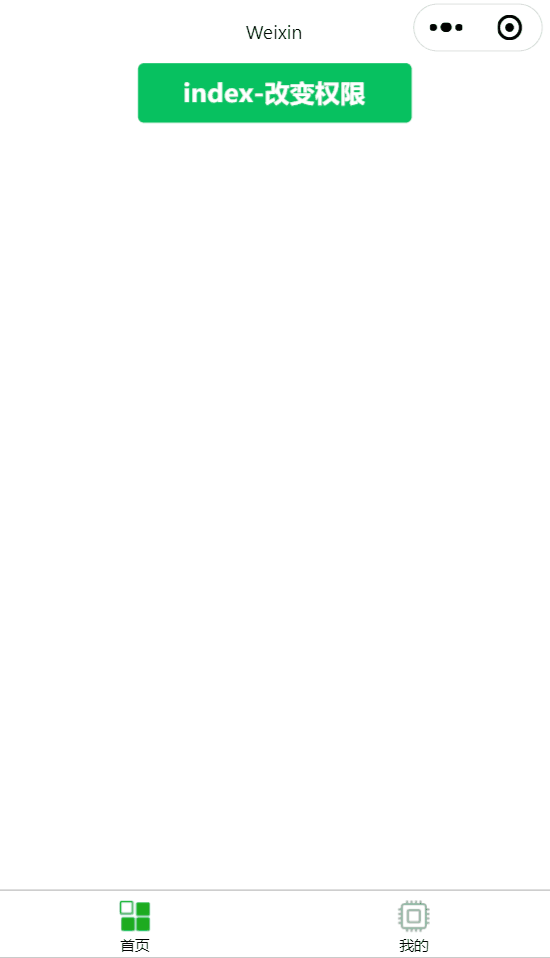
3、📺演示效果
4、完整版
在这里提供一个🌴代码片段
希望这篇博文可以为大家提供一点帮助,同时个人感觉最终效果不是很完美,欢迎大家在评论区留言交流,共同进步

 浙公网安备 33010602011771号