|
Monkey-Patching 的目的是修改原方法同时为其注入新的逻辑。可以理解成劫持。这样系统在执行的时候,实际上执行的是被替换的版本。
大部分时候,这里的操作隐含了对原方法的保留,只是向其中添加自己的新逻辑。毕竟,你不想修改掉系统某个方法后整个程序就崩掉。所以最安全的做法就是在劫持的时候保留对原方法的调用。
像在 JavaScript 这种弱类型的语言中,这一技术很好实现,应用也很广泛。比如 Reux 中间件的实现。
JavaScript 中 Monkey-Packing 示例:
// 保存原始的 log 方法
var log = console.log;
console.log = function() {
   // 向原始方法中添加新的逻辑
   log.apply(console, [(new Date()).toString()].concat(arguments));
};
以上 JavaScript 代码替换掉了系统的版本,实现了打印信息到控制台时带上时间。
Objective-C 运行时
Objective-C 虽然是强类型,但好多东西是动态的,即运行时(runtime)确定。比如向一个对象发送消息(就是调用方法),消息的响应及如何响应,完成是运行时确定的,而发送方只是规定了消息的标识(selector)。
利用 Objective-C 运行时的一些东西,便可以实现修改 Cocoa 框架中方法的目的。
Swizzle
在进行具体操作前,先来理解一段代码,其中用到了大量 Objective-C 运行时的方法,所以需要引入 runtime 头文件:
然后来看这段代码:
SEL firstMethodSelector = @selector(firstMethod);
SEL secondMethodSelector = @selector(secondMethod);
Method firstMethod = class_getInstanceMethod(self, firstMethodSelector);
Method secondMethod = class_getInstanceMethod(self, secondMethodSelector);

BOOL methodAdded = class_addMethod([self class],
                                   firstMethodSelector,
                                   method_getImplementation(secondMethod),
                                   method_getTypeEncoding(secondMethod));

if (methodAdded) {
class_replaceMethod([self class],
                      secondMethodSelector,
                      method_getImplementation(firstMethod),
                      method_getTypeEncoding(firstMethod));
} else {
  method_exchangeImplementations(firstMethod, secondMethod);
}
以上,做了如下的事情:
- 假设类上面已经有两个方法,
firstMethod,secondMethod。
@selector 肯定不陌生,返回一个指向方法的选择器。首先获取两个方法的选择器。- 通过
class_getInstanceMethod 获取两个方法对应的实例版本(实例上的副本)。
- 通过
class_addMethod 向类上面添加一个方法, 并提供方法的实现和方法签名信息,这是通过 method_getImplementation 和 secondMethod 自动从 secondMethod 上获取的。
class_addMethod 会返回一个状态,表示添加是否成功。如果方法一已经存在,这个操作就会失败。- 接下来,如果上面的步骤操作成功,那么类上面成功添加了名为
firstMethodSelector 的方法且其实现是 secondMethod。剩下需要做的就是把名为 secondMethodSelector 的方法其实现变成 firstMethod, 通过 class_replaceMethod 来完成。理解这一步的关键是区分选择器与实例方法,这里替换时使用的 method 都是从实例上取下来的,所以前面步骤虽然使用 class_addMethod 添加了一个名为 firstMethodSelector 的方法,但 firstMethod 是在这个操作之前取的,它还是原来的方法体。
- 操作没成功,说明方法一已经存在,通过
method_exchangeImplementations 直接交换两者的实现即可。
因为 Objective-C 中不能像 JavaScript 那样直接给方法重新赋值,所以实现修改方法,是通过这种交换的方式来变通实现。正因为是交换的方式,所以 Objective-C 中的 Monkey-Patching 有他自己的名字,Swizzle,查不到相关中文翻译,和 Switch 长得相所以用在此处到是很应景,英文本意和搅拌相关。
load
NSObject 上提供了一个静态方法 +(void)load;,它会在类被加载到运行时环境后调用。这要先于类的初始化。在这里面可进行一些类相关的操作,很方便用来进行上面的 Swizzle。
使用场景
说了这么多,到底做有什么用。
举一些使用场景:
- 给界面中所有元素绘制边框方便调试。
- 打日志,统计执行次数和性能分析
- 给 viewController 统一添加是否该出引导蒙层的逻辑。
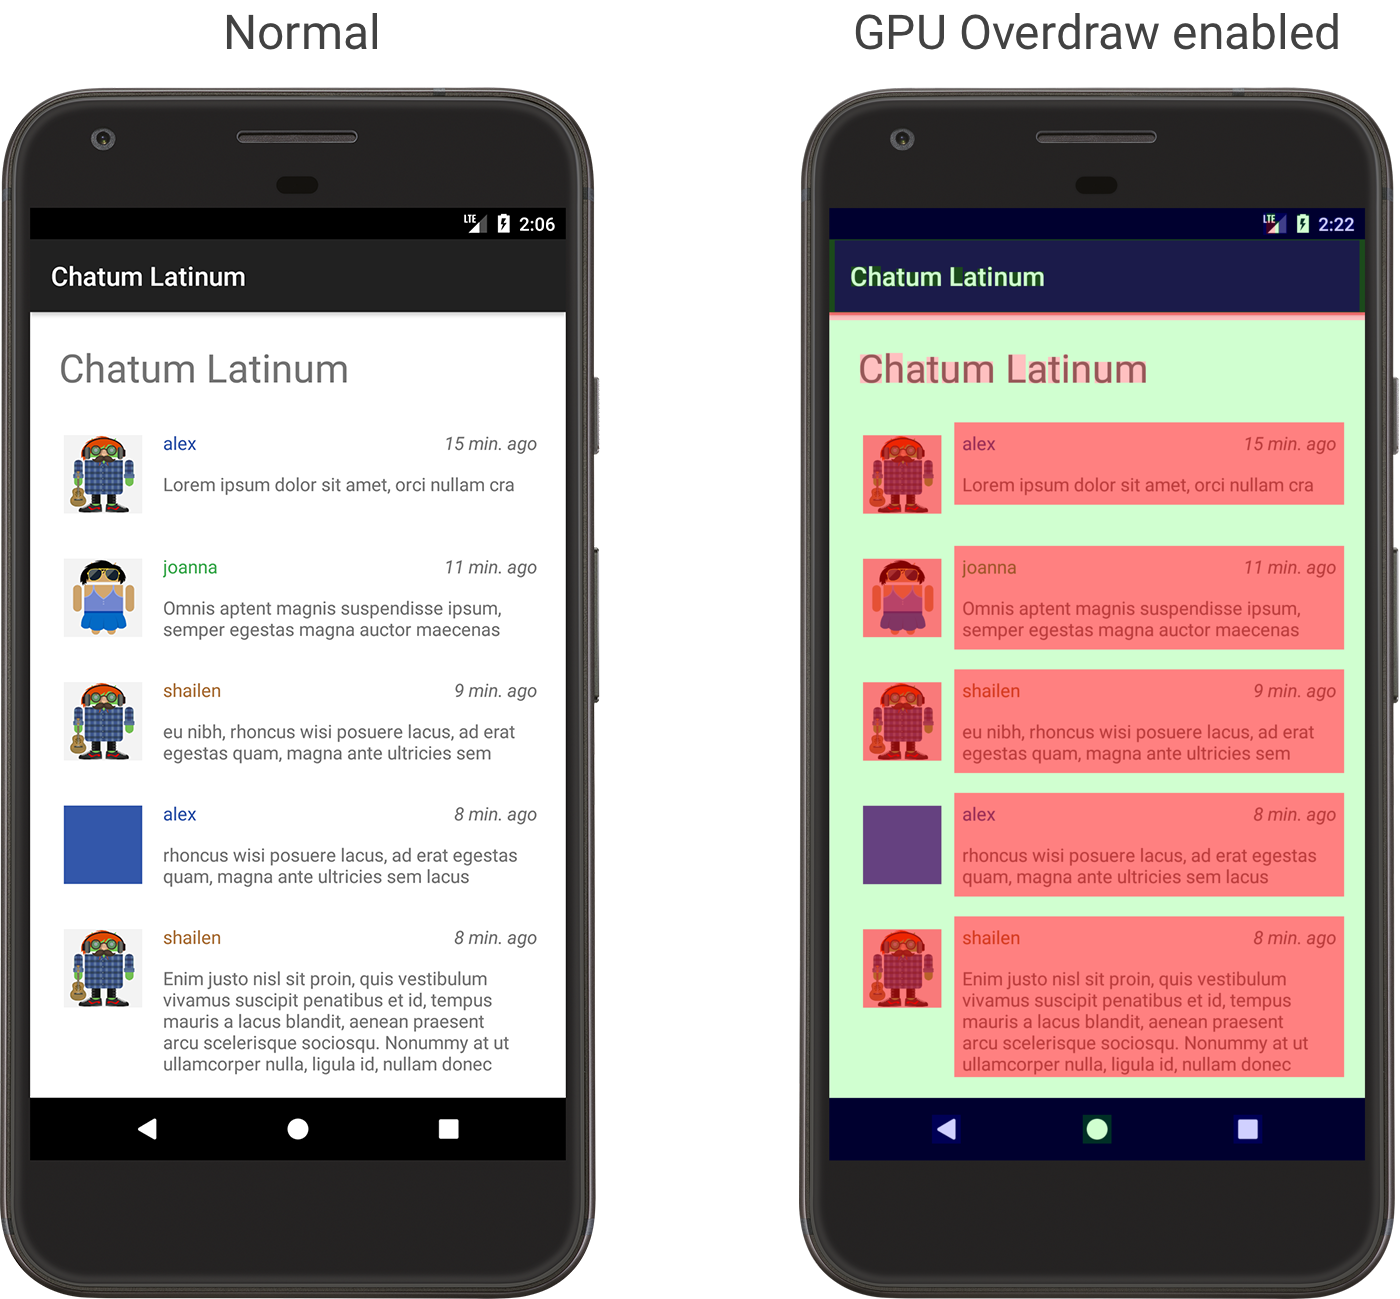
拿绘制边框为例,开发过安卓的话会知道设备上开启 GPU Overdraw 后,界面的绘制会被色块区分开,形如这样:

GPU Overdraw on Android -- 图片来自 Android 开发者文档
原来是用来调试界面绘制性能,发现过度绘制的,但我觉得这可以用来调试 UI 布局。
通过修改 UIView 的初始化方法,我们可以为界面上所有的元素加上一个边框,这样可以方便地调试布局。
利用 Swizzle 实现 UIView 的边框绘制
界面上大部组件都是 UIView 的继承类,所以如果替换掉原生的初始化方法,在替换的版本中就可以实现为所有 UIView 添加边框。
添加 UIView 的 Category,实现改造后的 initWithFrame: 方法,为了和原方法区分以方便替换,这里取名 debugInitWithFrame。
UIView+Debug.h
#import <objc/runtime.h>
#import "UIView+SBDebug.h"

@implementation UIView (Debug)

- (instancetype)debugInitWithFrame:(CGRect)frame{
    [self debugInitWithFrame:frame];
    self.layer.borderWidth = 1;
    self.layer.borderColor = [UIColor redColor].CGColor;
    return self;
}

@end
注意上面我们在 debugInitWithFrame: 方法里又调用了 debugInitWithFrame: ,岂不是会造成死循环?实际情况是不会,因为在调用发生的时候,它已经被替换成了原生的 initWithFrame:。
添加 swizzle 逻辑:
+ (void)load {
  static dispatch_once_t onceToken;
  dispatch_once(&onceToken, ^{
    SEL orginalSelector = @selector(initWithFrame:);
    SEL newSelector = @selector(debugInitWithFrame:);
    Method orignalMethod = class_getInstanceMethod(self, orginalSelector);
    Method newMethod = class_getInstanceMethod(self, newSelector);

    BOOL addResult =
        class_addMethod([self class], orginalSelector, method_getImplementation(newMethod),
                        method_getTypeEncoding(newMethod));
    if (addResult) {
      class_replaceMethod([self class], newSelector, method_getImplementation(orignalMethod),
                          method_getTypeEncoding(orignalMethod));
    } else {
      method_exchangeImplementations(orignalMethod, newMethod);
    }
  });
}
为了保证替换操作只进行一次,这里使用了 dispatch_once。
至此就大功告成了,来看下效果:

为所有 UIView 绘制边框
将 Swizzle 逻辑抽取成公用
注意到 UIView 并不只有这一个初始化方法,还可通过调用 initWithCoder: 来初始化,所以要看到所有的 UIView 边框,还需要为这个方法添加一下支持。
这意味着前面 +load 里做的事情需要复制一遍,明显不优雅。因此,可以将这段逻辑抽取到公共的地方,比如添加到 NSObject 上,然后将需要交换的 selector 传递进去即可。
添加 NSObject 的 Category,添加一个 +swizzleInstanceSelector:withNewSelector: 方法:
NSObject+Debug
#import <objc/runtime.h>
#import "NSObject+Debug.h"

@implementation NSObject (Debug)

+ (void)swizzleInstanceSelector:(SEL)originalSelector withNewSelector:(SEL)newSelector {
  Method originalMethod = class_getInstanceMethod(self, originalSelector);
  Method newMethod = class_getInstanceMethod(self, newSelector);

  BOOL methodAdded =
      class_addMethod([self class], originalSelector, method_getImplementation(newMethod),
                      method_getTypeEncoding(newMethod));

  if (methodAdded) {
    class_replaceMethod([self class], newSelector, method_getImplementation(originalMethod),
                        method_getTypeEncoding(originalMethod));
  } else {
    method_exchangeImplementations(originalMethod, newMethod);
  }
}

@end
使用:
UIView+Debug.h
#import "NSObject+Debug.h"
#import "UIView+Debug.h"

@implementation UIView (Debug)

+ (void)load {
  static dispatch_once_t onceToken;
  dispatch_once(&onceToken, ^{
    [self swizzleInstanceSelector:@selector(initWithFrame:)
                  withNewSelector:@selector(debugInitWithFrame:)];
    [self swizzleInstanceSelector:@selector(initWithCoder:)
                  withNewSelector:@selector(debugInitWithCoder:)];
  });
}

- (instancetype)debugInitWithFrame:(CGRect)frame {
  [self debugInitWithFrame:frame];
  [self setupBorder];
  return self;
}

- (instancetype)debugInitWithCoder:(NSCoder *)coder {
  [self debugInitWithCoder:coder];
  [self setupBorder];
  return self;
};

- (void)setupBorder {
  self.layer.borderWidth = 1;
  self.layer.borderColor = [UIColor redColor].CGColor;
}

@end
总结
修改框架代码这件事,需要小心。在没有完全理解 Swizzle 所干的事情前,不要在项目中使用。因为它威力很大,如果逻辑写得不对很可能影响正常功能。
同时它很好用,这里的好用是说其威力巨大所带来的便利性,即用好后可以很高效地完成一些事情。比如像上面的示例,你不可能每个地方都去写一次 border 的设置。
通过实现 UIView 添加边框这个示例,我还了解到,UIView 里 layer 的 drawRect: 并不是都会调,只有在复写时才会调用。因为一开始的思路不是替换初始化方法,而是想通过替换 drawRect: 来做。所以内部 runtime 对 UIView 子类,可能会先检查是否有自定义的 drawRect:,有才调用之,没有不会调用自己的 drawRect:。
相关资源
|
 CC BY-NC-SA 署名-非商业性使用-相同方式共享

 浙公网安备 33010602011771号