部署harbor
harbor部署
下载并安装cli插件
[root@node1 ~]# DOCKER_CONFIG=${DOCKER_CONFIG:-$HOME/.docker}
[root@node1 ~]#  mkdir -p $DOCKER_CONFIG/cli-plugins
[root@node1 ~]# cd $DOCKER_CONFIG/cli-plugins
[root@node1 cli-plugins]# ls
docker-compose
将harbor解压到/usr/local下
[root@node1 src]# tar xf harbor-offline-installer-v2.5.3.tgz -C /usr/local/
[root@node1 src]# ls /usr/local/
harbor          sbin
apache          lib
apr             lib64
apr-1.7.0       libexec
apr-util        mysql
apr-util-1.6.1  mysql-5.7.39-linux-glibc2.12-x86_64
bin             php
etc             php-7.4.30
games           phpMyAdmin-5.2.0-all-languages
部署hadbor
因为没有ssl私钥加密所以我们要把httpds注释掉
# https related config
#https:
  # https port for harbor, default is 443
  # port: 443
  # The path of cert and key files for nginx
  # certificate: /your/certificate/path
  # private_key: /your/private/key/path
  hostname: node1
 安装
 [root@node1 harbor]# ./install.sh

[Step 0]: checking if docker is installed ...

Note: docker version: 20.10.17

[Step 1]: checking docker-compose is installed ...

Note: docker-compose version: 2.7.0

[Step 2]: loading Harbor images ...
ed825a5a3f34: Loading layer   37.6MB/37.6MB
eb50d8bbd990: Loading layer  7.668MB/7.668MB
04e75300c772: Loading layer  7.362MB/7.362MB
e6830bb442bf: Loading layer      1MB/1MB
Loaded image: goharbor/harbor-portal:v2.5.3
7e761f0c6325: Loading layer  8.898MB/8.898MB
bea2d99bdd9a: Loading layer  3.584kB/3.584kB
7635b8507a3f: Loading layer   2.56kB/2.56kB
[root@node1 harbor]# ss -antl
State   Recv-Q  Send-Q    Local Address:Port     Peer Address:Port  Process
LISTEN  0       128           127.0.0.1:9000          0.0.0.0:*
LISTEN  0       128           127.0.0.1:1514          0.0.0.0:*
LISTEN  0       128             0.0.0.0:80            0.0.0.0:*
LISTEN  0       128             0.0.0.0:22            0.0.0.0:*
LISTEN  0       128                [::]:80               [::]:*
LISTEN  0       128                [::]:22               [::]:*


设置开机自启
[root@node1 harbor]# cat /etc/rc.local
#!/bin/bash
cd /usr/local/harbor
/usr/bin/docker-compose start
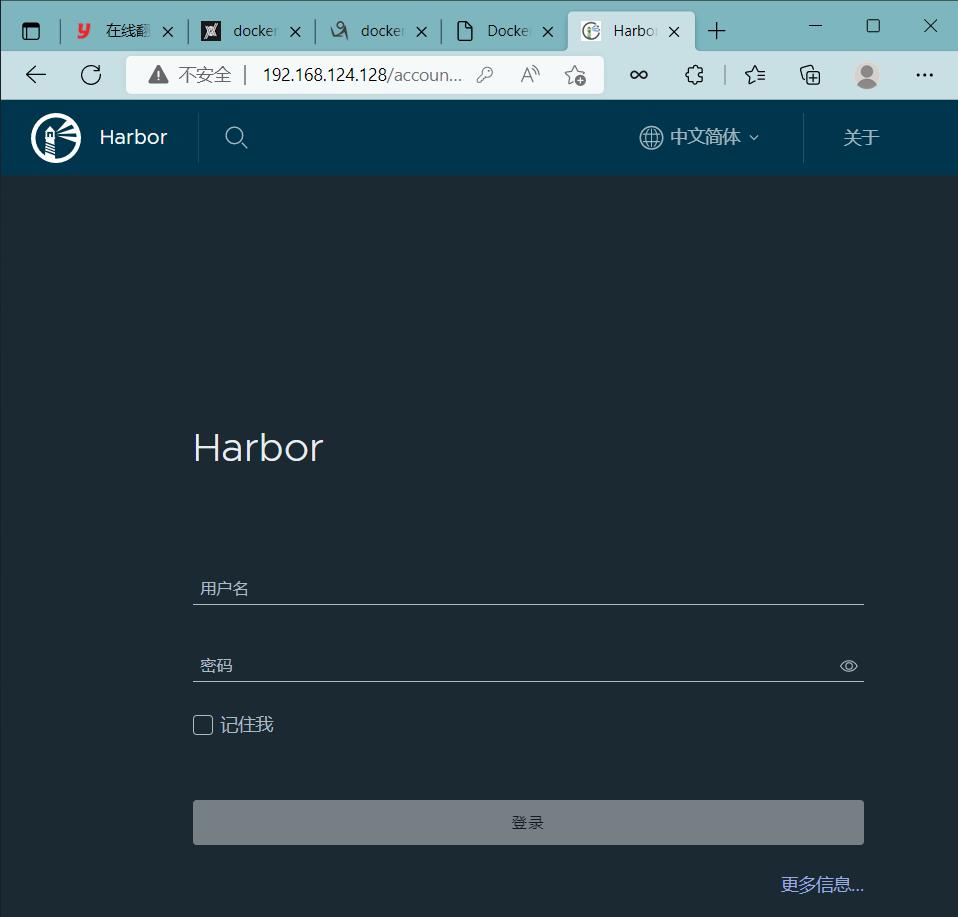
使用ip登录管理harbor
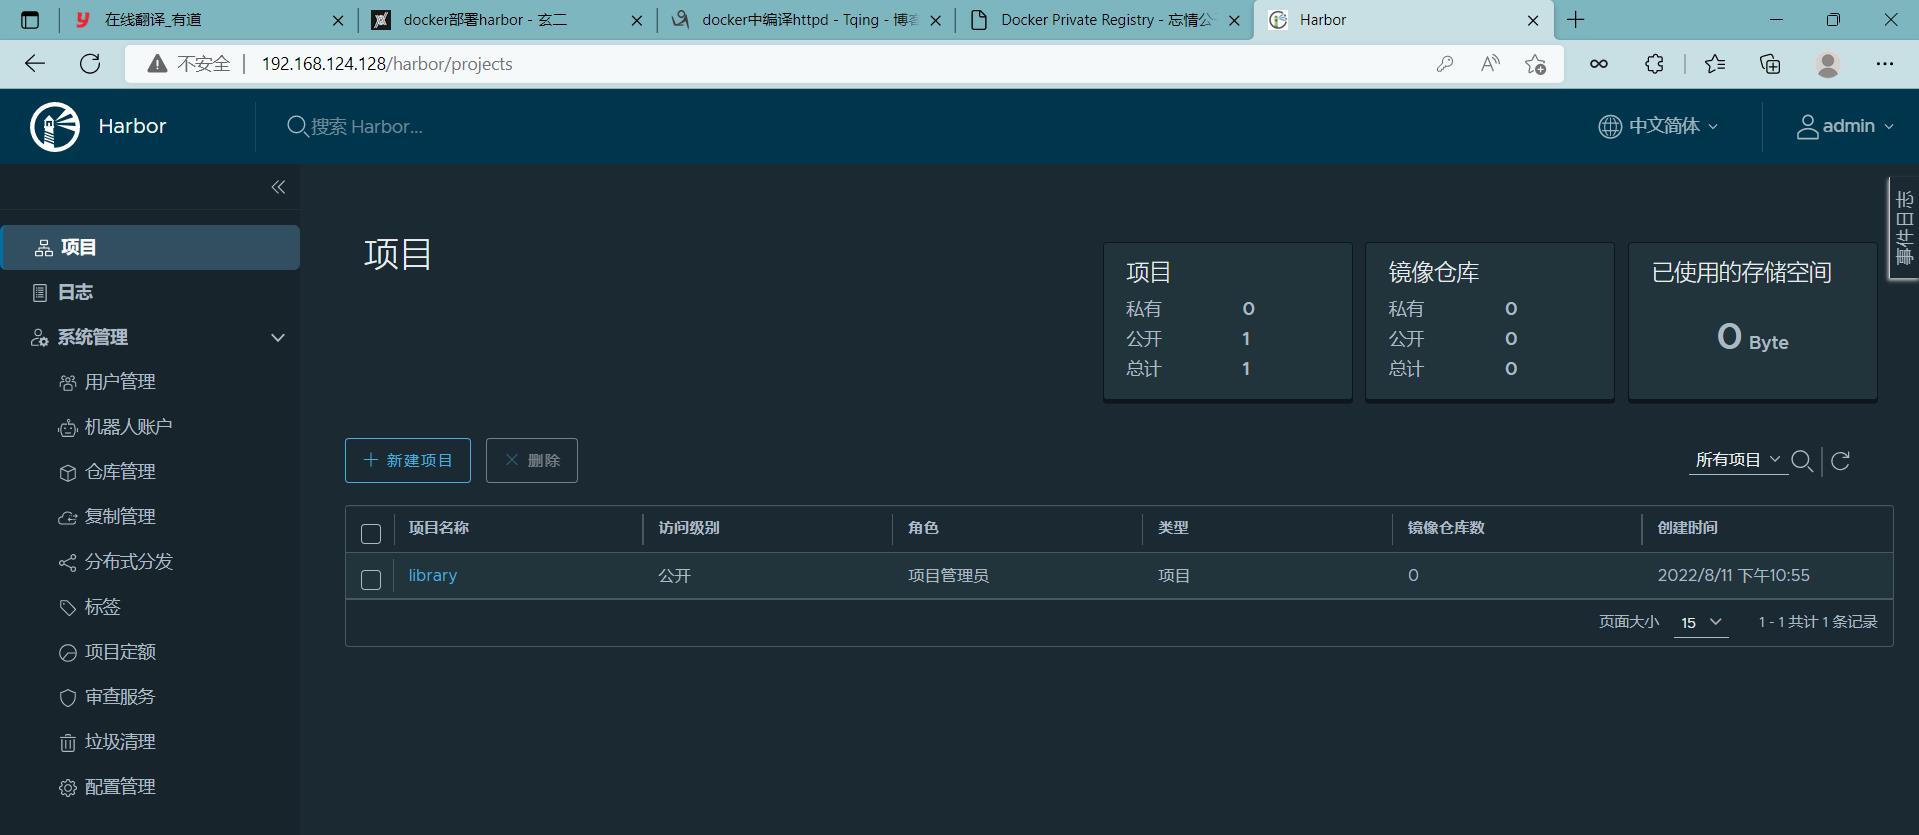
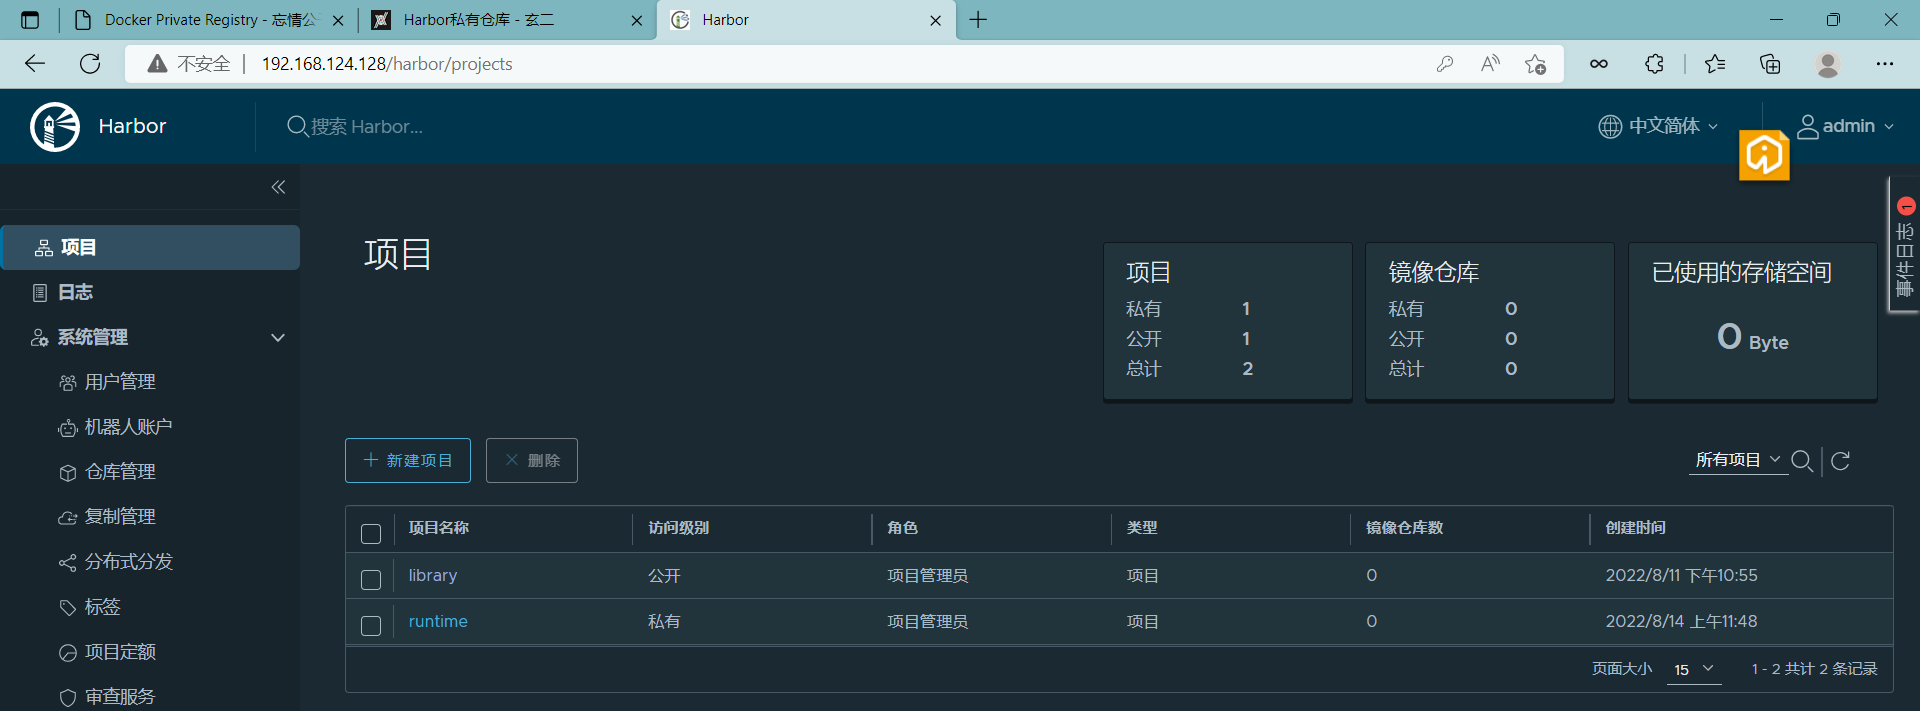
登录成功后界面
使用Harbor的注意事项
- 在客户端上传镜像时一定要记得执行docker login进行用户认证,否则无法直接push
- 在客户端使用的时候如果不是用的https则必须要在客户端的/etc/docker/daemon.json配置文件中配置insecure-registries参数
- 数据存放路径应在配置文件中配置到一个容量比较充足的共享存储中
- Harbor是使用docker-compose命令来管理的,如果需要停止Harbor也应用docker-compose stop来停止,其他参数请--help
让客户端认识服务端 做一个ip映射
[root@node2 harbor]# cat /etc/hosts
127.0.0.1   localhost localhost.localdomain localhost4 localhost4.localdomain4
::1         localhost localhost.localdomain localhost6 localhost6.localdomain6
192.168.124.128 node1
配置不安全登录 //因为我们没有安全证书
[root@node2 harbor]# cat /etc/docker/daemon.json
{
   "registry-mirrors": ["https://vju7tnsy.mirror.aliyuncs.com"],
   "insecure-registries":["192.168.124.128"]
}
[root@node2 harbor]# systemctl  restart docker
登录到服务端的仓库中
[root@node2 harbor]# docker login 192.168.124.128
Username: admin
Password:
WARNING! Your password will be stored unencrypted in /root/.docker/config.json.
Configure a credential helper to remove this warning. See
https://docs.docker.com/engine/reference/commandline/login/#credentials-store

Login Succeeded
用web界面使用Harbor
管理项目选项
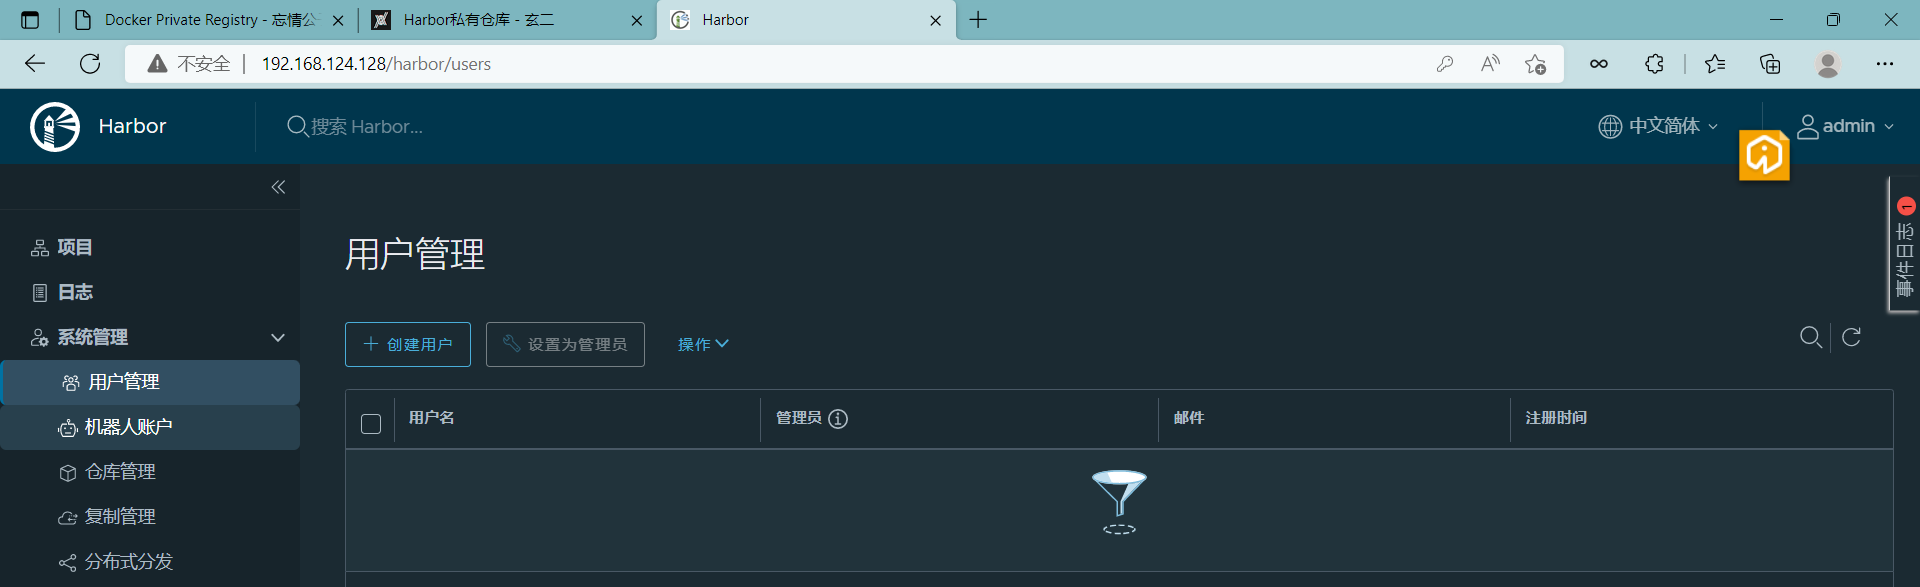
对用户进行管理
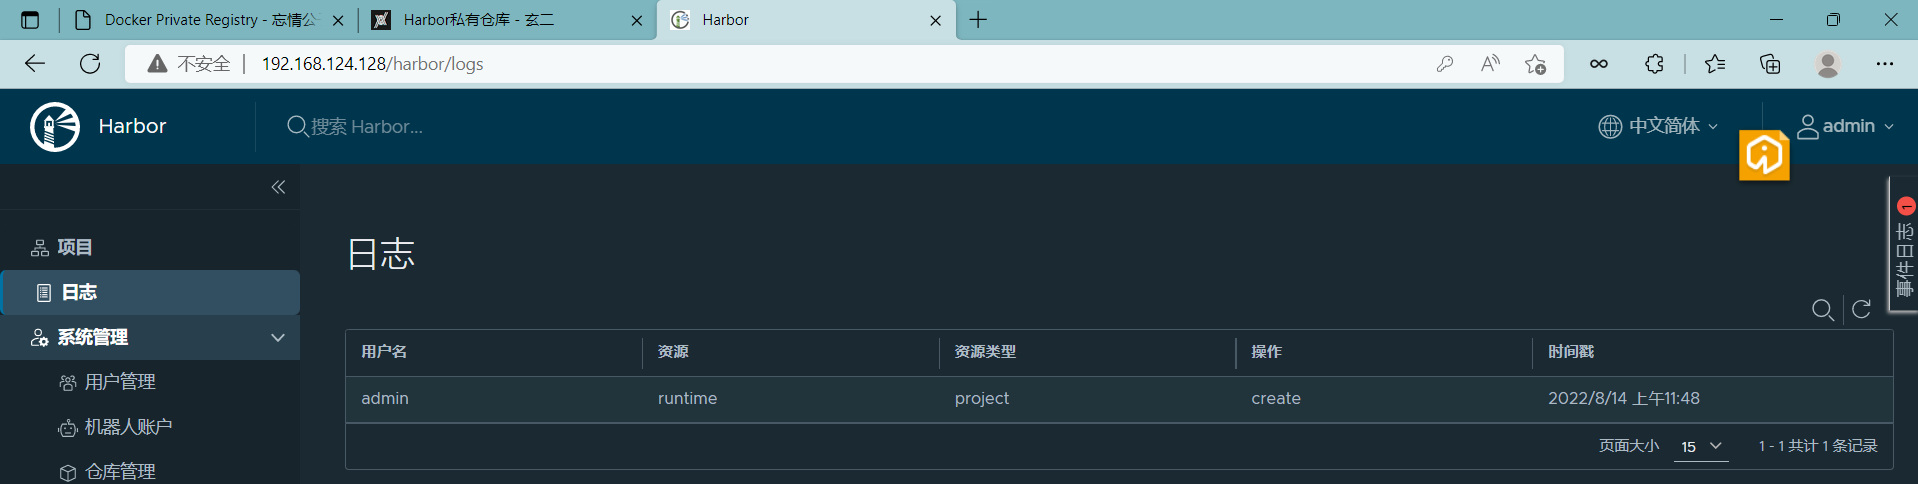
查看日志

 浙公网安备 33010602011771号