.Net6 WebApi使用Ocelot三步配置负载均衡
一.Net6 WebApi使用Ocelot三步配置负载均衡
1、新建WebApi项目名字为OcelotLoadBalance,去掉Http选项,引入nuget包 Ocelot ,我这里是用最新的18.0.0
1.1 新建webapi项目

1.2 取消勾选HTTPS
![]()

1.3 安装Ocelot 包 ,使用命令:Install-Package Ocelot -Version 18.0.0

2、在OcelotLoadBalance项目根目录下新建Ocelot.json,代码如下:
 1 {
 2   "Routes": [
 3     {
 4       //转发的webapi实际服务地址,此处的everything要跟UpstreamPathTemplate的everything一致才可以
 5       //也就是webapi的访问路径要跟everything一致
 6       "DownstreamPathTemplate": "/api/{everything}",
 7       "DownstreamScheme": "http",
 8       "DownstreamHostAndPorts": [
 9         {
10           "Host": "localhost", // 配置的第一台负载均衡服务器,只启动第一个服务器就可以访问,
11           //但是轮训策略一刷新就会访问第二或者第三台服务器,如果第二或者第三台没有启动就会报错
12           "Port": 7001
13         },
14         {
15           "Host": "localhost", // 配置的第二台负载均衡服务器
16           "Port": 7002
17         },
18         {
19           "Host": "localhost", // 配置的第二台负载均衡服务器
20           "Port": 7003
21         }
22       ],
23       //"UpstreamPathTemplate": "/{everything}",
24       "UpstreamPathTemplate": "/api/{everything}", // 上游请求的模板,即用户真实请求的链接,必须以/开头
25       "UpstreamHttpMethod": [ "Get", "Post" ], //上游请求的http方法,是个数组,你可以写多个
26       "LoadBalancerOptions": { // 负载均衡选项:  LeastConnection : 将请求发往最空闲的那个服务器
27         "Type": "RoundRobin" // RoundRobin :轮流发送    NoLoadBalance :不启用负载均衡,总是发往第一个请求或者服务发现的那个服务器
28       }
29     }
30   ],
31   "GlobalConfiguration": {
32     "BaseUrl": ""
33   }
34 }
3、在Program中注入Ocelot服务,并且启动Ocelot,代码如下:
 1 using Ocelot.DependencyInjection;
 2 using Ocelot.Middleware;
 3
 4 var builder = WebApplication.CreateBuilder(args);
 5
 6
 7 builder.Services.AddOcelot(new ConfigurationBuilder() // 注入ocelot服务
 8                 .AddJsonFile("ocelot.json").Build()); // 引用ocelot的配置文件
 9
10 // Add services to the container.
11
12 builder.Services.AddControllers();
13 // Learn more about configuring Swagger/OpenAPI at https://aka.ms/aspnetcore/swashbuckle
14 builder.Services.AddEndpointsApiExplorer();
15 builder.Services.AddSwaggerGen();
16
17 var app = builder.Build();
18
19 // Configure the HTTP request pipeline.
20 if (app.Environment.IsDevelopment())
21 {
22     app.UseSwagger();
23     app.UseSwaggerUI();
24 }
25
26 app.UseAuthorization();
27
28 app.MapControllers();
29
30 //   使用Ocelot服务
31 app.UseOcelot().Wait();
32
33 app.Run();
以上3步完成,就完成了ocelot负载均衡服务的配置,使用的势轮询策略。剩下的就是编写一个服务,测试负载均衡。
二、新建一个Webapi服务测试负载均衡,为了显示是调用的势哪个端口的服务,需要引入注入配置文件服务
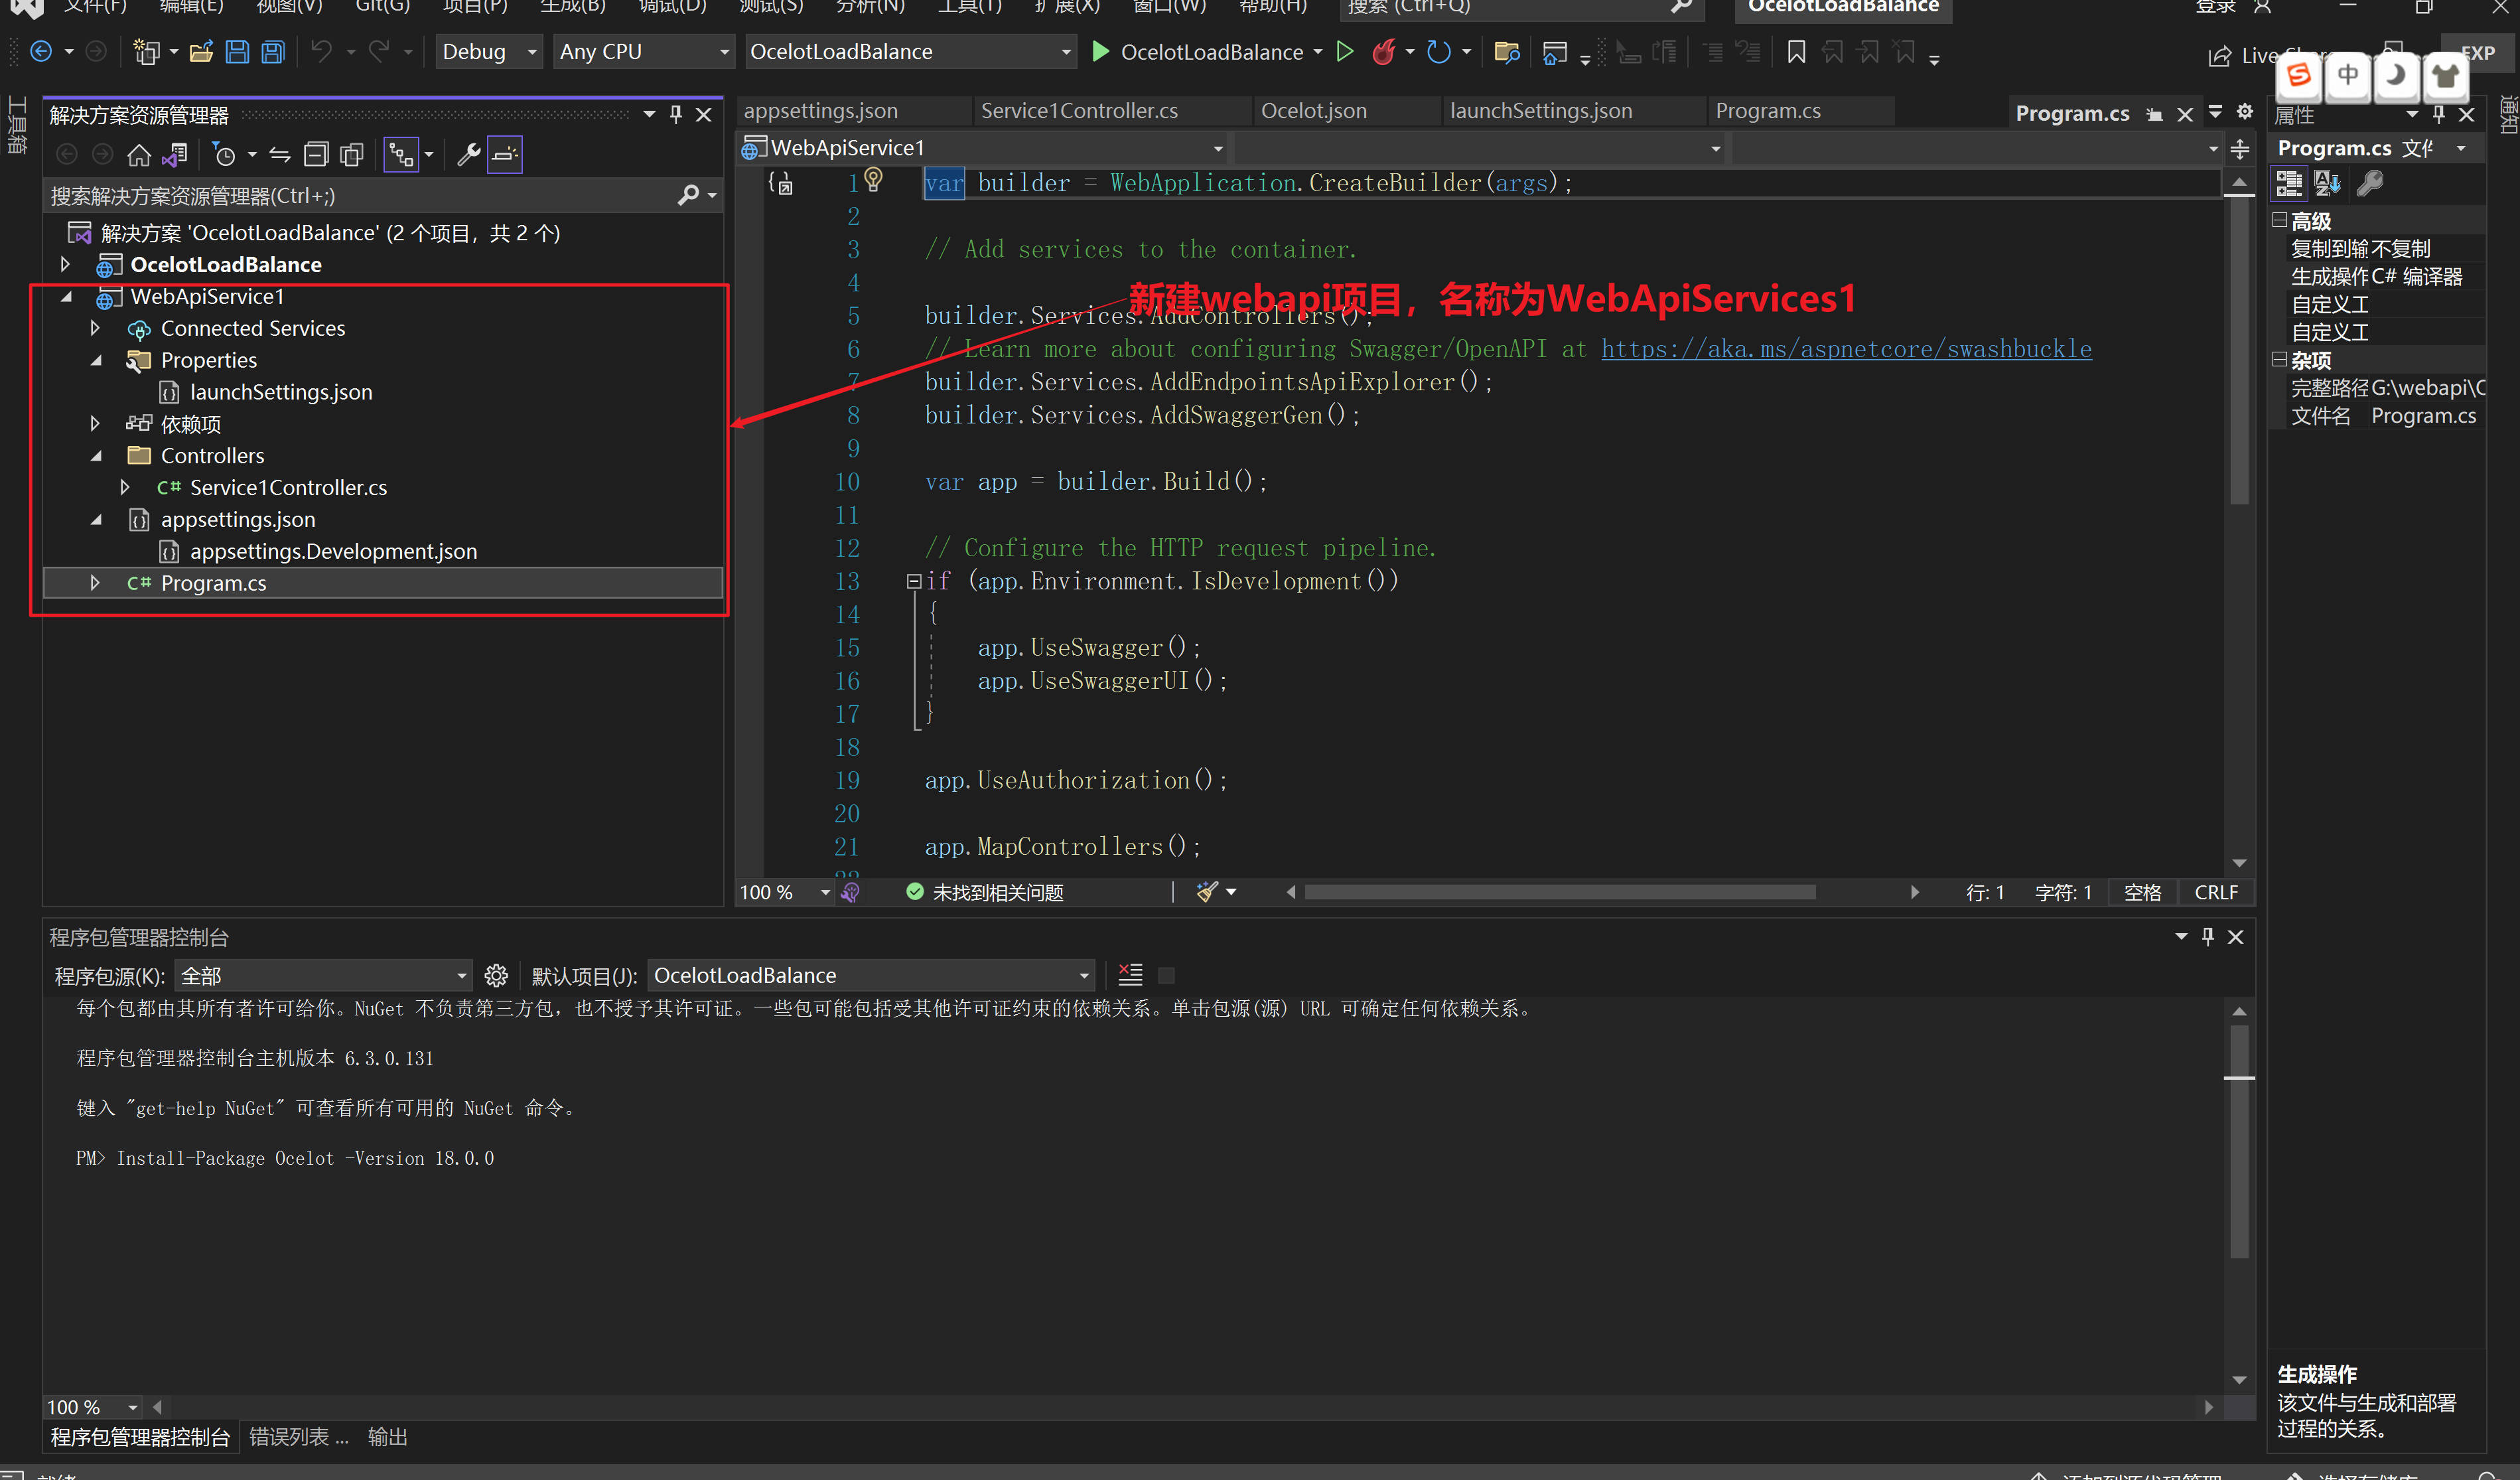
1.1 新建Webapi项目WebApiService1,去掉默认的天气预报controller和天气预报服务文件
1.2 新建一个控制器Service1Controller,里面编写一个服务接口用于显示服务被哪个端口调用,代码如下:
 1 using Microsoft.AspNetCore.Http;
 2 using Microsoft.AspNetCore.Mvc;
 3
 4 namespace WebApiService1.Controllers
 5 {
 6     [Route("api/[controller]")]
 7     [ApiController]
 8     public class Service1Controller : ControllerBase
 9     {
10         private readonly IConfiguration Configuration;
11
12         public Service1Controller(IConfiguration configuration)
13         {
14             Configuration = configuration;
15         }
16
17         [HttpGet]
18         [Route("Service1LoadBalance")]
19         public string Service1LoadBalance()
20         {
21             string result = $"您当前正在访问{Configuration["Service1:Port"].ToString()}端口服务!";
22             return result;
23         }
24     }
25 }
1.3 launchSettings.json 配置如下:主要是修改 "applicationUrl": "http://localhost:7002",中的端口号,这样就可以模拟出服务集群
 1 {
 2   "$schema": "https://json.schemastore.org/launchsettings.json",
 3   "iisSettings": {
 4     "windowsAuthentication": false,
 5     "anonymousAuthentication": true,
 6     "iisExpress": {
 7       "applicationUrl": "http://localhost:54665",
 8       "sslPort": 0
 9     }
10   },
11   "profiles": {
12     "WebApiService1": {
13       "commandName": "Project",
14       "dotnetRunMessages": true,
15       "launchBrowser": true,
16       "launchUrl": "swagger",
17       "applicationUrl": "http://localhost:7002",
18       "environmentVariables": {
19         "ASPNETCORE_ENVIRONMENT": "Development"
20       }
21     },
22     "IIS Express": {
23       "commandName": "IISExpress",
24       "launchBrowser": true,
25       "launchUrl": "swagger",
26       "environmentVariables": {
27         "ASPNETCORE_ENVIRONMENT": "Development"
28       }
29     }
30   }
31 }
1.4 appsettings.json主要添加Service1的ip和端口
 1 {
 2   "Logging": {
 3     "LogLevel": {
 4       "Default": "Information",
 5       "Microsoft.AspNetCore": "Warning"
 6     }
 7   },
 8   "AllowedHosts": "*",
 9   //添加以下配置
10   "Service1": {
11     "IP": "localhost",
12     "Port": "7002"
13   }
14 }
1.5 Program.cs使用默认代码即可
var builder = WebApplication.CreateBuilder(args);

// Add services to the container.

builder.Services.AddControllers();
// Learn more about configuring Swagger/OpenAPI at https://aka.ms/aspnetcore/swashbuckle
builder.Services.AddEndpointsApiExplorer();
builder.Services.AddSwaggerGen();

var app = builder.Build();

// Configure the HTTP request pipeline.
if (app.Environment.IsDevelopment())
{
    app.UseSwagger();
    app.UseSwaggerUI();
}

app.UseAuthorization();

app.MapControllers();

app.Run();
通过以上步骤测试服务已经准备完毕。
三、负载均衡测试服务
1.1准备生成3个服务来测试负载均衡,先生成7001端口服务
1.2 修改launchSettings.json中applicationUrl的端口为7001

1.3 修改appsettings.json中的端口为7001

1.4 生成WebApiService1项目打包文件,右键WebApiService1项目,点击重新生成

1.5 进入WebApiService1项目打包文件夹:G:\webapi\OcelotLoadBalance\WebApiService1,然后再进入Bin,再进入Debug文件夹

1.6 拷贝打包好的.net6.0文件夹到指定的文件夹

1.7 拷贝刚才打包的文件到一个随便命名的文件下的7001文件夹内
1.8 重复以上所有步骤,依次生成7002打包文件和7003打包文件,并且复制到7002和7003文件夹下,到此准备的3个服务已经完成。
四、启动ocelot服务和7001-7003服务进行测试
1.1 启动Ocelot服务,解决方案右键选中OcelotLoadBalance,选择设为默认启动项目

1.2 启动Ocelot服务

1.3 启动Ocelot服务后悔打开默认的界面

2.1 准备启动7001服务,先进入文件夹,地址栏输入cmd,打开命令行

2.2 在命令行输入以下命令:dotnet WebApiService1.dll --urls=http://*:7001 启动7001服务

2.3 参照启动7001服务步骤,依次启动7002和7003服务

3.最终测试,在地址栏输入http://localhost:7000/api/Service1/Service1LoadBalance ,会出现我们接口服务的响应,首先是7001

刷新一次页面,会出现7002响应

再刷新一次,会出现7003响应

最后结果表明,我们使用ocelot实现了3个服务的轮询负载均衡。

 浙公网安备 33010602011771号