AndroidStudio端口占用检测
AndroidStudio 3.1.4
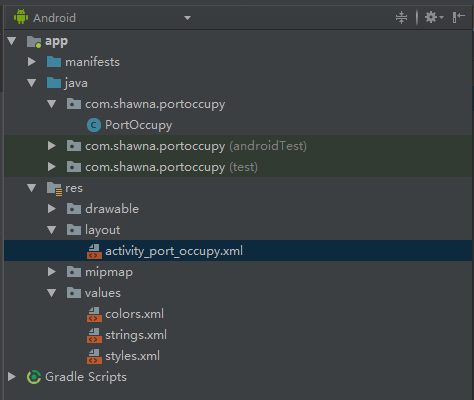
1.创建一份新的项目工程,项目名为PortOccupy,界面布局文件名为:activity_port_occupy.xml
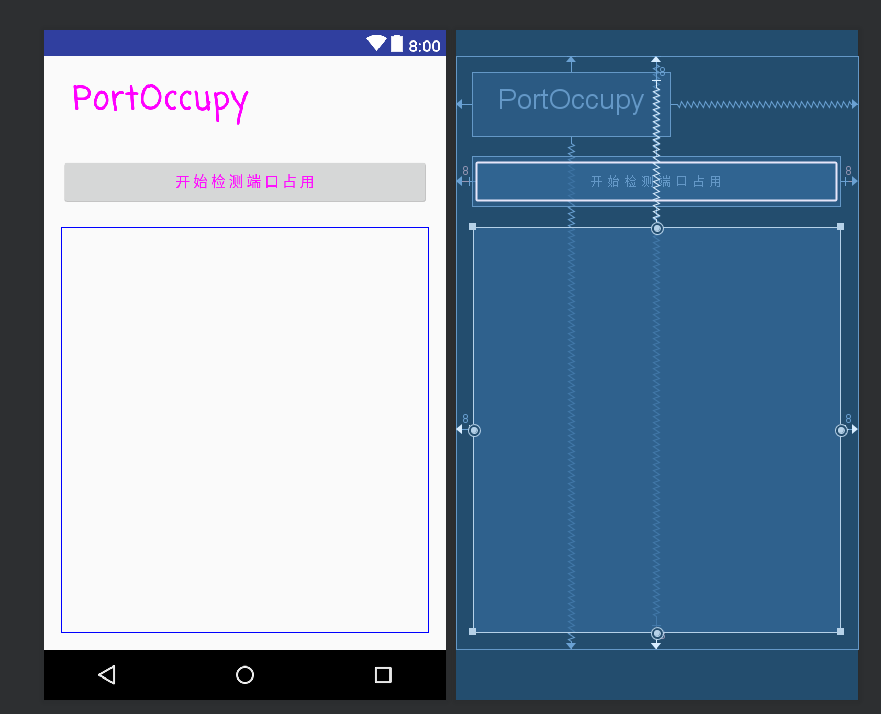
2.需要用到2个TextView和1个Button,界面如下
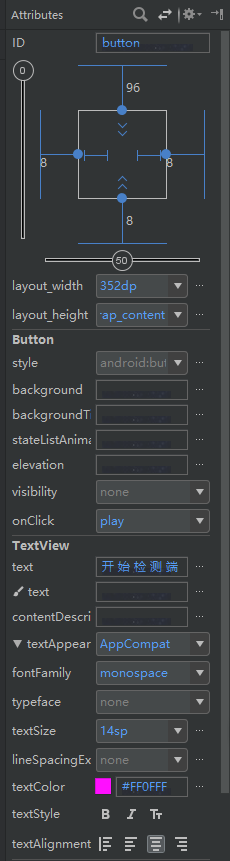
3.Button的鼠标点击事件函数名为:play
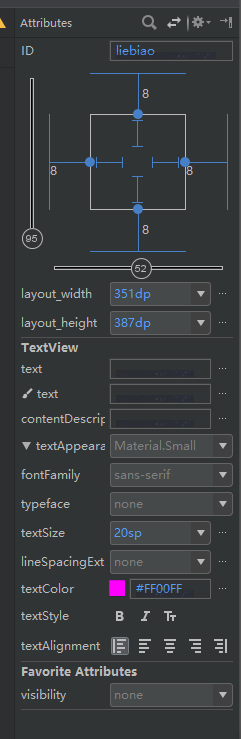
4.用于显示结果的TextView的ID为liebiao
5.双击进入工程代码撰写界面

6.代码如下:
按钮按下事件,执行检测
 1     public void play(View view) {
 2         //定义一个空文本用于储存结果
 3         String textport = "";
 4         //定义一个数组用于储存需要检测的端口
 5         int[] port = {21,22,23,25,69,79,80,88,110,113,119,220,443};
 6
 7         //循环事件
 8         for (int i = 0;i < port.length; i++){
 9
10             //判断端口是否被占用
11             if (isPortAvailable(port[i])){
12                 textport = textport + "端口 " + port[i] + " 被占用!\n";
13             }else{
14                 textport = textport + "端口 " + port[i] + " 可用!\n";
15             }
16         }
17         //在liebiao中显示检测结果
18         TextView tv = (TextView)findViewById(R.id.liebiao);
19         tv.setText(textport);
20         }
对端口占用检测的函数
    private void bindPort(String host,int port)throws Exception{
        //创建一个socket对象
        Socket s = new Socket();
        //对指定端口进行绑定,如果绑定成功则未被占用
        s.bind(new InetSocketAddress(host,port));
        s.close();
    }

    public boolean isPortAvailable(int port){
        try{
            //调用bindport函数对本机指定端口进行验证
            bindPort("0.0.0.0",port);
            bindPort(InetAddress.getLocalHost().getHostAddress(),port);
            return true;
        }catch (Exception e){
            return false;
        }
    }
7.最后,就可以调试输出啦!Lucky~

 浙公网安备 33010602011771号