【JavaWeb】Spring Thymeleaf简单入门实例
0. 工程结构
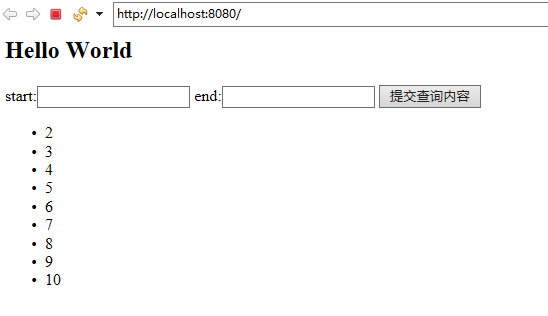
 在页面上输入两个整数,显示出这个范围内的所有数。
1. home.html ,注意一定要放在templates下,templates是thymeleaf固定的文件夹。
<html xmlns:th="http://www.thymeleaf.org">
<body>
<h2>Hello World</h2>

<form action="" method="post">
start:<input type=text name="start"> end:<input type=text name="end">
	<input type="submit">
</form>
<ul>
<li th:each="st:${list}" th:text="${st}"></li>//遍历一个非类的list
</ul>
</body>
</html>
2.用@Controller标记是控制器,GetMapping&PostMapping区分第一次和被调用的显示状态
遍览整个工程结构可以看到,如果没有Controller,我们仍需使用手写Servlet来传递数据,但在此可以直接用形参传入
package com.example.demo;

import java.util.ArrayList;
import java.util.List;

import org.springframework.stereotype.Controller;
import org.springframework.ui.Model;
import org.springframework.web.bind.annotation.GetMapping;
import org.springframework.web.bind.annotation.PostMapping;

@Controller
public class MyController {

	@GetMapping("/")
	public String home(Model model) {
		System.out.println("hello.get...");
		return "home";
	}
	@PostMapping("/")
	public String getNos(Model model,int start,int end) {
		System.out.println("hello.post...");
		List<Integer>list = new ArrayList<Integer>();
		while (start<end) {
			start++;
			list.add(start);
		}
		model.addAttribute("list", list);
		return "home";
	}
}
3.入口
package com.example.demo;

import org.springframework.boot.SpringApplication;
import org.springframework.boot.autoconfigure.SpringBootApplication;

@SpringBootApplication
public class Test0308Application {

	public static void main(String[] args) {
		SpringApplication.run(Test0308Application.class, args);
	}

}
4.pom.xml
	<dependency>
			<groupId>org.springframework.boot</groupId>
			<artifactId>spring-boot-starter-web</artifactId>
		</dependency>

	<dependency>
			<groupId>org.springframework.boot</groupId>
			<artifactId>spring-boot-starter-thymeleaf</artifactId>
		</dependency>

		<dependency>
			<groupId>org.springframework.boot</groupId>
			<artifactId>spring-boot-devtools</artifactId>
		</dependency>

 浙公网安备 33010602011771号