

P6. Dataset类代码实战
6.0类和对象
方法:是放在类里面的函数def,属性:放在类里面的变量
面向过程:说明书,按步骤执行;面向对象:把事务先分解到对象身上,描述各个对象的作用,然后才是他们之间的交互
6.1Dataset类、from PIL import Image
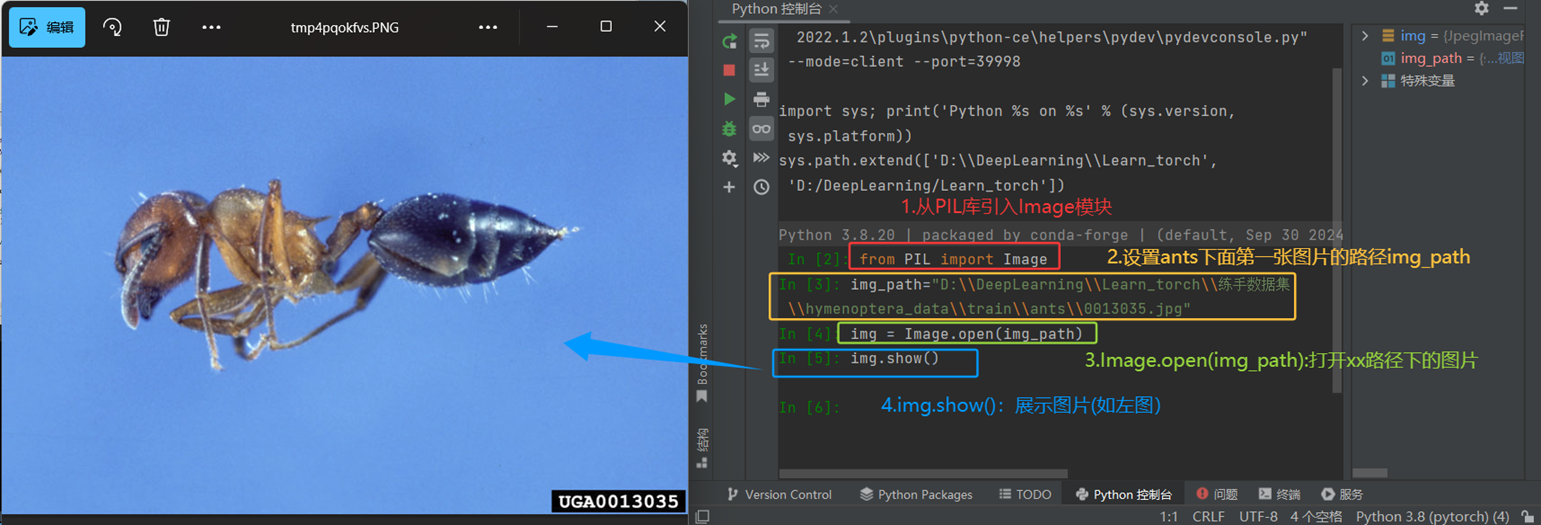
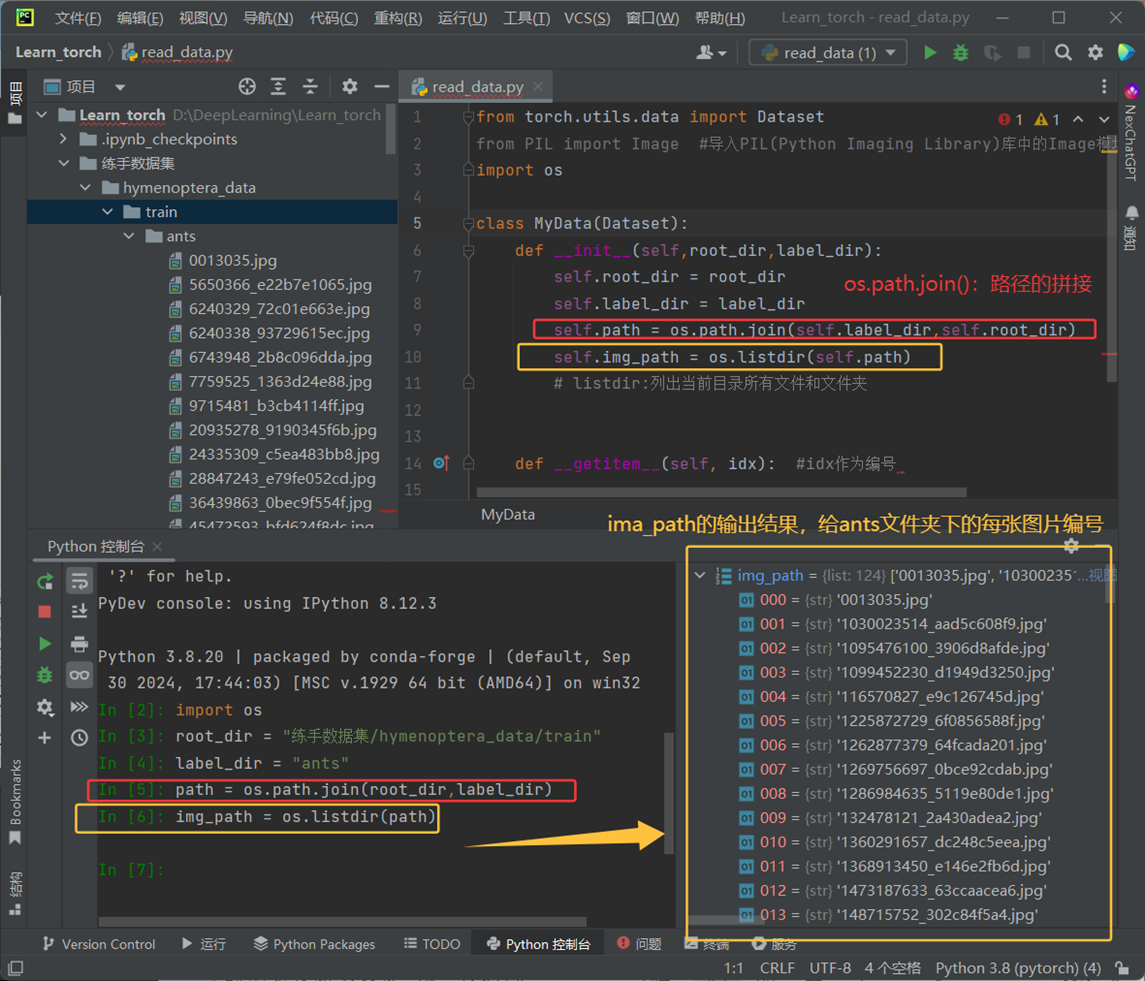
6.2Import os是导入Python内置的os模块
(1)获取当前工作目录:current_dir = os.getcwd() ;
(2)列出目录内容:files = os.listdir(".") 列出当前目录所有文件和文件夹 ;
(3)检查文件/目录是否存在:if os.path.exists("myfile.txt");
(4)路径拼接(跨平台兼容):file_path = os.path.join("folder", "subfolder", "file.txt")
(5)创建目录:os.makedirs("new_folder", exist_ok=True)
(6)执行系统命令:os.system("dir") Windows下显示目录内容
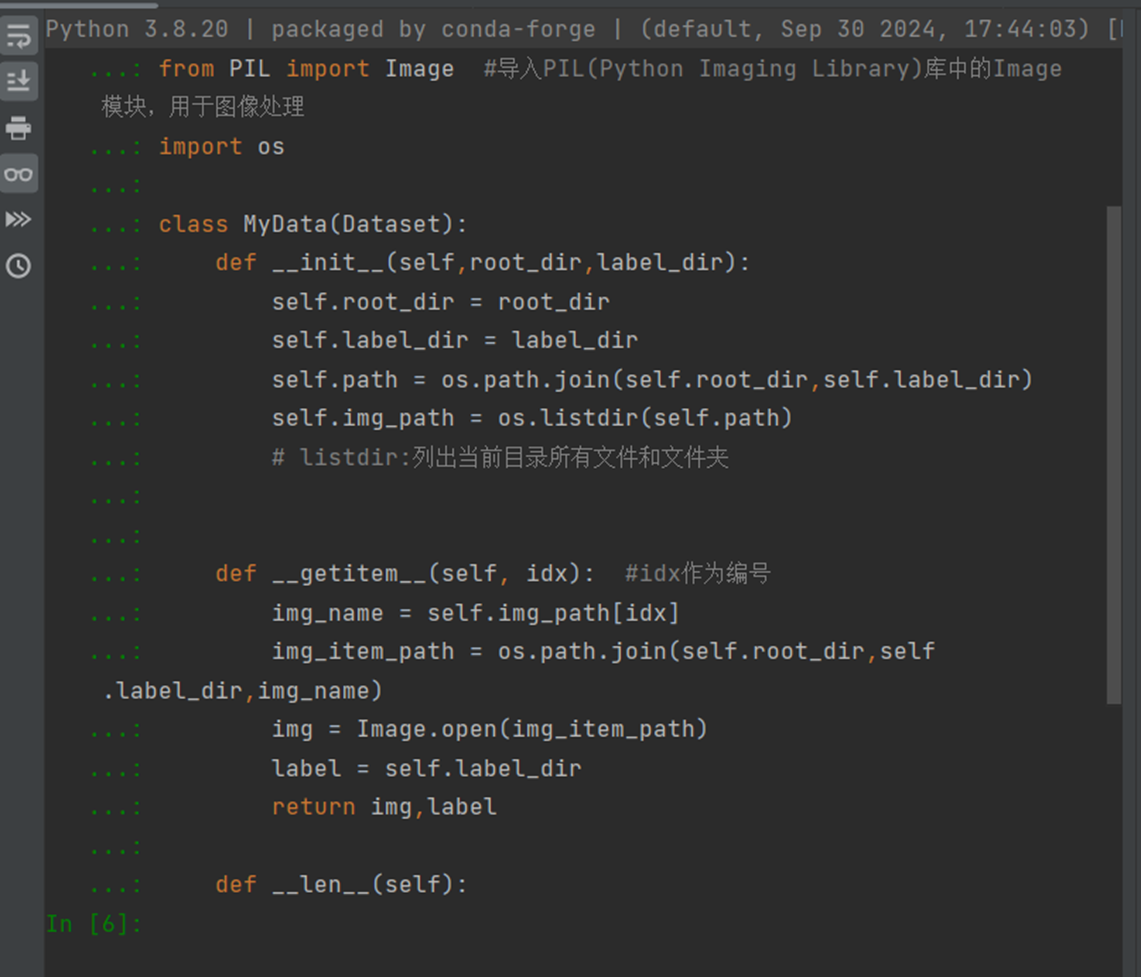
6.3.init():初始化对象的特征
点击查看代码
from torch.utils.data import Dataset
class MyData(Dataset):
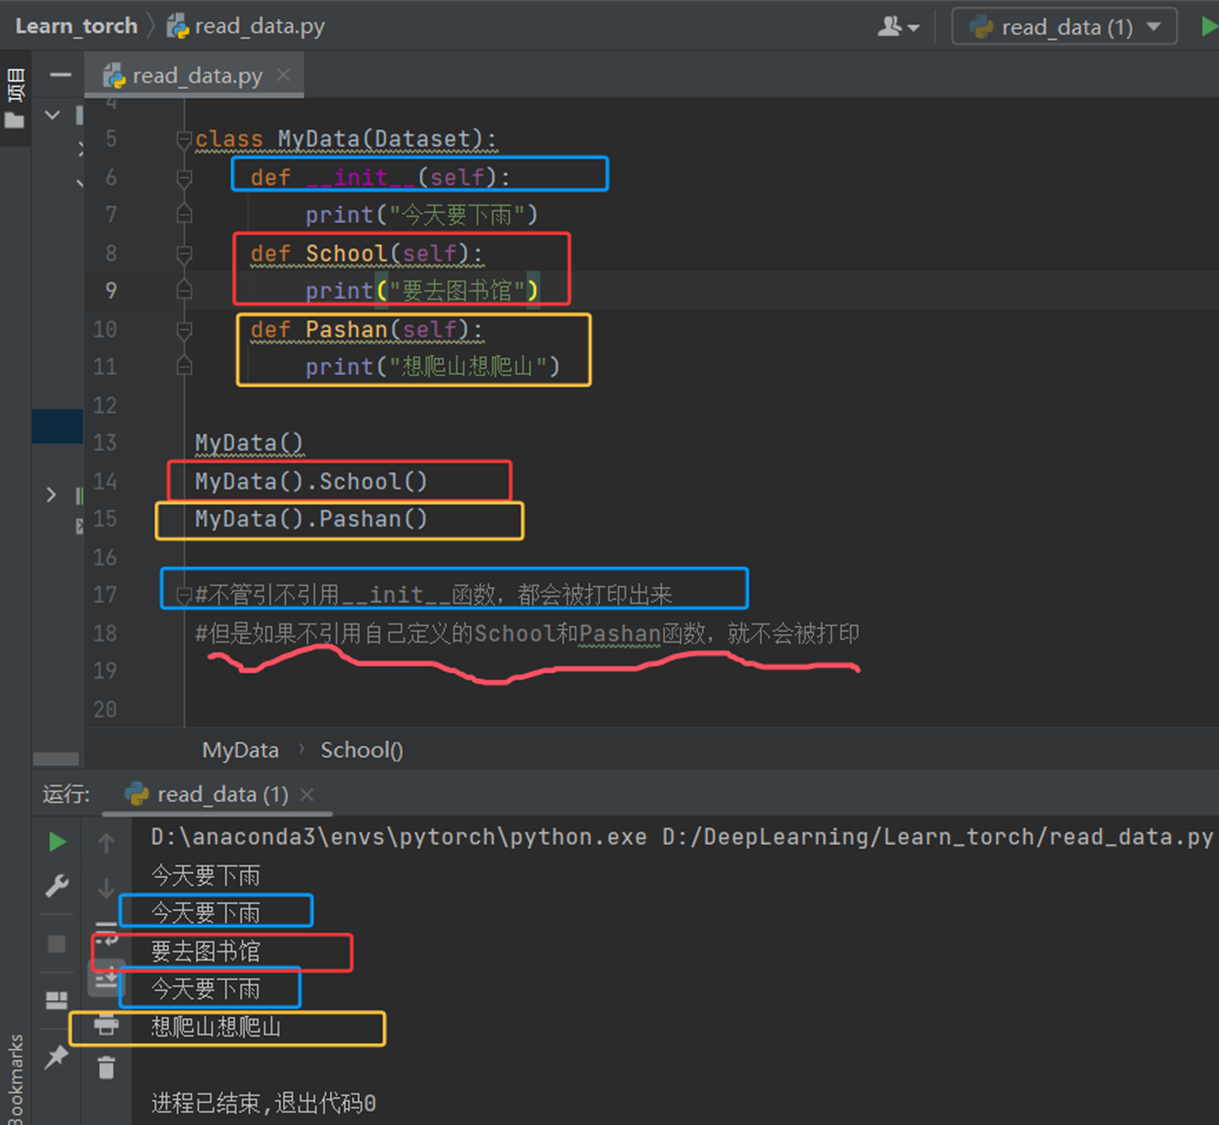
def __init__(self):
print("今天要下雨")
def School(self):
print("要去图书馆")
def Pashan(self):
print("想爬山想爬山")
MyData()
MyData().School()
MyData().Pashan()
* 1.不管引不引用__init__函数,都会被打印出来;2.但是如果不引用自己定义的School和Pashan函数,就不会被打印。
如下图:
6.4实例
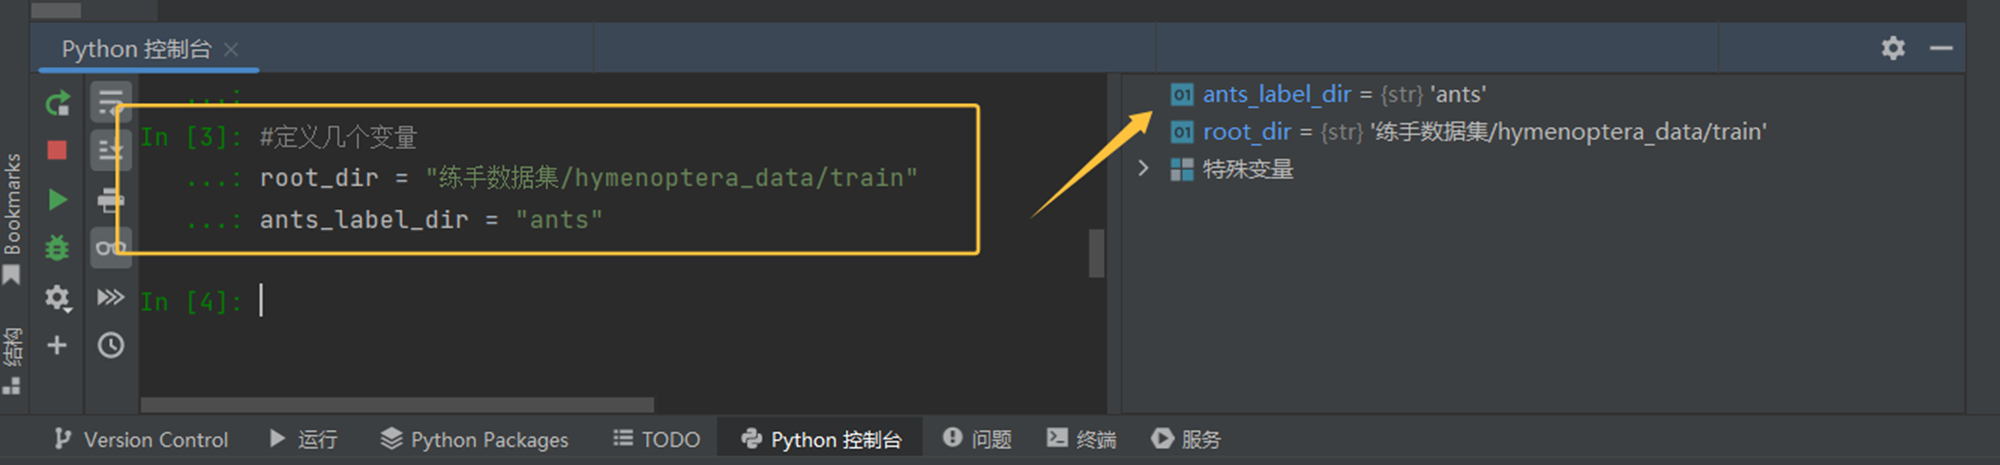
(1)定义几个类
(2)定义两个变量
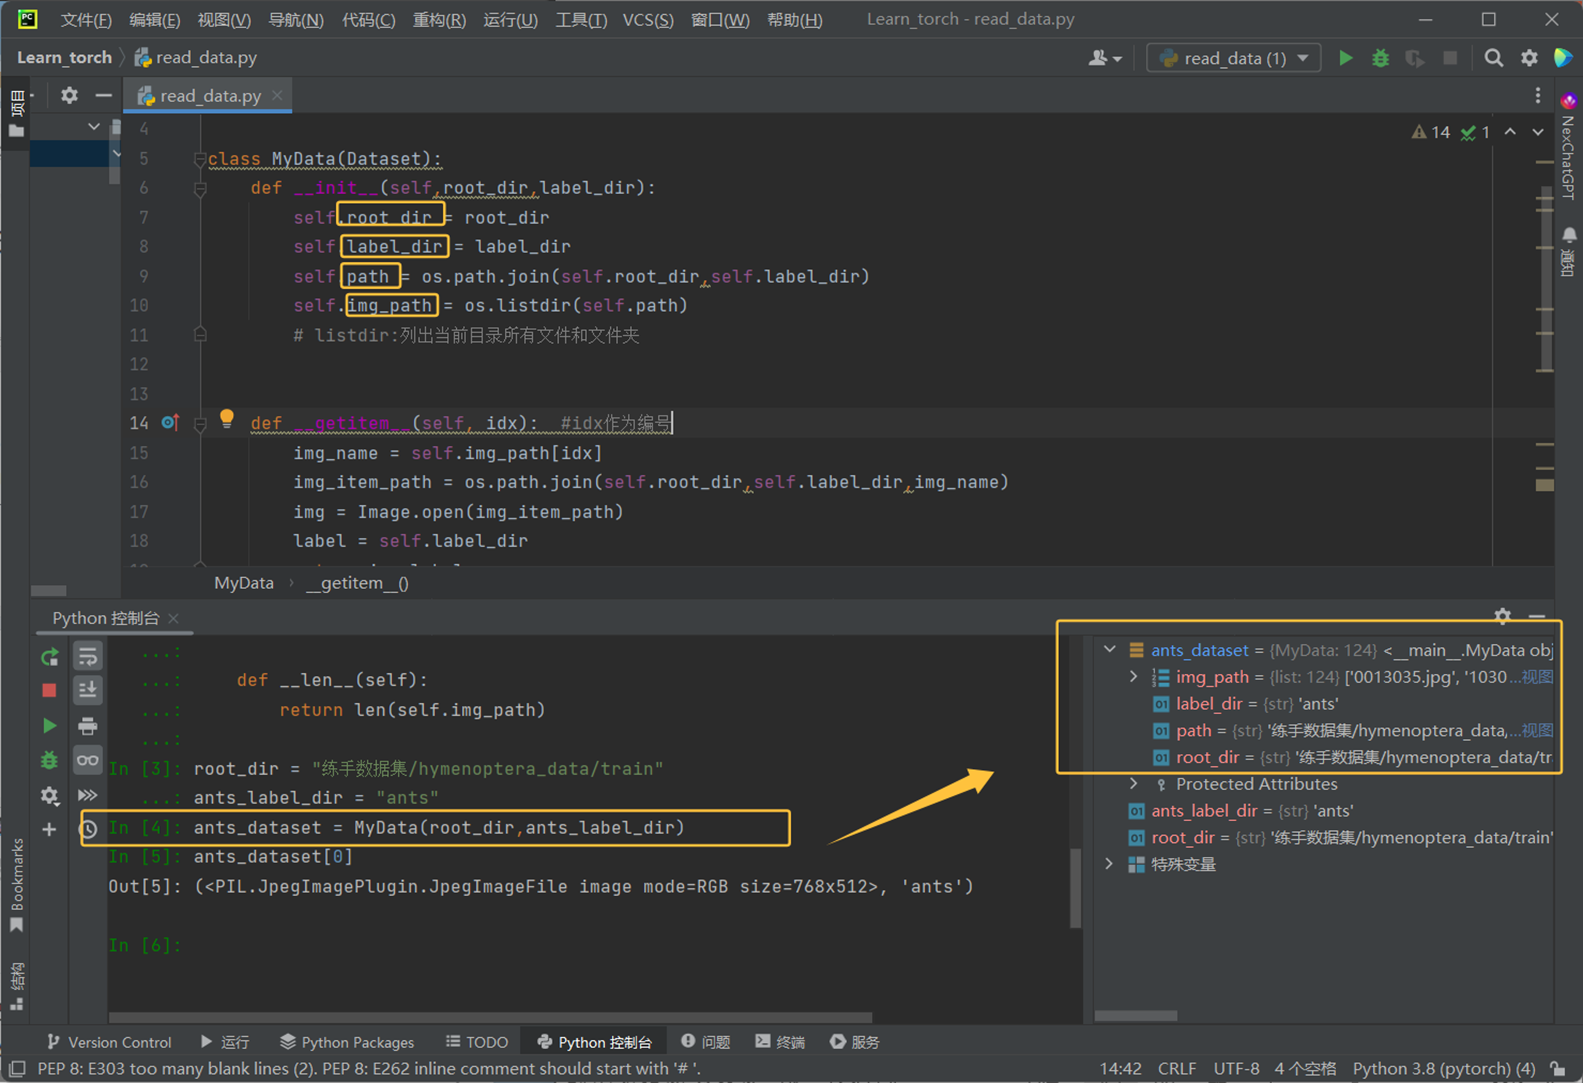
(3)用类创建实例
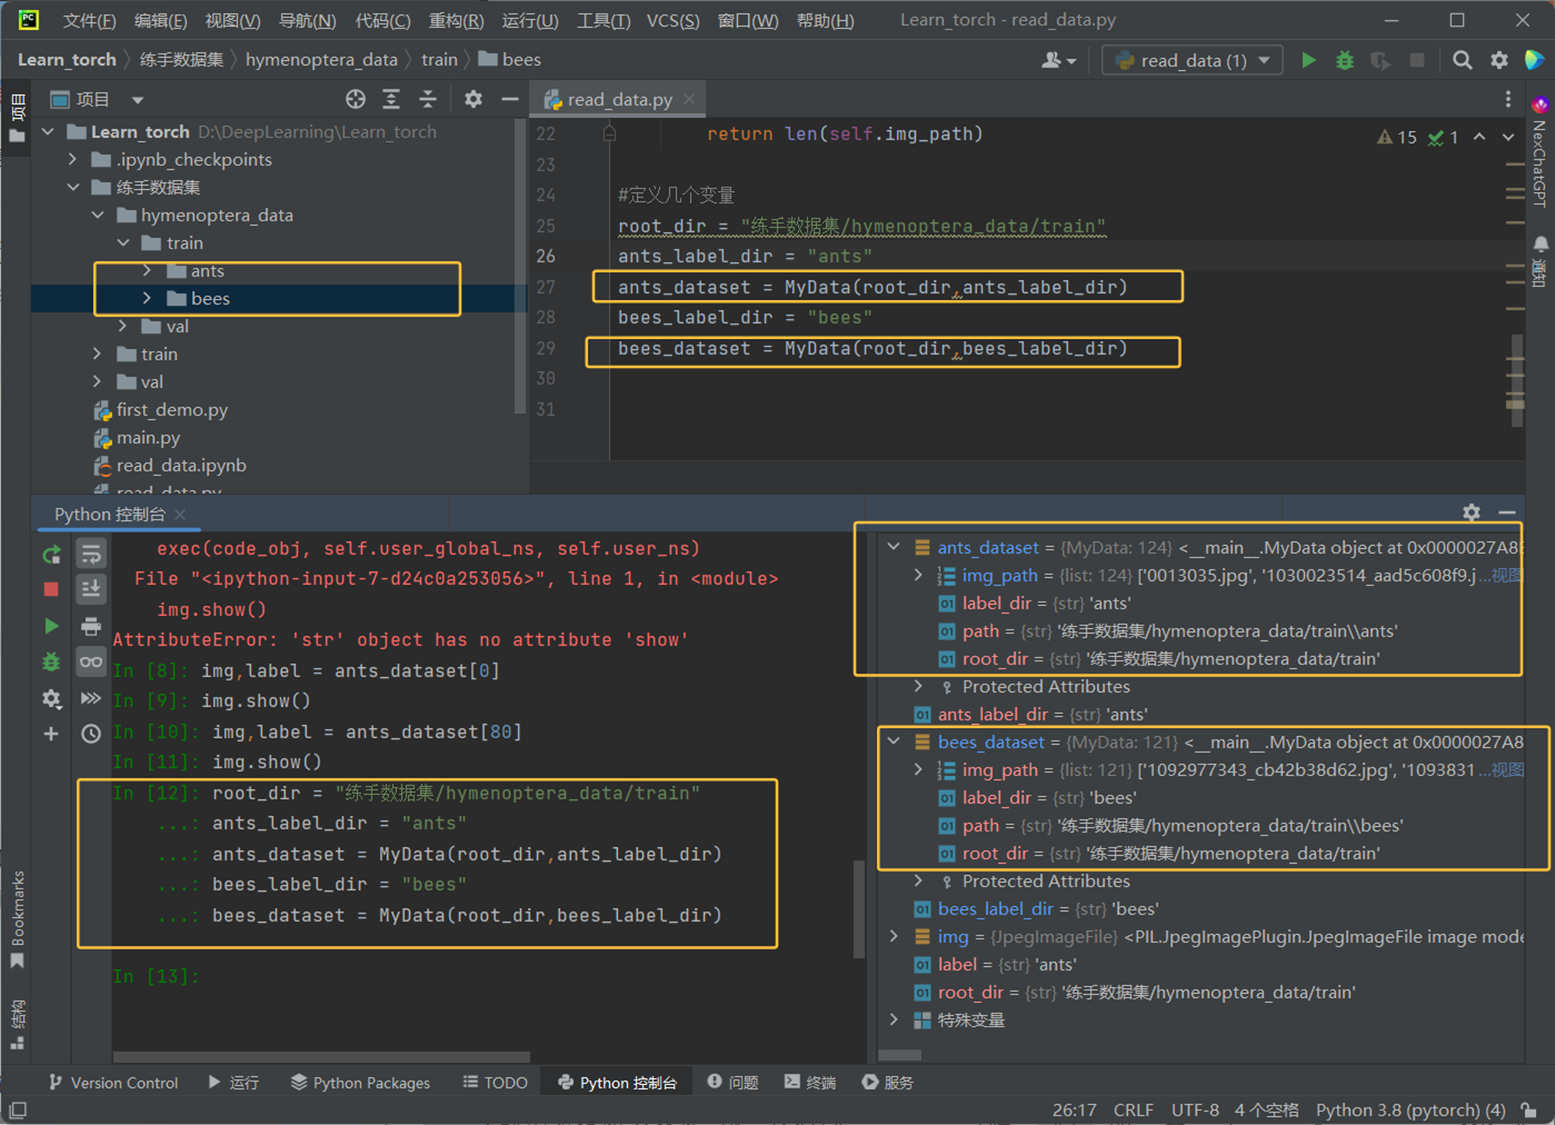
(4)ants和bees类的实例
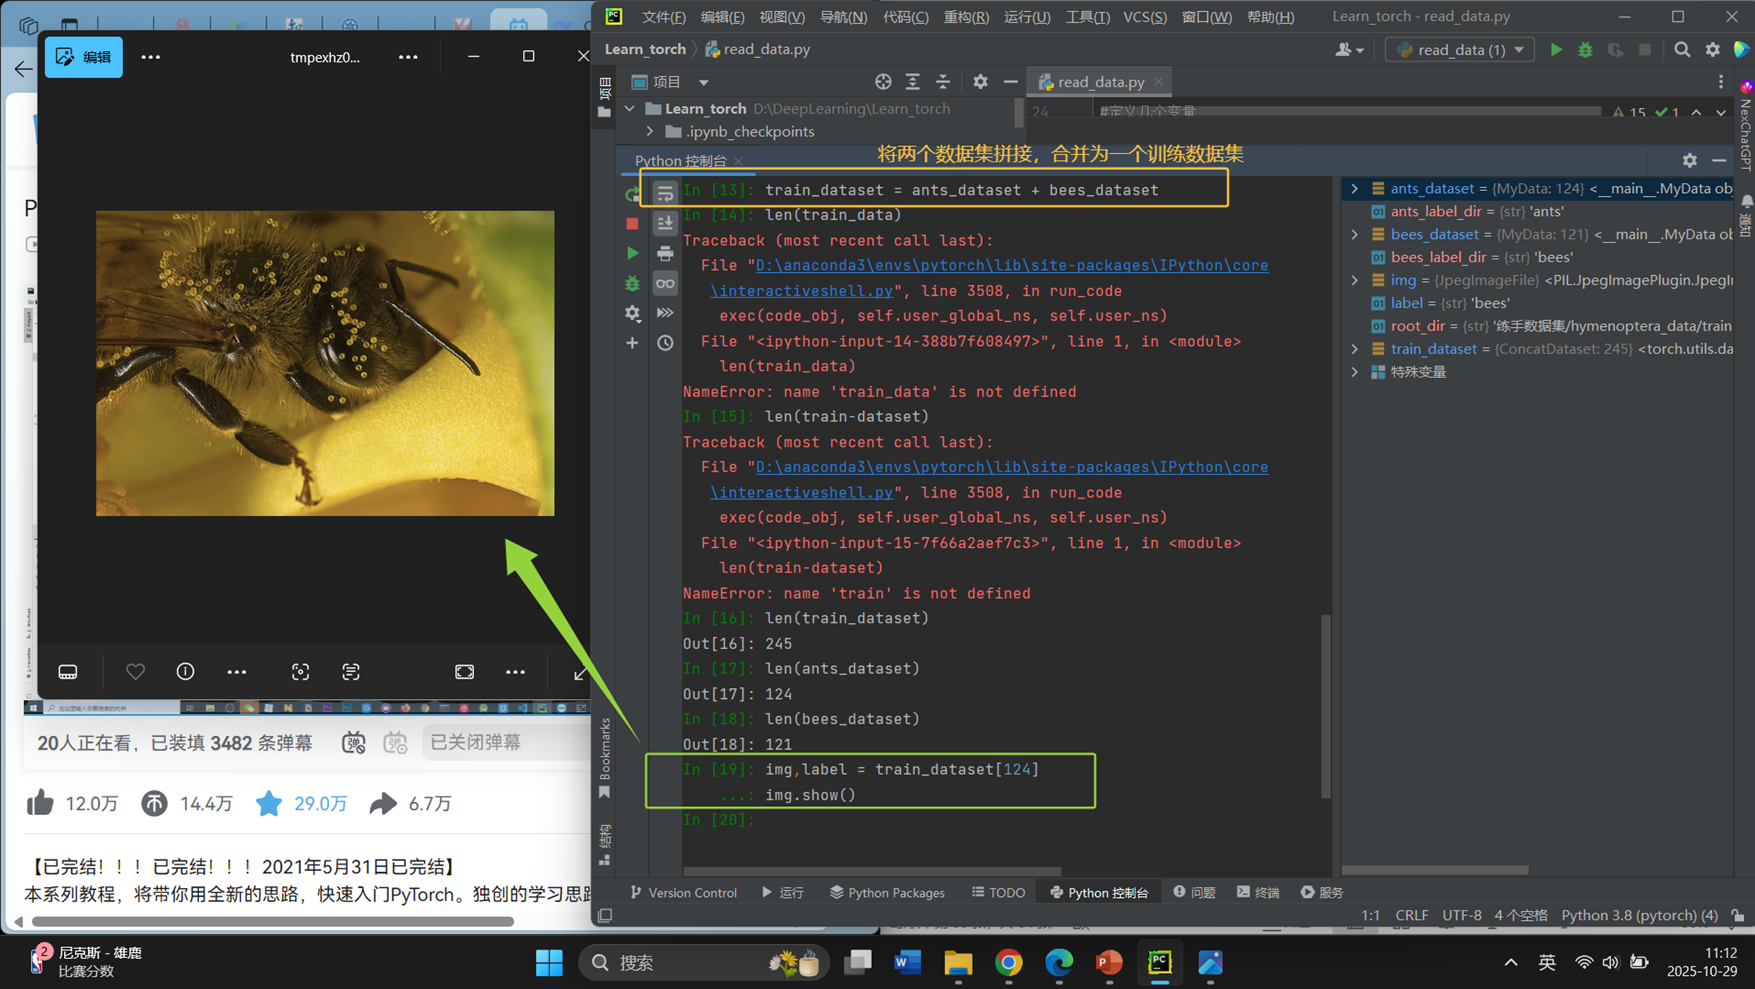
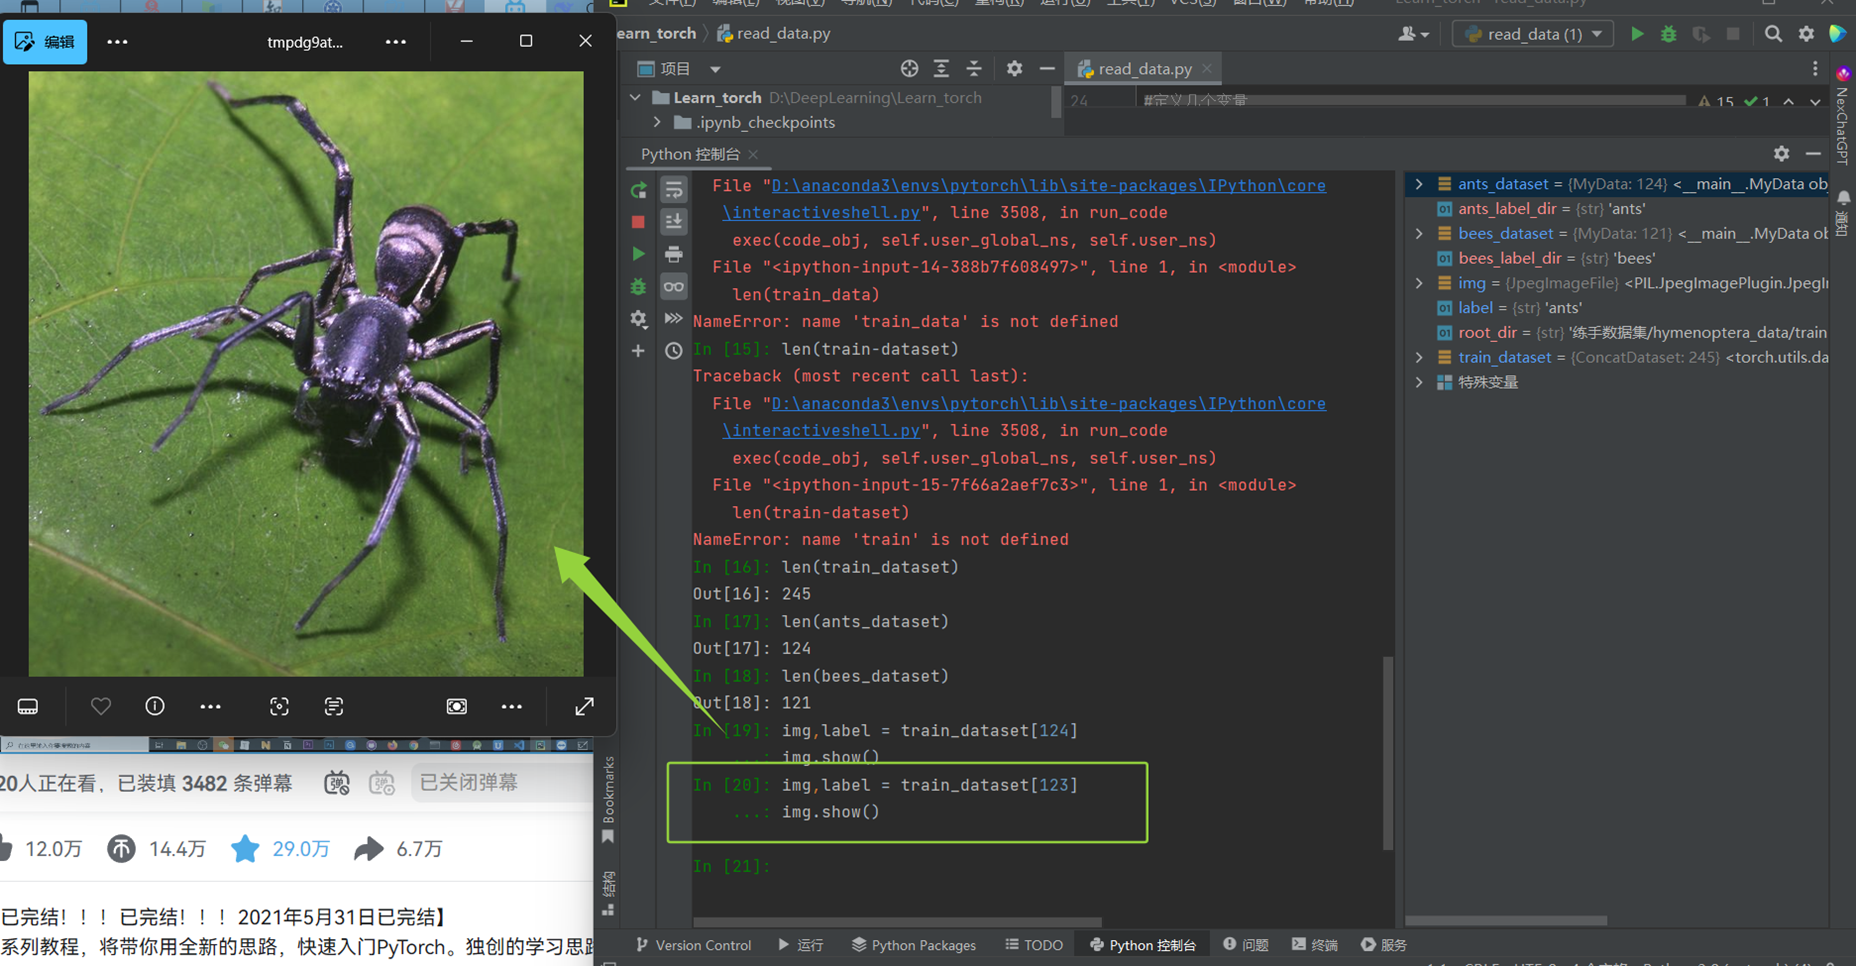
(5)拼接ants和bees数据集 拼接结果如下:
第123张是蚂蚁,第124张是蜜蜂
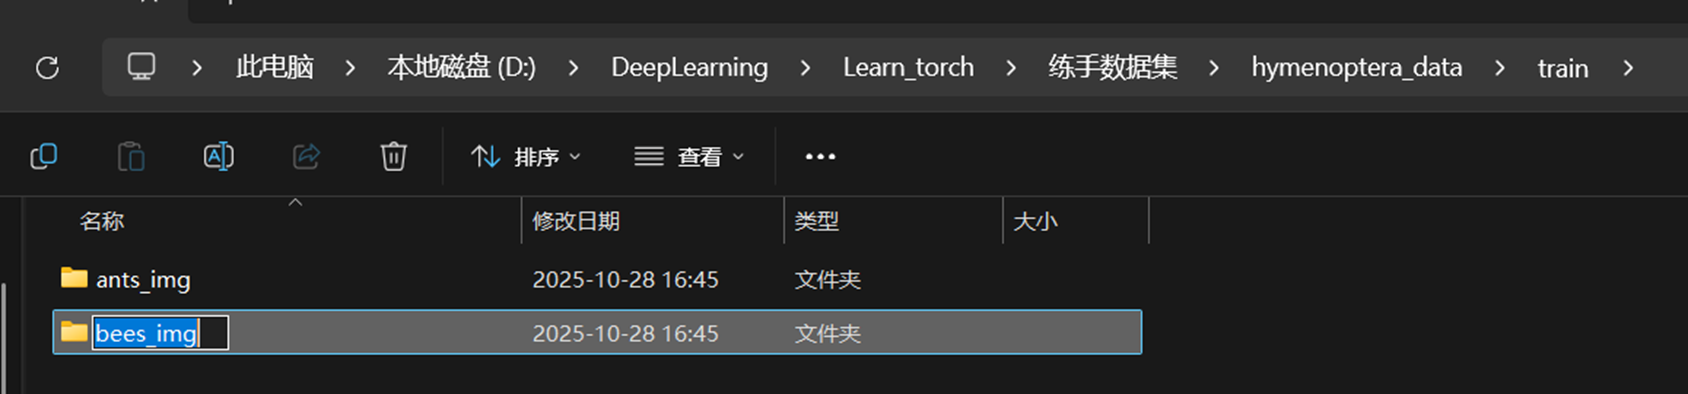
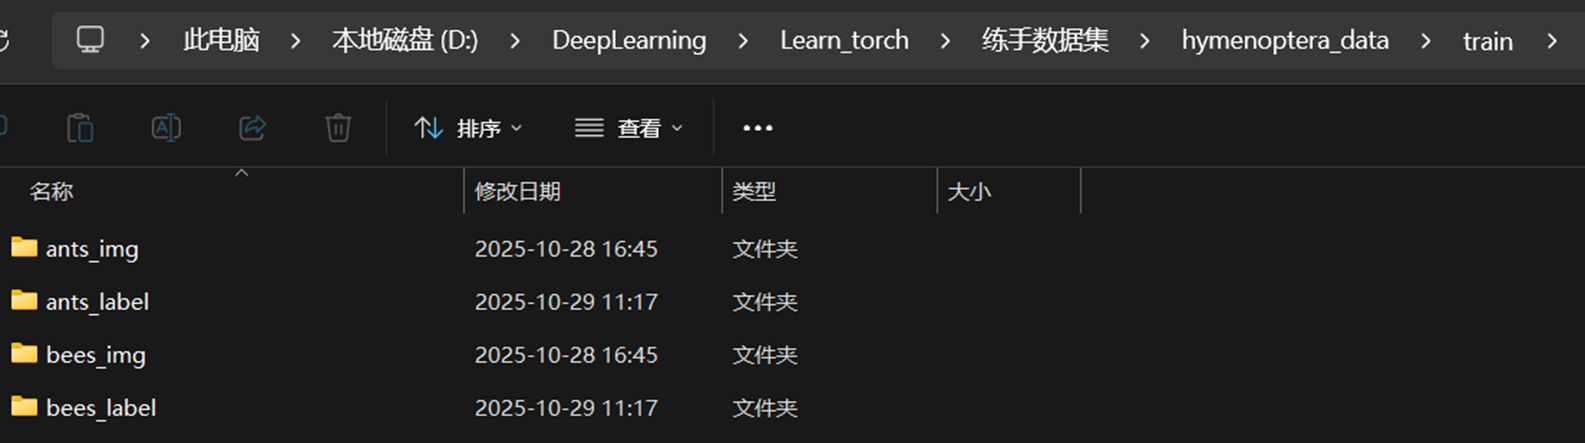
(6)重命名为xxx_img,并添加相应的label文件夹
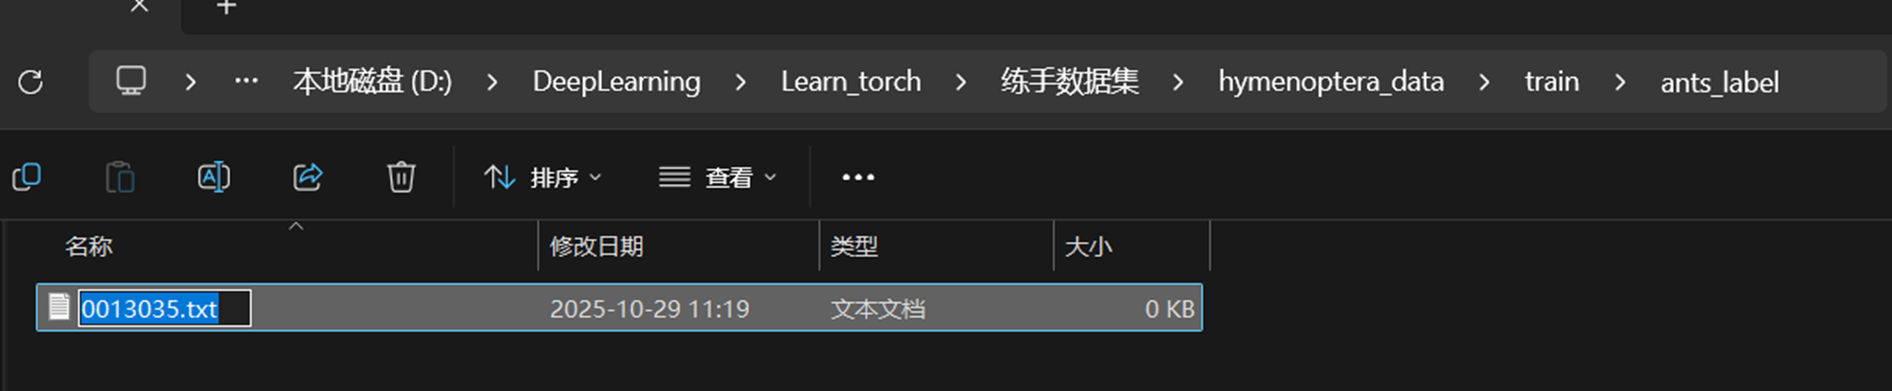
(7)给label文件夹添加ants_img文件夹中的第一幅照片的名称作为txt文件的命名
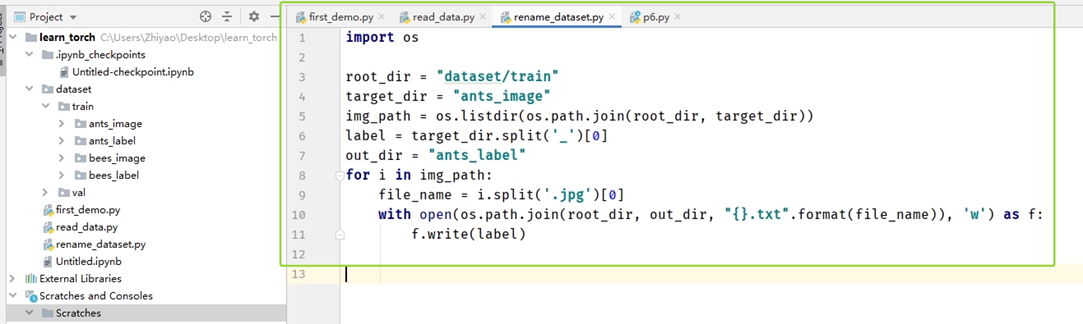
(8)运行pycharm里面的重命名代码
点击查看代码
import os

root_dir = "Data_antbee/hymenoptera_data/train"
target_dir = "ants_img"
img_path = os.listdir(os.path.join(root_dir,target_dir))
label = target_dir.split('_')[0]
out_dir = "ants_label"

for i in img_path:
    file_name = i.split('.jpg')[0]
    with open(os.path.join(root_dir,out_dir,"{}.txt".format(file_name)),'w') as f:
        f.write(label)
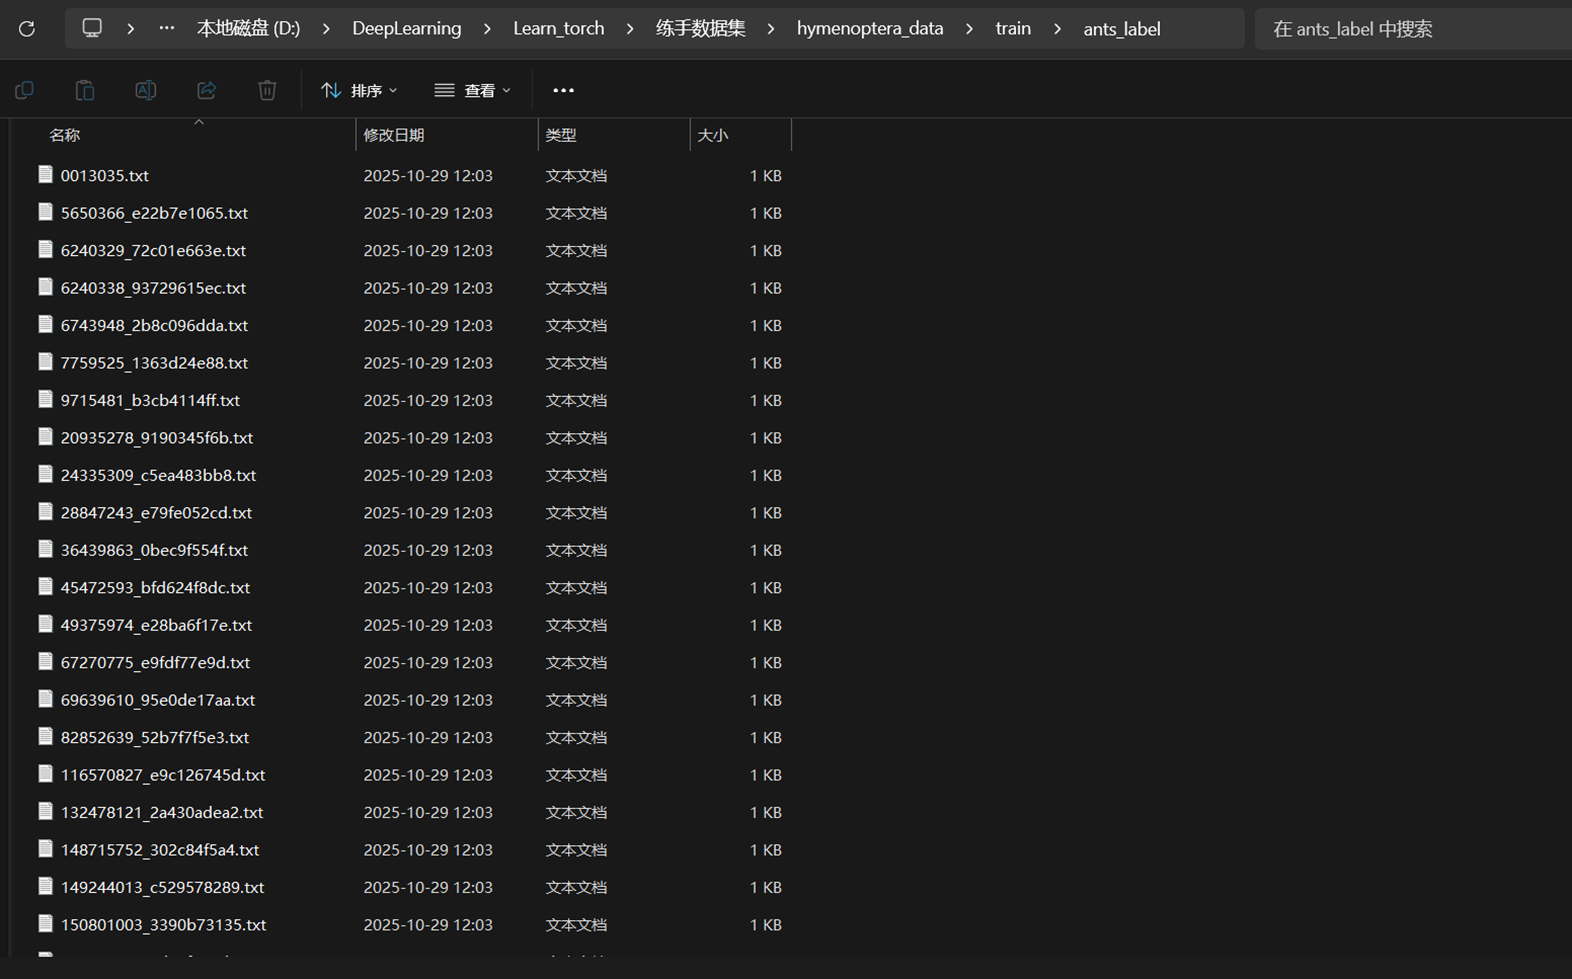
(9)运行代码后,ants_label和bees_label文件夹就会将ants所有jpg文件转换成对应的txt文件

 浙公网安备 33010602011771号