Openstack Train(系统Centos7.6)之二:环境装备
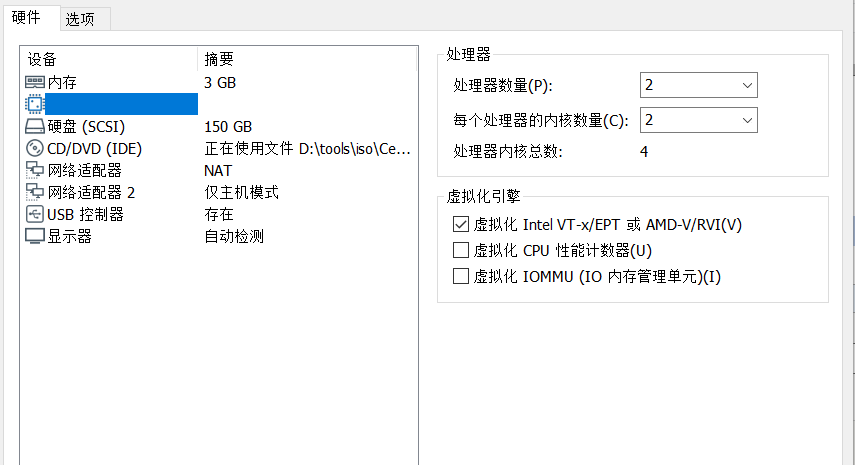
准备虚拟模板资源如下图
内存3G,
CPU内核总数4,一定要开启 虚拟化。
硬盘:150G
网卡两张:网卡1是NAT模式,172.30.70/255.255.128.0 网段,网卡2仅主机模式,是10.10.7.0 /255.255.128.0 网段
系统安装
[root@controller1 ~]# cat /etc/redhat-release
CentOS Linux release 7.6.1810 (Core)
最小化安装。
安装过程略。。。
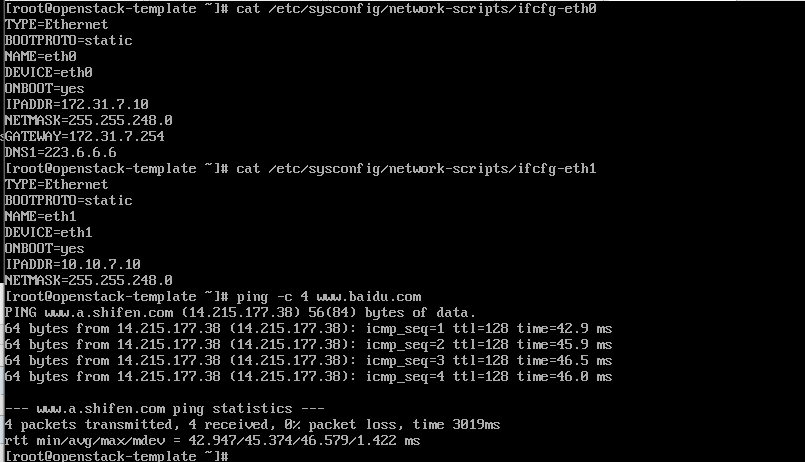
网卡配置好,并保存可以正常上网
关闭防火墙,selinux,NetworkManager,以免后面不必要的麻烦。
#systemctl disable firewalld && systemctl stop firewalld
#systemctl disable NetworkManager && systemctl stop NetworkManager
#sed -i 's/SELINUX=enforcing/SELINUX=disabled/g' /etc/selinux/config
#setenforce 0
更改Yum源为阿里源。建议不用epel源
rm -f /etc/yum.repos.d/* #强迫症,这里是删除原来的Yum源。可以不用操作这步。
curl -o /etc/yum.repos.d/CentOS-Base.repo https://mirrors.aliyun.com/repo/Centos-7.repo
安装好了以,安装一些基础的工具,以备后面使用。
yum install -y wget net-tools vim tree lrzsz gcc gcc++ automake pcre pcre-devel zlib zlib-devel openssl openssl-devel iotop lsof ntpdate telnet bridge-utils zip unzip tree tcpdump libevent libevent-devle bc systemd-devel bash-completion traceroute
bind-utils
更改主机名称为长名称
hostnamectl set-hostname openstack-template.magedu.local
时区再改一下。
cp /usr/share/zoneinfo/Asia/Shanghai /etc/localtime
时间同步加到计划任务里
[root@openstack-template ~]# crontab -e
no crontab for root - using an empty one
*/10 * * * * /usr/sbin/ntpdate time3.aliyun.com && hwclock -w
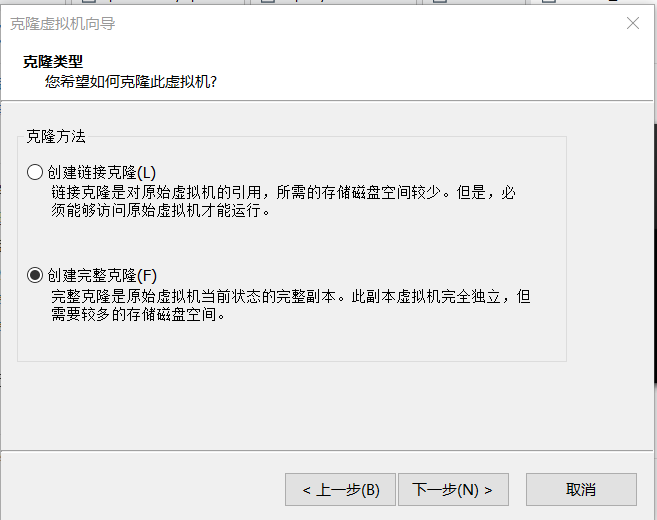
前菜装备完毕,关机,做快照。
克隆建议使用完整克隆。

 浙公网安备 33010602011771号