
运用模块方式写单片机程序
一、环境描述
- Keil4 软件
- Proteus8 仿真软件
二、步骤描述
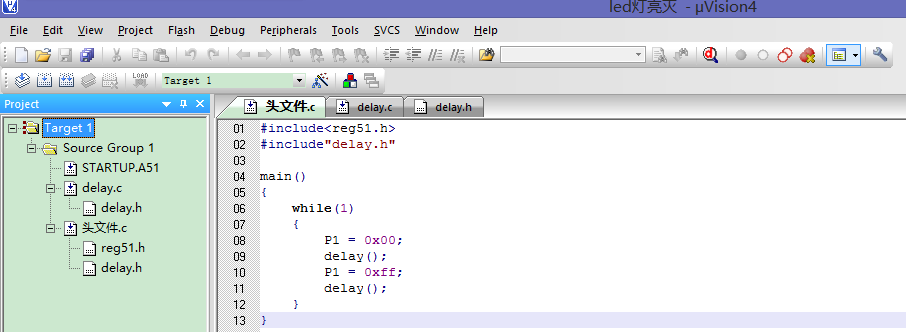
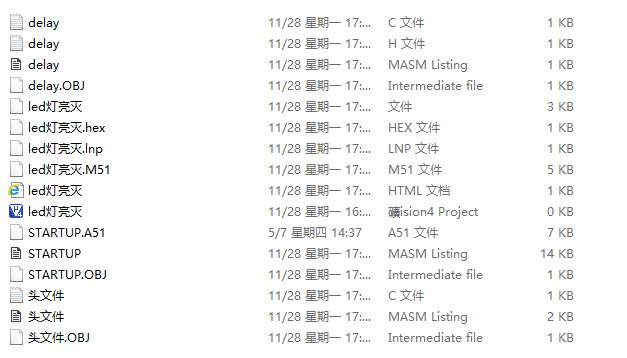
首先在Keil里创建一个工程,在工程里建立三个文件,文件名分别是:“头文件.c”,“delay.c”,“delay.h”

分别在 头文件.c、delay.c、delay.h 写入相应内容:(注意不要将 delay.h 文件插入工程文件中)
 1 #include<reg51.h>
 2 #include"delay.h"
 3
 4 main()
 5 {
 6     while(1)
 7     {
 8         P1 = 0x00;
 9         delay();
10         P1 = 0xff;
11         delay();
12     }
13 }
1 #include"delay.h"
2 delay()
3 {
4     int x;
5     for(x = 0;x < 250;x++)
6     ;
7 }
1 #ifndef _DELAY_H_
2 #define _DELAY_H_
3 delay();
4
5 #endif
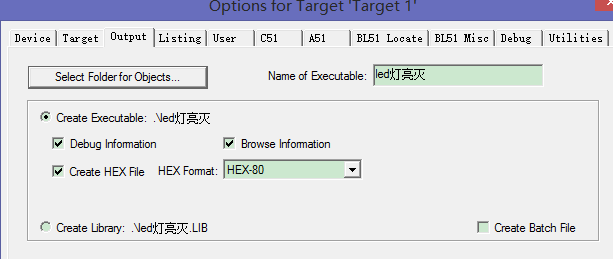
设置生成Hex文件的目录:
点击Rebuild all target files,生成效果如下:
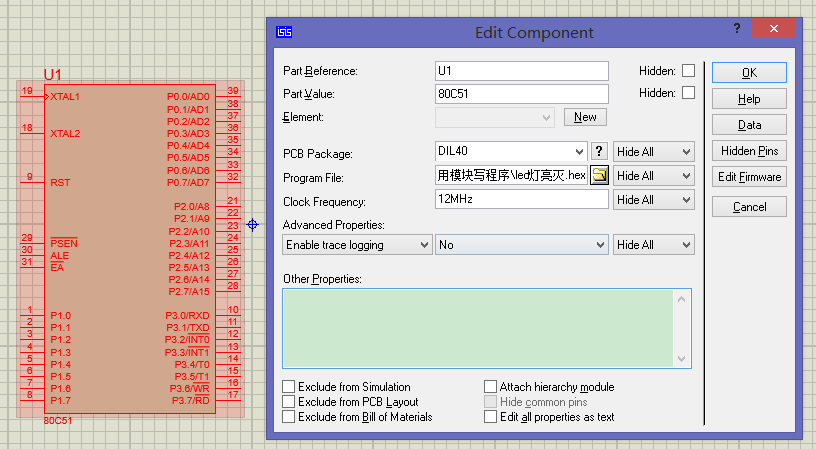
在Proteus仿真软件中插入一个80C51的单片机芯片,然后将刚生成的Hex文件烧录进该芯片中:
仿真效果如下:
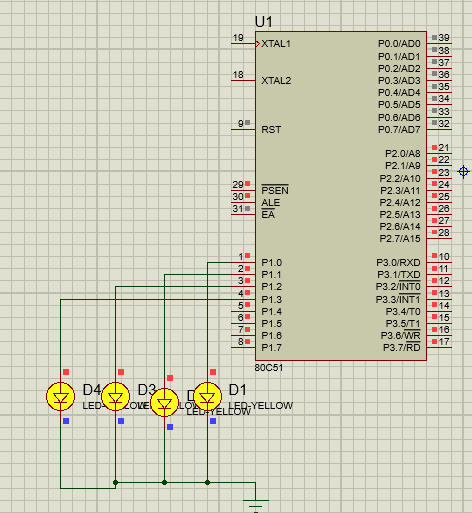
用模块写一个LED灯程序的整个步骤就介绍完毕了。
三、温馨提示
1,delay在程序中起延时的作用。
2,#include<delay.h>与#include"delay.h"的区别
#include<delay.h>存入的是单片机自带的头文件目录中
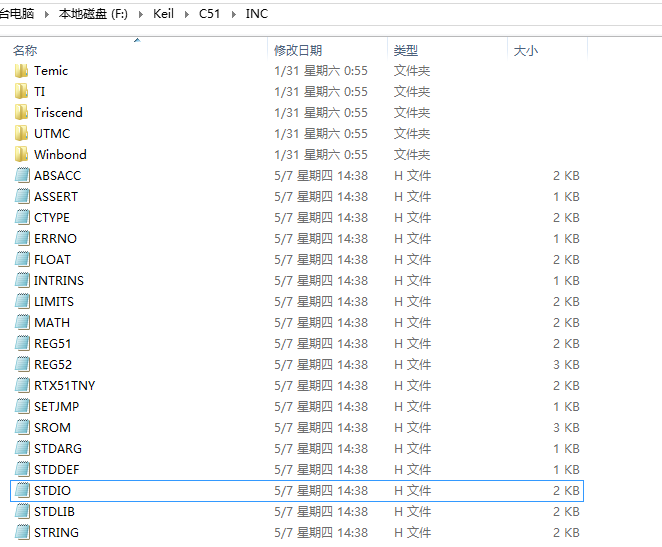
#include"delay.h"是自定义的函数,存放在自己新建的工作目录中
3,写这篇文章的主要目的并不是介绍如何写一个LED亮灭的单片机程序,而是通过这个小程序,介绍用模块写程序的步骤。
感受
曾经我在写C语言的时候,只会用一个头文件,外加一个主函数,那时候我就在想,如果以后做工程项目,难道就要像这样写一个很长很长的C语言文件吗?
这个问题一直困扰着我,不过今天算是解决了。通过这种方式可以将一个很大的工程项目分为几个子模块,然后对模块一个个进行测试,哪里有问题,就会有针对性的进行调试,提高了整体效率。


 浙公网安备 33010602011771号