
Windows10安装Ubuntu子系统--Windows10自带功能(已验证)
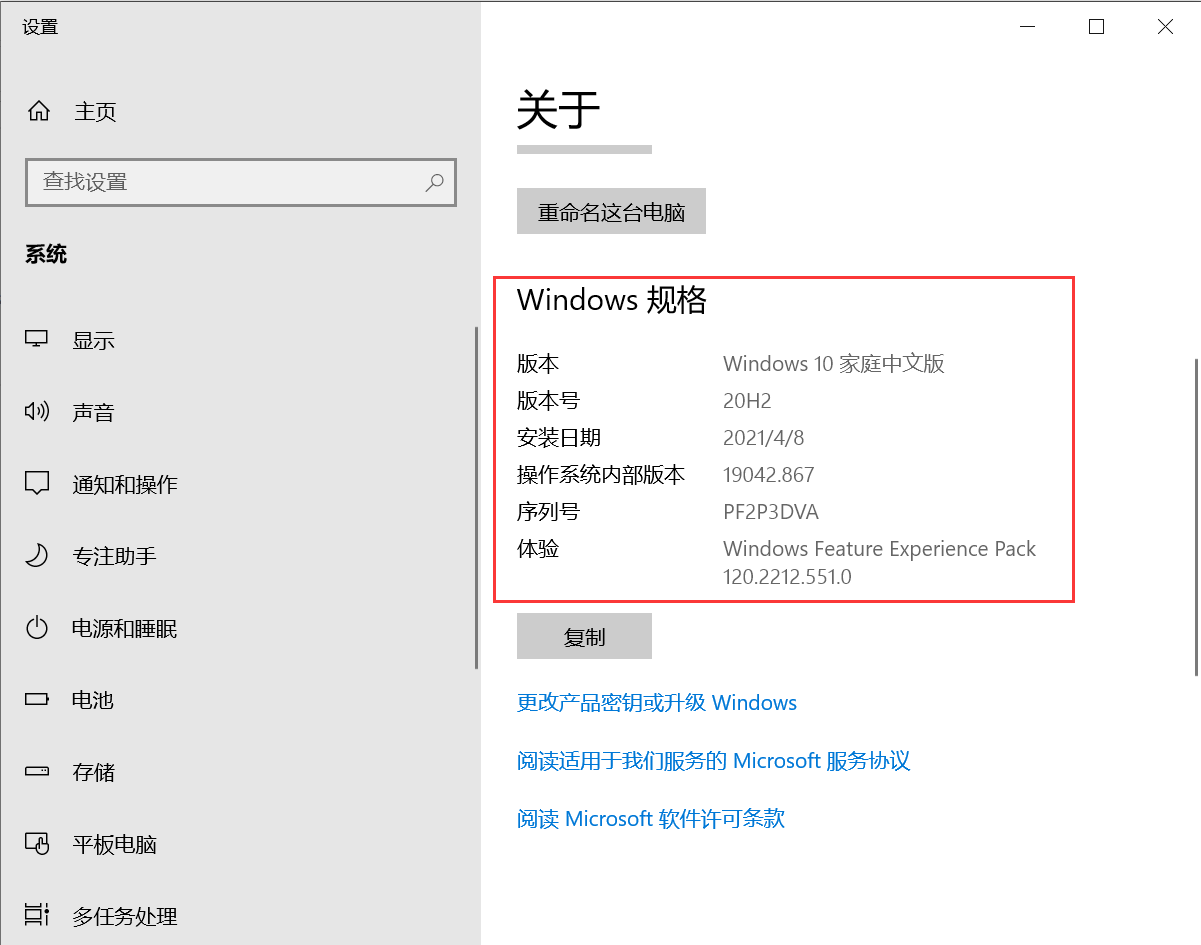
当前环境--Windows10 家庭版 版本号20H2
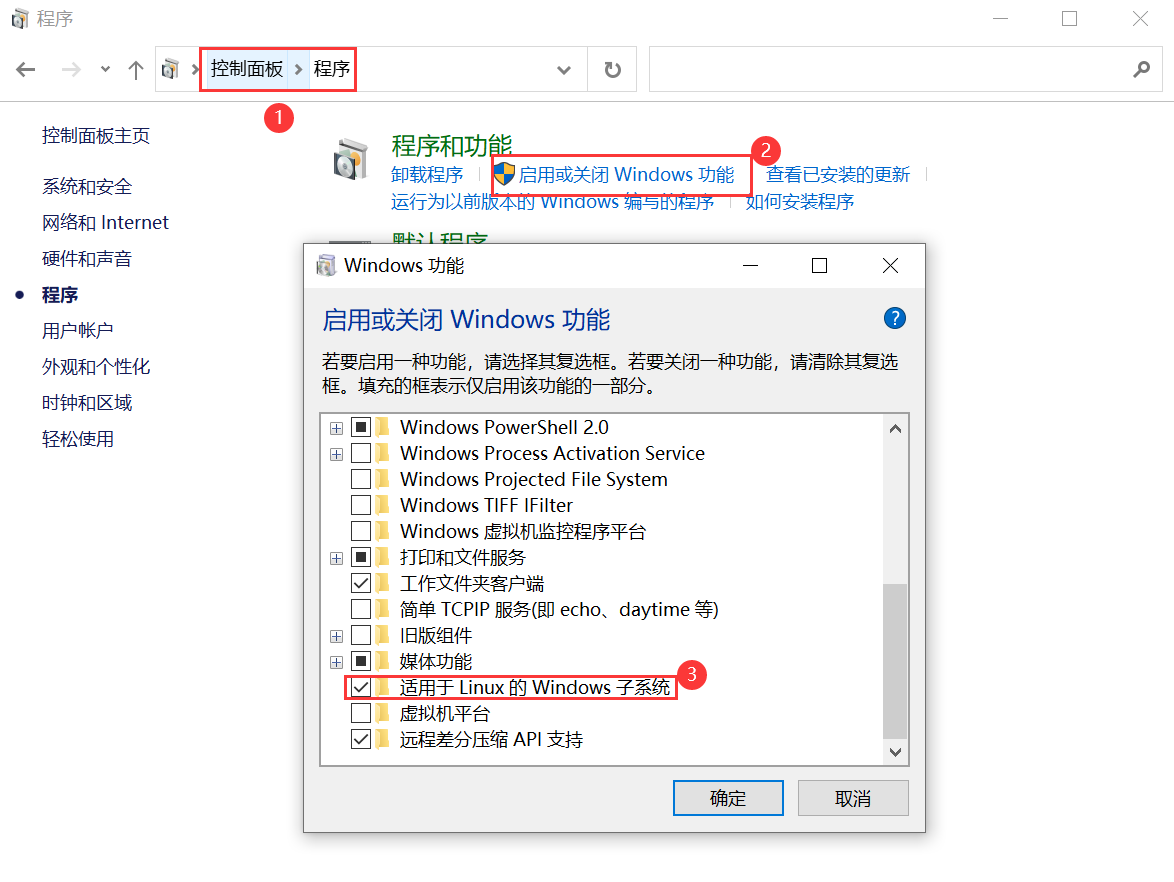
1,开启权限(必须),会提示重启电脑,重启后可进行下一步。
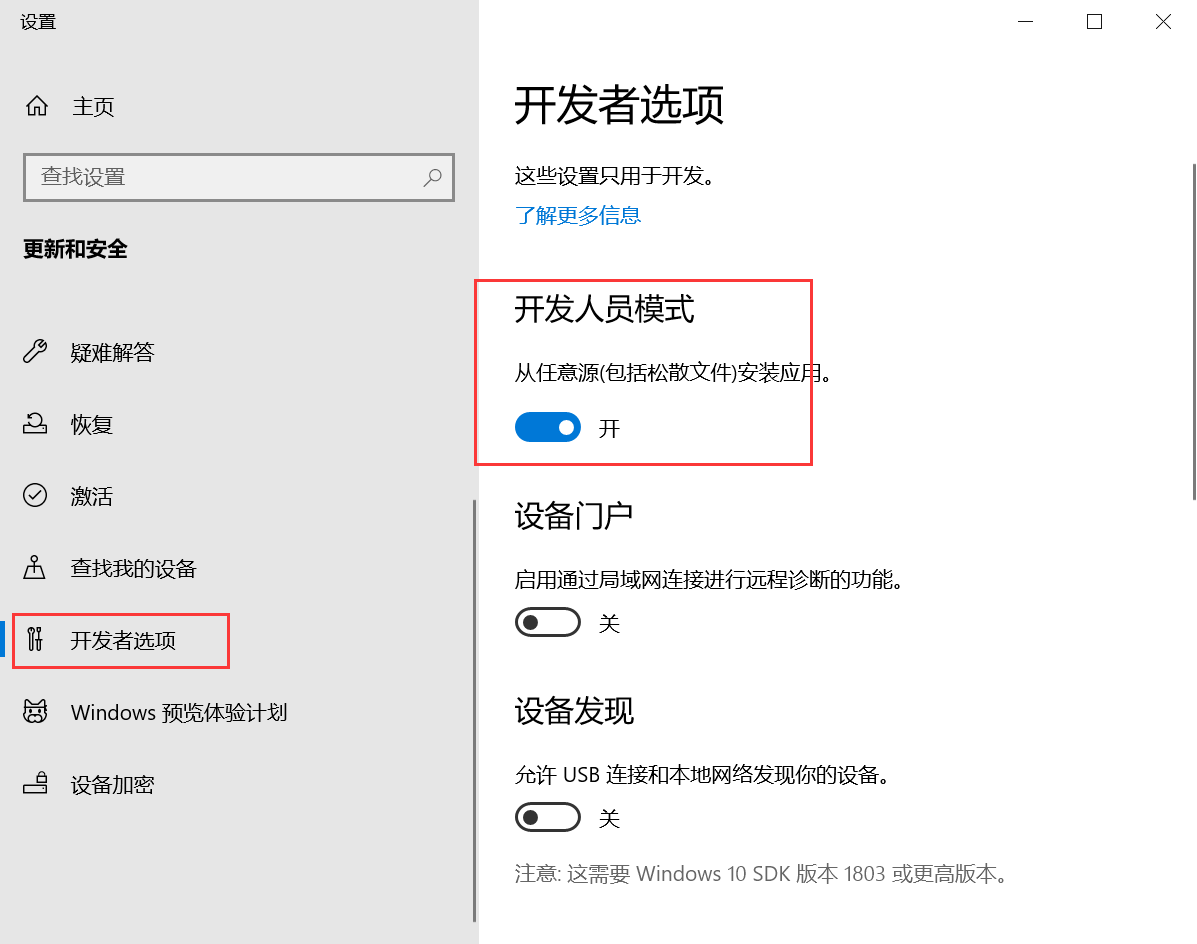
2,开启开发者模式(非必须)
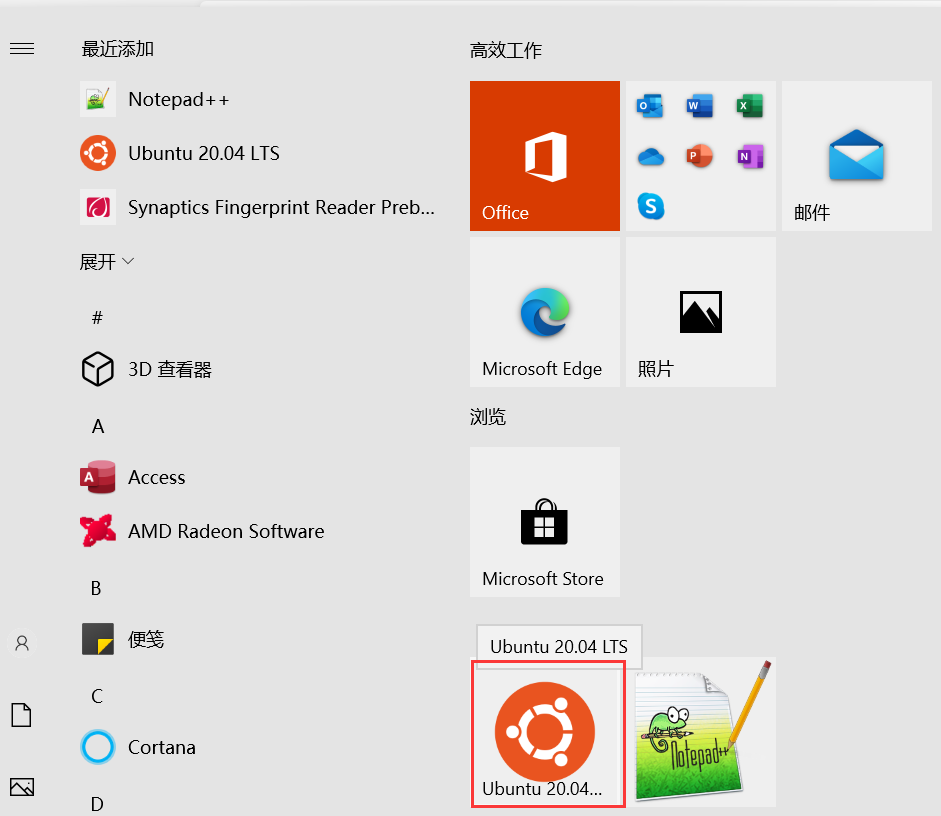
3,在Microsoft Store中搜索Ubuntu,选择一个版本进行安装(笔者选择的是最新版本)。
安装后的目录为:C:\Users\shaon(windows当前登录用户文件夹)\AppData\Local\Packages\CanonicalGroupLimited.Ubuntu20.04onWindows_79rhkp1fndgsc\LocalState\rootfs

安装后的目录结构,rootfs就是Ubuntu的根目录。如下:

4,设置用户名和密码。
注意:该用户非root用户,root用户已存在。
若需切换到root用户,需设置下root用户的密码:sudo passwd 或 sudo passwd root 命令(切换到root用户命令为su 或 sudo -s)

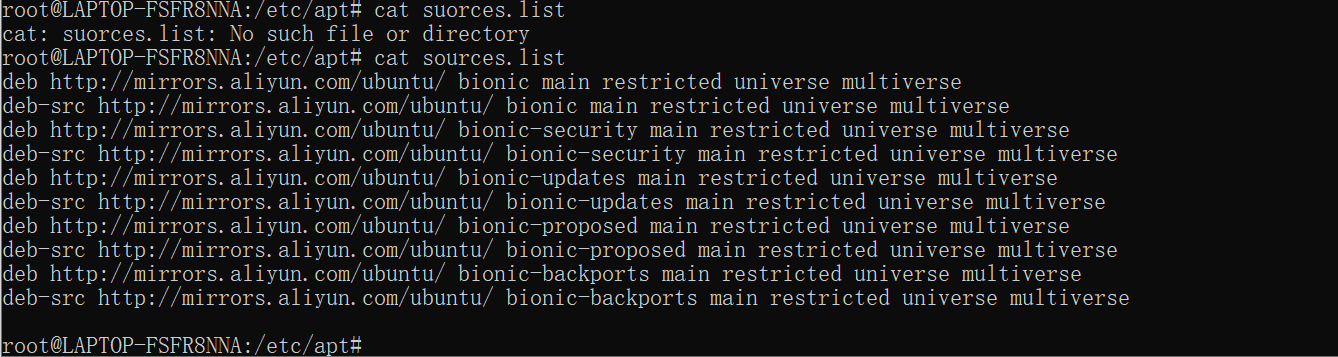
5,切换软件源(配置文件为/etc/apt/sources.list),默认的软件源地址为国外,可修改为国内的如阿里的。
//备份原数据源文件(非必须)
cp /etc/apt/sources.list /etc/apt/sources_bak.list
//使用vim,编辑数据源文件,删除原来所有的源,复制阿里源,保存退出
vim /etc/apt/sources.list
//更新软件列表
apt-get update
//更新软件
apt-get upgrade
阿里软件源
deb http://mirrors.aliyun.com/ubuntu/ bionic main restricted universe multiverse
deb-src http://mirrors.aliyun.com/ubuntu/ bionic main restricted universe multiverse
deb http://mirrors.aliyun.com/ubuntu/ bionic-security main restricted universe multiverse
deb-src http://mirrors.aliyun.com/ubuntu/ bionic-security main restricted universe multiverse
deb http://mirrors.aliyun.com/ubuntu/ bionic-updates main restricted universe multiverse
deb-src http://mirrors.aliyun.com/ubuntu/ bionic-updates main restricted universe multiverse
deb http://mirrors.aliyun.com/ubuntu/ bionic-proposed main restricted universe multiverse
deb-src http://mirrors.aliyun.com/ubuntu/ bionic-proposed main restricted universe multiverse
deb http://mirrors.aliyun.com/ubuntu/ bionic-backports main restricted universe multiverse
deb-src http://mirrors.aliyun.com/ubuntu/ bionic-backports main restricted universe multivers
修改后:
更多可能性可阅读官方视频和文档:
https://docs.microsoft.com/zh-cn/archive/blogs/wsl/windows-and-ubuntu-interoperability

 浙公网安备 33010602011771号