

Nginx安装
一、安装所需的库及插件
1.pcre (重写功能需用到此库)
[root@localhost ~]# yum install pcre pcre-devel
2.open-ssl (https需要用到,没装此插件会报错)
[root@localhost ~]# yum install openssl-devel
3.安装编译功能
yum -y install gcc gcc-c++ autoconf automake make二、安装Nginx
1.创建存放目录
mkdir -p /home/minki/tools
2.下载安装包
wget -q http://nginx.org/download/nginx-1.6.3.tar.gz
3.创建nginx用户
[root@localhost tools]# useradd nginx -s /sbin/nologin -M
4.解压nginx安装包
[root@localhost tools]# tar -zxvf nginx-1.6.3.tar.gz
5.编译安装nginx
[root@localhost nginx-1.6.3]#./configure --user=nginx --group=nginx --prefix=/application/nginx-1.6.3/ --with-http_stub_status_module --with-http_ssl_module
解释: --prefix=/application/nginx-1.6.3/ (安装目录) --user=nginx --group=nginx(进程用户和组权限) --with-http_ssl_module(启用ssl功能)
[root@localhost nginx-1.6.3]#make&&make install
[root@localhost nginx-1.6.3]# ln -s /application/nginx-1.6.3/ /application/nginx ####将安装目录软链接到/application/nginx
,方便人员使用
6.启动前检查配置文件语法
[root@localhost nginx-1.6.3]# /application/nginx/sbin/nginx -t
nginx: the configuration file /application/nginx-1.6.3//conf/nginx.conf syntax is ok
nginx: configuration file /application/nginx-1.6.3//conf/nginx.conf test is successful
7.启动nginx
[root@localhost nginx-1.6.3]# /application/nginx/sbin/nginx
8.检查对应端口是否启动成功
[root@localhost nginx-1.6.3]# lsof -i:80
COMMAND PID USER FD TYPE DEVICE SIZE/OFF NODE NAME
nginx 8705 root 6u IPv4 64849 0t0 TCP *:http (LISTEN)
nginx 8706 nginx 6u IPv4 64849 0t0 TCP *:http (LISTEN)
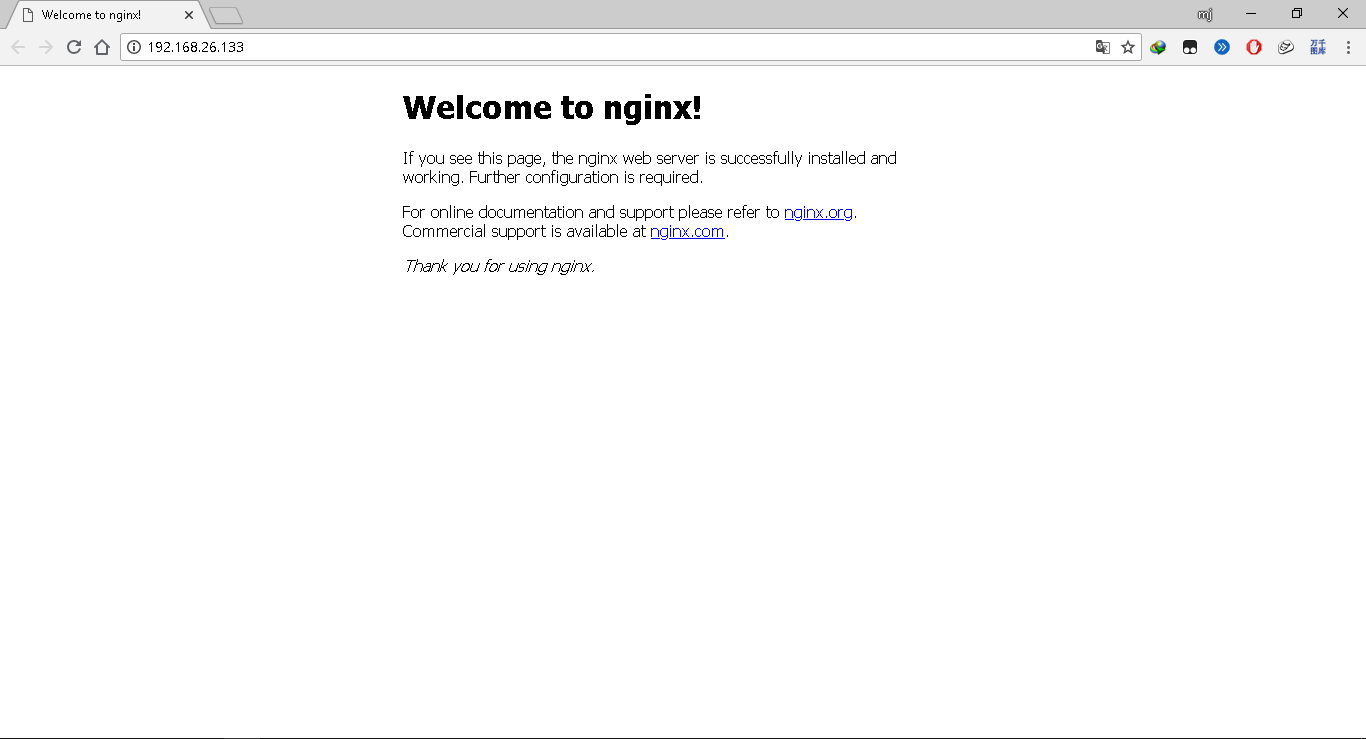
9.访问http://192.168.26.133或者 curl 127.0.0.1
10.查看进程
[root@localhost nginx-1.6.3]# ps -ef|grep nginx
root 8705 1 0 21:07 ? 00:00:00 nginx: master process /application/nginx/sbin/nginx
nginx 8706 8705 0 21:07 ? 00:00:00 nginx: worker process
root 8748 6065 0 21:15 pts/0 00:00:00 grep nginx
11.设置开机启动
一、在/etc/init.d/中添加nginx文件,并在nginx配置文件中添加如下参数:
#!/bin/bash
# nginx Startup script for the Nginx HTTP Server
# it is v.0.0.2 version.
# chkconfig: - 85 15
# description: Nginx is a high-performance web and proxy server.
# It has a lot of features, but it's not for everyone.
# processname: nginx
# pidfile: /var/run/nginx.pid
# config: /usr/local/nginx/conf/nginx.conf
##########如下参数根据自己安装路径设置
nginxd=/application/nginx/sbin/nginx
nginx_config=/application/nginx/conf/nginx.conf
nginx_pid=/application/nginx/logs/nginx.pid
###################################
RETVAL=0
prog="nginx"
# Source function library.
. /etc/rc.d/init.d/functions
# Source networking configuration.
. /etc/sysconfig/network
# Check that networking is up.
[ ${NETWORKING} = "no" ] && exit 0
[ -x $nginxd ] || exit 0
# Start nginx daemons functions.
start() {
if [ -e $nginx_pid ];then
echo "nginx already running...."
exit 1
fi
echo -n $"Starting $prog: "
daemon $nginxd -c ${nginx_config}
RETVAL=$?
echo
[ $RETVAL = 0 ] && touch /var/lock/subsys/nginx
return $RETVAL
}
# Stop nginx daemons functions.
stop() {
echo -n $"Stopping $prog: "
killproc $nginxd
RETVAL=$?
echo
[ $RETVAL = 0 ] && rm -f /var/lock/subsys/nginx /usr/local/nginx/logs/nginx.pid
}
# reload nginx service functions.
reload() {
echo -n $"Reloading $prog: "
#kill -HUP `cat ${nginx_pid}`
killproc $nginxd -HUP
RETVAL=$?
echo
}
# See how we were called.
case "$1" in
start)
start
;;
stop)
stop
;;
reload)
reload
;;
restart)
stop
start
;;
status)
status $prog
RETVAL=$?
;;
*)
echo $"Usage: $prog {start|stop|restart|reload|status|help}"
exit 1
esac
exit $RETVAL
二、设置权限
chmod a+x /etc/init.d/nginx (a+x参数表示 ==> all user can execute 所有用户可执行)
三、在/etc/rc.local中添加nginx启动参数
加入 /etc/init.d/nginx start

 浙公网安备 33010602011771号