第四期书生大模型实战营【进阶岛】—— InternVL 多模态模型部署微调实践
InternVL 多模态模型部署微调实践
任务描述
- 理解多模态大模型的常见设计模式,可以大概讲出多模态大模型的工作原理。
- 了解InternVL2的设计模式,可以大概描述InternVL2的模型架构和训练流程。
- 了解LMDeploy部署多模态大模型的核心代码,并运行提供的gradio代码,在UI界面体验与InternVL2的对话。
- 了解XTuner,并利用给定数据集微调InternVL2-2B后,再次启动UI界面,体验模型美食鉴赏能力的变化。
- 将训练好的模型上传到 Hugging Face 或 ModelScope 上,模型名称包含 InternVL 关键词(优秀学员必做)。
多模态大模型
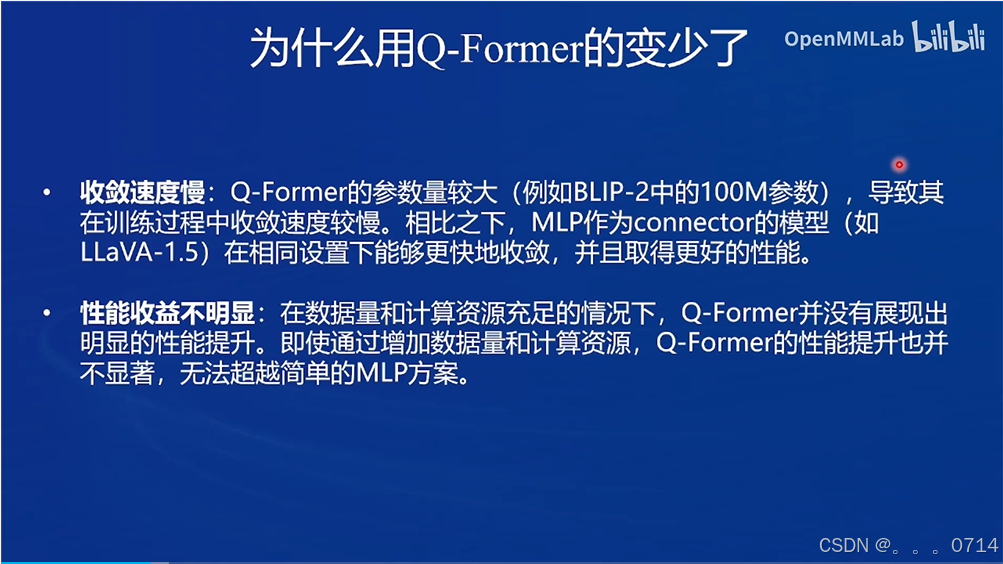
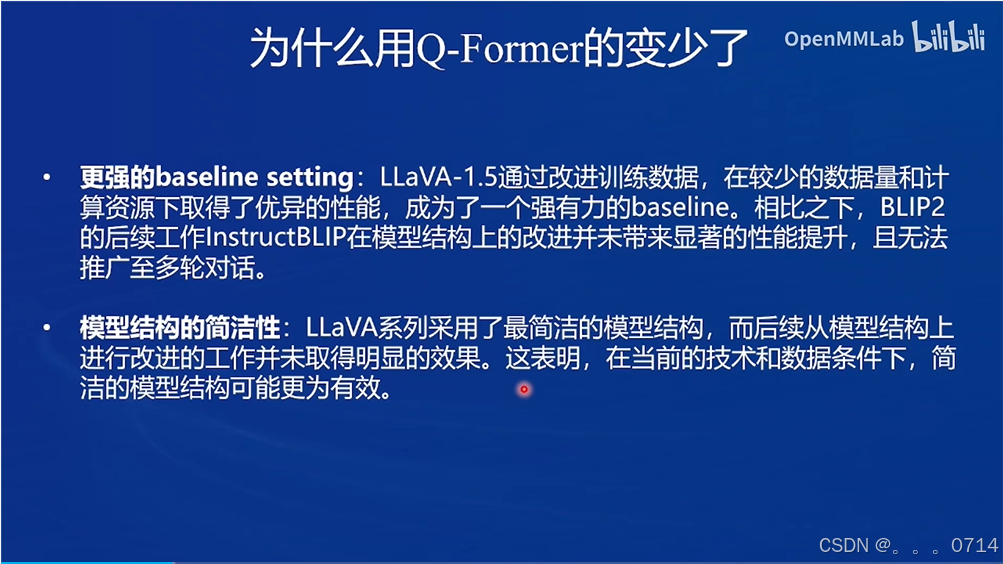
常见设计模式
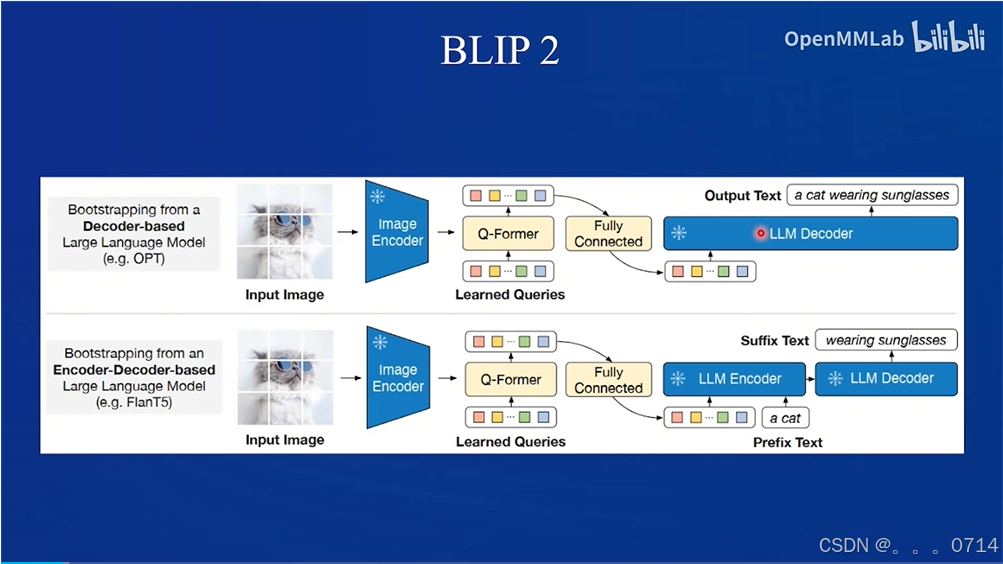
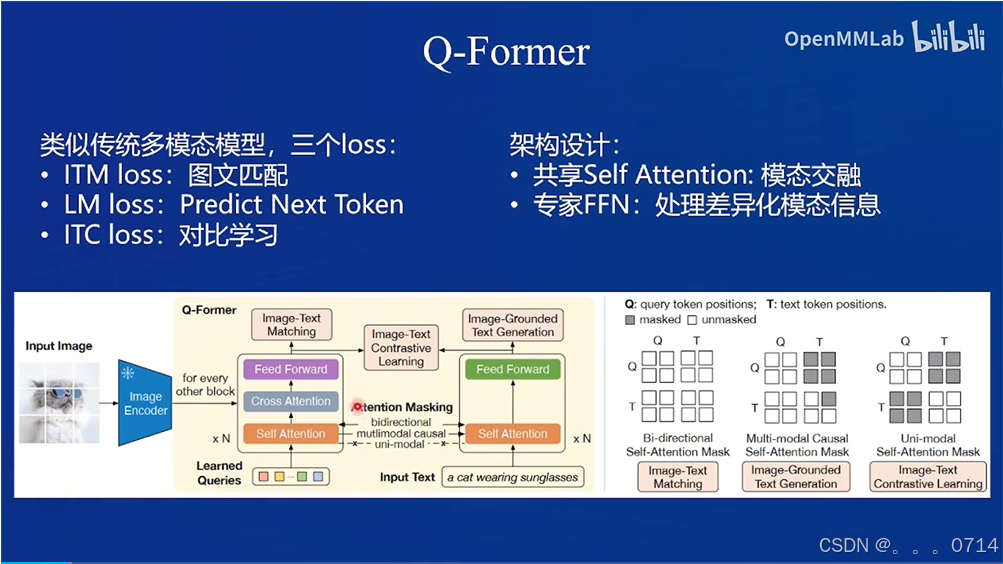
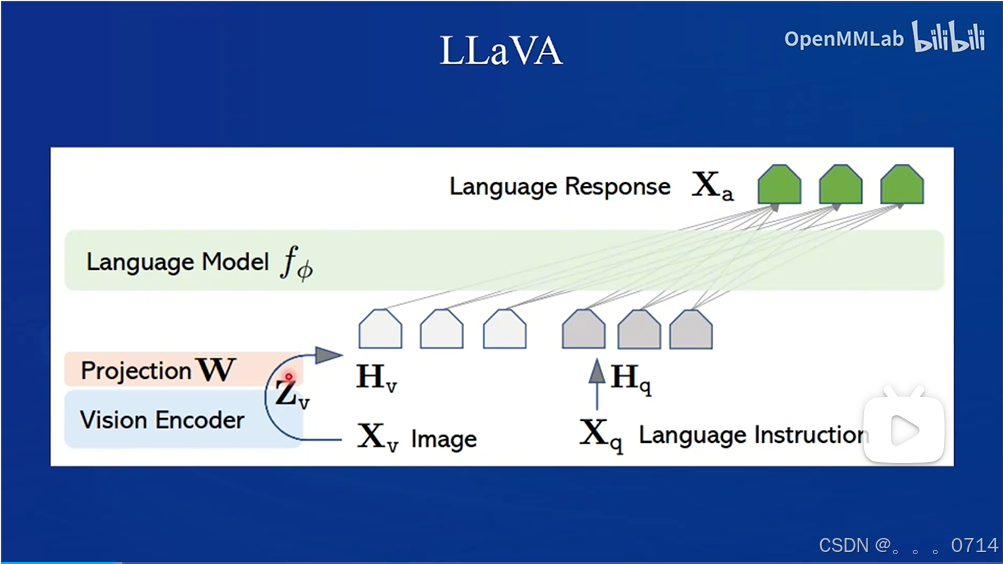
目前主要有两种常见设计模式,第一种是Q-Former,第二种是LLaVa。
QFormer
Q-former模式,以BLIP2和MiniGPT-4为代表。
LLaVA
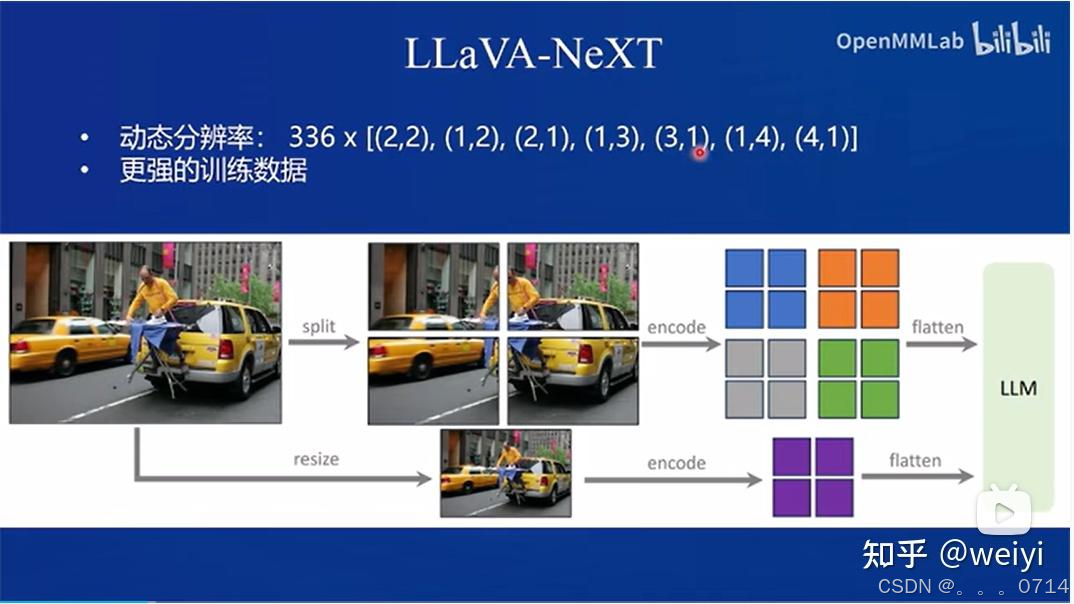
LLaVA设计模式,以LLaVA-NeXT为代表。

QFormer vs. LLaVA
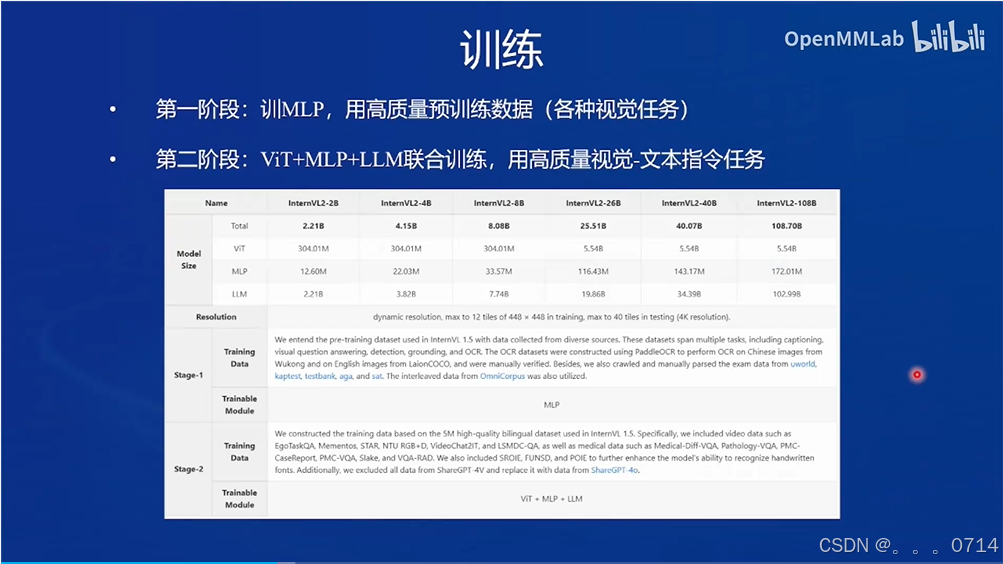
InternVL2 的设计模式
InternVL2属于LLaVA设计模式。
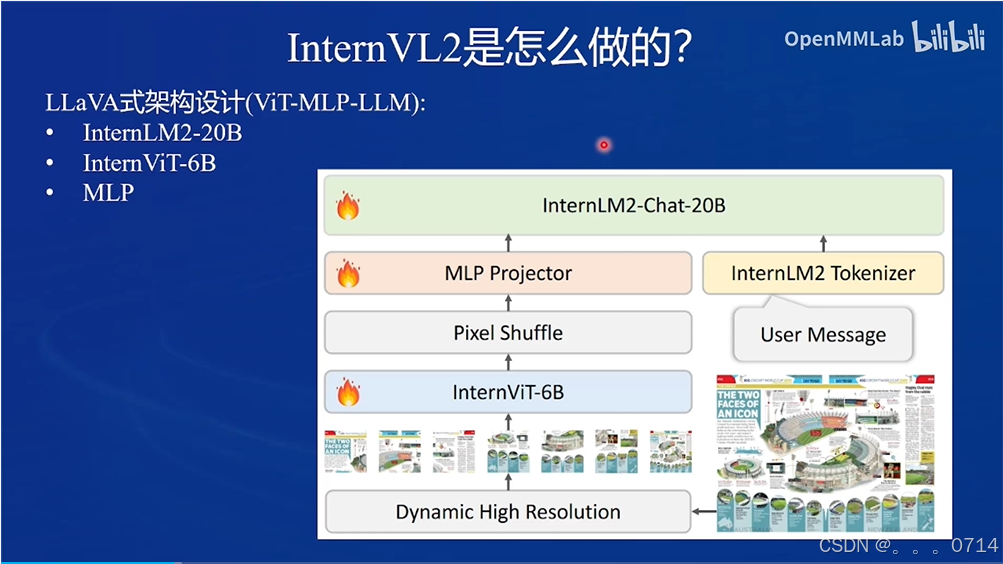
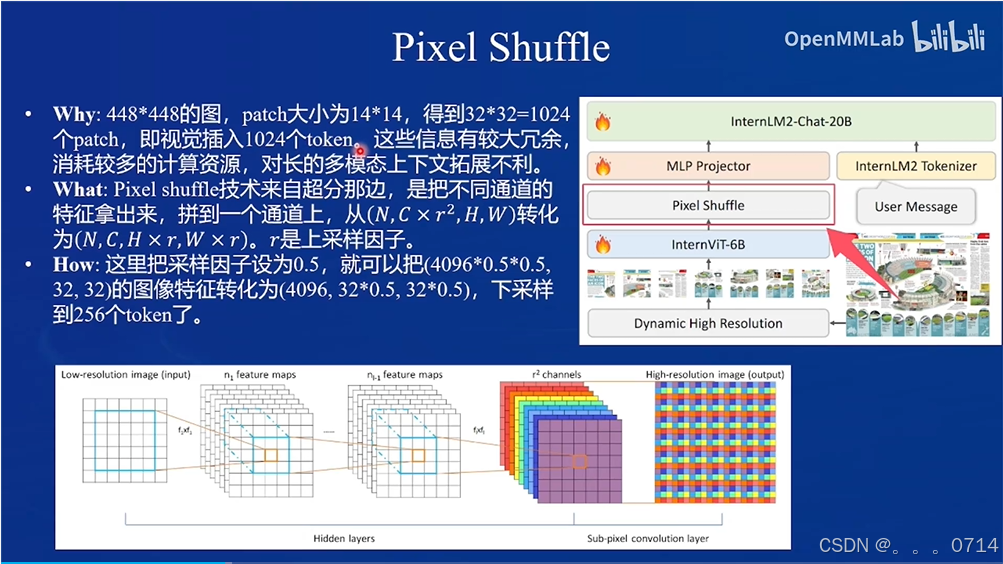
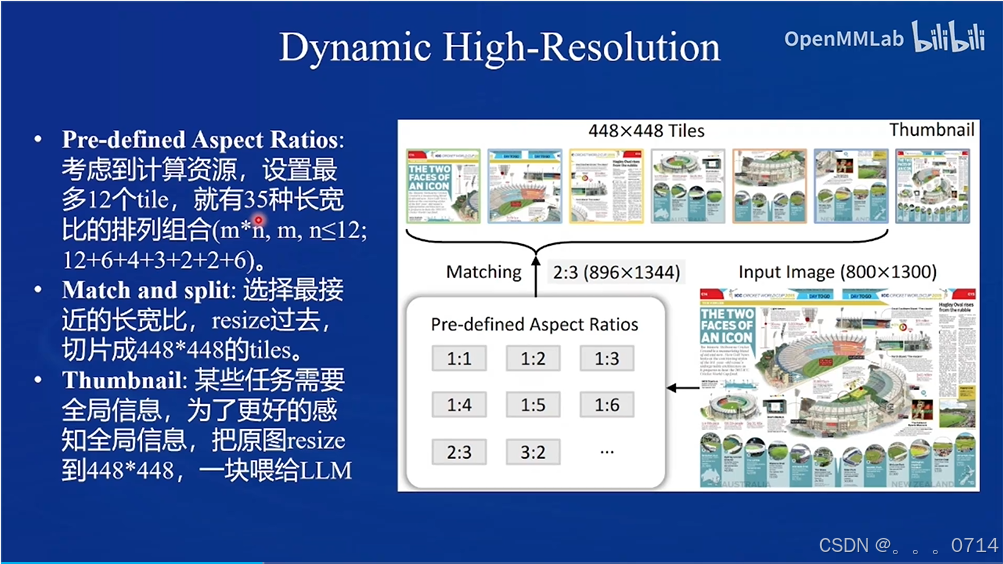
训练流程包含两阶段。
微调 InternVL2-2B 模型
环境配置
训练环境配置
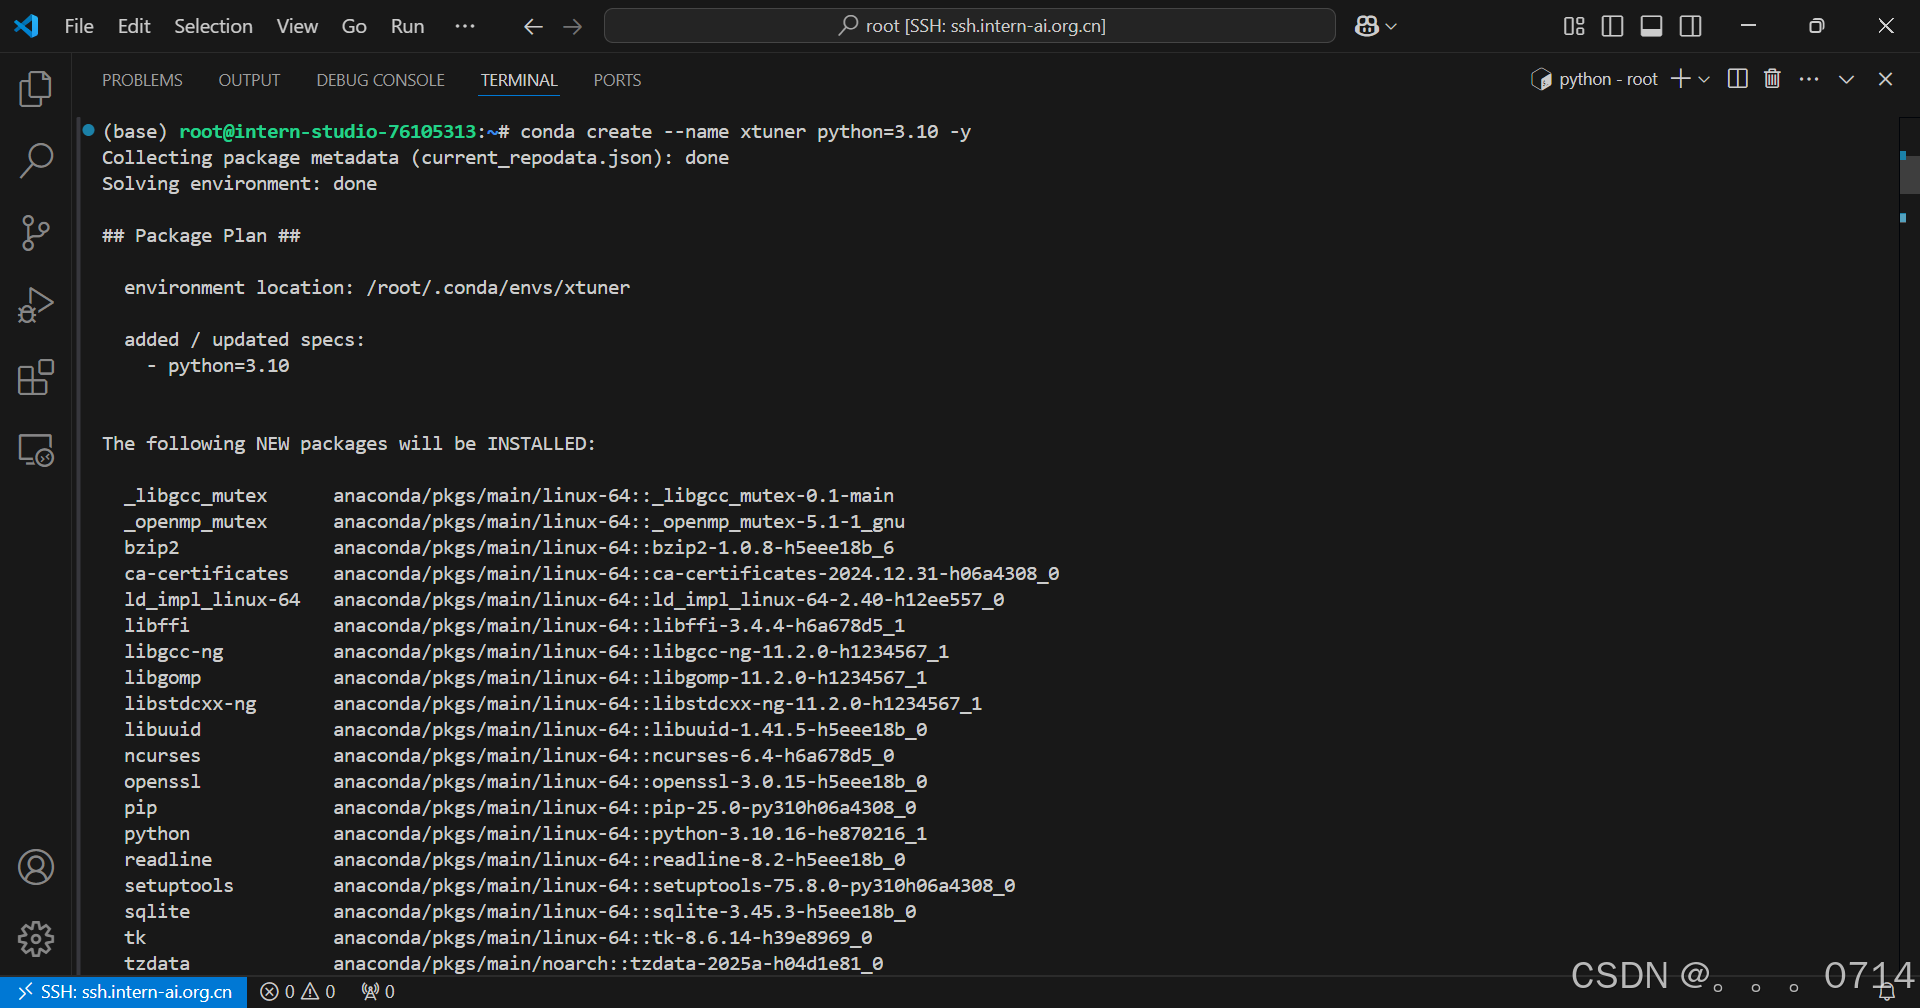
conda create --name xtuner python=3.10 -y
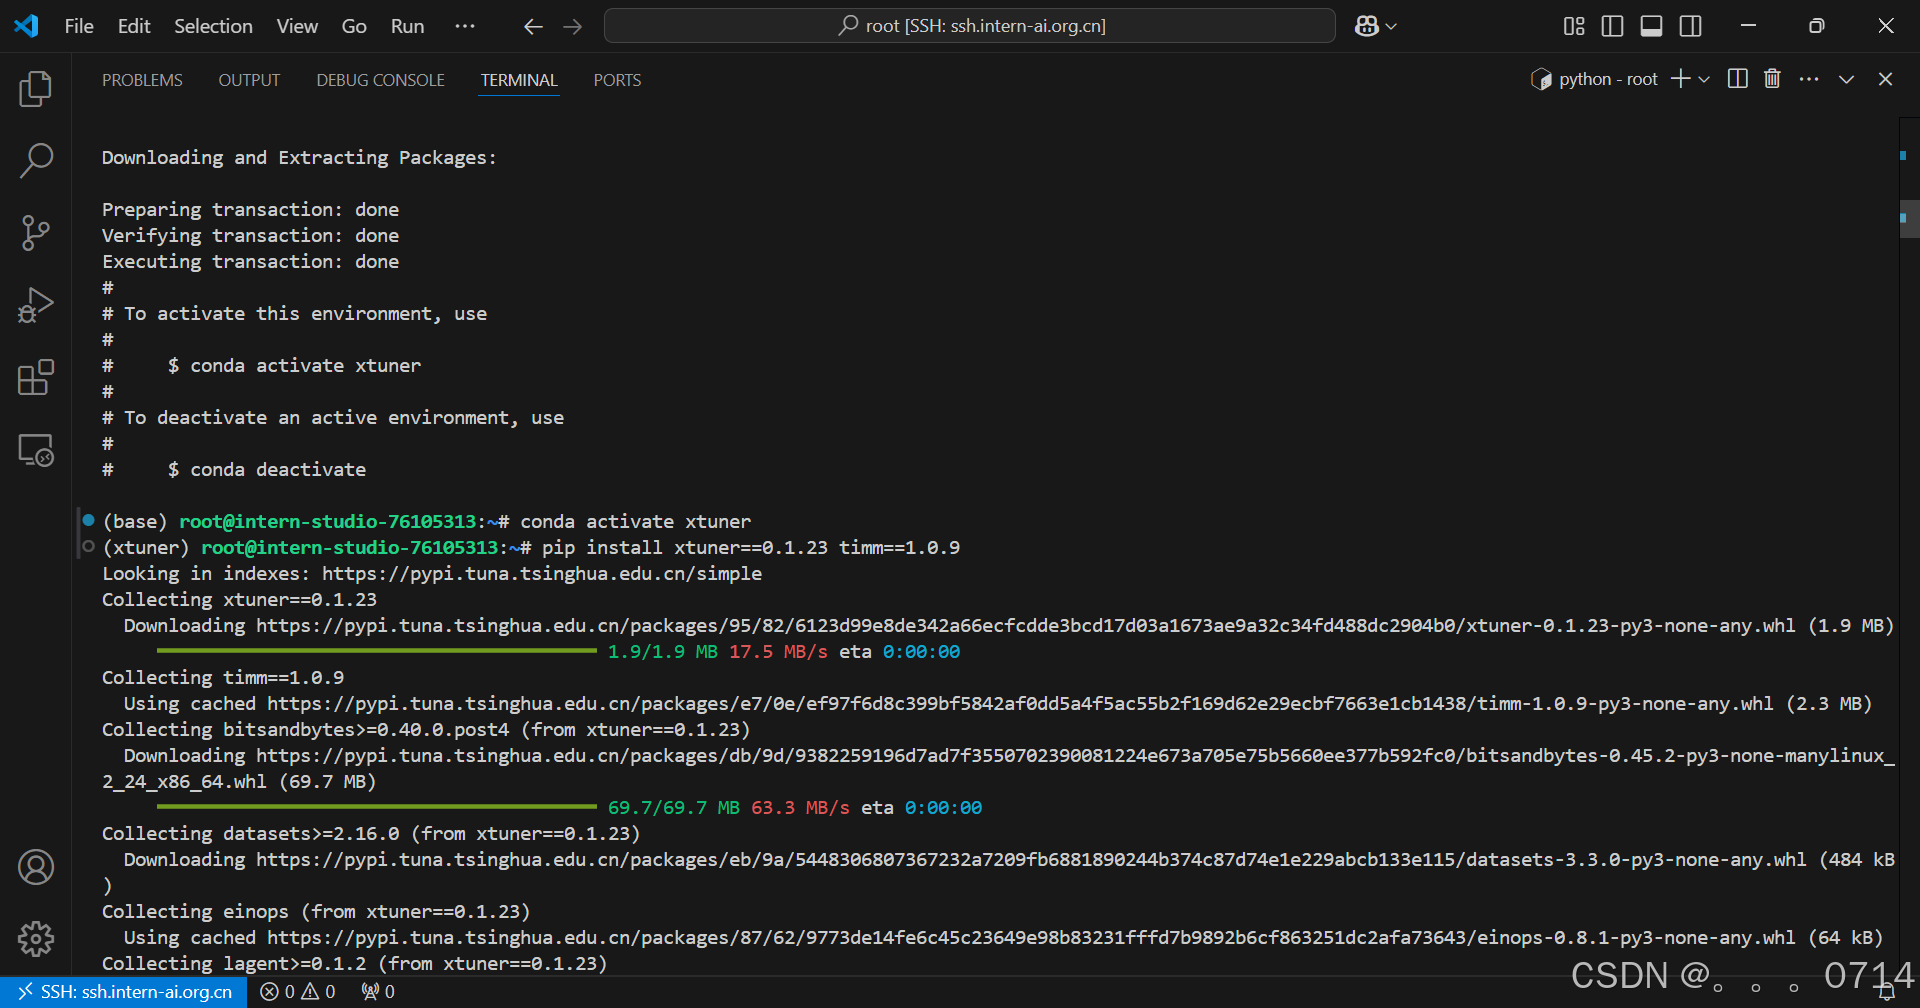
conda activate xtuner
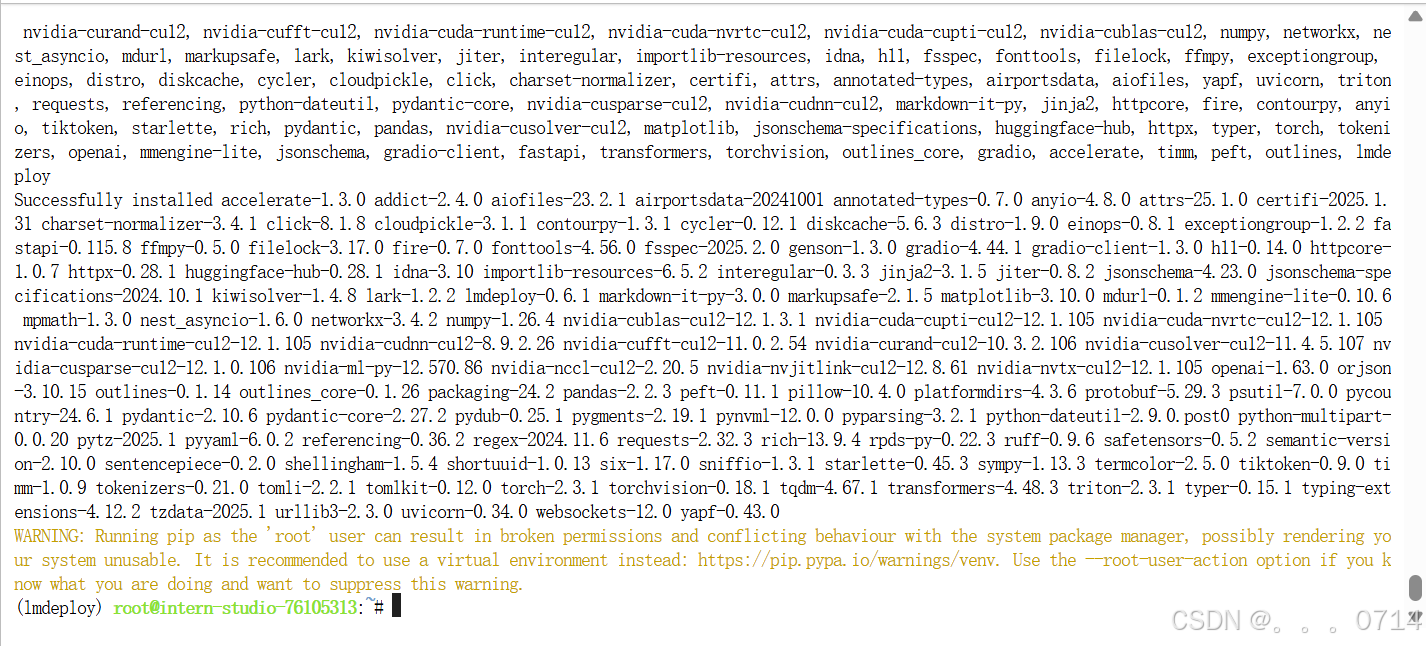
pip install xtuner==0.1.23 timm==1.0.9
pip install 'xtuner[deepspeed]'
pip install torch==2.4.1 torchvision==0.19.1 torchaudio==2.4.1 --index-url https://download.pytorch.org/whl/cu121
pip install transformers==4.39.0 tokenizers==0.15.2 peft==0.13.2 datasets==3.1.0 accelerate==1.2.0 huggingface-hub==0.26.5
推理环境配置
conda create -n lmdeploy python=3.10 -y
conda activate lmdeploy
pip install lmdeploy==0.6.1 gradio==4.44.1 timm==1.0.9
LMDeploy 部署模型
LMDeploy基本用法介绍
我们主要通过pipeline.chat 接口来构造多轮对话管线,核心代码为:
## 1.导入相关依赖包
from lmdeploy import pipeline, TurbomindEngineConfig, GenerationConfig
from lmdeploy.vl import load_image

## 2.使用你的模型初始化推理管线
model_path = "your_model_path"
pipe = pipeline(model_path,
                backend_config=TurbomindEngineConfig(session_len=8192))

## 3.读取图片(此处使用PIL读取也行)
image = load_image('your_image_path')

## 4.配置推理参数
gen_config = GenerationConfig(top_p=0.8, temperature=0.8)
## 5.利用 pipeline.chat 接口 进行对话,需传入生成参数
sess = pipe.chat(('describe this image', image), gen_config=gen_config)
print(sess.response.text)
## 6.之后的对话轮次需要传入之前的session,以告知模型历史上下文
sess = pipe.chat('What is the woman doing?', session=sess, gen_config=gen_config)
print(sess.response.text)
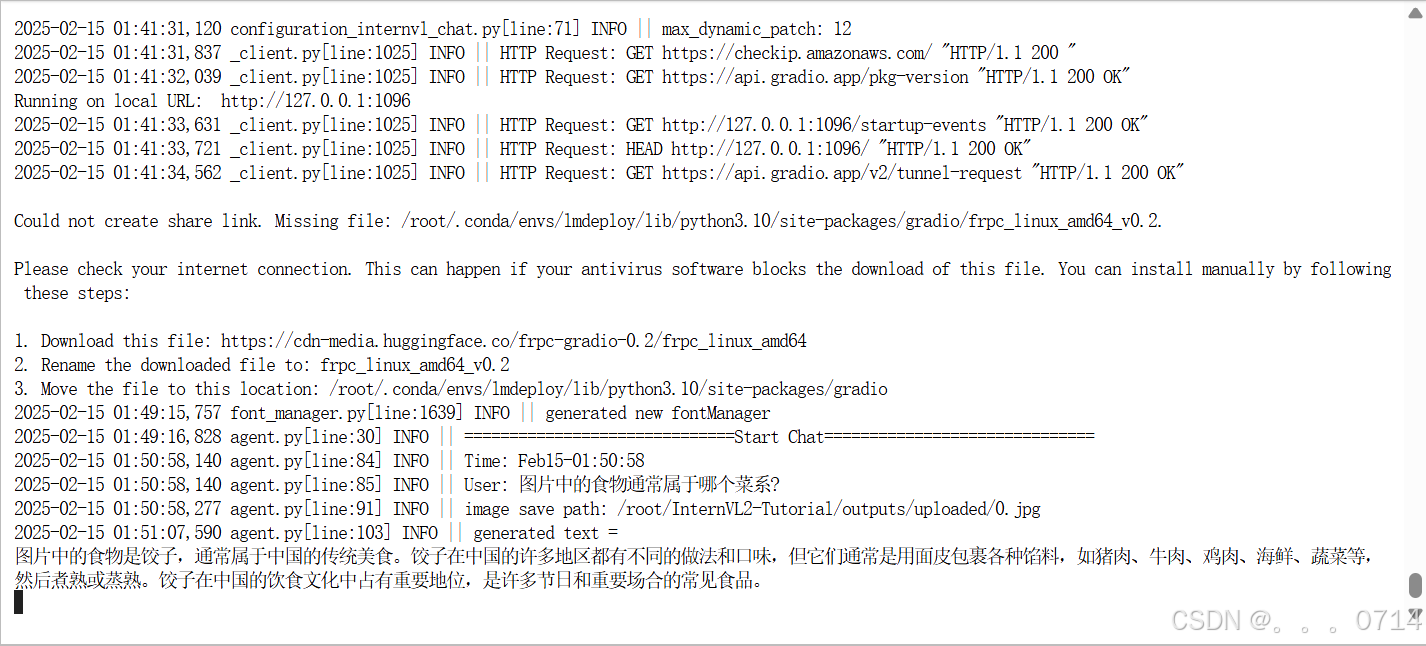
网页应用部署体验
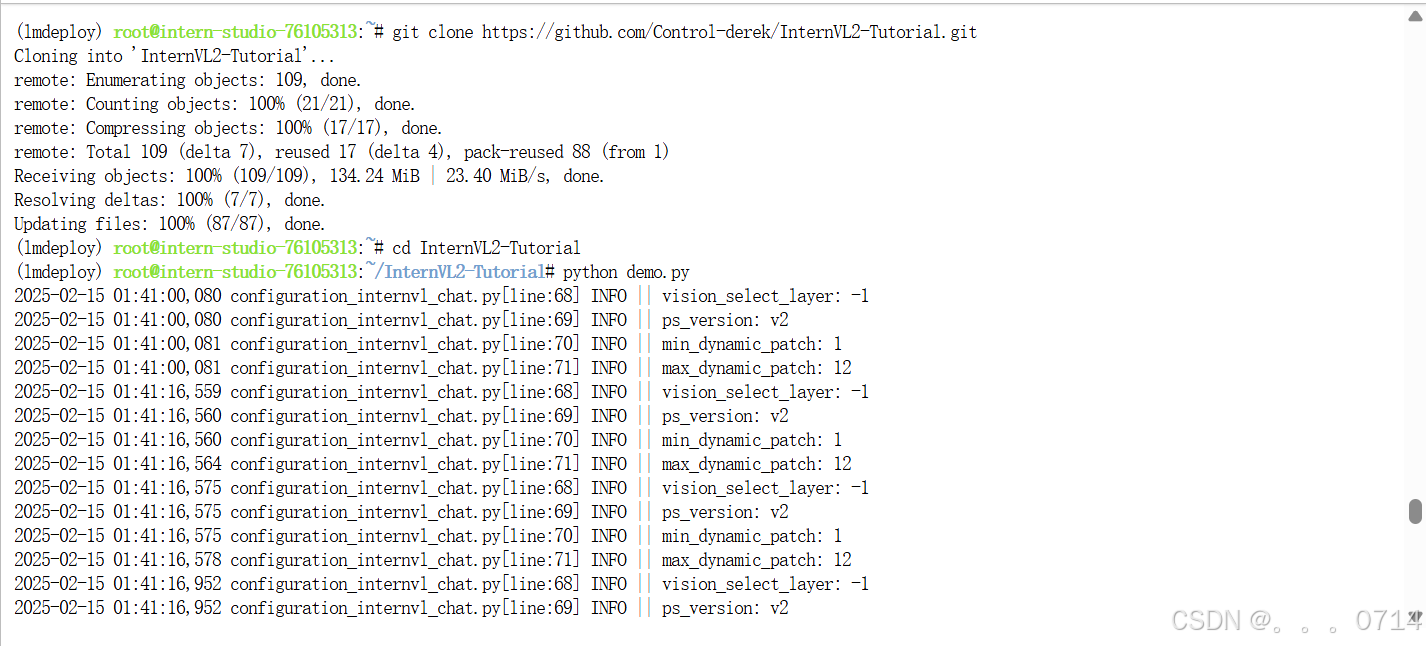
git clone https://github.com/Control-derek/InternVL2-Tutorial.git
cd InternVL2-Tutorial
demo.py文件中,MODEL_PATH处传入InternVL2-2B的路径,如果使用的是InternStudio 的开发机则无需修改,否则改为模型路径。之后启动demo。
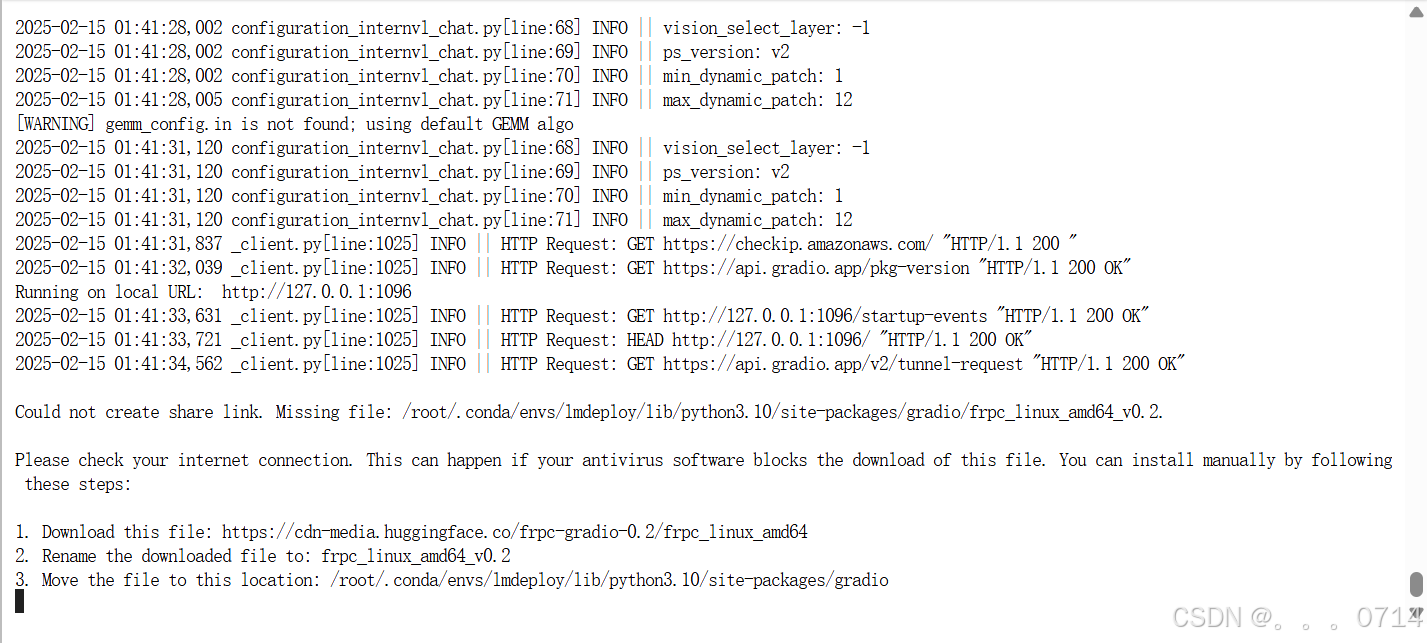
由于是在开发机上运行的demo.py,因此需要在本机手动进行端口映射。

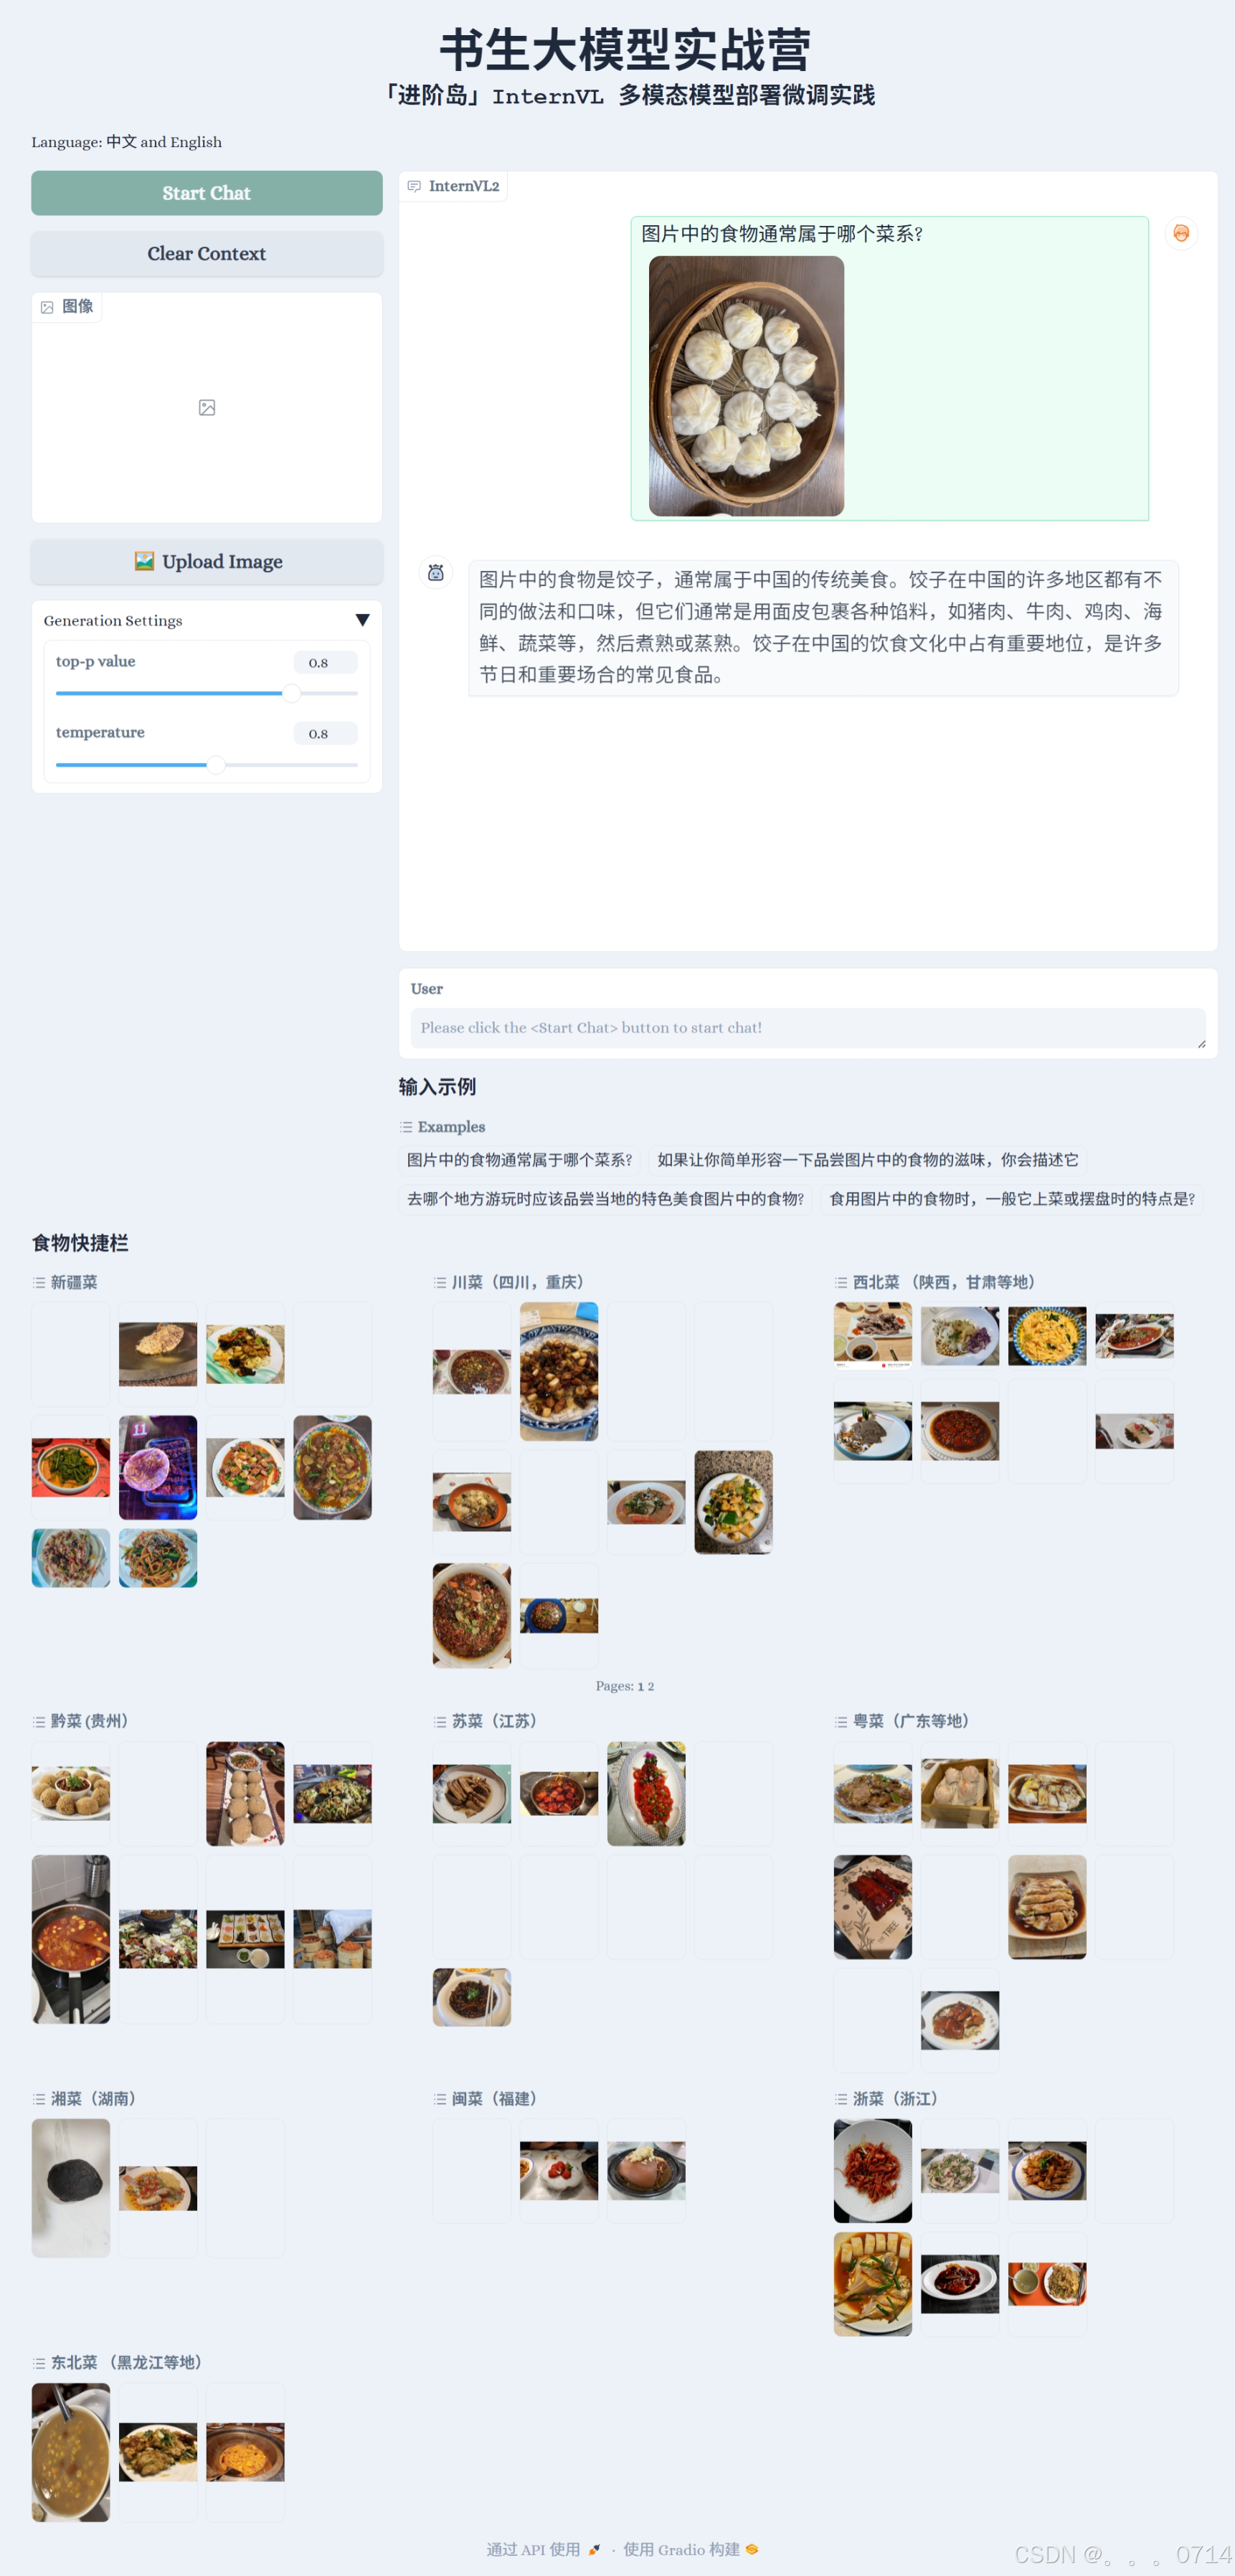
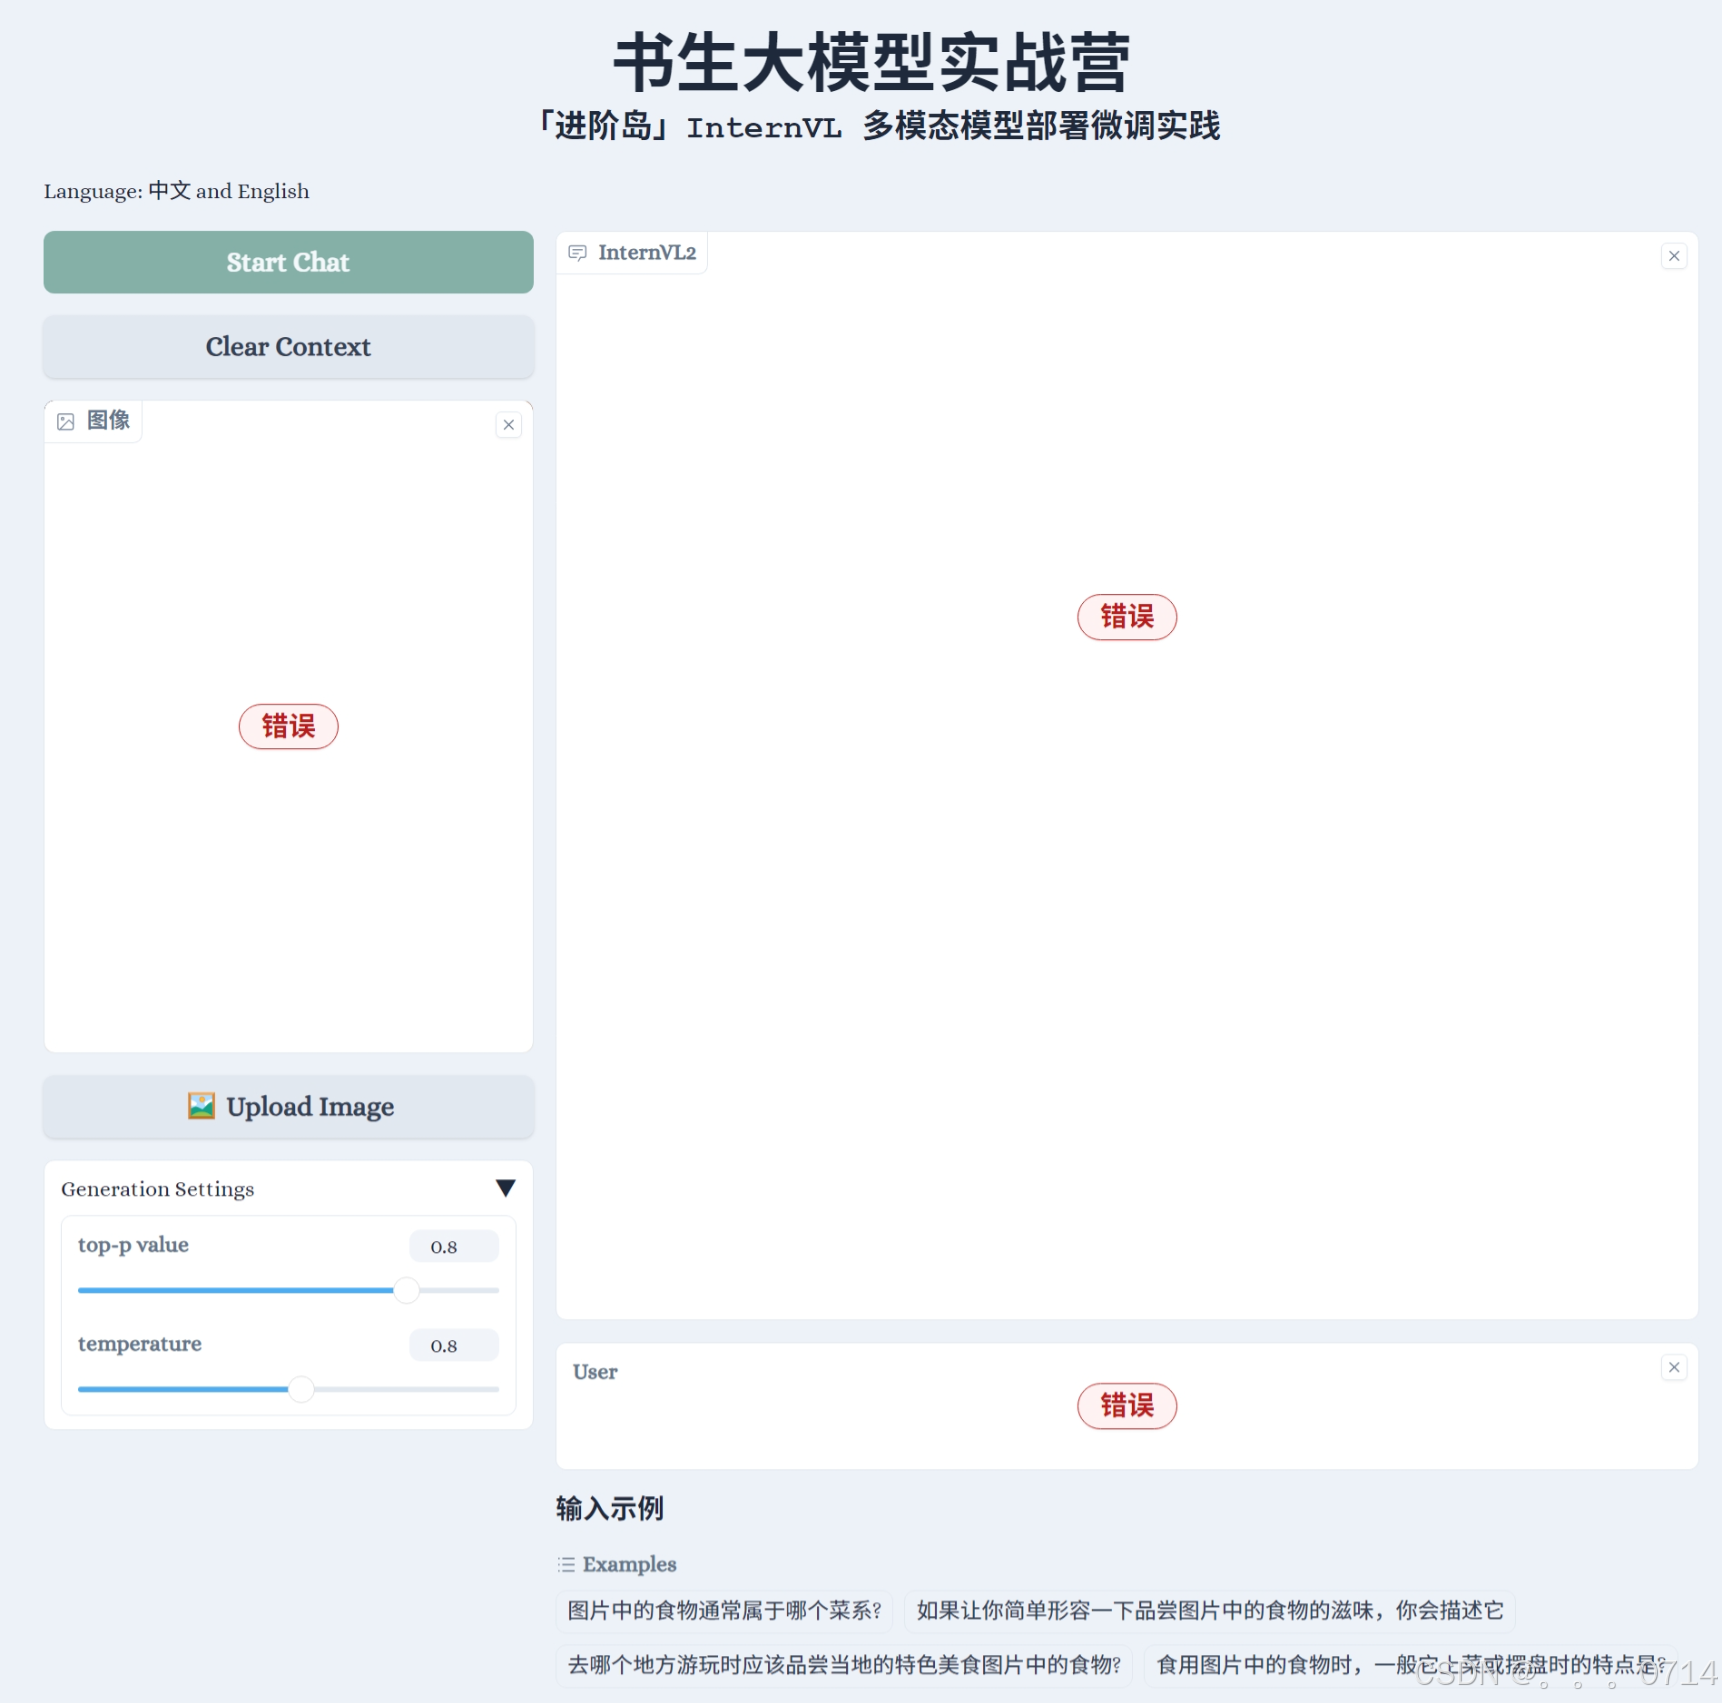
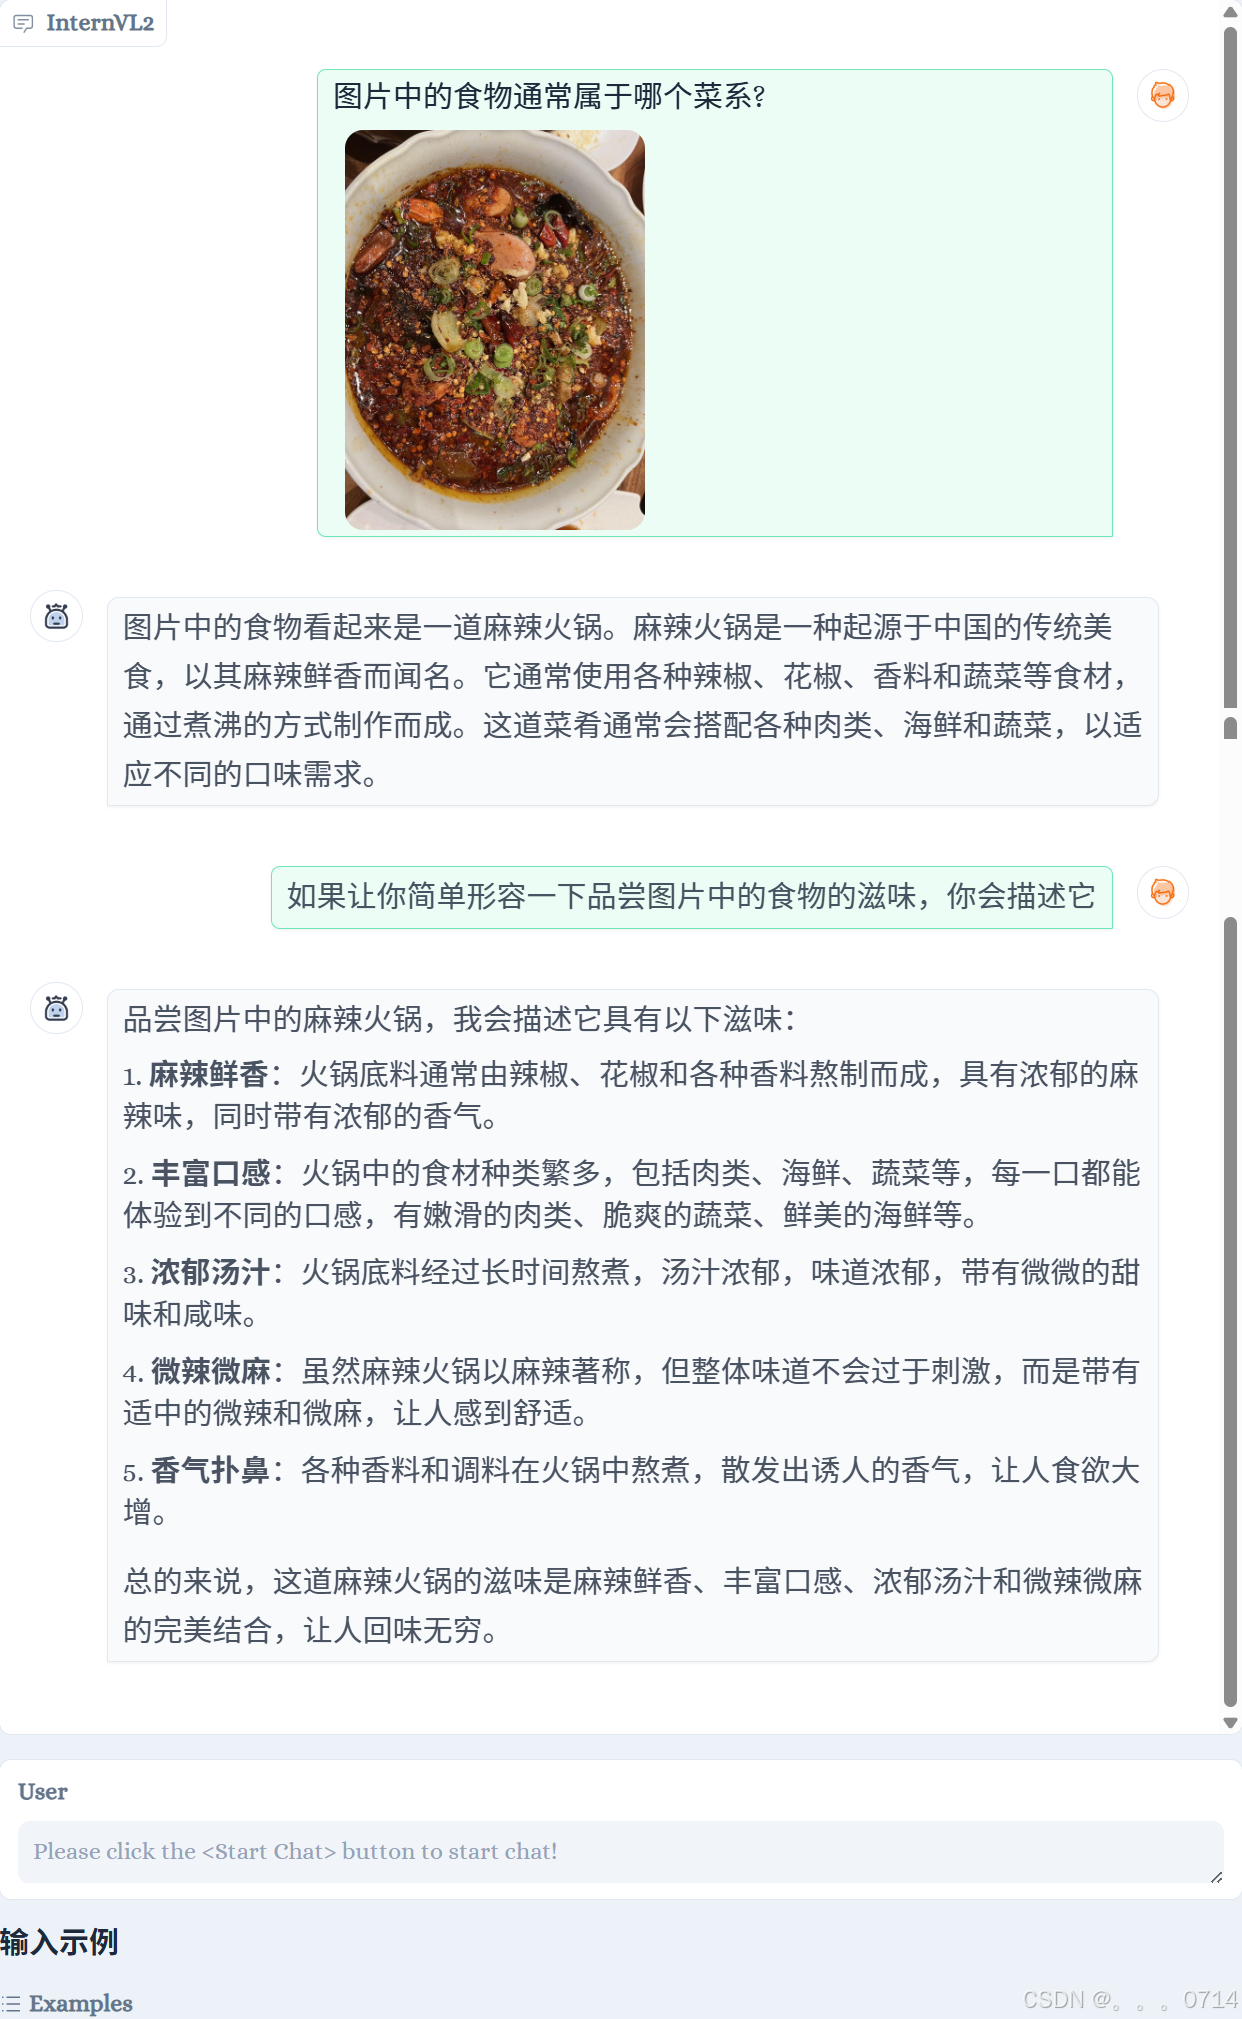
会看到如下界面。
点击Start Chat即可开始聊天,下方食物快捷栏可以快速输入图片,输入示例可以快速输入文字。输入完毕后,按enter键即可发送。
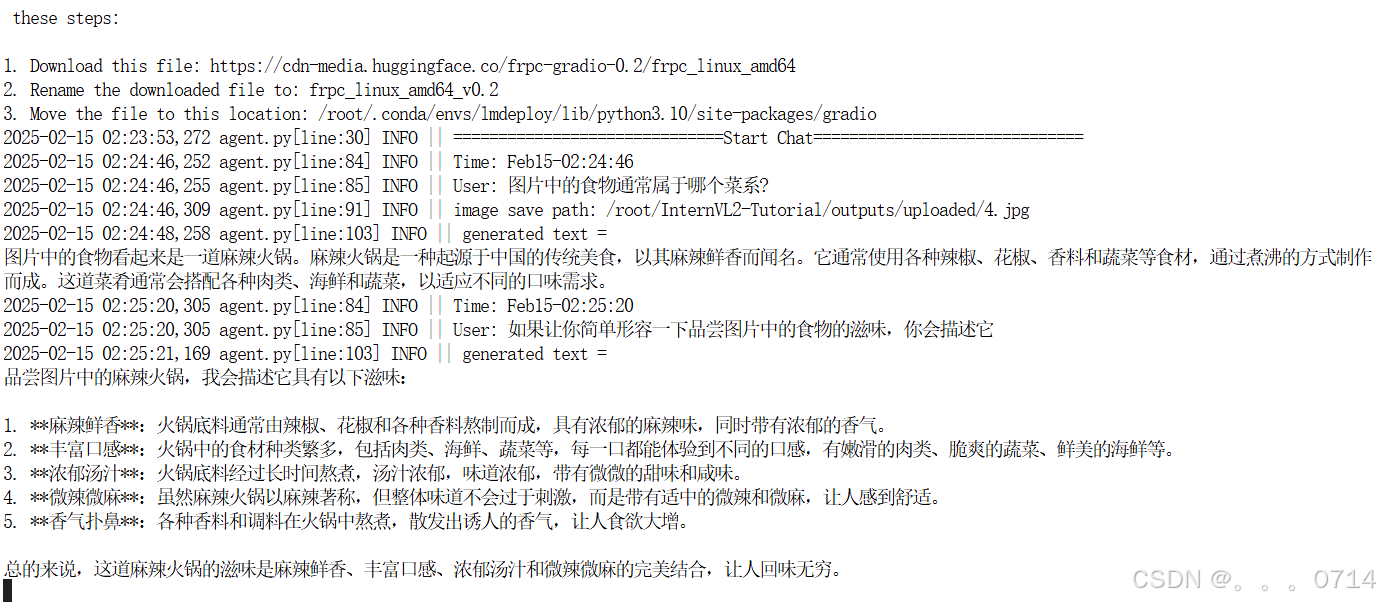
多轮对话报错
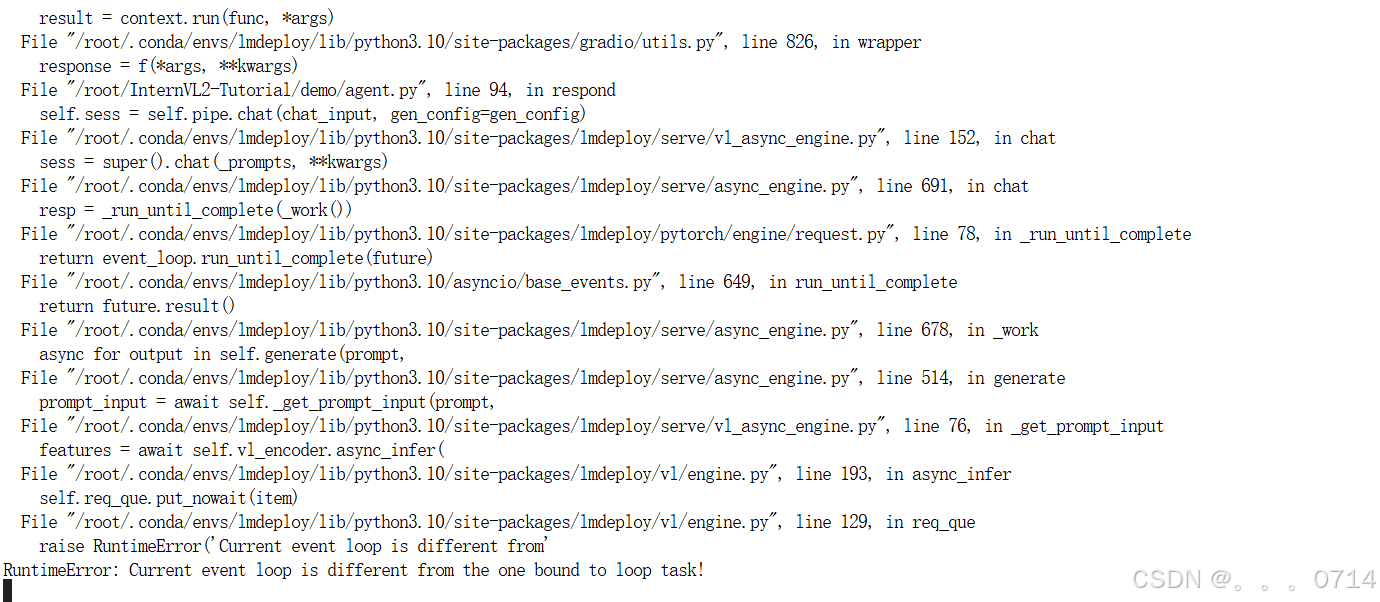
屏蔽报错的engine.py的126,127行,添加self._create_event_loop_task()后,即可解决上面报错。
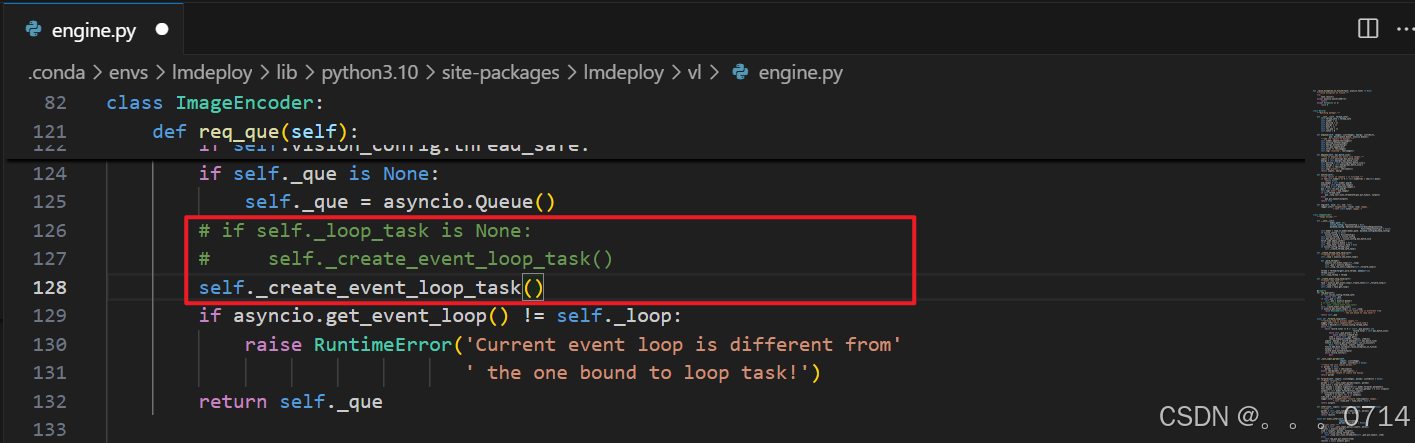
问题解决!
微调 InternVL2-2B
准备基本配置文件
cd /root
git clone https://github.com/InternLM/xtuner.git
conda activate xtuner
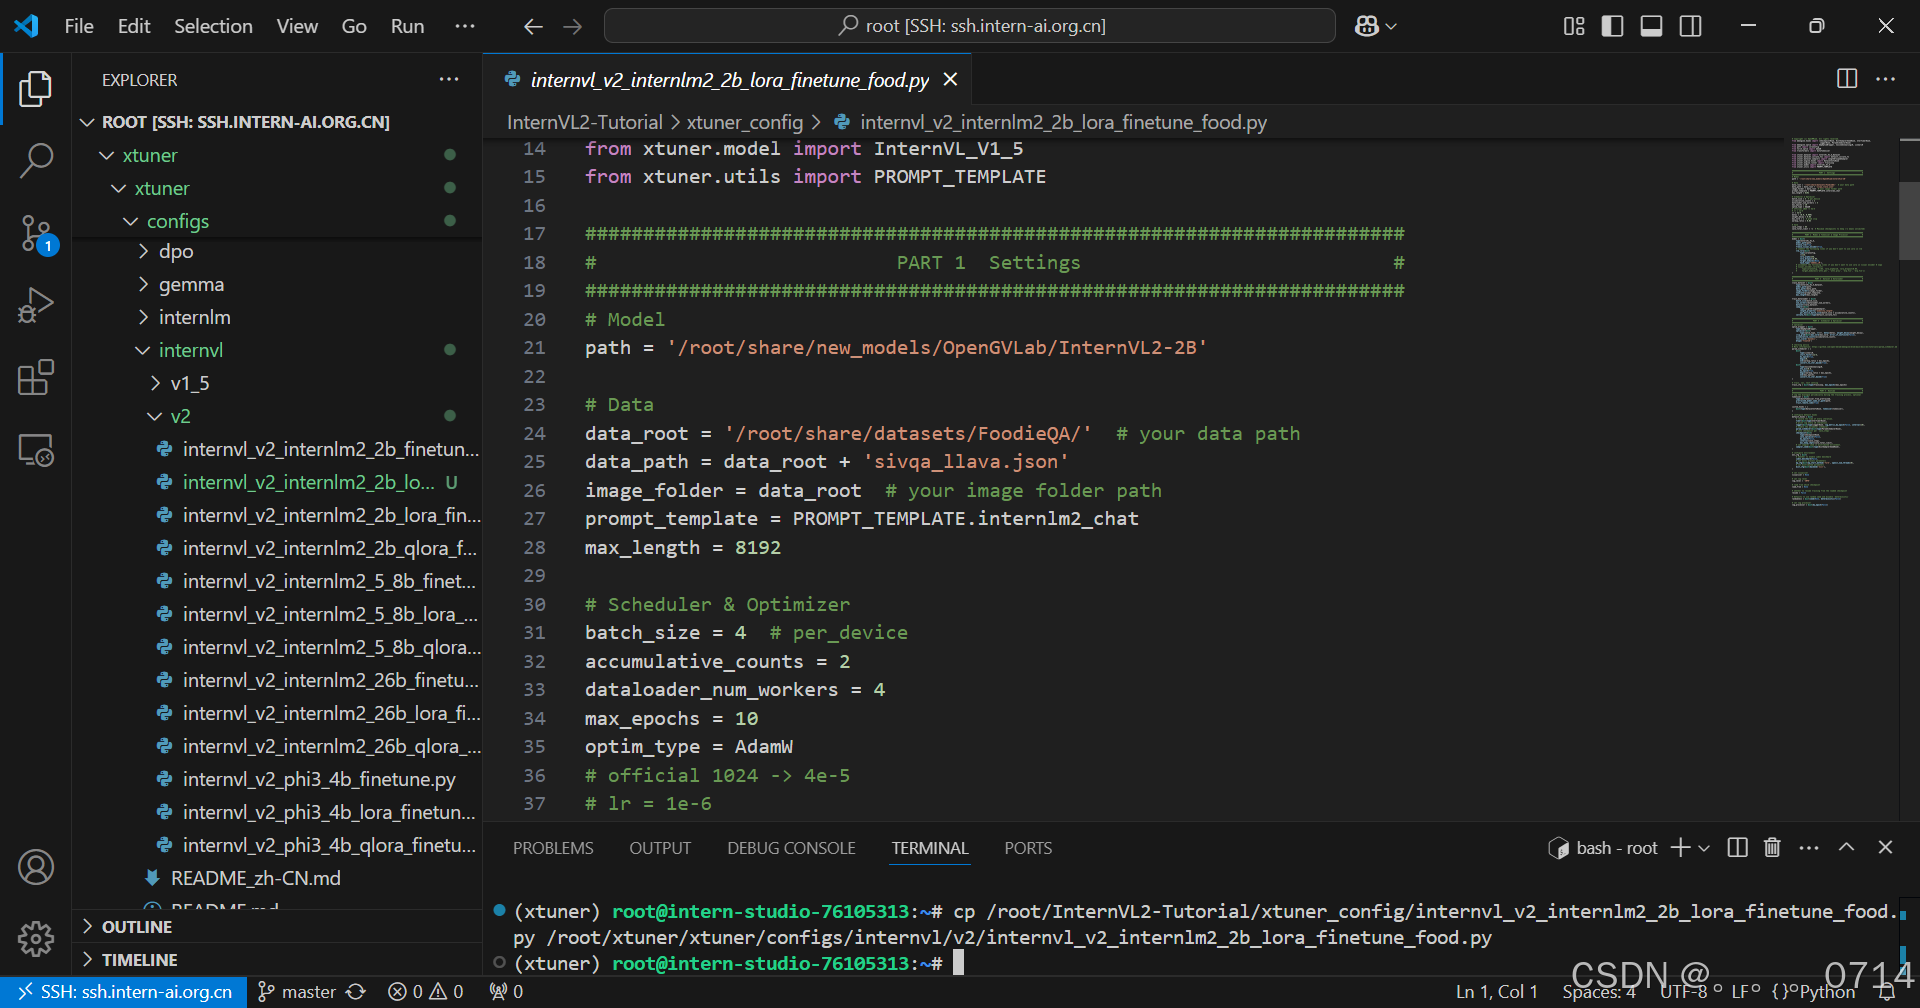
将/root/InternVL2-Tutorial/xtuner_config/目录下的配置文件internvl_v2_internlm2_2b_lora_finetune_food.py,复制到目标目录下/root/xtuner/xtuner/configs/internvl/v2/。
cp /root/InternVL2-Tutorial/xtuner_config/internvl_v2_internlm2_2b_lora_finetune_food.py /root/xtuner/xtuner/configs/internvl/v2/internvl_v2_internlm2_2b_lora_finetune_food.py
配置文件参数解读
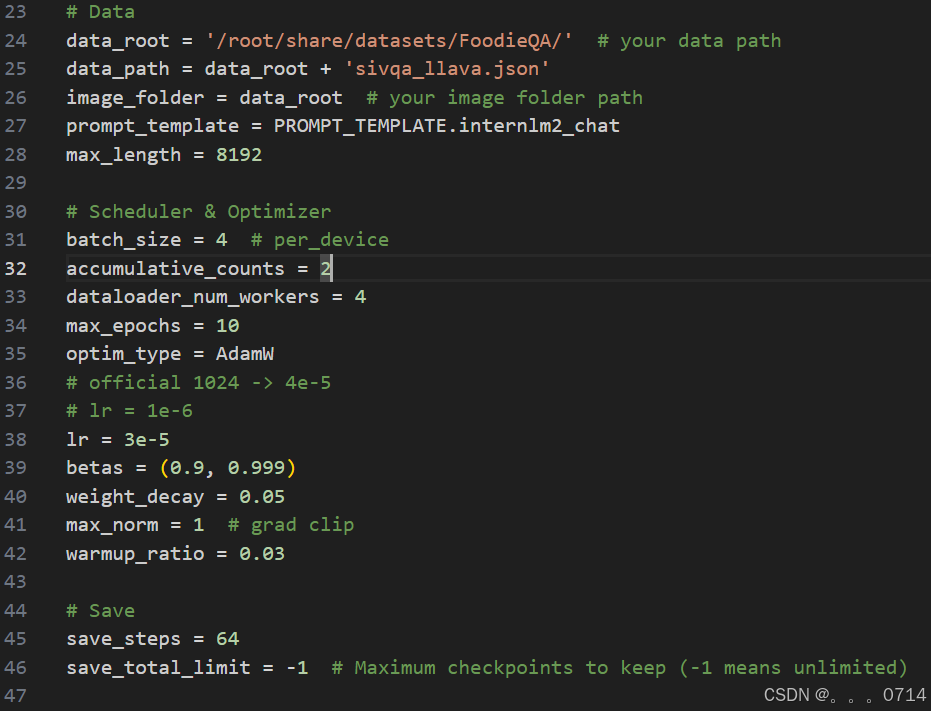
在第一部分的设置中,有如下参数:
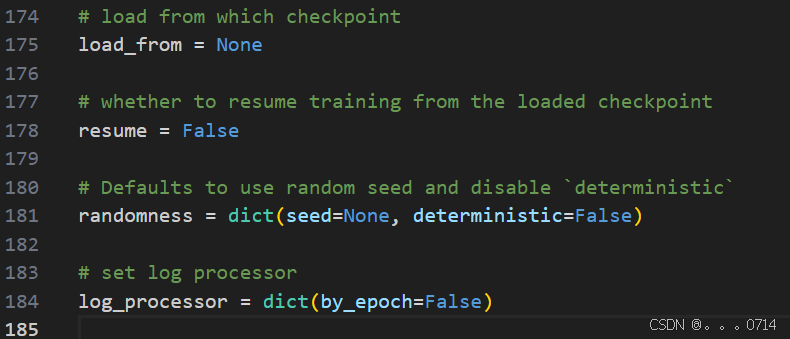
path:需要微调的模型路径,在InternStudio环境下,无需修改。data_root:数据集所在路径。data_path:训练数据文件路径。image_folder:训练图像根路径。prompt_temple:配置模型训练时使用的聊天模板、系统提示等。使用与模型对应的即可,此处无需修改。max_length:训练数据每一条最大token数。batch_size:训练批次大小,可以根据显存大小调整。accumulative_counts:梯度累积的步数,用于模拟较大的batch_size,在显存有限的情况下,提高训练稳定性。dataloader_num_workers:指定数据集加载时子进程的个数。max_epochs:训练轮次。optim_type:优化器类型。lr:学习率betas:Adam优化器的beta1, beta2weight_decay:权重衰减,防止训练过拟合用max_norm:梯度裁剪时的梯度最大值warmup_ratio:预热比例,前多少的数据训练时,学习率将会逐步增加。- `save_steps:多少步存一次checkpoint
save_total_limit:最多保存几个checkpoint,设为-1即无限制
LoRA相关参数:
r:低秩矩阵的秩,决定了低秩矩阵的维度。lora_alpha:缩放因子,用于调整低秩矩阵的权重。lora_dropout:dropout 概率,以防止过拟合。
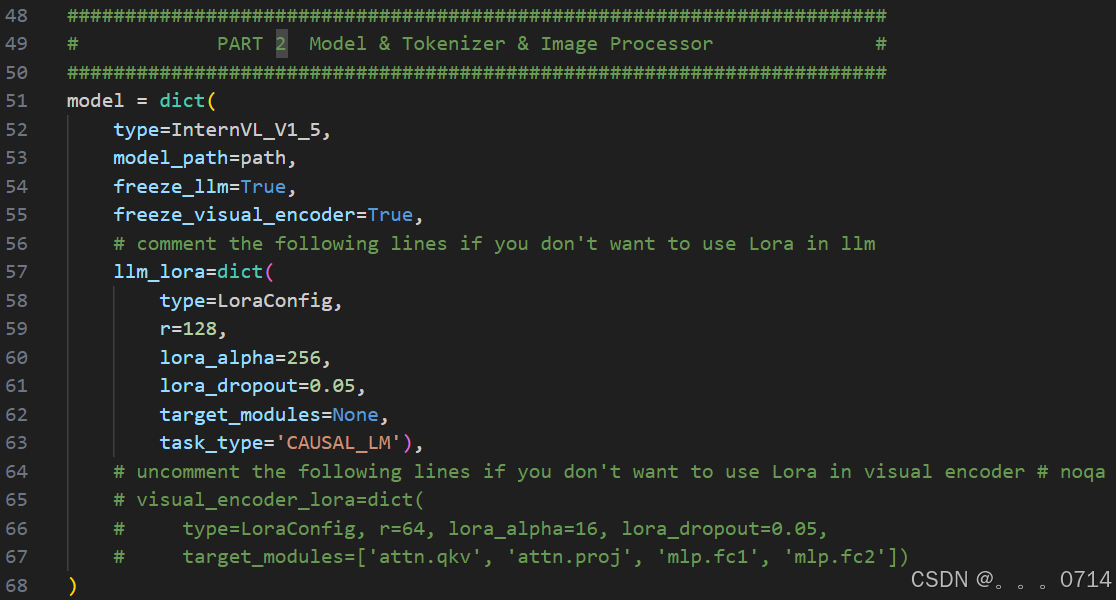
如果想断点重训,可以在最下面传入参数。把这里的load_from传入你想要载入的checkpoint,并设置resume=True即可断点重续。
数据集准备
直接使用开发机/root/share/datasets/FoodieQA路径下处理后的数据集文件。
开始微调
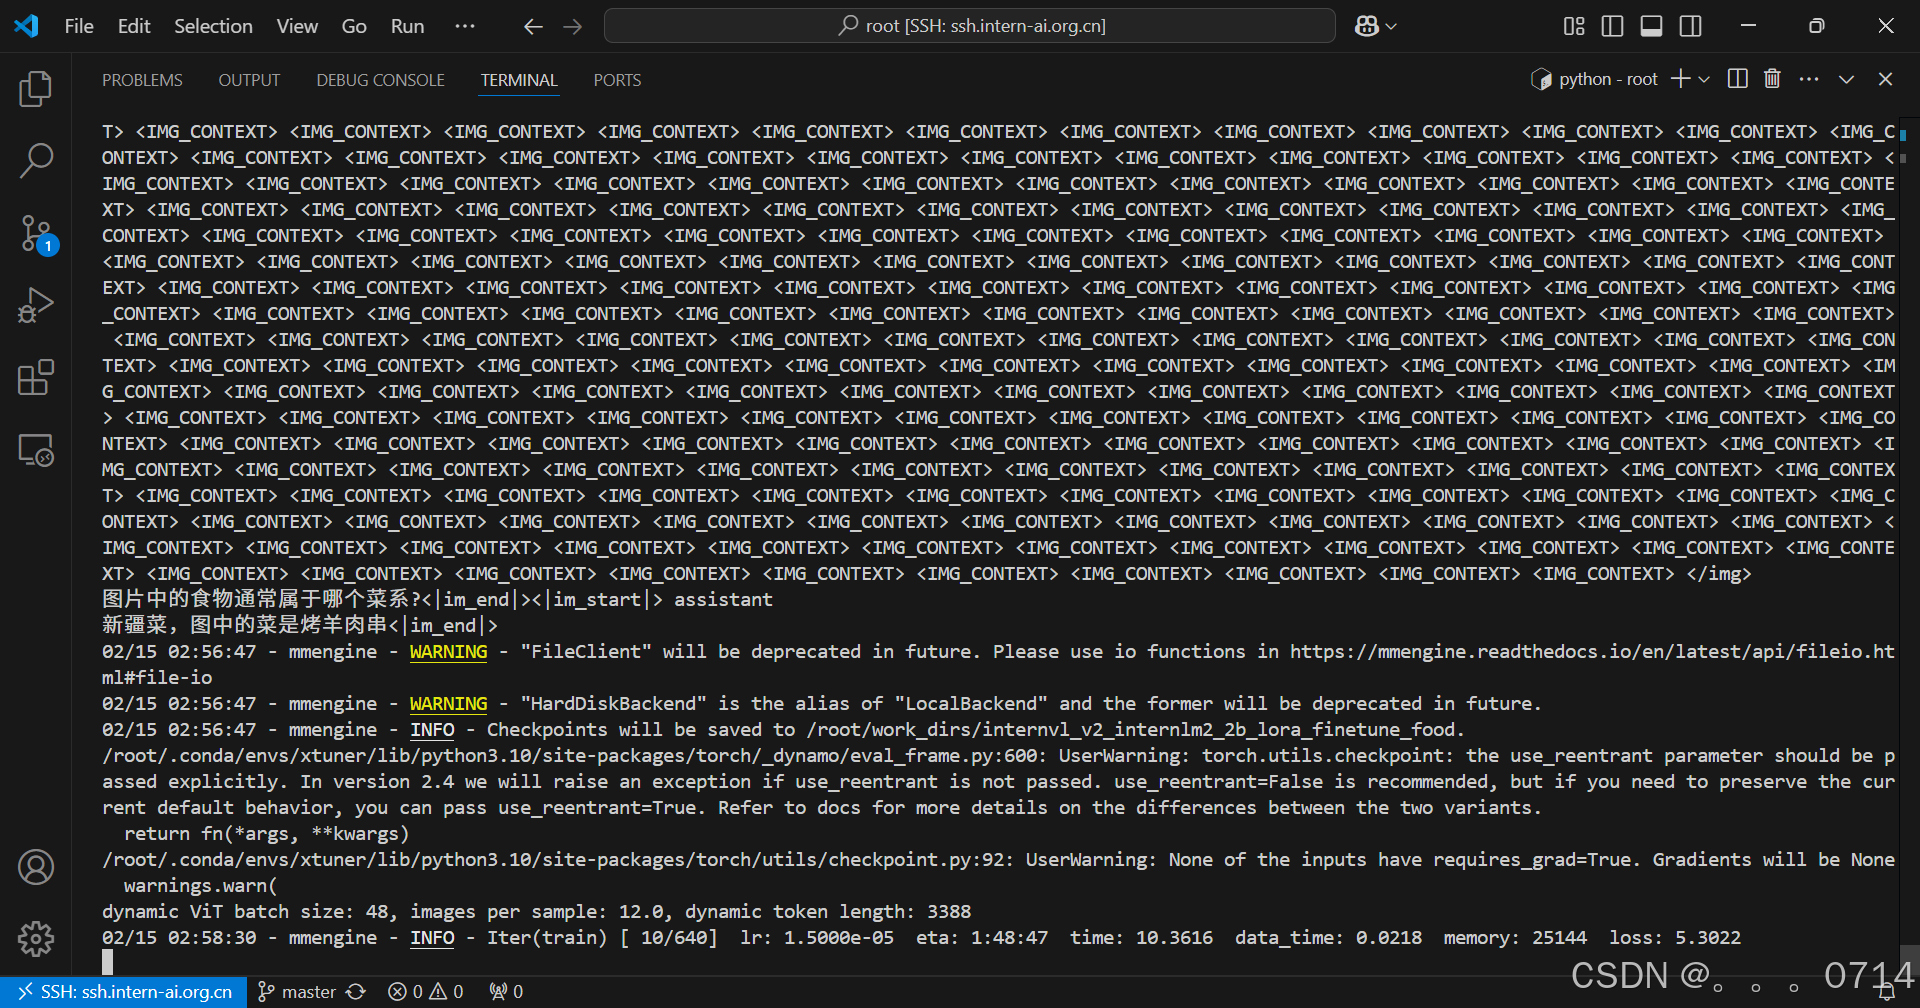
xtuner train internvl_v2_internlm2_2b_lora_finetune_food --deepspeed deepspeed_zero2
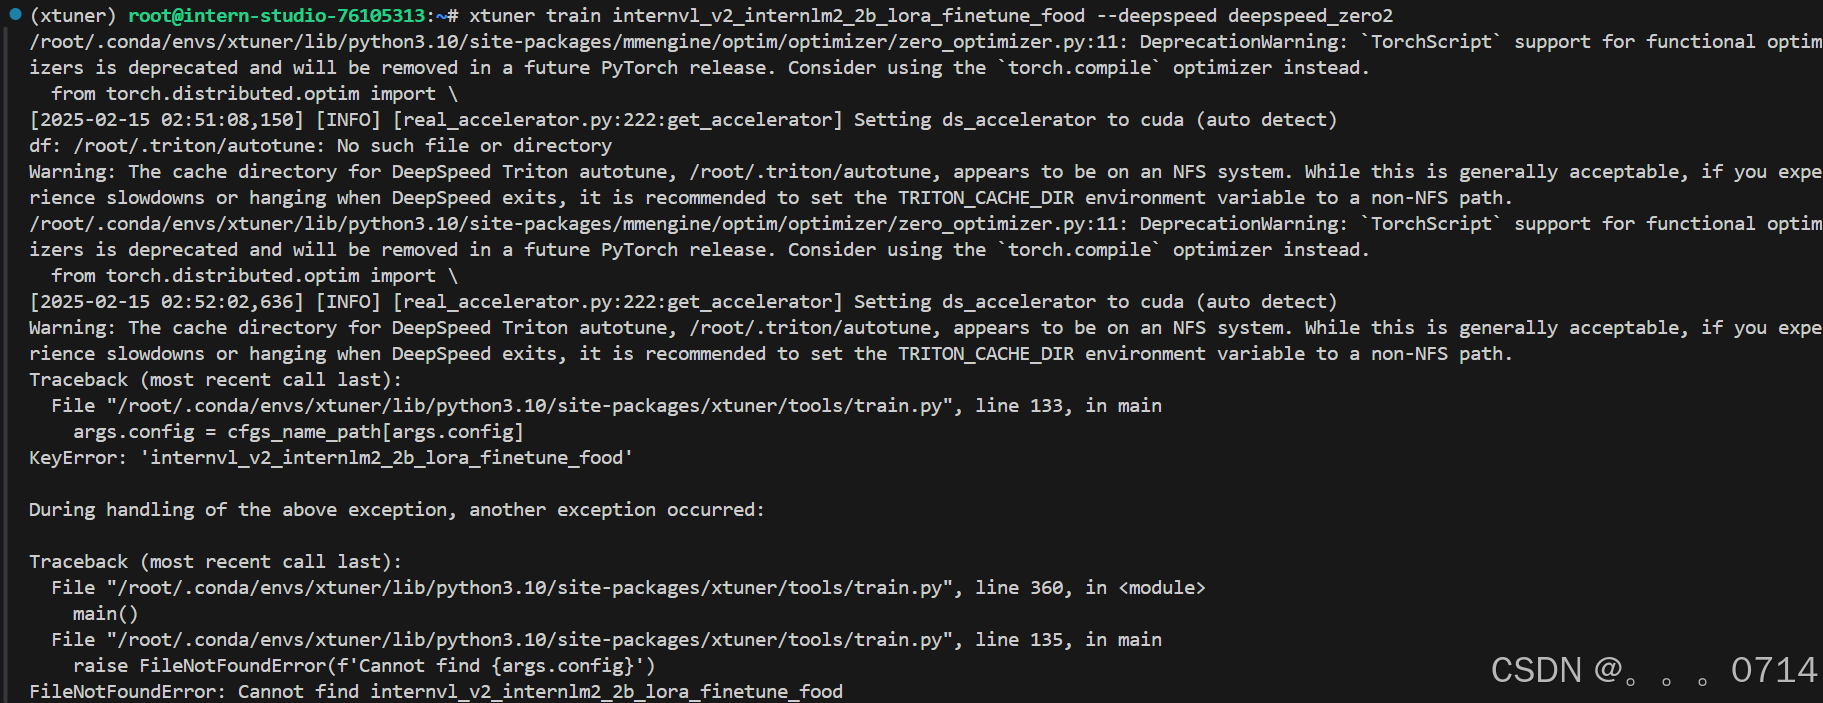
报错,命令修改为绝对路径。
xtuner train /root/xtuner/xtuner/configs/internvl/v2/internvl_v2_internlm2_2b_lora_finetune_food.py --deepspeed deepspeed_zero2

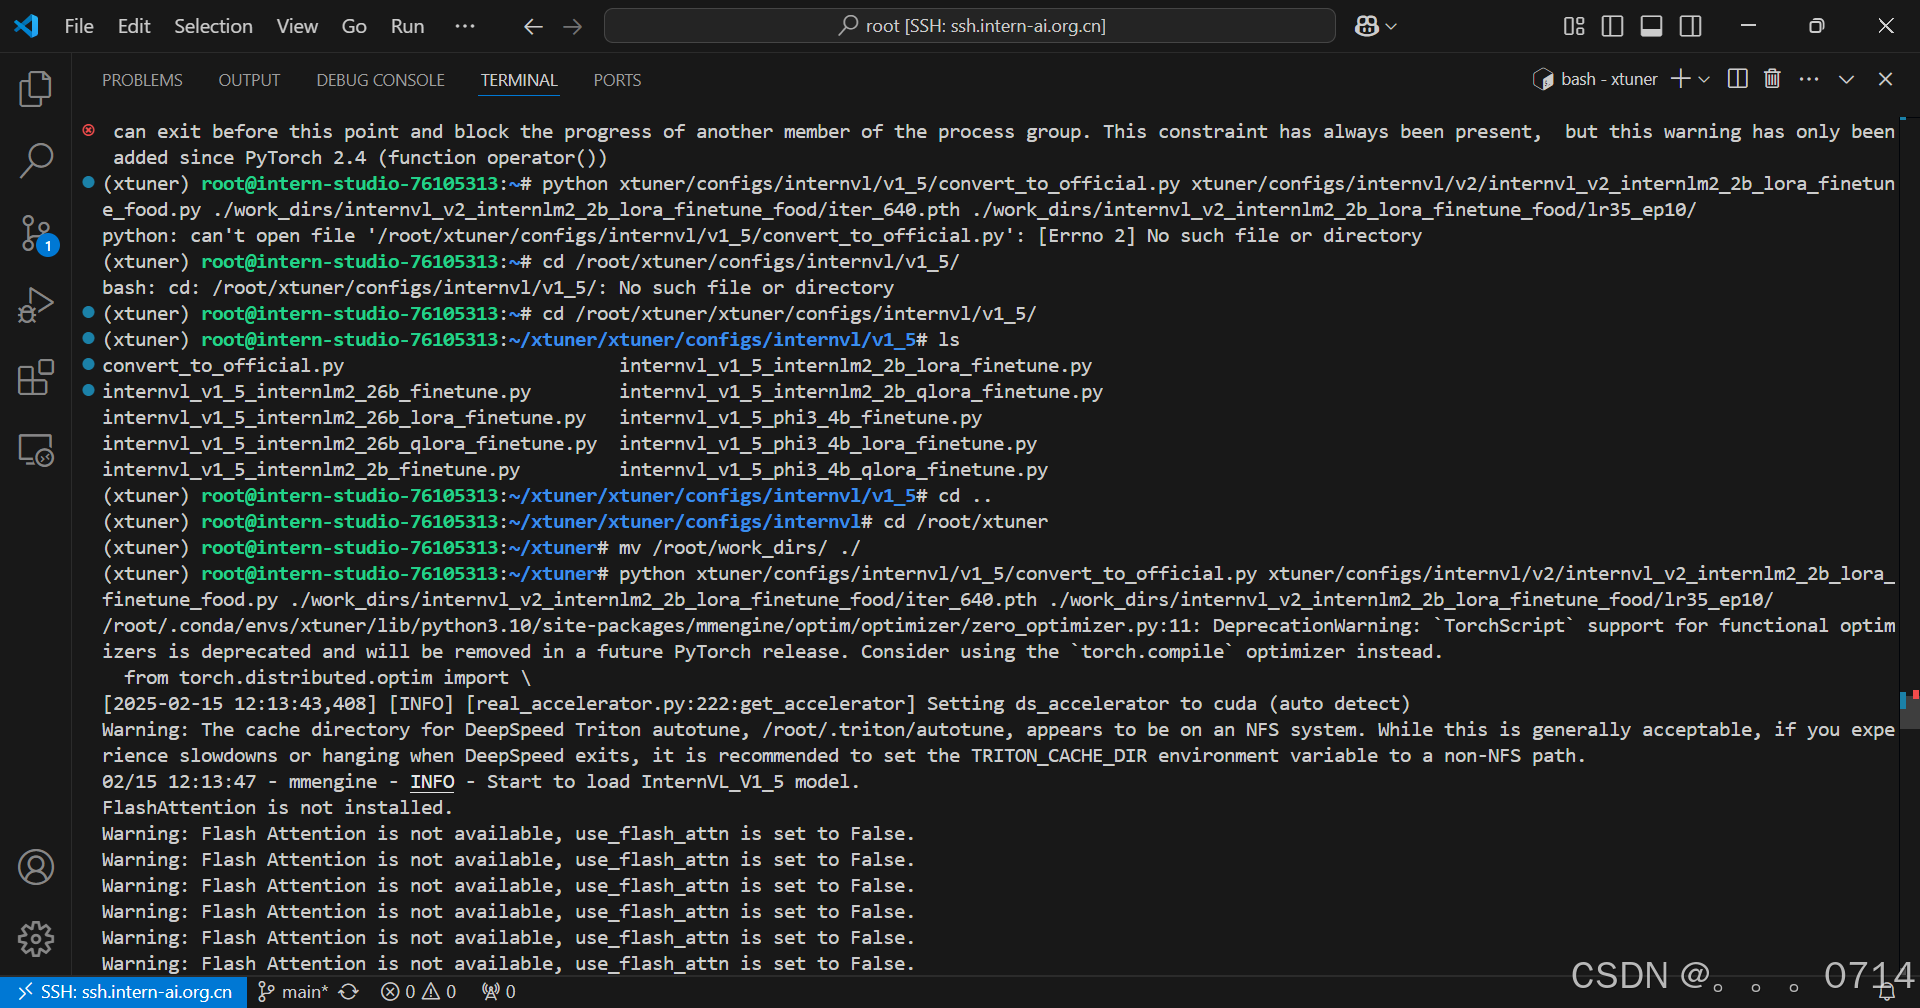
微调后,把模型checkpoint的格式转化为便于测试的格式。
python xtuner/configs/internvl/v1_5/convert_to_official.py xtuner/configs/internvl/v2/internvl_v2_internlm2_2b_lora_finetune_food.py ./work_dirs/internvl_v2_internlm2_2b_lora_finetune_food/iter_640.pth ./work_dirs/internvl_v2_internlm2_2b_lora_finetune_food/lr35_ep10/
微调效果对比
修改MODEL_PATH为刚刚转换后保存的模型路径。
启动网页应用。
cd /root/InternVL2-Tutorial
conda deactivate
conda activate lmdeploy
python demo.py

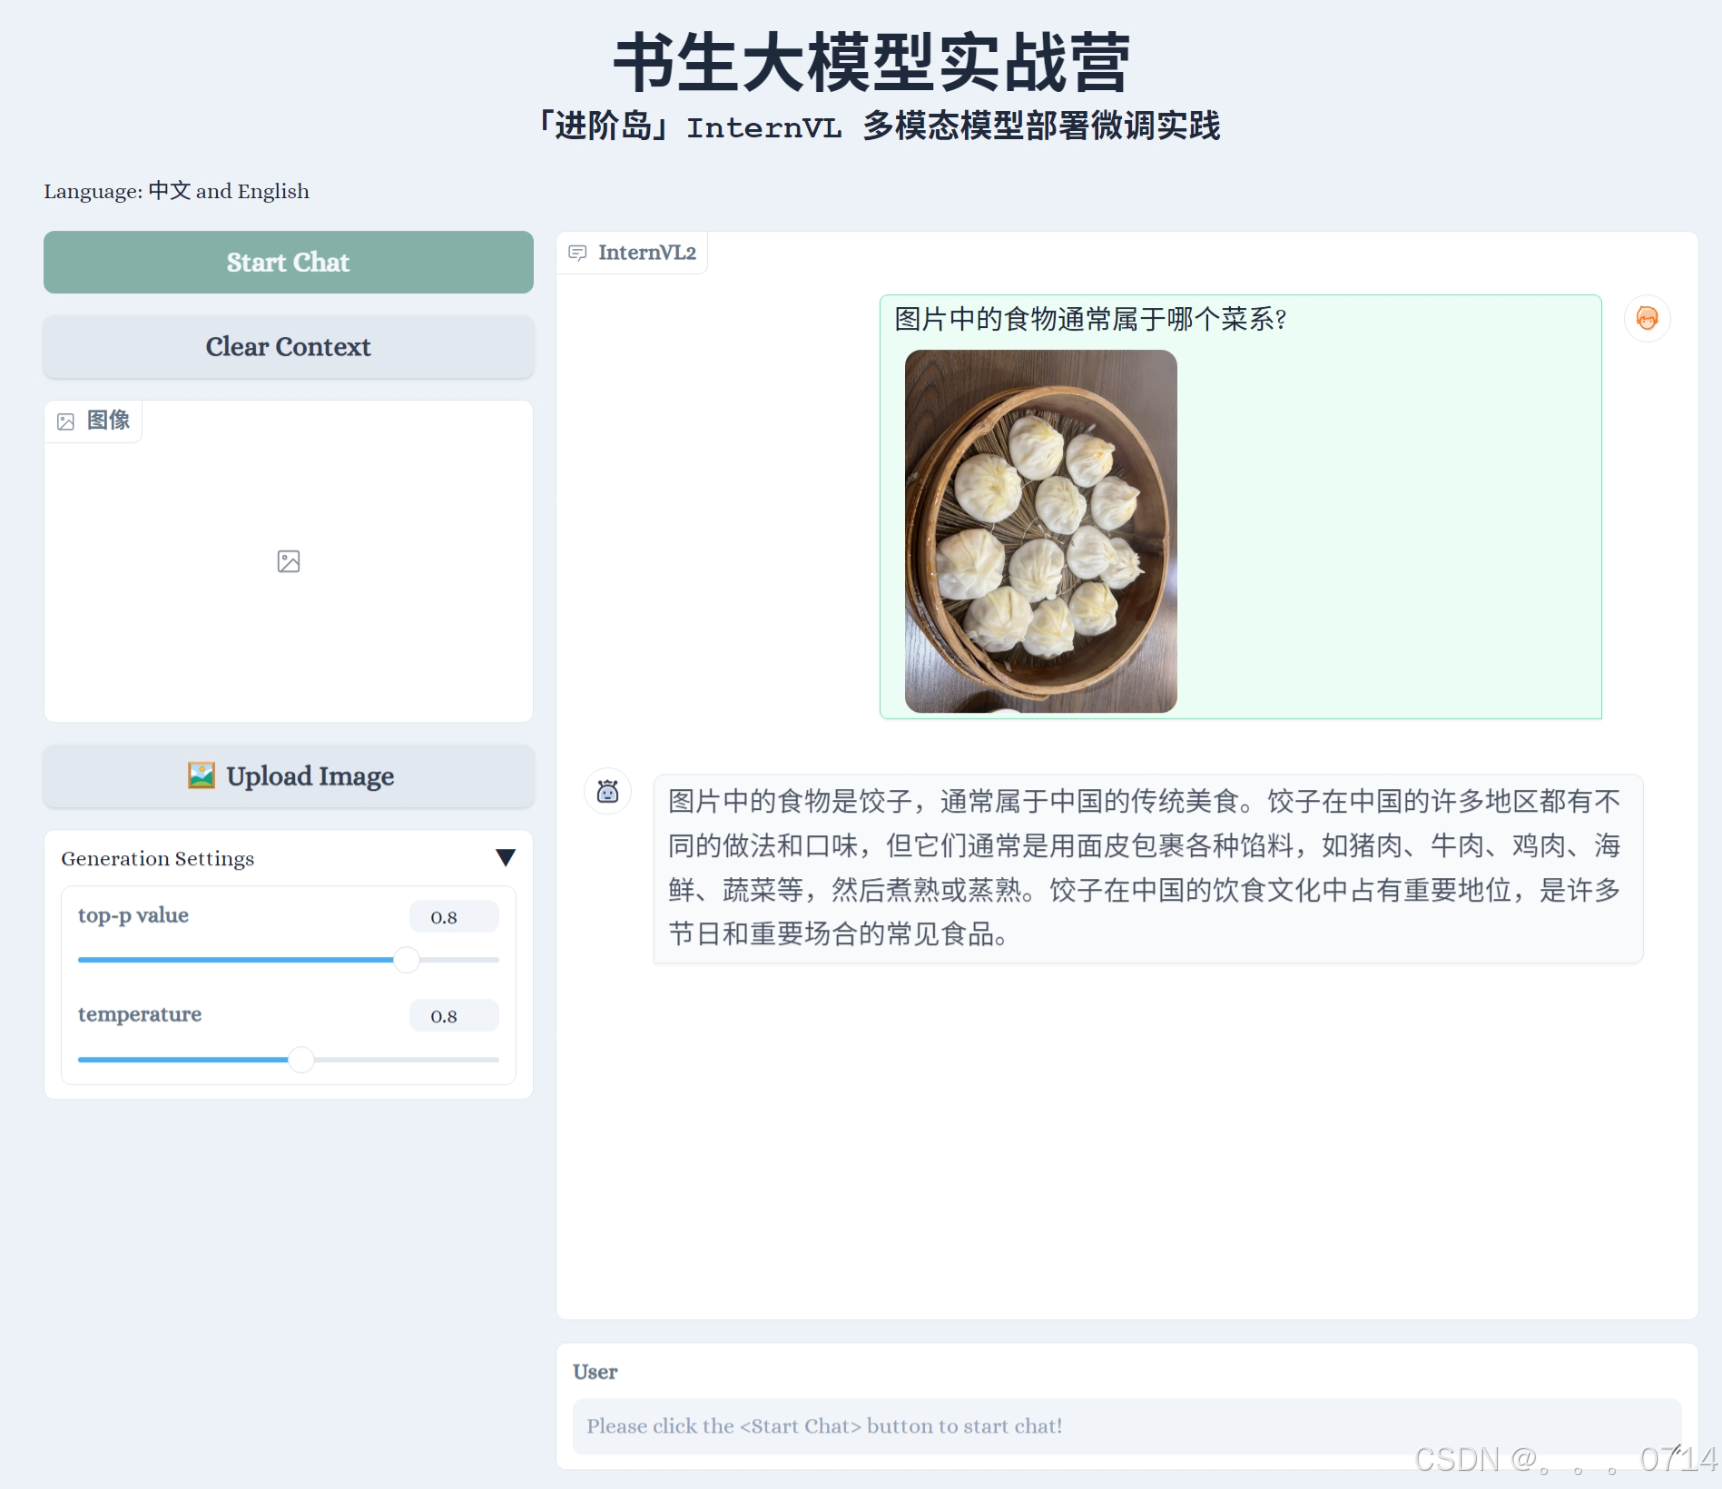
微调前
微调后
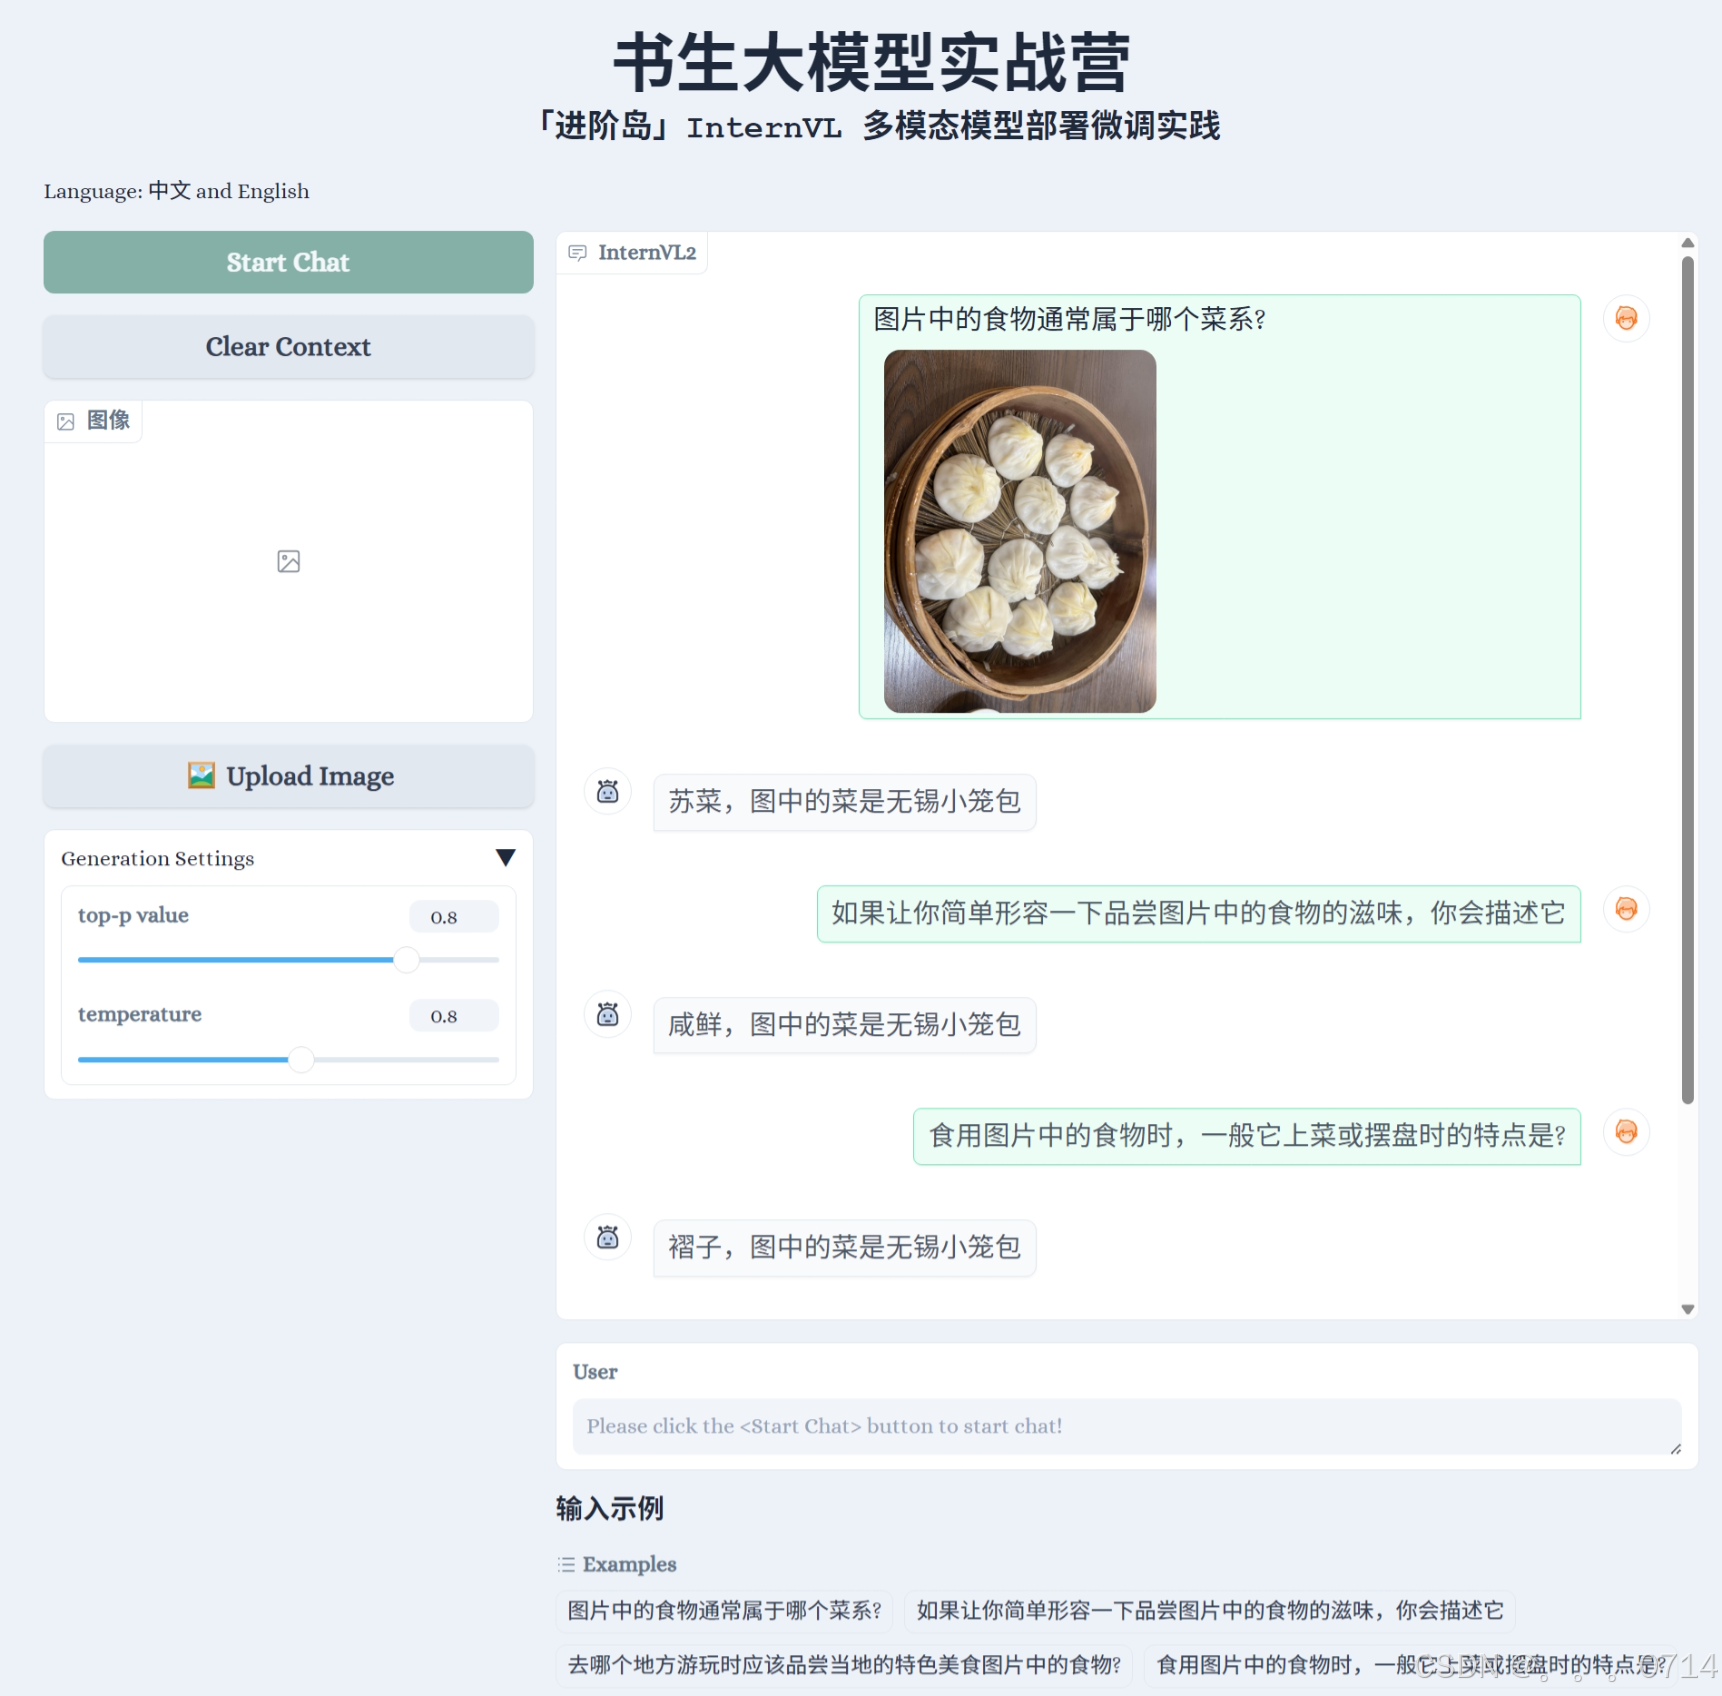
可真是惜字如金、言简意赅。虽然能够正确说出图中的菜品名称,但是回答。。。
上传微调模型
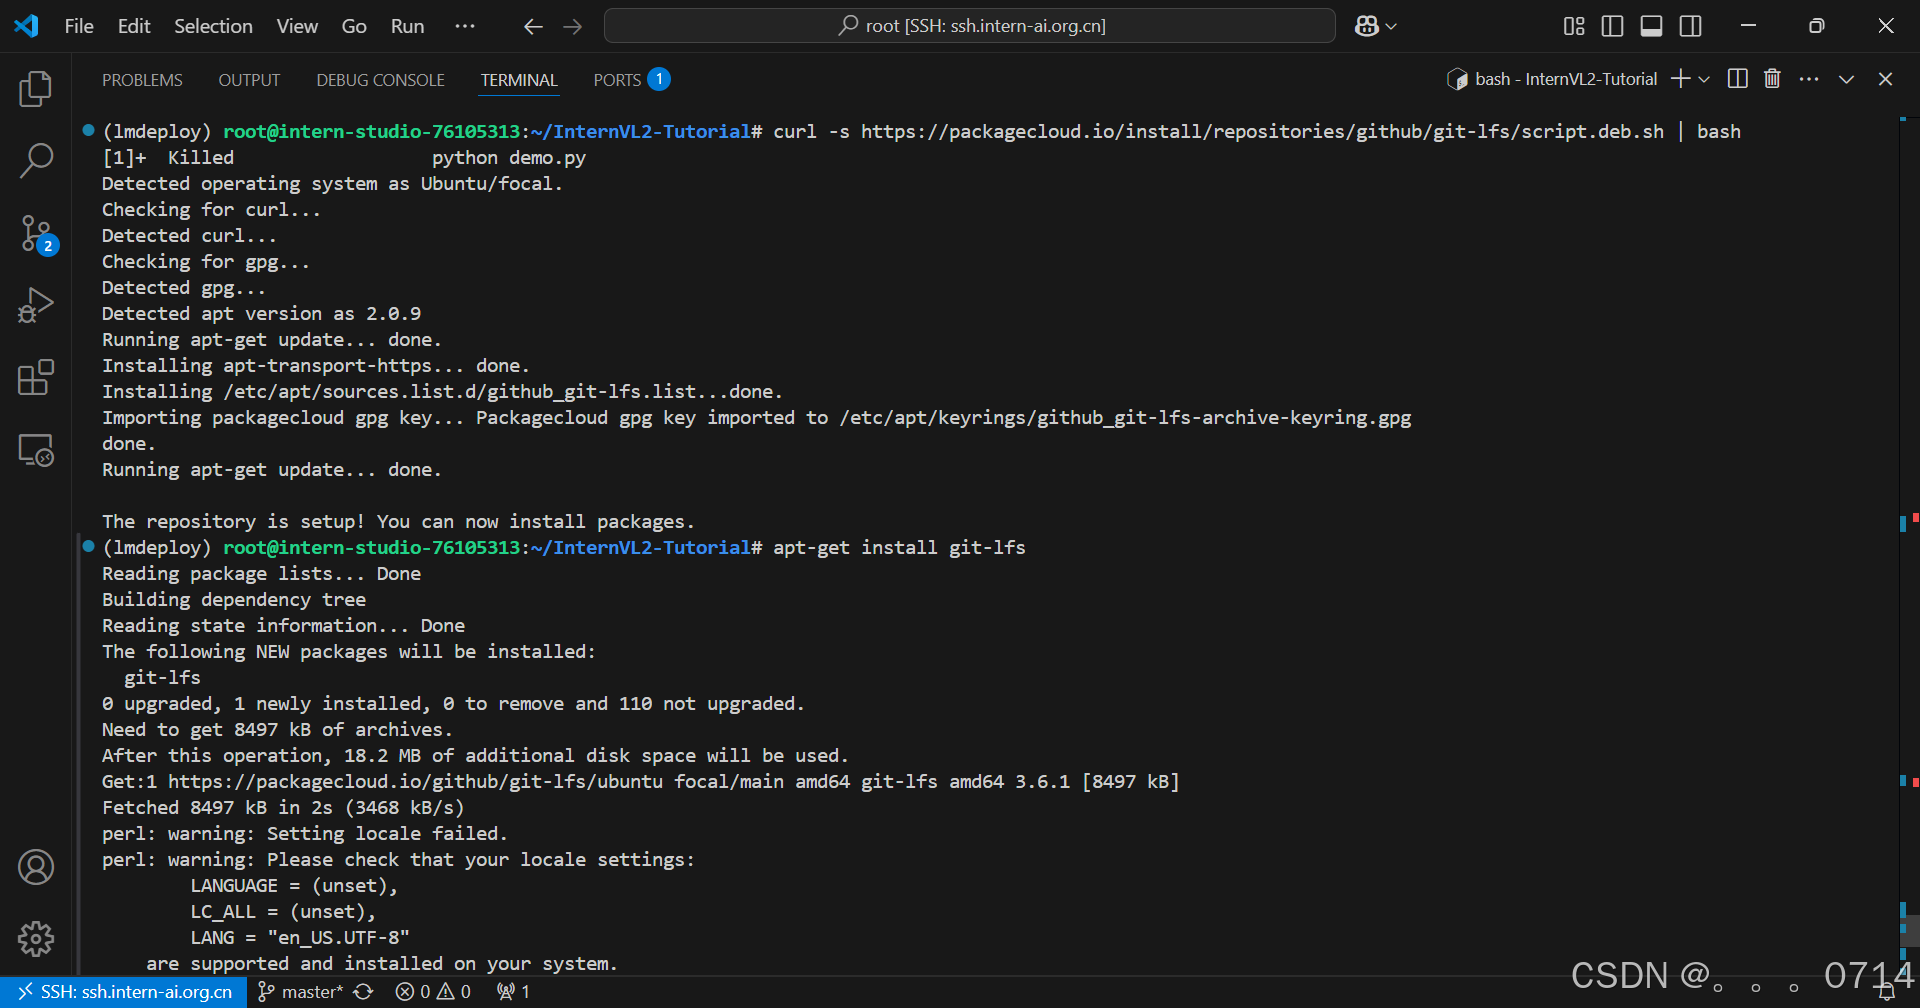
curl -s https://packagecloud.io/install/repositories/github/git-lfs/script.deb.sh | bash
apt-get install git-lfs
pip install huggingface_hub
# 使用以下命令进行登录,需要输入token
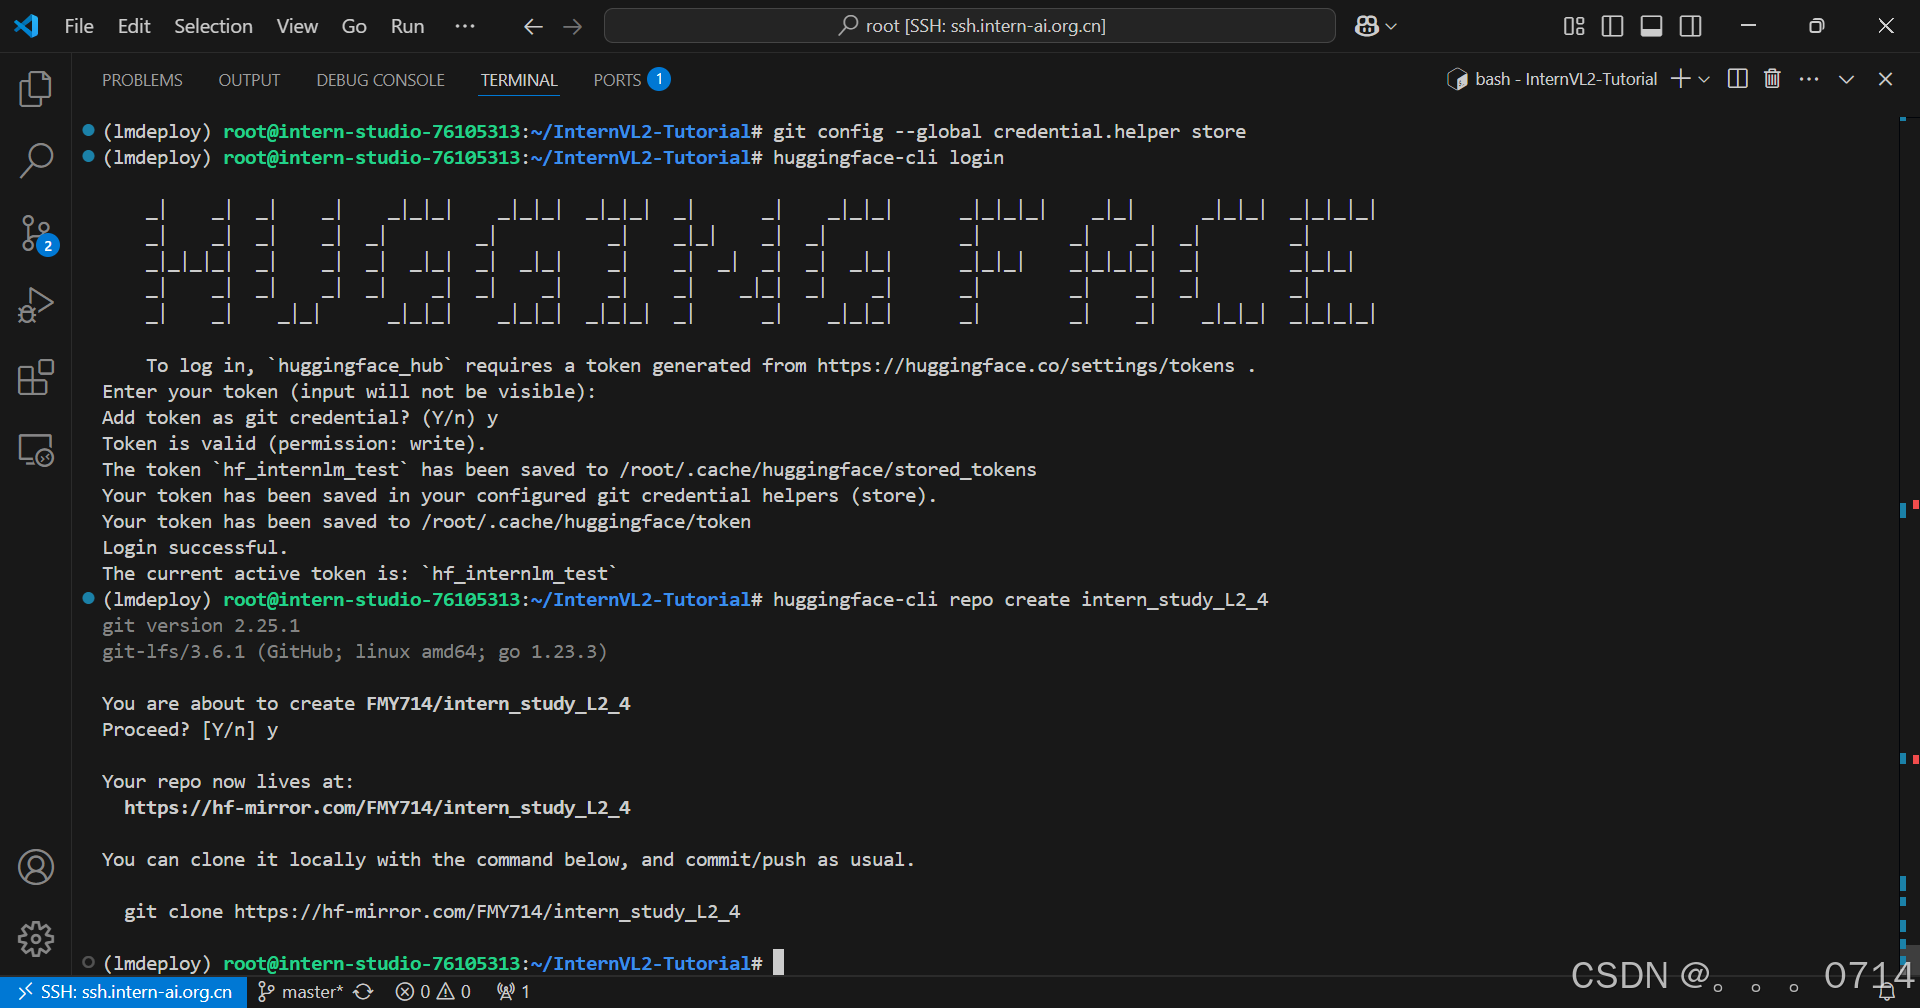
git config --global credential.helper store
huggingface-cli login
# 创建项目
huggingface-cli repo create intern_study_L2_4
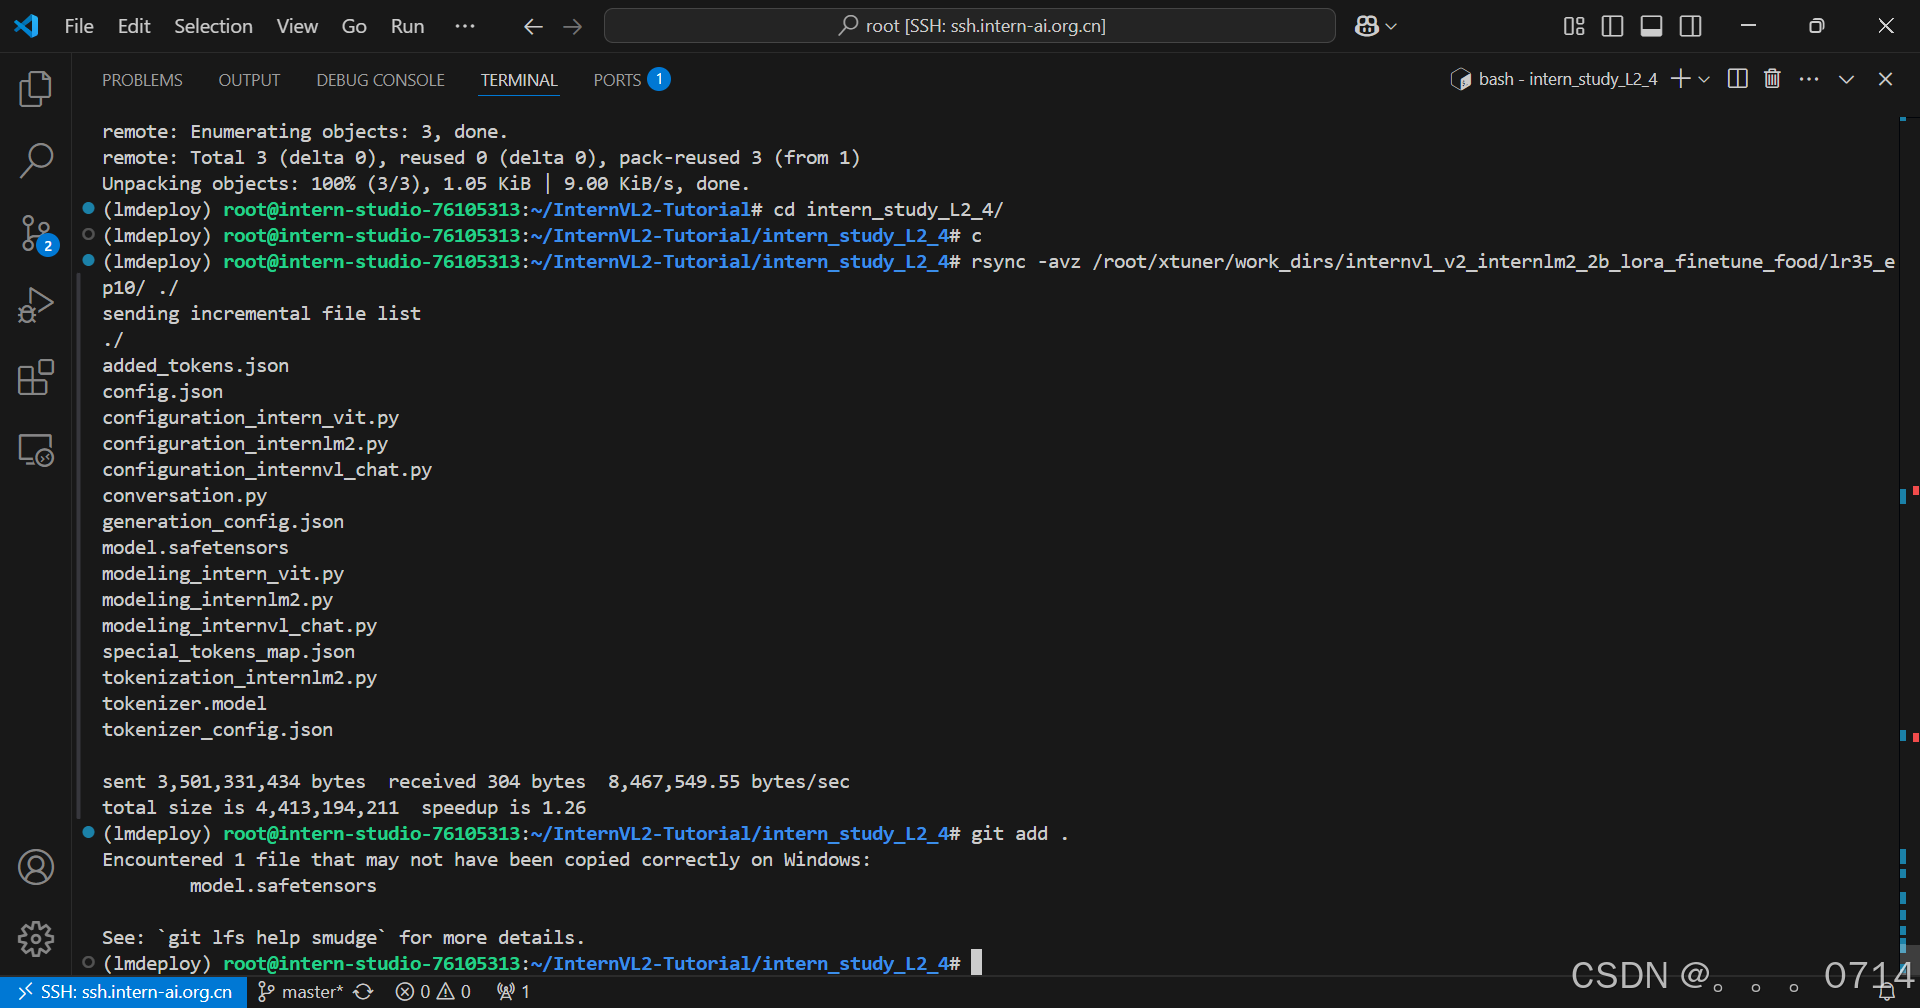
git clone https://hf-mirror.com/FMY714/intern_study_L2_4
cd intern_study_L2_4/
rsync -avz /root/xtuner/work_dirs/internvl_v2_internlm2_2b_lora_finetune_food/lr35_ep10/ ./
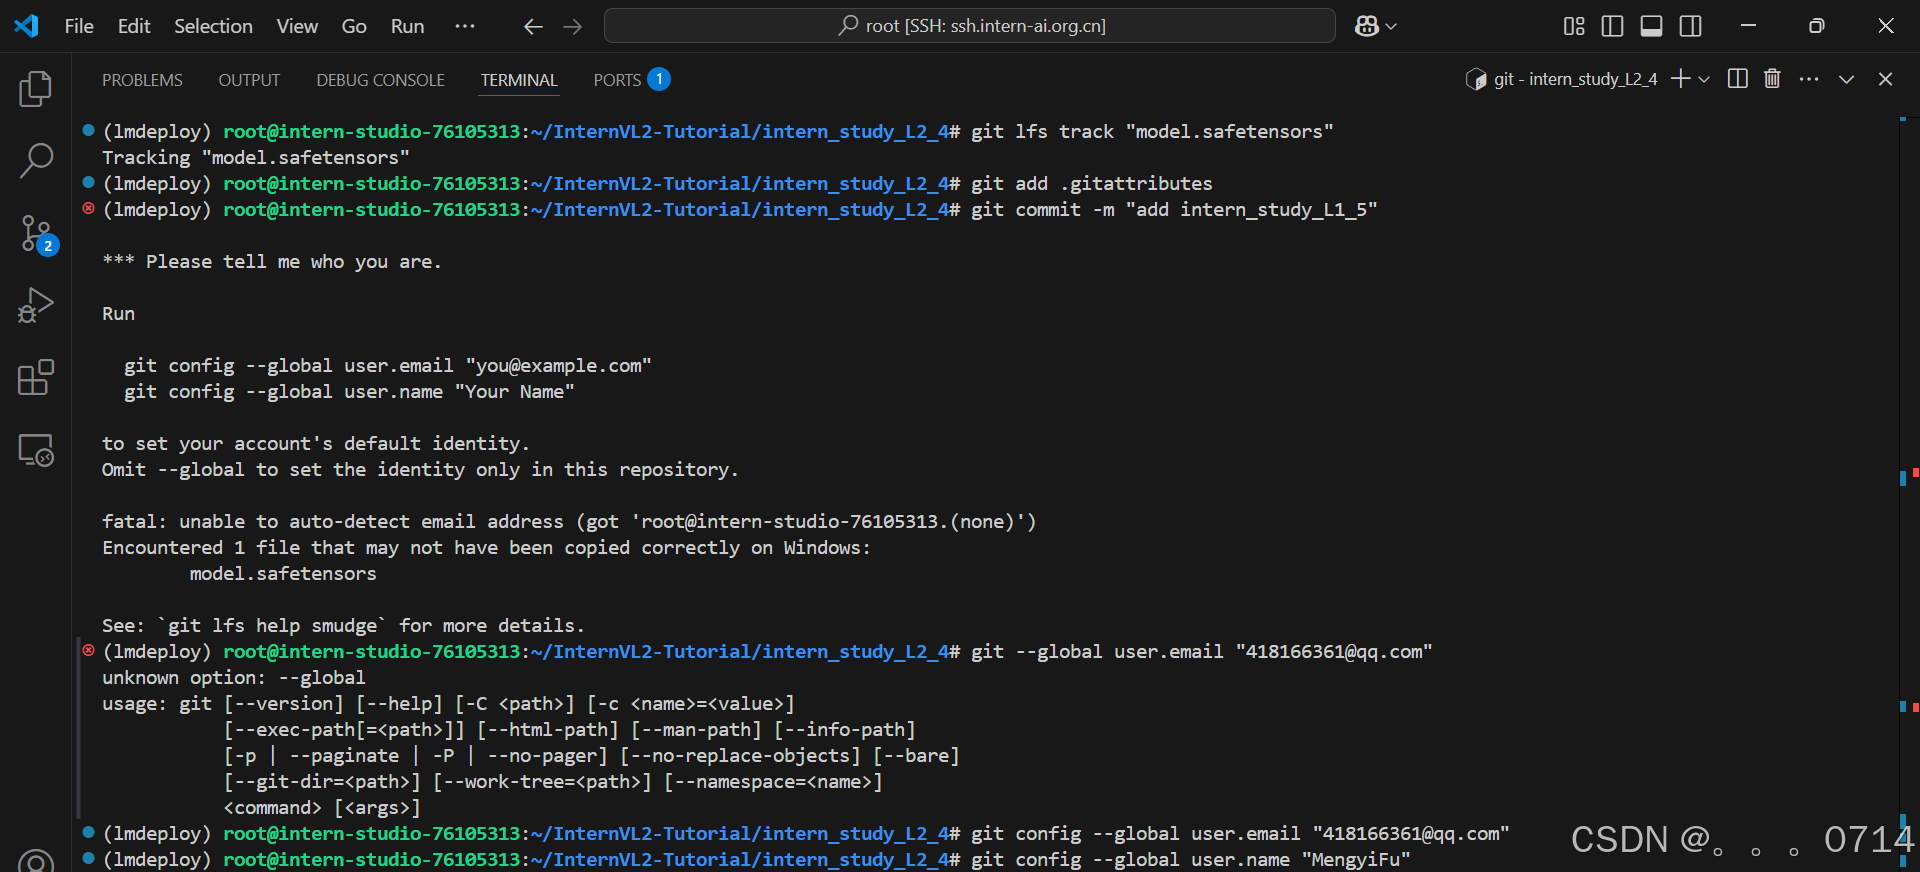
git add .
git commit -m "add intern_study_L1_5"
git push
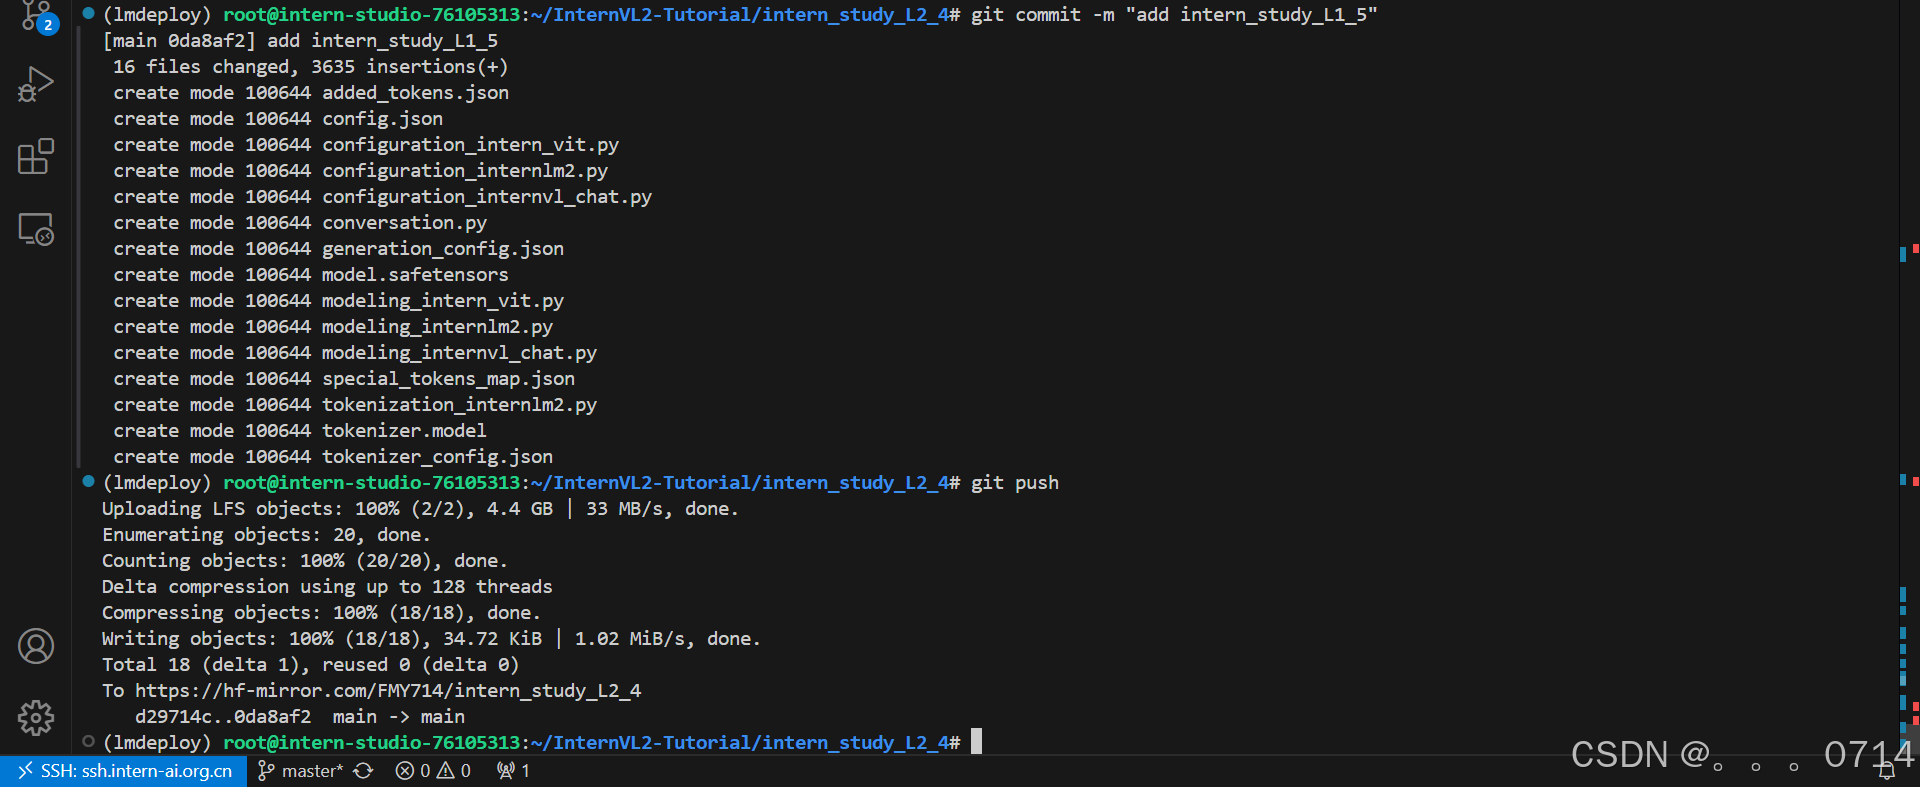
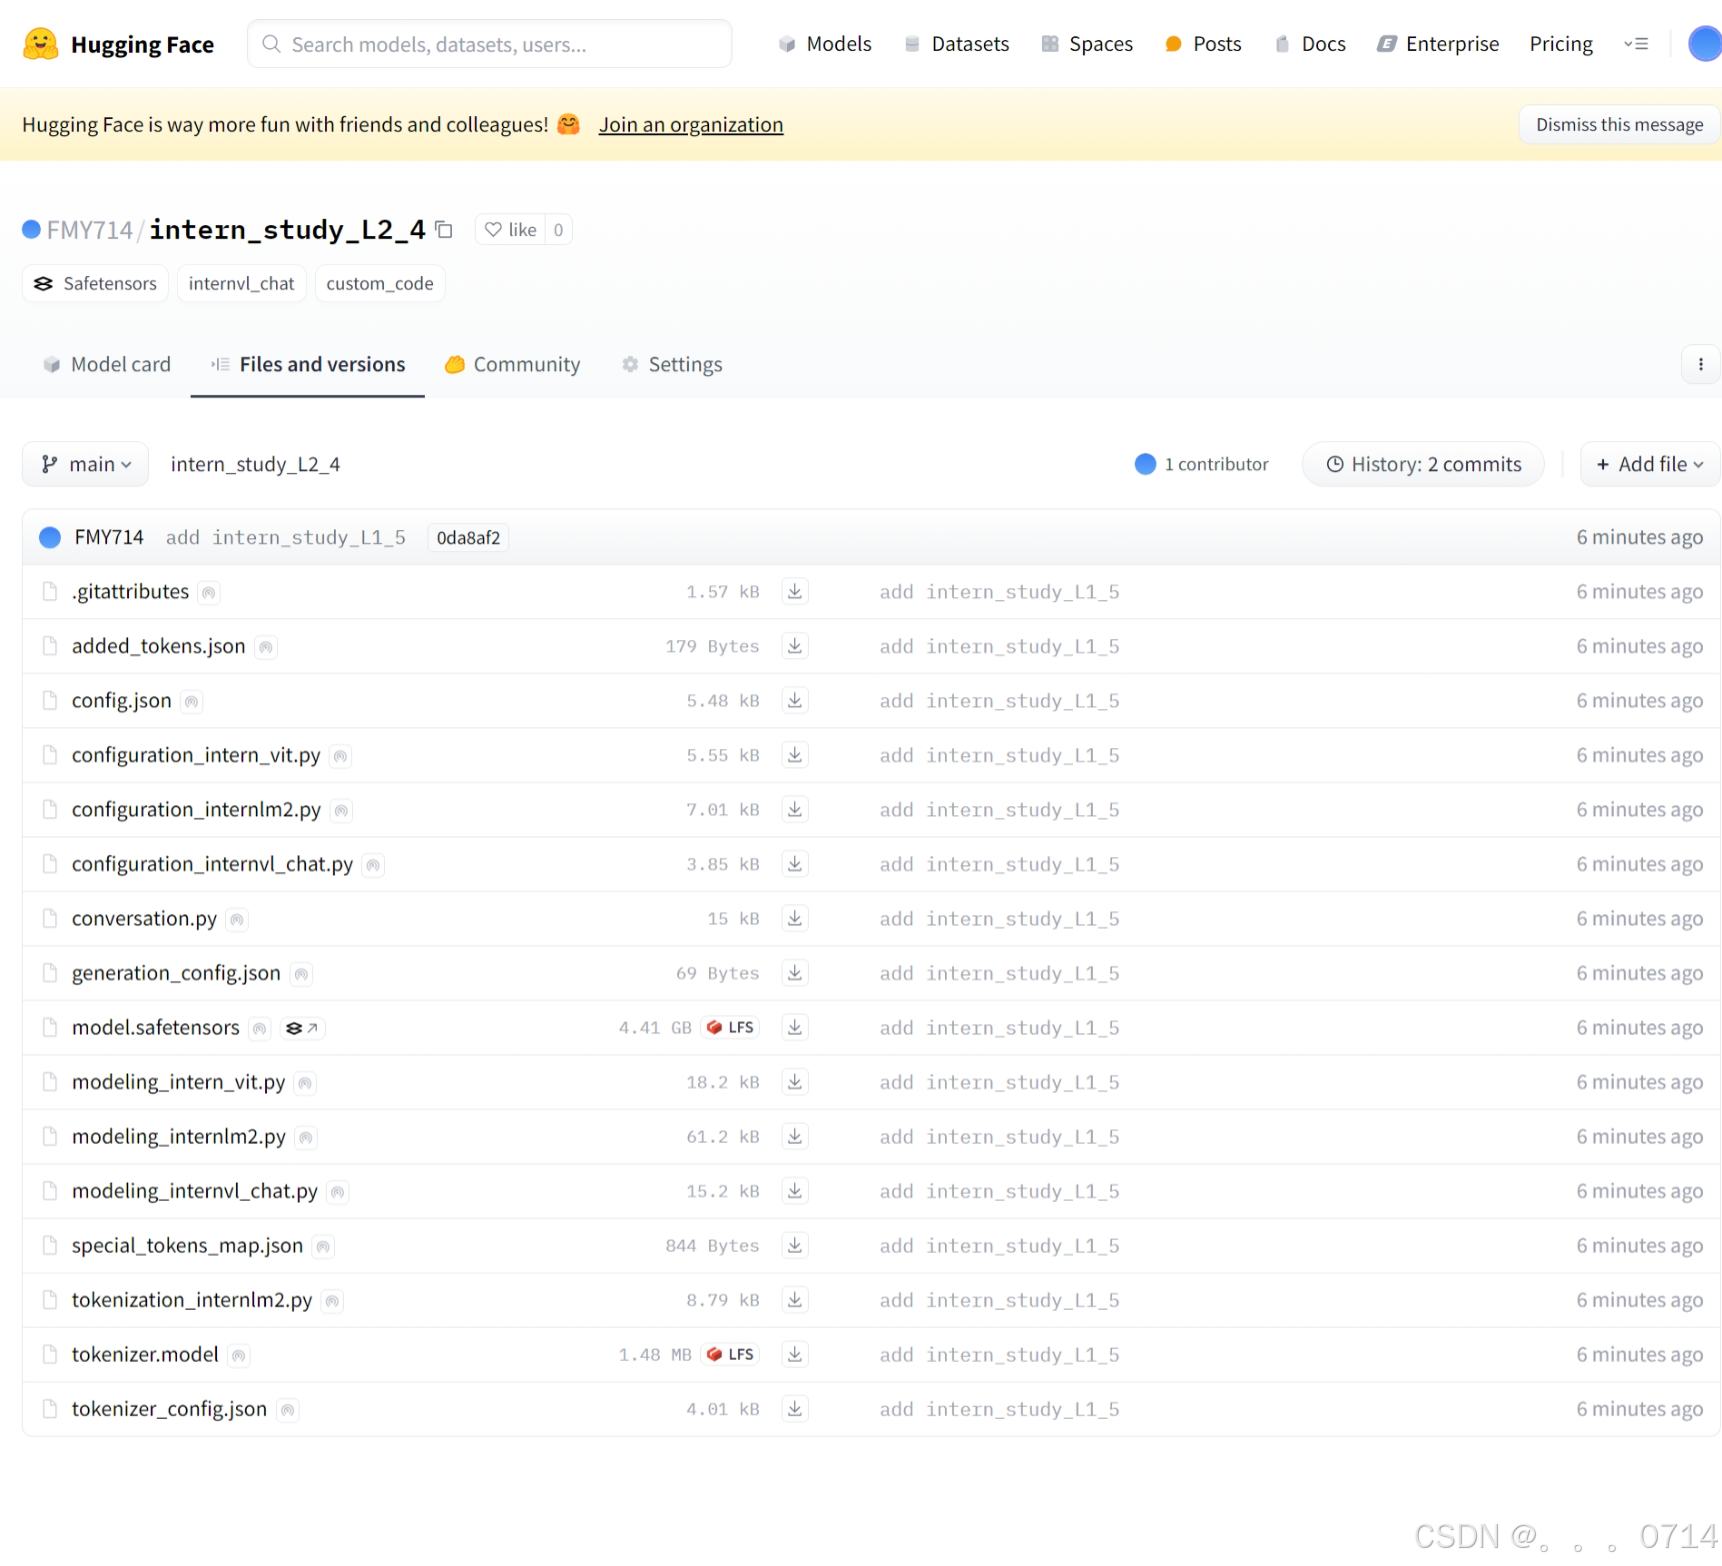
模型上传成功。

 浙公网安备 33010602011771号