零开始构建Angular项目
1、环境准备
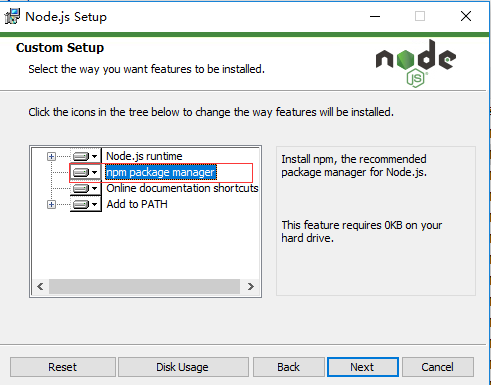
1.2、Nodejs 安装(安装注意选择npm package manager)
1.3、Git BASH安装
2、项目构建
2.1、右键打开 git bash here

2.2、全局安装angular cli (cli工具能帮助我们创建和管理项目)

$ npm i -g @angular/cli
2.3、 当前目录创建AngularDemo项目
$ ng new AngularDemo
2.4、创建angular项目目录介绍

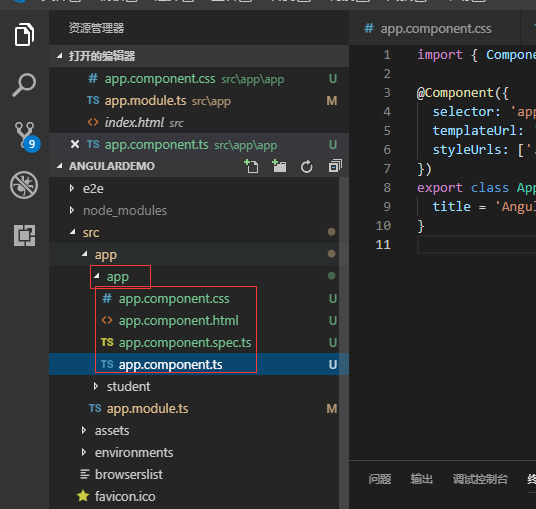
VSCode 打开项目

e2e:终到端(End-to-End)的测试目录,包含基本的测试桩。
node_modules:项目依赖项,Node.js创建了这个文件夹,并且把package.json中列出的所有第三方模块都存放在该目录中(是由Node.js开发环境自行创建的目录)
$ npm i 重新下载node_modules 项目依赖项目
src:应用源代码目录,开发者写的代码都存储在这个目录下面,其中包含的目录和文件有如下几类
app文件夹:包含5个文件
app.component.css 样式文件,作用于app文件夹的html
app.component.html 网页文件
app.component.spec.ts (不知道干嘛用的????)
app.component.ts typescript文件(功能模块)
app.modules.ts 根模块.配置文件,告诉angular如何组装应用程序(引导运行应用)
assets: 静态资源文件夹
environments:包含为各个目标环境准备的文件
index.html :整个应用程序的根html
main.ts:整个web程序的入口点,也是脚本程序的入口点,有点像main方法
style.css:全局样式文件,作用范围是整个项目
polyfills.ts:用于导入一些必要的库,可以使angular可以运行在老版本浏览器
test.ts:用于单元测试的入口点
tsconfig.app.json tsconfig.spec.json : typescript编辑器的配置文件
angula.json : angular命令行工具的配置文件,在这个文件中可以设置一系列的默认值,也可以配置项目编译时要包含的文件;例如第三方包
package.json : 第三方依赖包的声明文件
3、创建angular首页
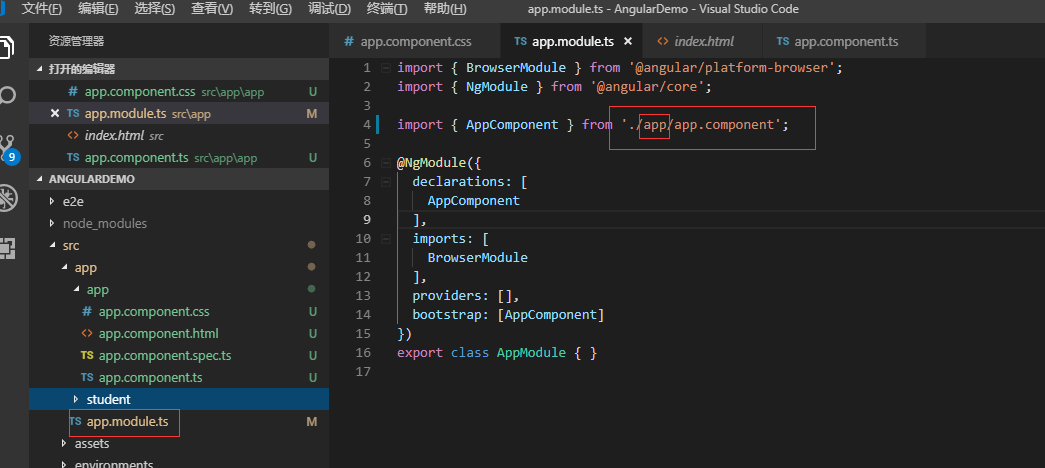
3.1、创建app文件夹,把创建项目生成的4个文件拖进来
修改app.module.ts文件中的引用路径
3.2 查看我的 hello World页面
启动项目服务
$ ng serve --open

首页效果

4、增加学生页面
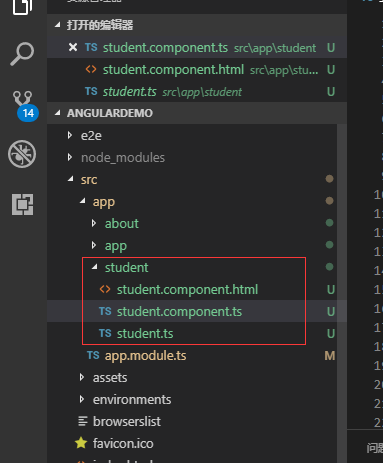
student.component.ts
import { Component } from '@angular/core';
import { Student } from './student';

@Component({
  selector: 'student-root',
  templateUrl: './student.component.html',

})
export class StudentComponent {
    me:Student[]=[{
        name:'admin',
        age:15,
        className:'一年级'
        },
        {
        name:'testing',
        age:16,
        className:'二年级'
        },
        {
            name:'martin',
            age:28,
            className:'三年级'
            }
        ];


    public addStudentInfo(name:string,age:number,className:string){
        const me=age/3;
        this.me.push({
            name:name,
            age:age
            ,className:className
        });

    }

}
export class Student{
    name:string;
    age:number;
    className:string;
}
student.component.html
<label *ngFor="let student of me">
    <p>学生姓名:{{student.name}} 年纪:{{student.age}}  班级:{{student.className}} </p>
</label>
学生姓名<input type="text" #studentName>
年纪<input type="text" #age>
班级<input type="text" #className>
<button (click)="addStudentInfo(studentName.value,age.value,className.value)">Add</button>
首页修改app.component.html
<!--The content below is only a placeholder and can be replaced.-->
<div style="text-align:center">
  <h1>
    Welcome to {{ title }}!
  </h1>
  <student-root></student-root>
</div>
最后把student.component依赖注入Ngmodule中 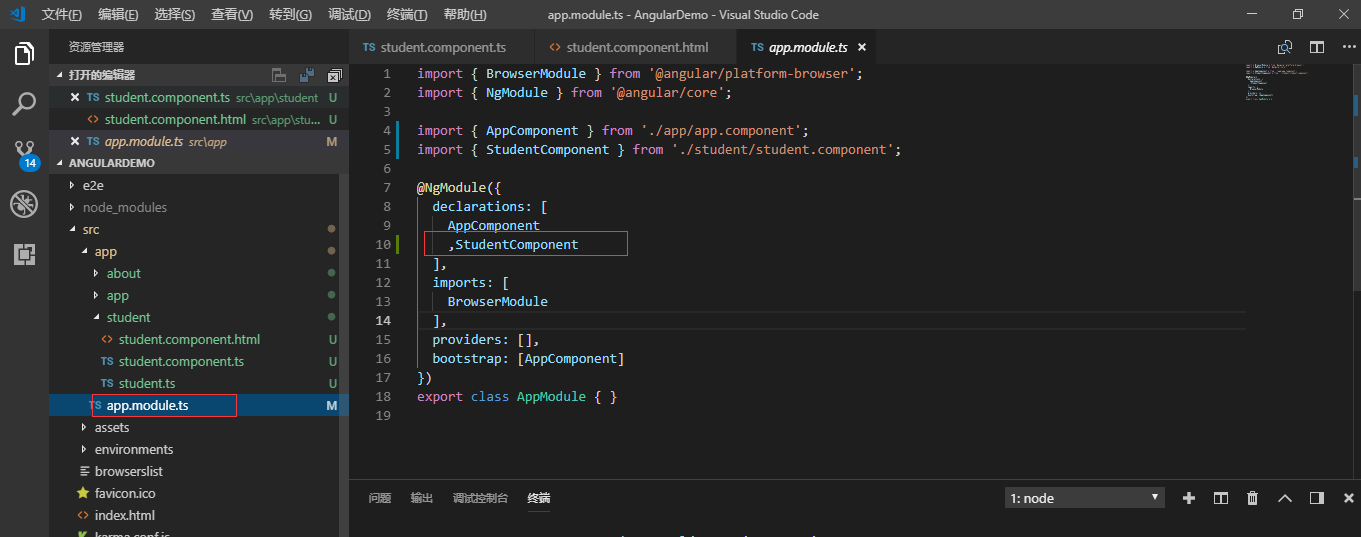
效果

样式太丑了,引用bootstrap样式框架
5、安装bootstrap框架
npm i bootstrap -s
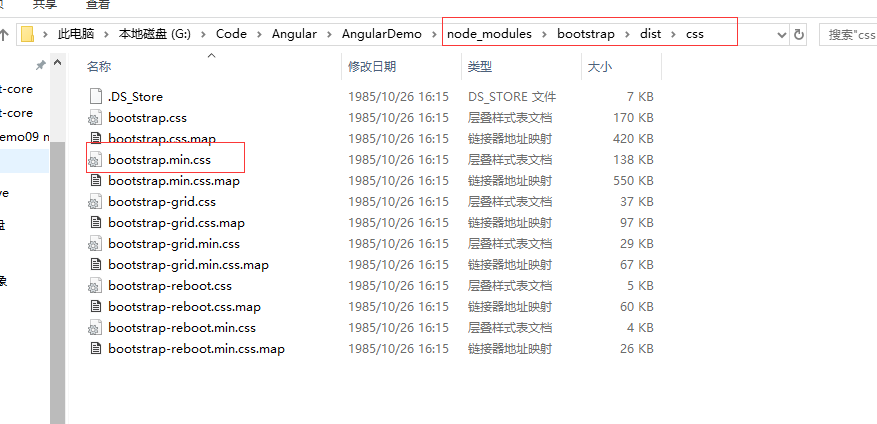
引用bootstrap样式 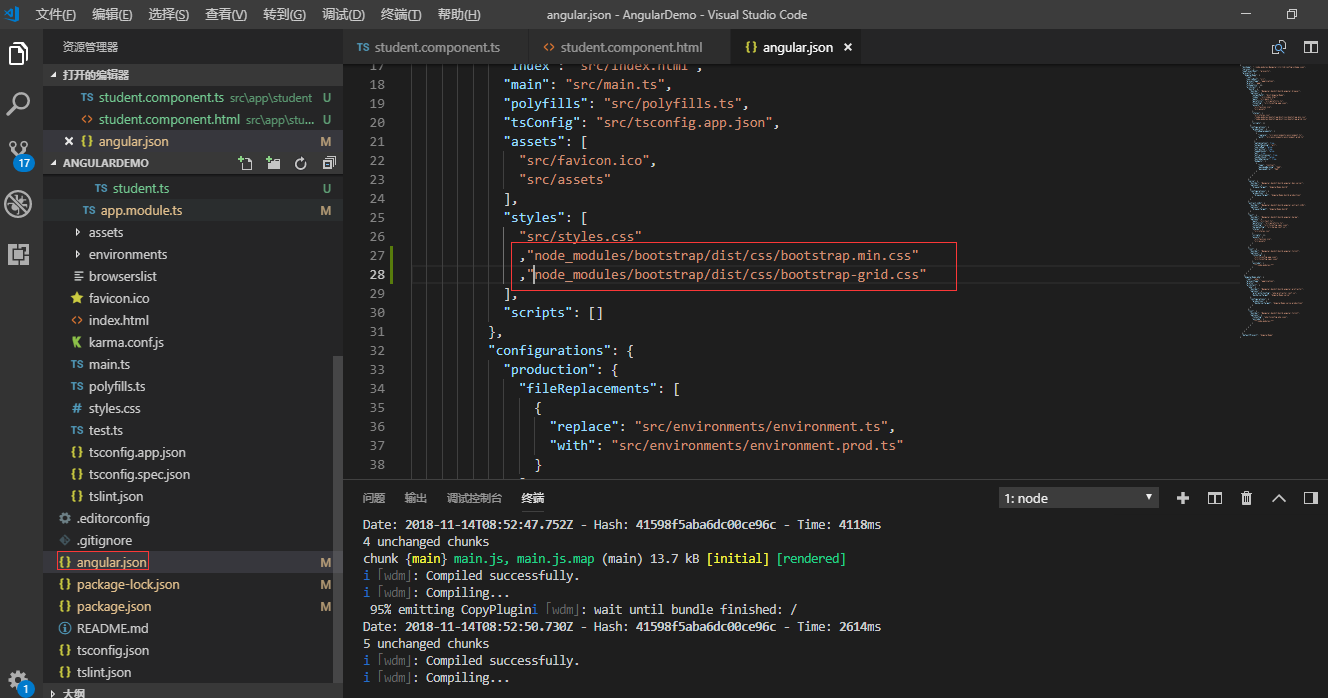
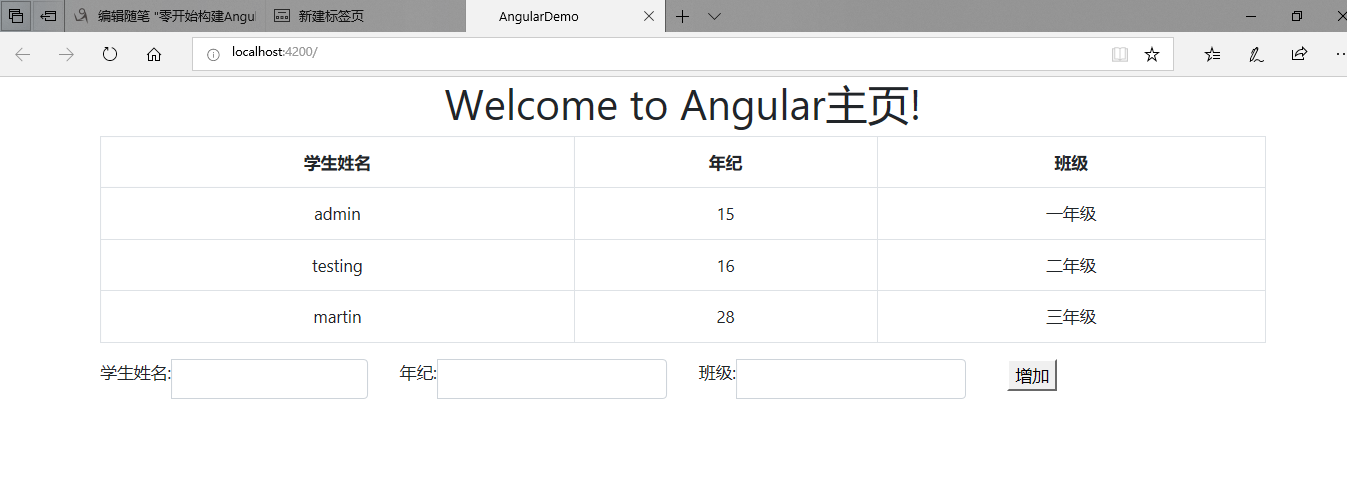
浏览效果
 6、最后来点干货 源代码下载
posted on 2018-11-14 19:39 Martin cheng 阅读(1045) 评论(4) 收藏 举报


 浙公网安备 33010602011771号