spring5 源码编译
构建环境
- macOS 10.15.3
- JDK1.8
- IntelliJ IDEA 2020.1.2 (Ultimate Edition)
- Spring v5.2.x
- gradle 6.5 具体安装,或直接执行项目中gradlew脚本,会先安装相应版本gradle
源码构建
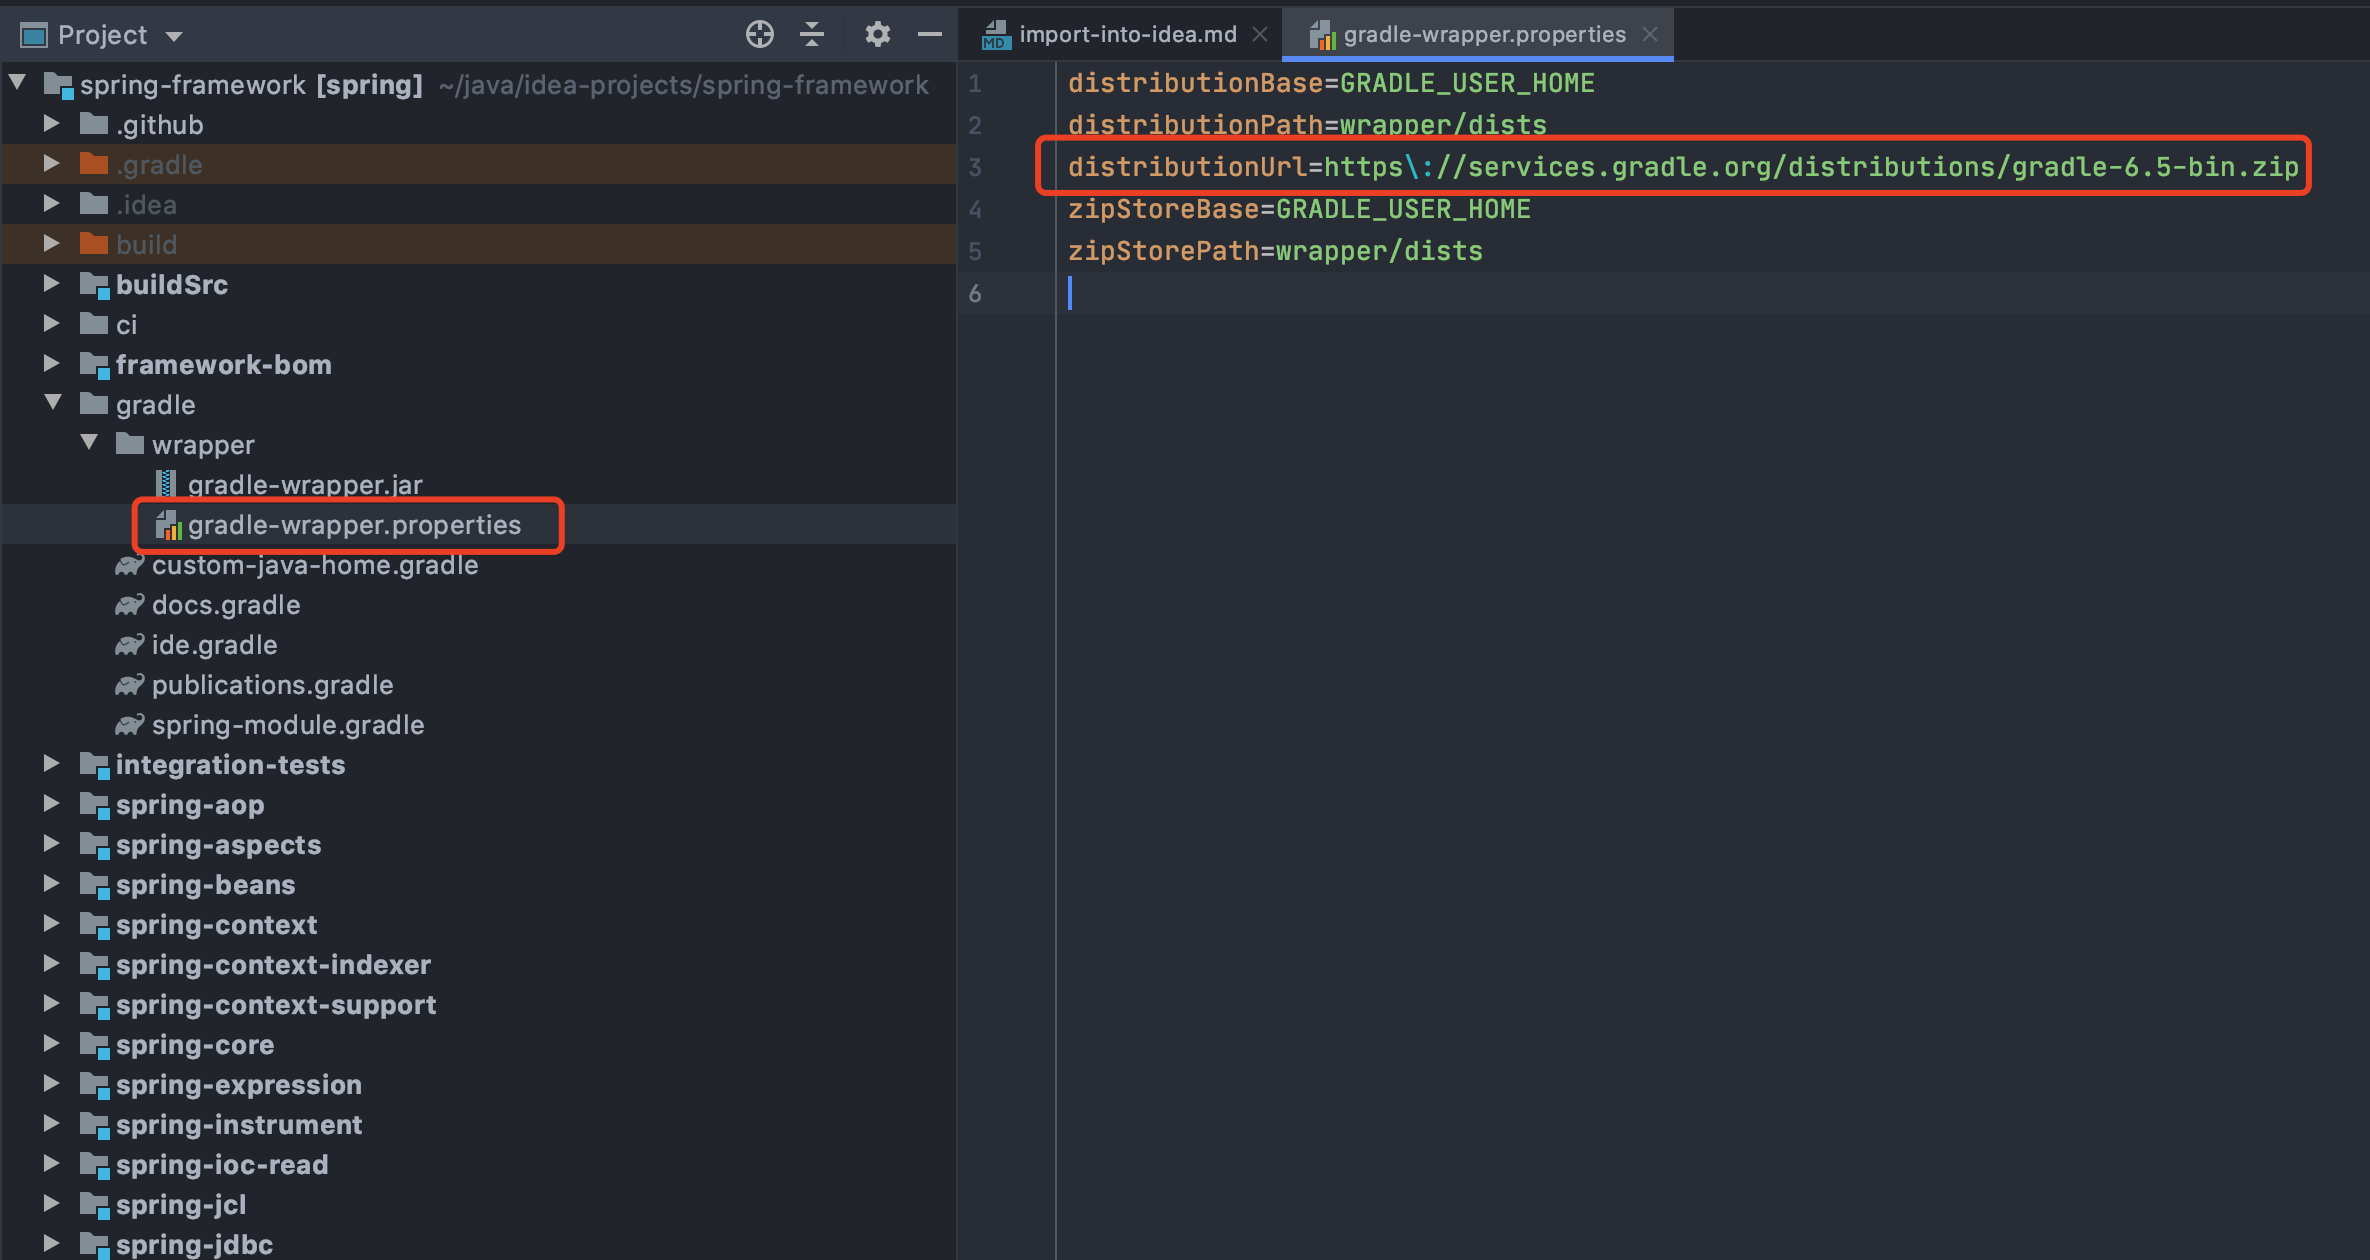
- 找到项目路径中的import-into-idea.md
- 根据md中的说明,首先需要执行以下命令
./gradlew :spring-oxm:compileTestJava
- 这时是默认是会根据项目中的gradle-wrapper.properties中的gradle去构建,若需要使用本地的gradle,可以修改distributionUrl,参考点击
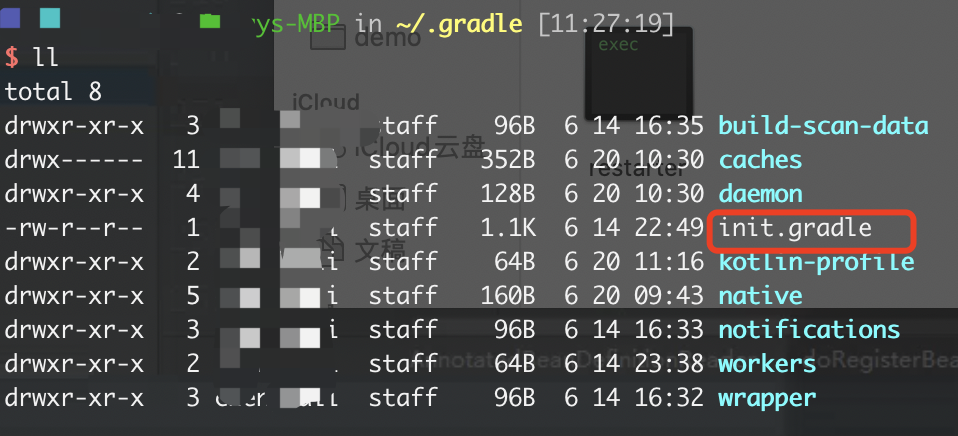
- 在GRADLE_USER_HOME(默认路径 -》 ~/.gradle,这个路径是可以修改的,具体参考)下创建init.gradle,配置更换数据源,不然下载速度感人!!!
allprojects{
    repositories {
        def ALIYUN_REPOSITORY_URL = 'http://maven.aliyun.com/nexus/content/groups/public'
        def ALIYUN_JCENTER_URL = 'http://maven.aliyun.com/nexus/content/repositories/jcenter'
        all { ArtifactRepository repo ->
            if(repo instanceof MavenArtifactRepository){
                def url = repo.url.toString()
                if (url.startsWith('https://repo1.maven.org/maven2')) {
                    project.logger.lifecycle "Repository ${repo.url} replaced by $ALIYUN_REPOSITORY_URL."
                    remove repo
                }
                if (url.startsWith('https://jcenter.bintray.com/')) {
                    project.logger.lifecycle "Repository ${repo.url} replaced by $ALIYUN_JCENTER_URL."
                    remove repo
                }
                if (url.startsWith('https://plugins.gradle.org/')) {
                   project.logger.lifecycle "Repository ${repo.url} replaced by $ALIYUN_REPOSITORY_URL."
                   remove repo
                }
            }
        }
        maven {
            url ALIYUN_REPOSITORY_URL
            url ALIYUN_JCENTER_URL
        }
    }
}
- 接着重新执行第一条命令,执行成功后执行下面(预编译这两个模块)
./gradlew :spring-:compileTestJava
- 接着就是漫长的等待!等执行成功后接着根据官方的md来
Import into IntelliJ (File -> New -> Project from Existing Sources -> Navigate to directory -> Select build.gradle)
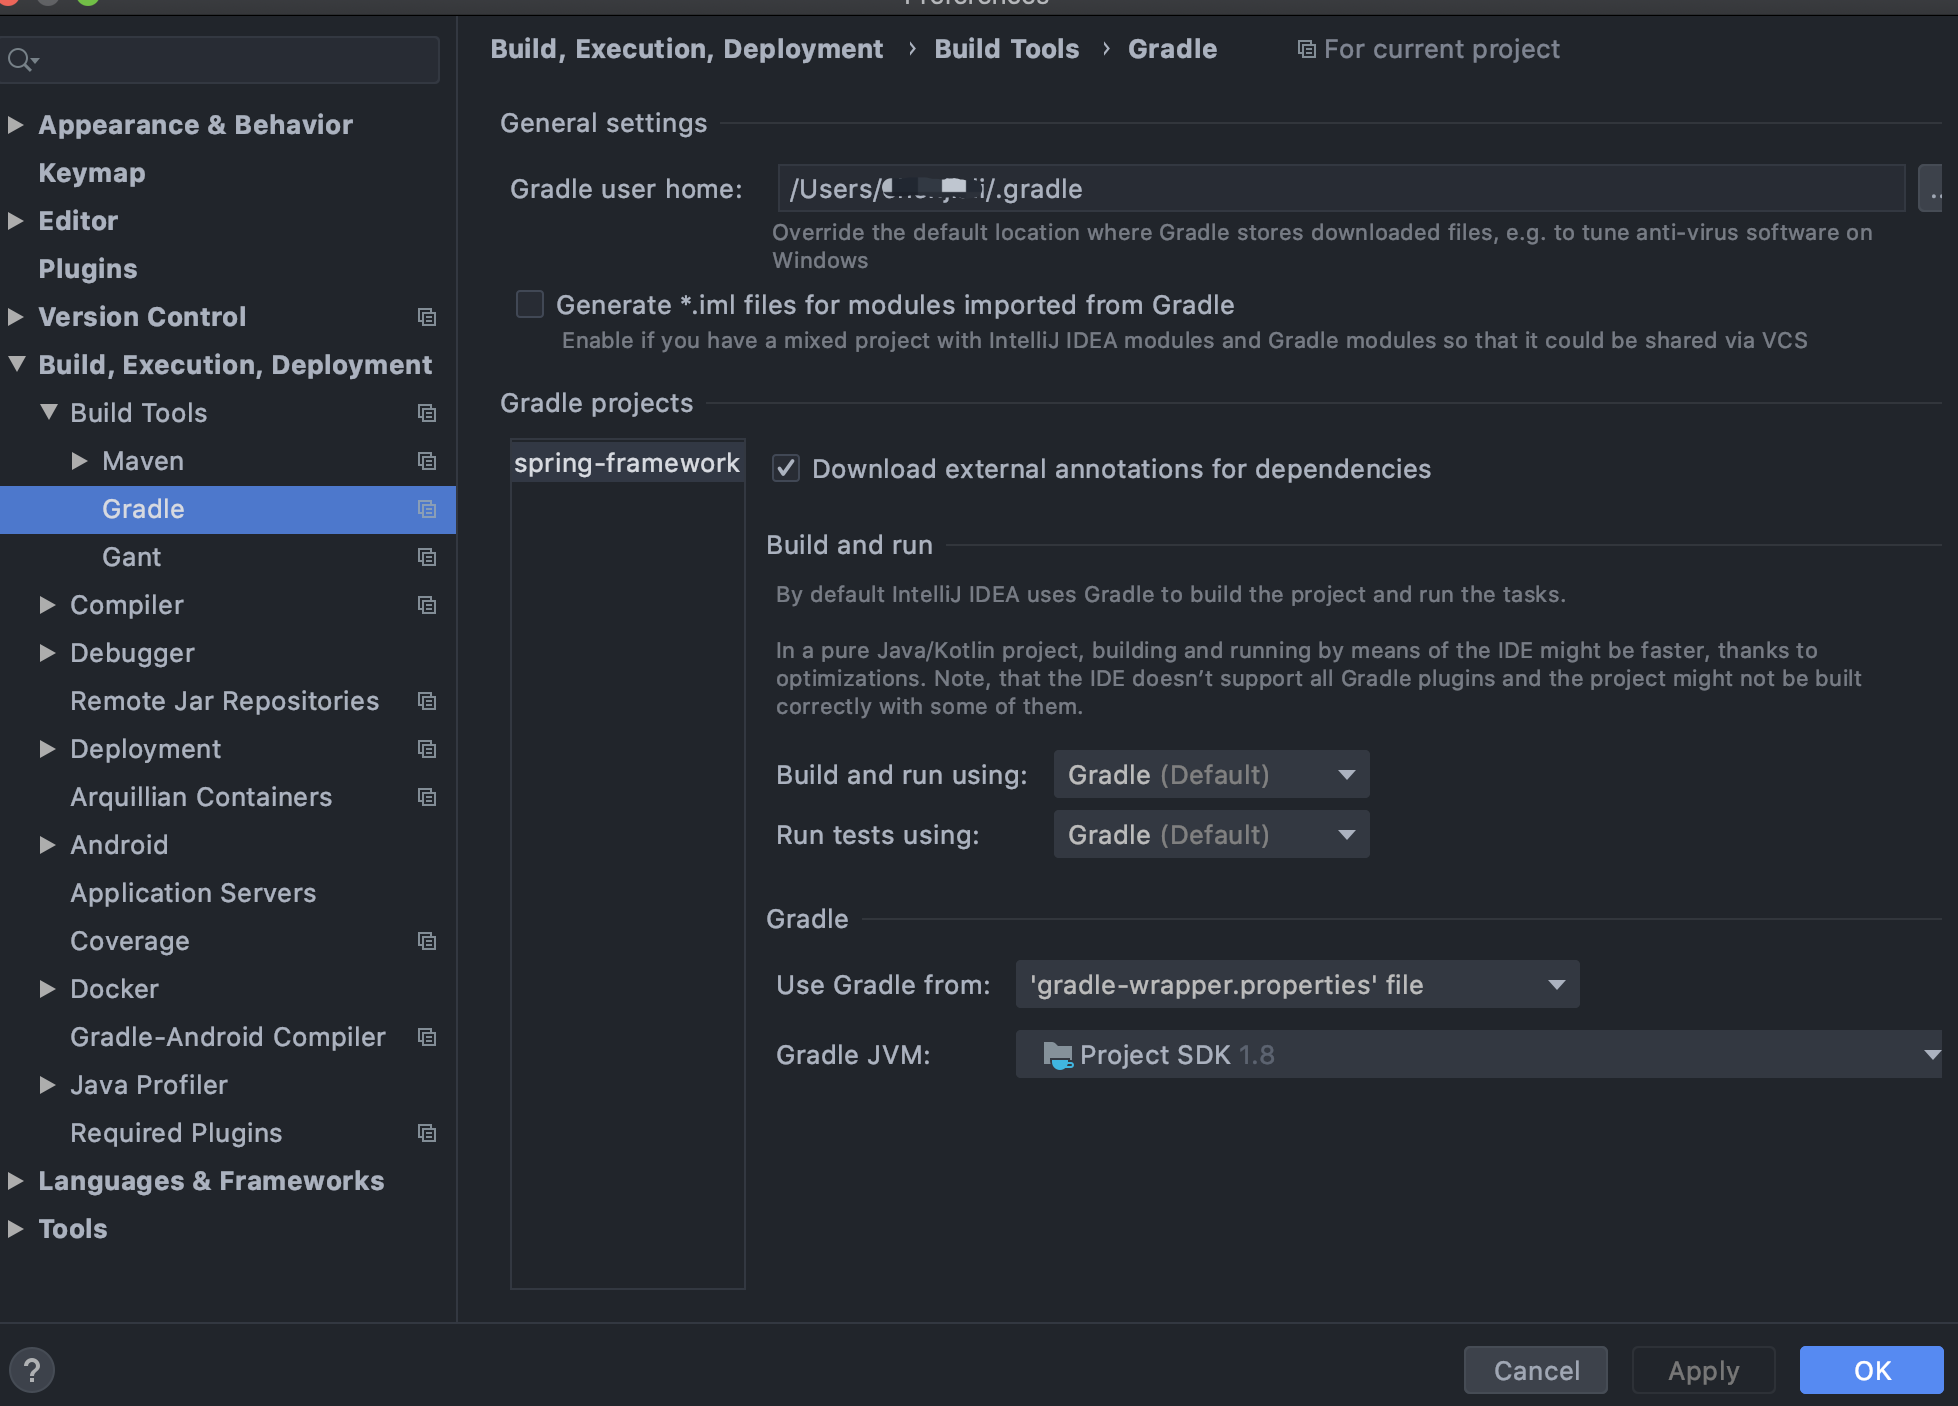
- 这时需要配置idea gradle,新版本的gradle配置和网上不太一样,不过具体都是配置本地的gradle,以及jar包下载路径,这里我选择gradle是根据项目里面的gradle-wrapper.properties中指定的gradle,你也可以选择本地的gradle。
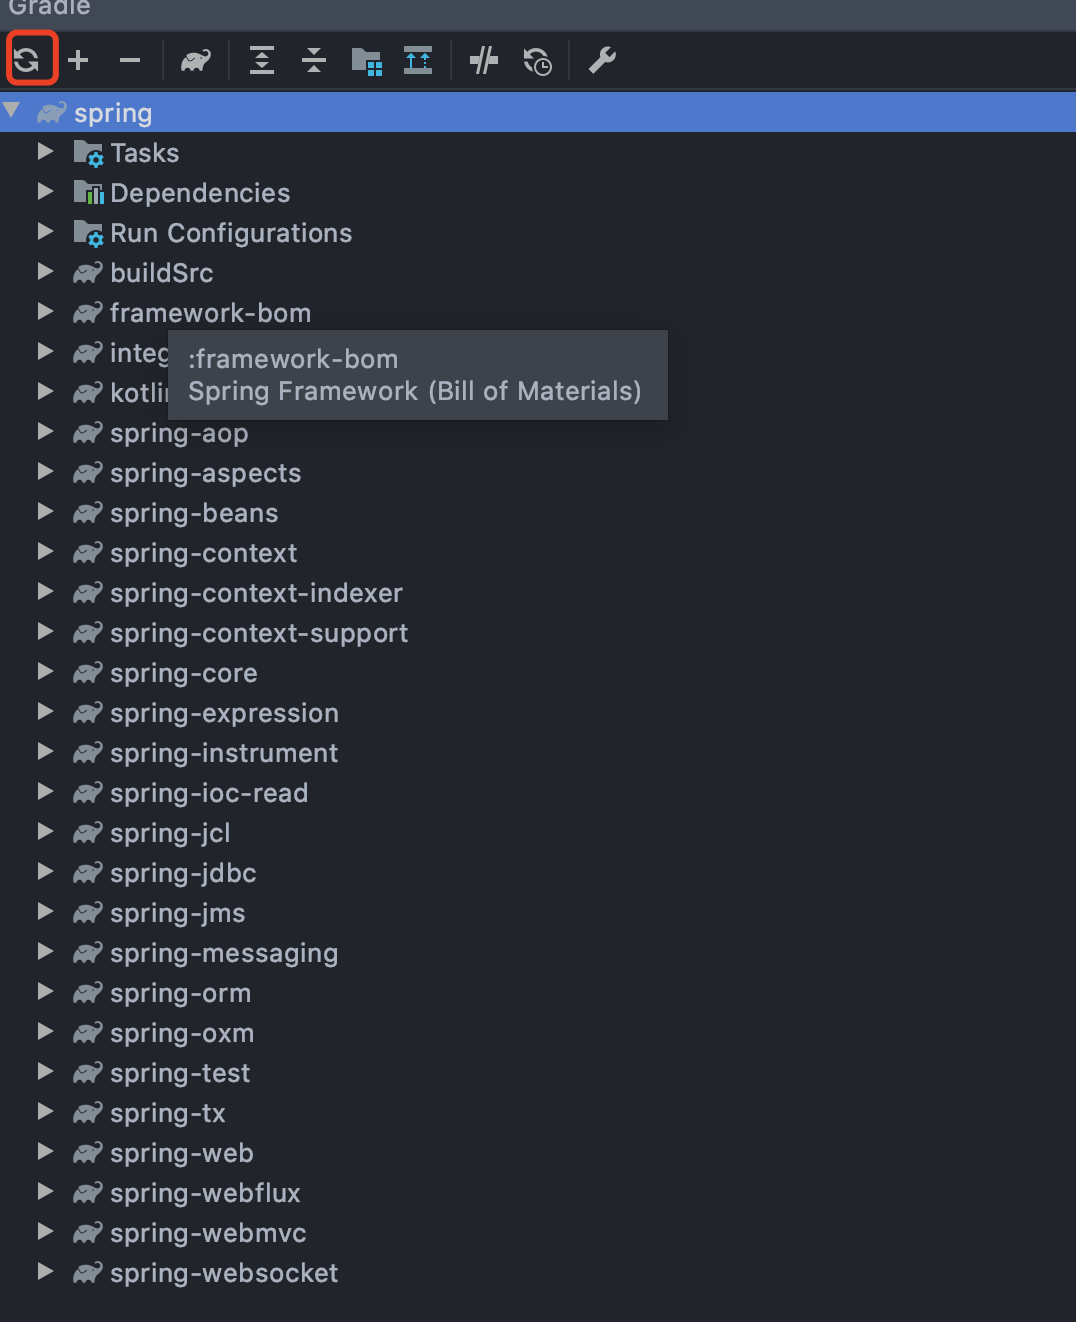
- 配置完成后reimport以下,接着项目会重新build一下,耐心等待一下(这里我没有遇到官方说的这个问题 When prompted exclude the
spring-aspectsmodule (or after the import via File-> Project Structure -> Modules),若是遇到可参考官方给出解决方法!)
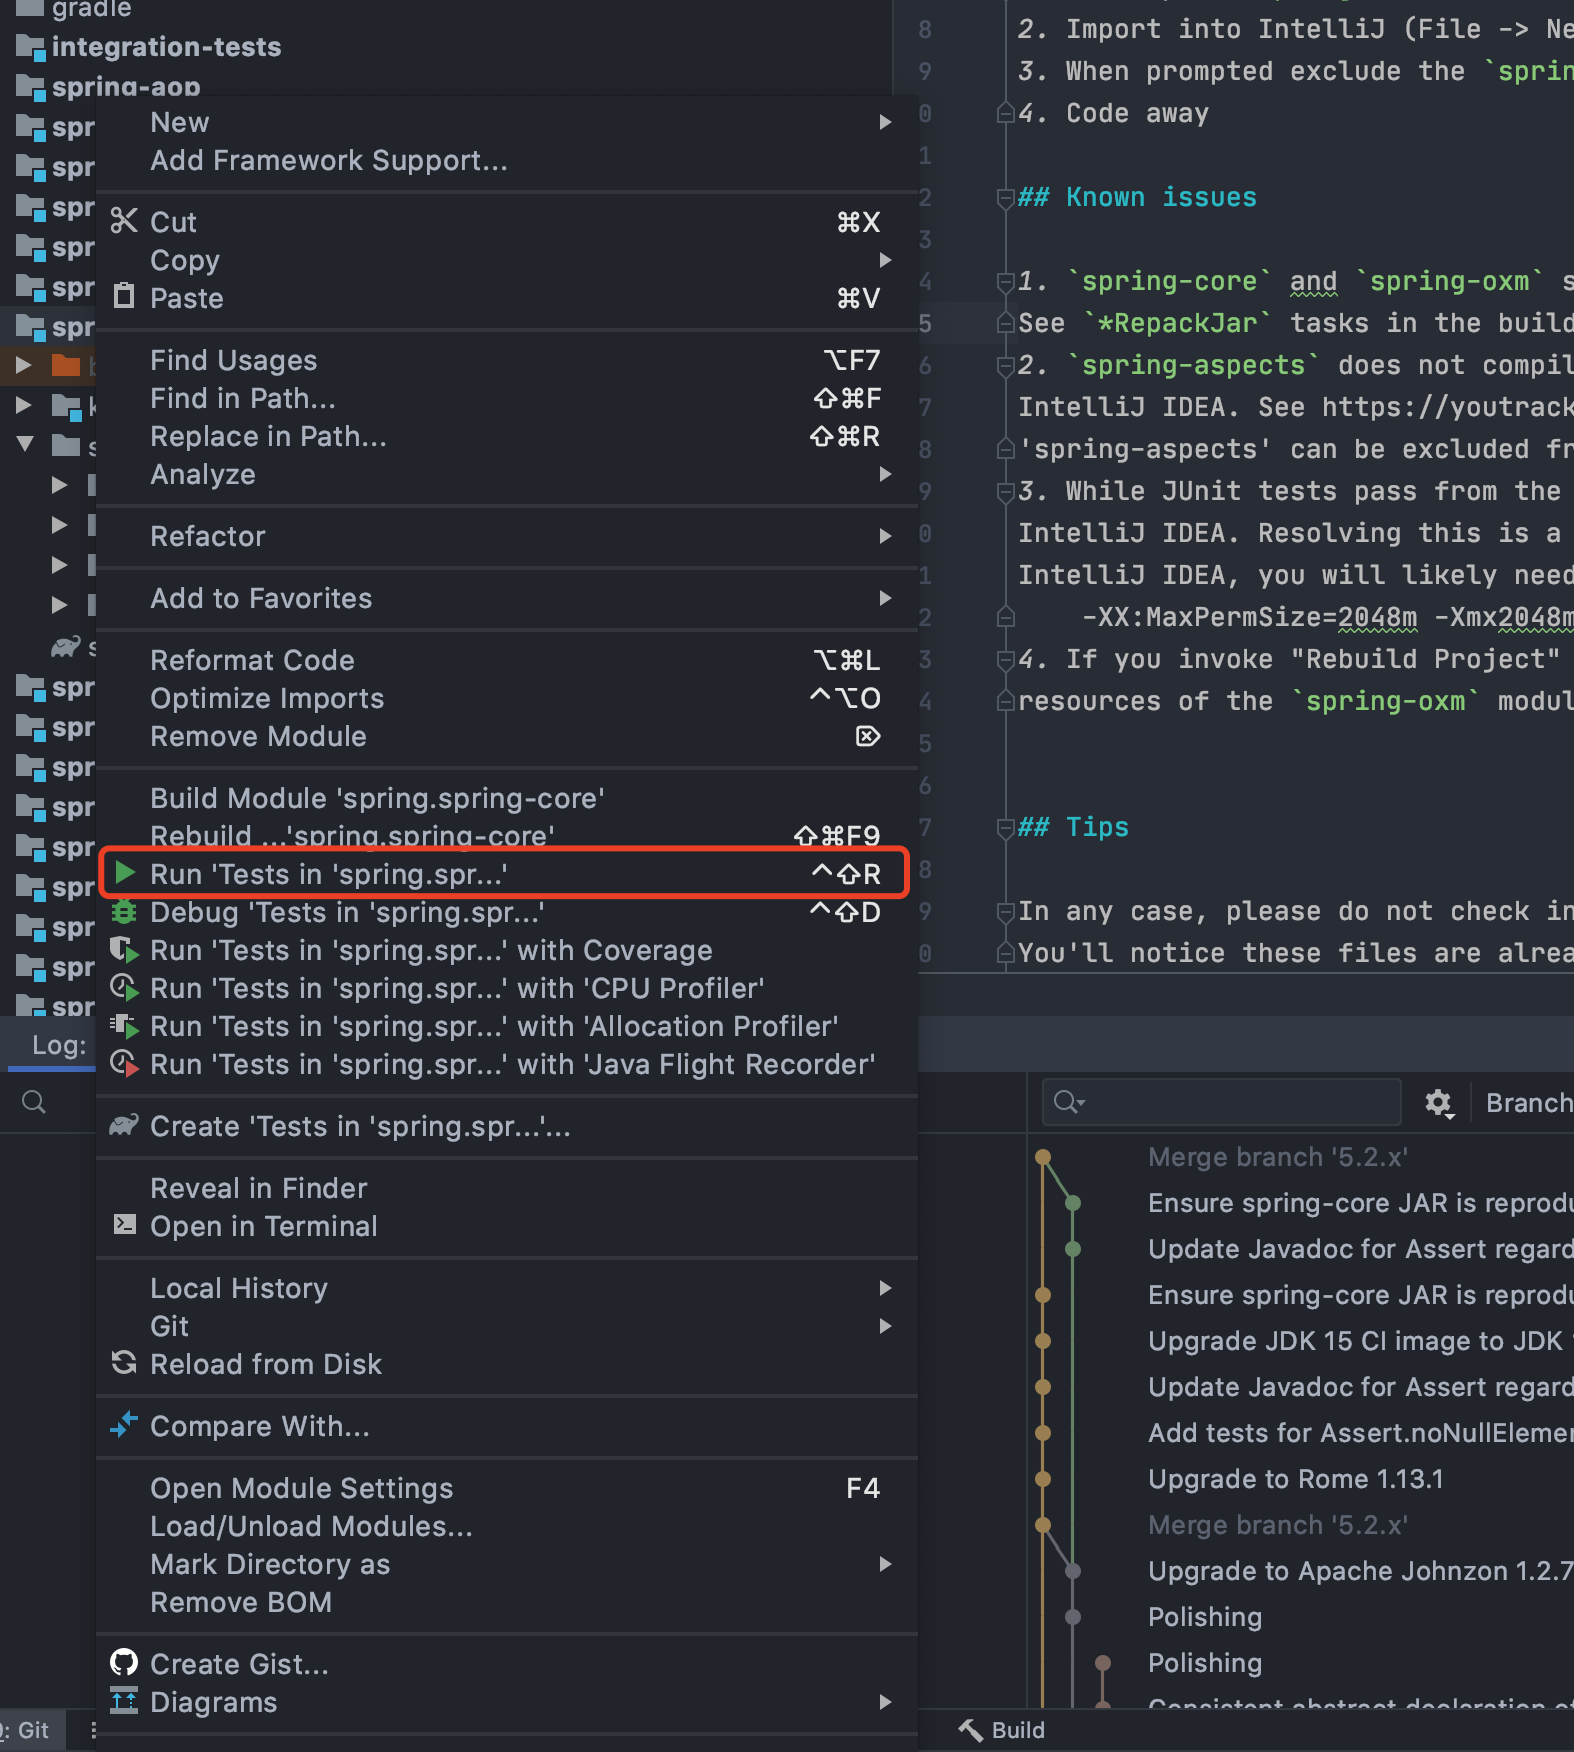
- 最后build successful之后,随便选择一个模块,右键运行run test,进行编译!
- 完成构建!

 浙公网安备 33010602011771号