AIDL 进程间通信的一个小小的总结
需求
项目需要,将做好的项目作为一个服务提供给另一个公司。我们需要提供一个apk,所以设计到进程间交互,不得不了解一下AIDL了。
了解一下AIDL
之前准备面试的时候,或多或少的了解了一点AIDL,不过现在忘记得差不多了。
所以网上随便找了几篇不错的文章。
一个简单的demo
自己搞了一个简单的demo。
实现了进程间通信,可以传输普通类型和实体类型。
首先是服务端。
1.第一个aidl接口。


// IMyAidlInterface.aidl
package com.xf.test1;

import com.xf.test1.IAidlCallBack;
import com.xf.test1.Entity;
// Declare any non-default types here with import statements

interface IMyAidlInterface {
    /**
     * Demonstrates some basic types that you can use as parameters
     * and return values in AIDL.
     */
    void basicTypes(int anInt, long aLong, boolean aBoolean, float aFloat,
            double aDouble, String aString);


    String getStr(String str);

    int getPid();

    Entity getEntity();

    Entity setEntity(in Entity entity);

    void registerCallBack(IAidlCallBack callback);

    void unregisterCallBack(IAidlCallBack callback);
}
2.第二个aidl接口。
// IAidlCallBack.aidl
package com.xf.test1;

import com.xf.test1.Entity;

// Declare any non-default types here with import statements

interface IAidlCallBack {

    void callBack(String name);

    void callBackEntity(in Entity entity);
}
3.第三个aidl接口。
// Person.aidl
package com.xf.test1;

parcelable Entity;
4.封装的一个IBinder。
package com.xf.test1;

import android.app.Service;
import android.content.Intent;
import android.os.IBinder;
import android.support.annotation.Nullable;

public class AIDLService extends Service {


    private AIDLImp mBinder;


    @Override
    public void onCreate() {
        super.onCreate();
        mBinder = new AIDLImp(this);
    }

    @Nullable
    @Override
    public IBinder onBind(Intent intent) {
        return mBinder;
    }


    @Override
    public void onDestroy() {
        super.onDestroy();
        mBinder.KillAll();
    }
}
5.AIDL服务。
package com.xf.test1;

import android.app.Service;
import android.content.Intent;
import android.os.IBinder;
import android.support.annotation.Nullable;

public class AIDLService extends Service {


    private AIDLImp mBinder;


    @Override
    public void onCreate() {
        super.onCreate();
        mBinder = new AIDLImp(this);
    }

    @Nullable
    @Override
    public IBinder onBind(Intent intent) {
        return mBinder;
    }


    @Override
    public void onDestroy() {
        super.onDestroy();
        mBinder.KillAll();
    }
}
6.实体类型。
package com.xf.test1;

import android.os.Parcel;
import android.os.Parcelable;

/**
 * Description: 简单实体类
 *
 * @version V1.0.0
 * Createdate: 2018/6/22
 * @author: wja 1211241203@qq.com
 */
public class Entity implements Parcelable {

    private String name;

    private int parameter1;

    private double parameter2;

    public Entity(String name){
        this.name=name;
    }

    public Entity(String name, int parameter1, double parameter2) {
        this.name = name;
        this.parameter1 = parameter1;
        this.parameter2 = parameter2;
    }

    public int getParameter1() {
        return parameter1;
    }

    public void setParameter1(int parameter1) {
        this.parameter1 = parameter1;
    }

    public double getParameter2() {
        return parameter2;
    }

    public void setParameter2(double parameter2) {
        this.parameter2 = parameter2;
    }

    public String getName() {
        return name;
    }

    public void setName(String name) {
        this.name = name;
    }

    @Override
    public int describeContents() {
        return 0;
    }

    @Override
    public void writeToParcel(Parcel dest, int flags) {
        dest.writeString(this.name);
        dest.writeInt(this.parameter1);
        dest.writeDouble(this.parameter2);
    }

    protected Entity(Parcel in) {
        this.name = in.readString();
        this.parameter1 = in.readInt();
        this.parameter2 = in.readDouble();
    }

    public static final Creator<Entity> CREATOR = new Creator<Entity>() {
        @Override
        public Entity createFromParcel(Parcel source) {
            return new Entity(source);
        }

        @Override
        public Entity[] newArray(int size) {
            return new Entity[size];
        }
    };

    @Override
    public String toString() {
        return "Entity{" +
                "name='" + name + '\'' +
                ", parameter1=" + parameter1 +
                ", parameter2=" + parameter2 +
                '}';
    }
}
7.清单文件。
<?xml version="1.0" encoding="utf-8"?>
<manifest xmlns:android="http://schemas.android.com/apk/res/android"
    package="com.xf.test1">

    <application
        android:allowBackup="true"
        android:icon="@mipmap/ic_launcher"
        android:label="@string/app_name"
        android:roundIcon="@mipmap/ic_launcher_round"
        android:supportsRtl="true"
        android:theme="@style/AppTheme">
        <activity android:name=".MainActivity">
            <!--<intent-filter>
                <action android:name="android.intent.action.MAIN" />

                <category android:name="android.intent.category.LAUNCHER" />

                <data android:scheme="com.xf.aidl.test" />
            </intent-filter>-->
        </activity>


        <service android:name=".AIDLService">
            <intent-filter>
                <action android:name="com.xf.aidl" />
                <category android:name="android.intent.category.DEFAULT" />
                <!--<action android:name="android.intent.action.MAIN" />-->

                <!--<category android:name="android.intent.category.LAUNCHER" />-->
            </intent-filter>
        </service>
    </application>

</manifest>
8.服务端如何运行(不使用启动图标的方式)

然后点击进去

9.最后点击运行,服务就安装在手机啦。
其次,是客户端。
1.客户端的aidl文件和服务端的完全一样。(当然路径可以不一样,为了方便我直接copy的,路径不一样也是可以的,测试过的)
2.然后注意实体类型所在的包一定要和服务端的一致,负责找不到这个实体的。
3.最后是客户端的主页面。
package com.xf.test2;

import android.content.ComponentName;
import android.content.Context;
import android.content.Intent;
import android.content.ServiceConnection;
import android.os.Bundle;
import android.os.IBinder;
import android.os.RemoteException;
import android.support.v7.app.AppCompatActivity;
import android.util.Log;
import android.view.View;

import com.xf.test1.Entity;
import com.xf.test1.IAidlCallBack;
import com.xf.test1.IMyAidlInterface;

import java.util.Random;

public class MainActivity extends AppCompatActivity {

    private IMyAidlInterface mIMyAidlInterfaceService;


    private ServiceConnection mServiceConnection = new ServiceConnection() {
        @Override
        public void onServiceConnected(ComponentName name, IBinder service) {
            mIMyAidlInterfaceService = IMyAidlInterface.Stub.asInterface(service);
            try {
                mIMyAidlInterfaceService.registerCallBack(mIAidlCallBack);
            } catch (RemoteException e) {
                e.printStackTrace();
            }
        }

        @Override
        public void onServiceDisconnected(ComponentName name) {
            try {
                mIMyAidlInterfaceService.unregisterCallBack(mIAidlCallBack);
            } catch (RemoteException e) {
                e.printStackTrace();
            }
            mIMyAidlInterfaceService = null;
        }
    };


    private IAidlCallBack mIAidlCallBack = new IAidlCallBack.Stub() {
        @Override
        public void callBack(String name) throws RemoteException {
            Log.e("info---->","服务端给我发消息啦:"+name);
            ToastUtil.showShort(MainActivity.this,"服务端给我发消息啦:"+name);
        }

        @Override
        public void callBackEntity(Entity entity) {
            Log.e("info---->","服务端给我发实体消息啦:"+entity.toString());
            ToastUtil.showShort(MainActivity.this,"服务端给我发实体消息啦:"+entity.toString());
        }
    };


    @Override
    protected void onCreate(Bundle savedInstanceState) {
        super.onCreate(savedInstanceState);
        setContentView(R.layout.activity_main);
    }

    @Override
    protected void onDestroy() {
        super.onDestroy();
        if (mServiceConnection != null)
            unbindService(mServiceConnection);
    }

    /**
     * 绑定服务
     * @param view
     */
    public void doClick(View view) {
        Intent intent = new Intent();
        intent.setAction("com.xf.aidl");
        intent.setPackage("com.xf.test1");
        bindService(intent, mServiceConnection, Context.BIND_AUTO_CREATE);
    }


    /**
     * 获取服务器发送过来的消息
     * @param v
     */
    public void doAction(View v) {
        if (mIMyAidlInterfaceService != null) {
            try {
                String newstr = mIMyAidlInterfaceService.getStr("Hello world");
                int pid = mIMyAidlInterfaceService.getPid();
                Log.e("info---->", newstr + " pid:" + pid);
            } catch (RemoteException e) {
                e.printStackTrace();
            }
        }
    }

    /**
     * 客户端自己设置实体,发送给服务端
     * 通过随机数设置实体参数
     * @param v
     */
    public void doActionSetEntity(View v){
        if (mIMyAidlInterfaceService != null) {
            try {
               Random random=new Random();
               mIMyAidlInterfaceService.setEntity(new Entity("客户端",random.nextInt(100),random.nextDouble()));

            } catch (RemoteException e) {
                e.printStackTrace();
            }
        }
    }
}
下面是布局文件。
<?xml version="1.0" encoding="utf-8"?>
<LinearLayout xmlns:android="http://schemas.android.com/apk/res/android"
    xmlns:app="http://schemas.android.com/apk/res-auto"
    xmlns:tools="http://schemas.android.com/tools"
    android:layout_width="match_parent"
    android:layout_height="match_parent"
    android:orientation="vertical"
    tools:context=".MainActivity">

    <RelativeLayout
        android:layout_marginTop="100dp"
        android:layout_width="match_parent"
        android:layout_height="wrap_content">

        <Button
            android:layout_width="300dp"
            android:layout_height="wrap_content"
            android:onClick="doClick"
            android:text="绑定服务"
            android:layout_centerInParent="true"
             />

    </RelativeLayout>

    <RelativeLayout
        android:layout_width="match_parent"
        android:layout_height="wrap_content">

        <Button
            android:layout_width="300dp"
            android:layout_height="wrap_content"
            android:onClick="doAction"
            android:text="获取消息"
            android:layout_centerInParent="true"
            />

    </RelativeLayout>

    <RelativeLayout
        android:layout_width="match_parent"
        android:layout_height="wrap_content">

        <Button
            android:layout_width="300dp"
            android:layout_height="wrap_content"
            android:onClick="doActionSetEntity"
            android:text="客户端设置实体"
            android:layout_centerInParent="true"
            />

    </RelativeLayout>

</LinearLayout>
运行效果是这样的:
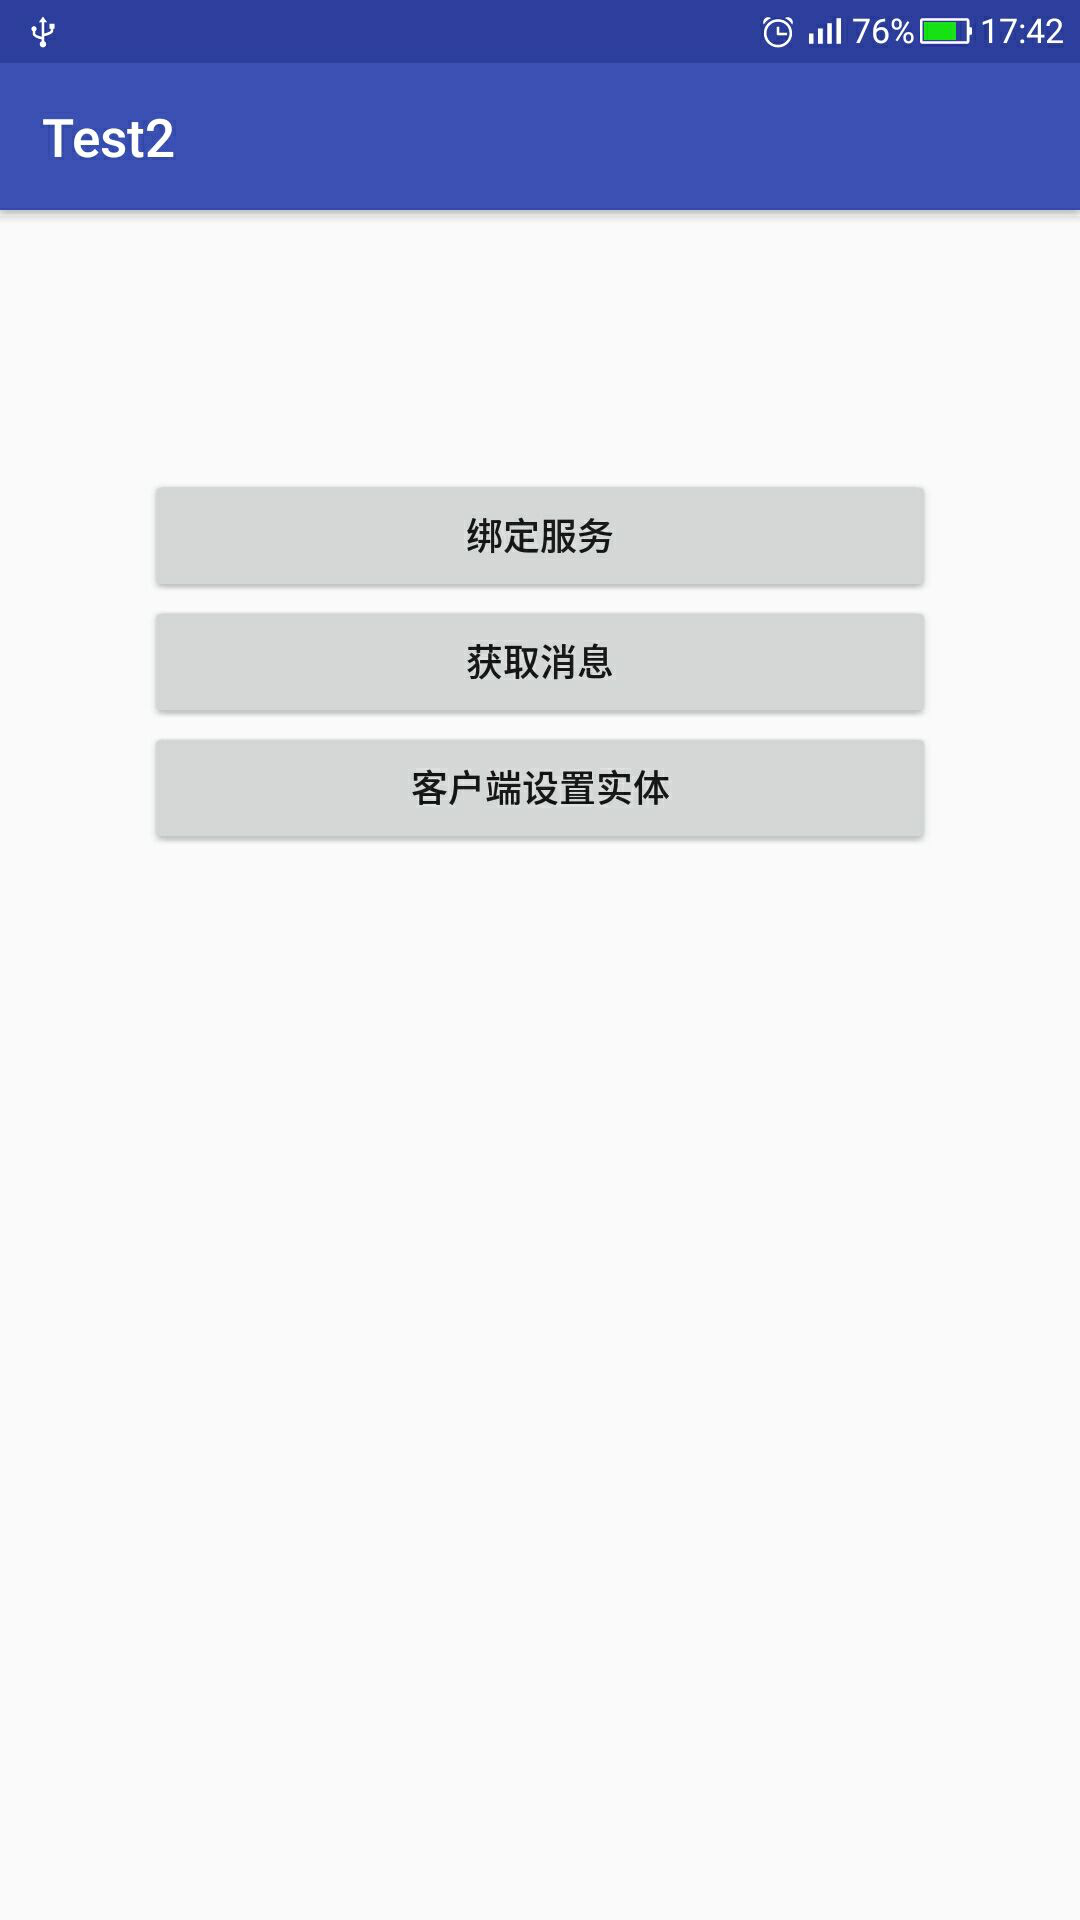

这里客户端首先需要绑定服务
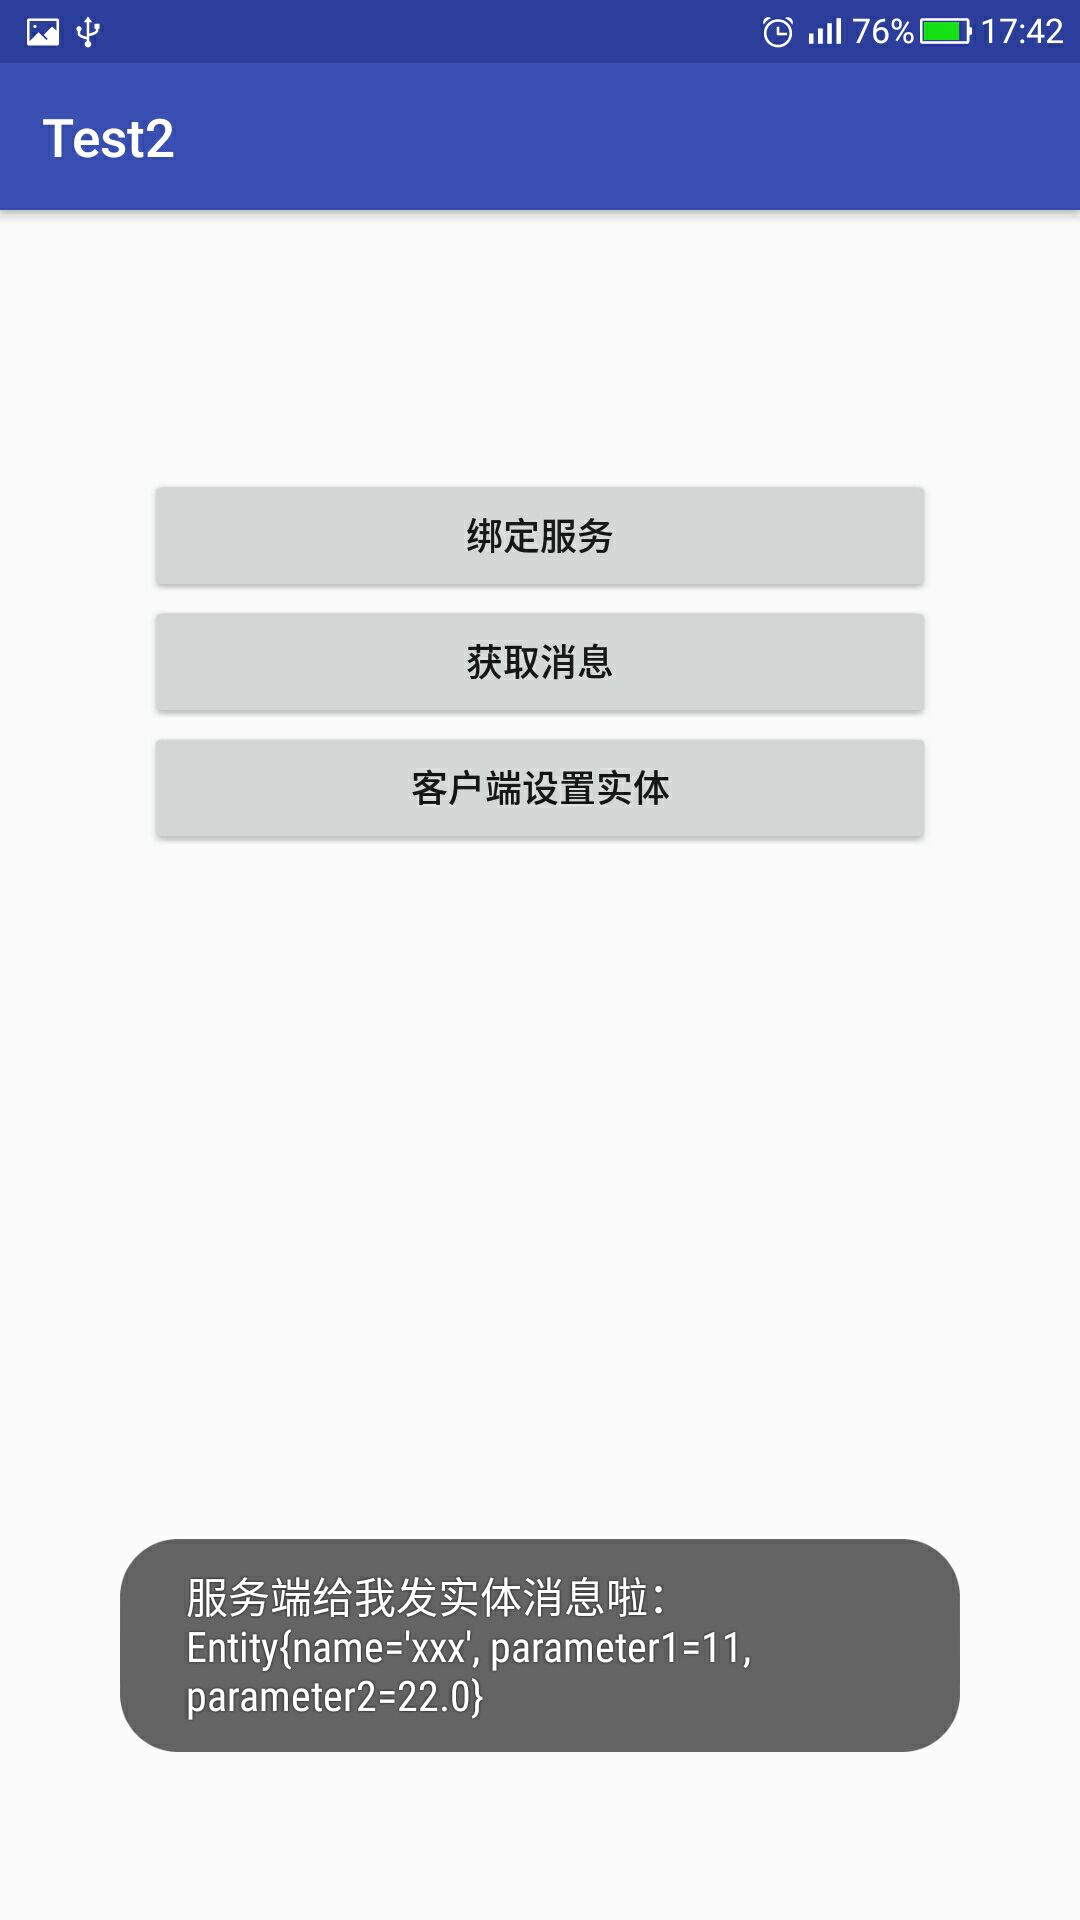
点击了获取消息:直接获取服务端创建好的实体类。
点击了客户端设置实体:通过产生随机数,客户端调用aidl接口设置实体。
如果再次点击获取消息:在服务端进行判断,如果客户端设置过实体,就把该实体发送回客户端。
demo地址:https://github.com/JasonToJan/AIDLDemo
个人小结
1.首先要理解aidl是干什么的:进程间交互。不同apk实现通信。
2.为什么可以做到进程间通信了,谁给两个进程之间搭起了一座桥梁呢?AIDL,其实就是一个接口,实现进程之间对接的功能。
3.两个进程要做到通信,aidl一定要保证一致,不然就是牛头不对马嘴了。
4.aidl如何实现数据传输了,binder。所以demo就把binder直接封装起来,基本所有逻辑都在这个封装类中进行即可。
5.再深入底层,binder是如何实现数据传输的呢?这就涉及到操作系统的知识了,binder处于一个内存共享区域,可以实现进程间通信。

 浙公网安备 33010602011771号