logstash处理日志并入库
一.背景
项目初始版本写日志的方法比较传统,直接写入txt中,这种方式对单机系统还比较友好,但要是分布式系统查找日志就比较麻烦了,要汇总各个机器上的日志并分析
二.原始数据格式
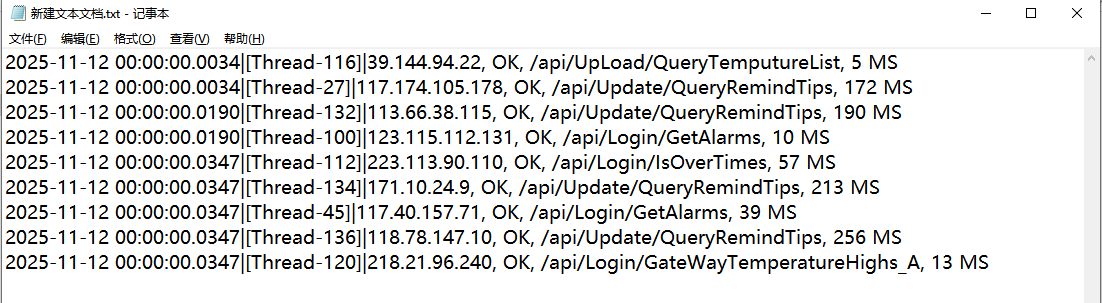
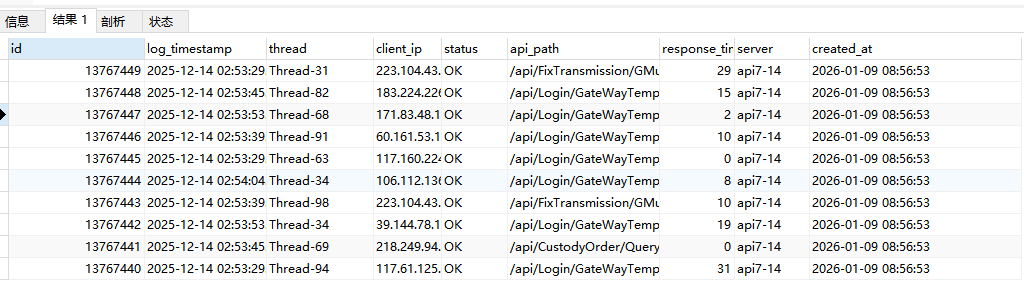
三.入库后的效果
四.logstash处理规则
input {
  file {
    path => "D:/ServerLogs/trace/api*.log"
    start_position => "beginning"
    sincedb_path => "D:/ServerLogs/trace/null"
    type => "api_log"
    stat_interval => "1 second"
    discover_interval => 15
  }
}

filter {
# 从文件路径提取server名称
  mutate {
    add_field => {
      "file_path" => "%{[@metadata][path]}"
    }
  }

  grok {
    match => {
      "file_path" => ".*/(?<server>[^/]+)\.log"
    }
  }

  # 移除行尾的换行符
  mutate {
    gsub => [ "message", "\n", "" ]
  }

  # 解析日志内容
  grok {
    match => {
      "message" => "%{TIMESTAMP_ISO8601:log_timestamp}\|\[%{DATA:thread}\]\|%{IP:client_ip}, %{WORD:status}, %{PATH:api_path}, %{NUMBER:response_time} MS"
    }
    tag_on_failure => ["_grokparsefailure"]
  }

  # 只处理成功解析的日志
  if "_grokparsefailure" not in [tags] {
    # 日期解析
    date {
      match => [ "log_timestamp", "yyyy-MM-dd HH:mm:ss.SSS" ]
      timezone => "Asia/Shanghai"
      target => "@timestamp"
    }

    # 数据类型转换和字段清理
    mutate {
      convert => {
        "response_time" => "integer"
      }
      remove_field => [ "message", "file_path" ]
    }
  }
}

output {
       # 成功解析的日志写入MySQL
    jdbc {
      driver_jar_path => "D:\Tools\mysql-connector-j-9.5.0\mysql-connector-j-9.5.0.jar"
      driver_class => "com.mysql.jdbc.Driver"
      connection_string => "jdbc:mysql://162.16.3.30:3306/localDemo?useSSL=false&serverTimezone=Asia/Shanghai&characterEncoding=utf8"
      username => "root"
      password => "968989"
      statement => [
        "INSERT INTO trace_log_14 (log_timestamp, thread, client_ip, status, api_path, response_time_ms, server, created_at)
         VALUES (?, ?, ?, ?, ?, ?,?,NOW())",
        "log_timestamp",
        "thread",
        "client_ip",
        "status",
        "api_path",
        "response_time",
        "server"
      ]
      max_pool_size => 5
    }
}
五.执行脚本
logstash -f D:\software\logstash-9.2.1\config\tracelog.conf

 浙公网安备 33010602011771号