
linux 安装nginx
1.解压安装包
tar -zxf nginx-1.25.1.tar.gz
2.进入解压后文件夹
cd nginx-1.25.1
3.配置nginx
./configure

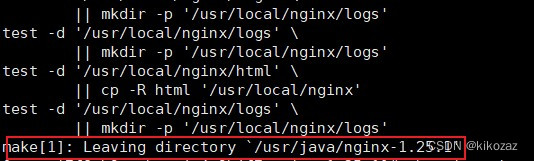
4.编译安装
make&&make install
5.运行nginx
进入目录
 cd /usr/local/nginx/sbin
启动nginx
./nginx
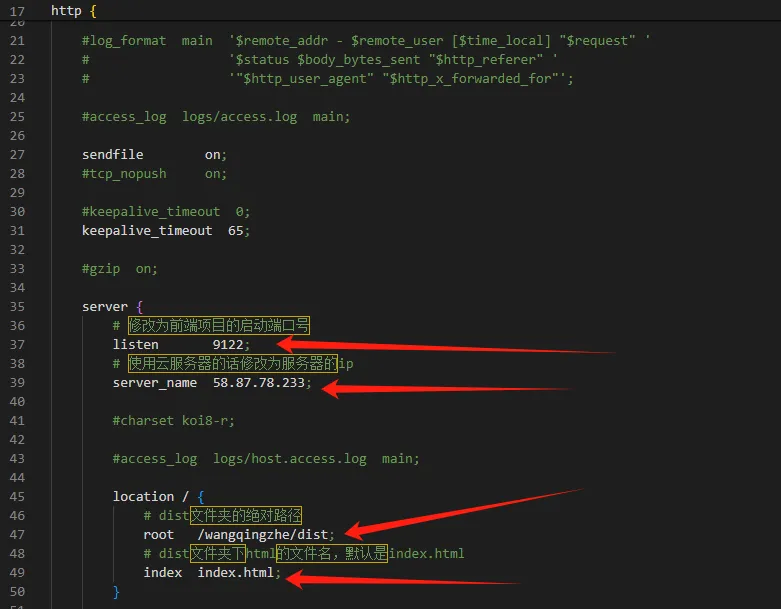
6.配置nginx 配置文件在/usr/local/nginx/conf
7.重启nginx
/usr/local/nginx/sbin/nginx -s reload
8.关闭nginx
# 快速停止nginx
./nginx -s stop
9.查询nginx进程
ps -ef|grep nginx
10.nginx配置文件
worker_processes  1;

events {
    worker_connections  1024;
}

http {
    include       mime.types;
    default_type  application/octet-stream;

    sendfile        on;

    keepalive_timeout  65;

    server {
        listen       80;
        server_name  localhost;

        location / {
            alias   /opt/font/dist/;  # 注意末尾斜杠,与 alias 路径匹配
            try_files $uri $uri/ /index.html;  # 适配前端路由,此处改为 /index.html(因为已在根路径)
            index  index.html index.htm;
        }

        location /manage {  #这个名字要和底下的
            alias /opt/manage/dist_prod/;  # 注意末尾的斜杠
            try_files $uri $uri/ /manage/index.html; #这个名字保持一致,.env配置文件内要是设置了VUE_APP_PUBLIC_PATH=/manage 那么这名字就得等于VUE_APP_PUBLIC_PATH等于的名字
            index index.html index.htm;
        }

        location /front {
            alias   /opt/font/dist;
            try_files $uri $uri/ /front/index.html;
            index  index.html index.htm;
        }

        error_page   500 502 503 504  /50x.html;
        location = /50x.html {
            root   html;
        }
    }
}
11.增加代理
    # 仅转发/backend/路径下的请求(适配ResponseBodyEmitter流式)
        location ^~/backend/  {
            proxy_pass http://127.0.0.1:9999/base/;

            # ========== 修复后:流式核心配置(无无效参数) ==========
            proxy_buffering off;          # 核心:关闭缓冲(这一行就足够禁用缓冲)
            proxy_redirect off;           # 禁用重定向
            chunked_transfer_encoding on; # 启用分块传输(适配流式)
            proxy_http_version 1.1;       # 启用HTTP/1.1(SSE依赖)
            proxy_set_header Connection ""; # 清空Connection头,避免长连接干扰

            # ========== 必备请求头 ==========
            proxy_set_header Host $host;
            proxy_set_header X-Real-IP $remote_addr;
            proxy_set_header X-Forwarded-For $proxy_add_x_forwarded_for;
            proxy_set_header X-Forwarded-Proto $scheme;

            # ========== 透传POST请求体(chatStream是Post接口) ==========
            proxy_pass_request_body on;
            proxy_pass_request_headers on;

            # ========== 优化流式延迟 ==========
            tcp_nodelay on;  # 禁用Nagle算法,降低实时数据延迟
        }

 浙公网安备 33010602011771号