

使用 Fastlane 打包上传到蒲公英
一、Fastlane 简介
Fastlane 是一款为 iOS 和 Android 开发者提供的自动化构建工具,它可以帮助开发者将 App 打包、签名、测试、发布、信息整理、提交 App Store 等工作完整的连接起来,实现完全自动化的工作流,如果使用得当,可以显著的提高开发者的开发效率。
为了将 Fastlane 的自动化工作流与蒲公英结合起来,需要安装蒲公英插件,该插件可以将 Fastlane 打包生成的 App 可以自动上传到蒲公英。
二、使用 Homebrew 安装 Fastlane
如果没有安装,请参考:官方安装指南
执行命令:
brew install fastlane
三、安装蒲公英的 Fastlane 插件
fastlane add_plugin pgyer
四、在 Fastlane 启动蒲公英插件
1、初始化Fastlane
在使用 Fastlane 之前,我们首先需要在项目中初始化 Fastlane。首先进入 App 的开发目录,执行以下命令来初始化 Fastlane:
fastlane init
执行命令之后如下:
✗ fastlane init [✔] 🚀 +------------------------------------------+ | Used plugins | +-----------------------+---------+--------+ | Plugin | Version | Action | +-----------------------+---------+--------+ | fastlane-plugin-pgyer | 0.2.9 | pgyer | +-----------------------+---------+--------+ [✔] Looking for iOS and Android projects in current directory... [14:54:57]: Created new folder './fastlane'. [14:54:57]: Detected an iOS/macOS project in the current directory: 'Cgzl.xcworkspace' [14:54:57]: ----------------------------- [14:54:57]: --- Welcome to fastlane 🚀 --- [14:54:57]: ----------------------------- [14:54:57]: fastlane can help you with all kinds of automation for your mobile app [14:54:57]: We recommend automating one task first, and then gradually automating more over time [14:54:57]: What would you like to use fastlane for? 1. 📸 Automate screenshots 2. 👩✈️ Automate beta distribution to TestFlight 3. 🚀 Automate App Store distribution 4. 🛠 Manual setup - manually setup your project to automate your tasks ? 4 [14:57:18]: ------------------------------------------------------------ [14:57:18]: --- Setting up fastlane so you can manually configure it --- [14:57:18]: ------------------------------------------------------------ [14:57:18]: Installing dependencies for you... [14:57:18]: $ bundle update [14:57:23]: -------------------------------------------------------- [14:57:23]: --- ✅ Successfully generated fastlane configuration --- [14:57:23]: -------------------------------------------------------- [14:57:23]: Generated Fastfile at path `./fastlane/Fastfile` [14:57:23]: Generated Appfile at path `./fastlane/Appfile` [14:57:23]: Gemfile and Gemfile.lock at path `Gemfile` [14:57:23]: Please check the newly generated configuration files into git along with your project [14:57:23]: This way everyone in your team can benefit from your fastlane setup [14:57:23]: Continue by pressing Enter ⏎
你想用快车道做什么?
- 📸自动截屏
- 👩✈️自动测试分发TestFlight
- 🚀自动化应用商店分销
- 🛠手动设置-手动设置您的项目自动化您的任务
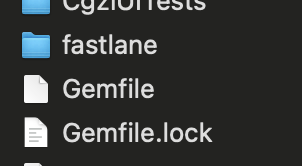
这边选择 4, 随后一致按enter,成功之后项目里多了这三个文件:
2、编辑Fastfile
执行上述命令后,Fastlane 会自动在 App 目录中生成 fastlane 目录,其中就会有 Fastlane 的配置文件 fastlane/Fastfile,这里,我们用 vim 打开:
vim ./fastlane/Fastfile
然后,我们找到我们在用的工作流(action),在 build_app 指令后,加入蒲公英插件的配置信息。例如:
lane :beta do
  build_app(export_method: "ad-hoc")
  pgyer(api_key: "7f15xxxxxxxxxxxxxxxxxx141", update_description: "update by fastlane")

end
3、打包并自动上传 App 到蒲公英
经过以上配置后,就可以使用 Fastlane 来打包 App,并自动上传到蒲公英了。在终端下,定位到项目所在目录,输入以下命令即可:
fastlane beta
在成功的情况下,可以看到类似下面的信息:
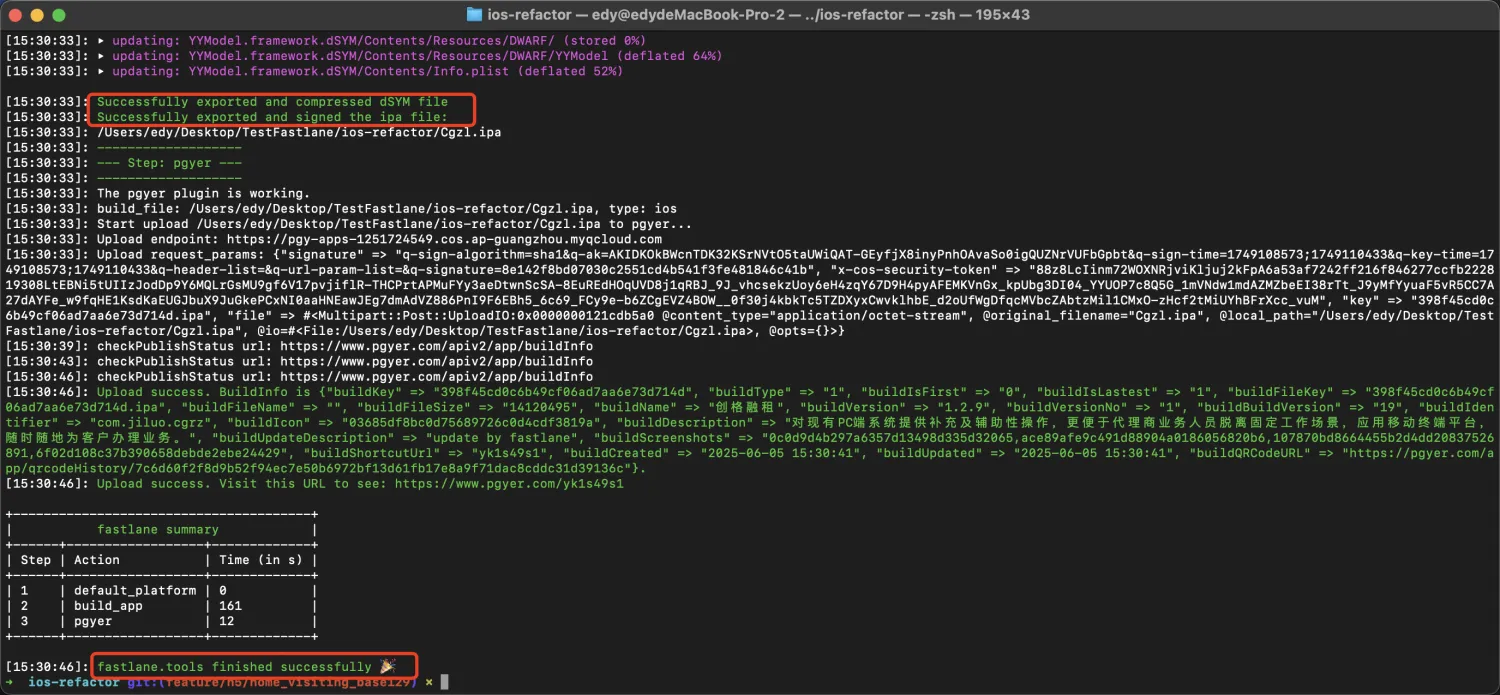
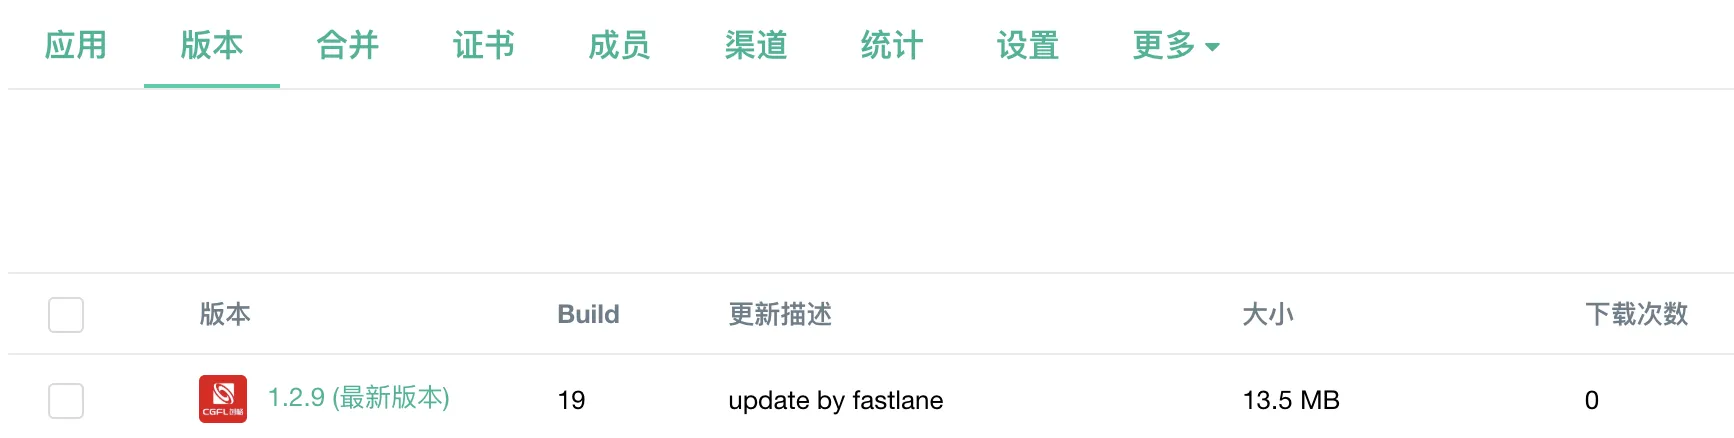
进入蒲公英可看到
注意事项:
1、蒲公英api_key获取
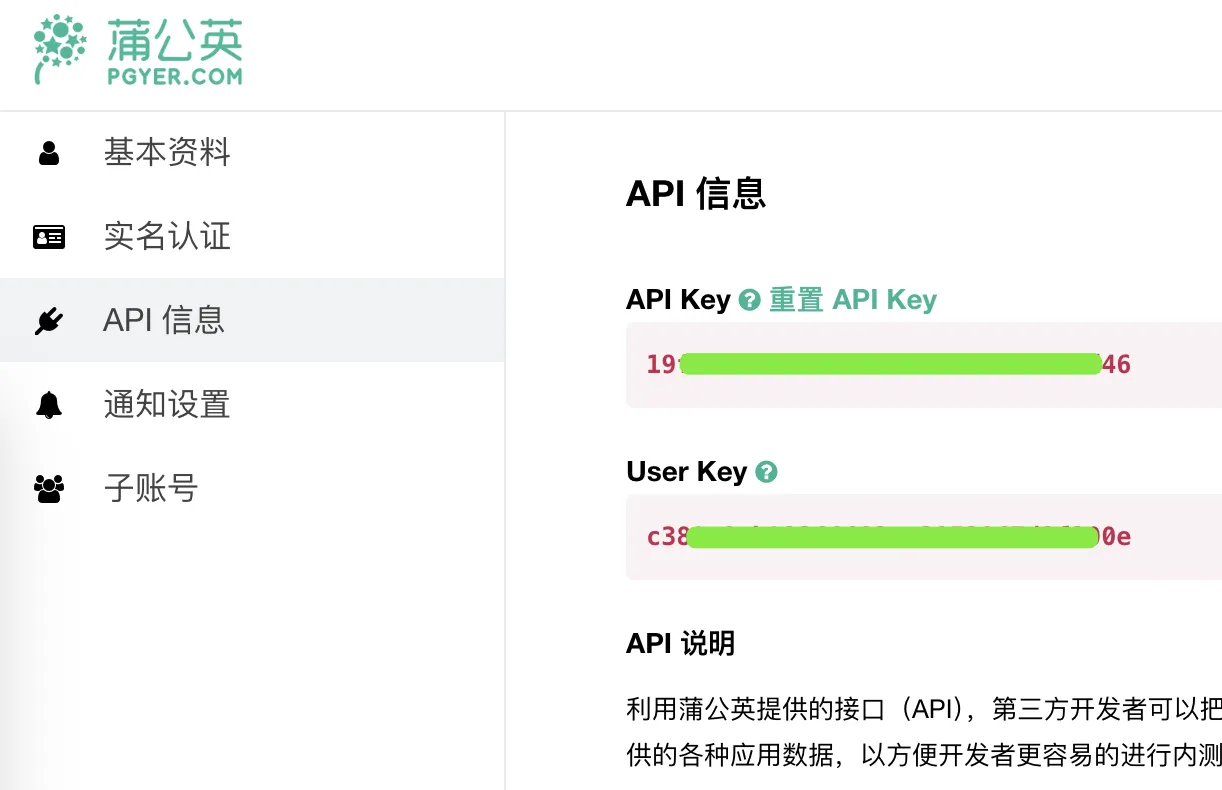
参考:

 浙公网安备 33010602011771号