在Windows上使用VSCode远程链接到Linux上开发调试C++程序
在Windows上使用VSCode远程链接到Linux上开发并调试C++程序
开发环境配置成功,记个流水账
Linux安装相应工具
apt install -y gcc make gdb
请配置好Linux端的SSH功能
给VSCode安装Remote Development扩展
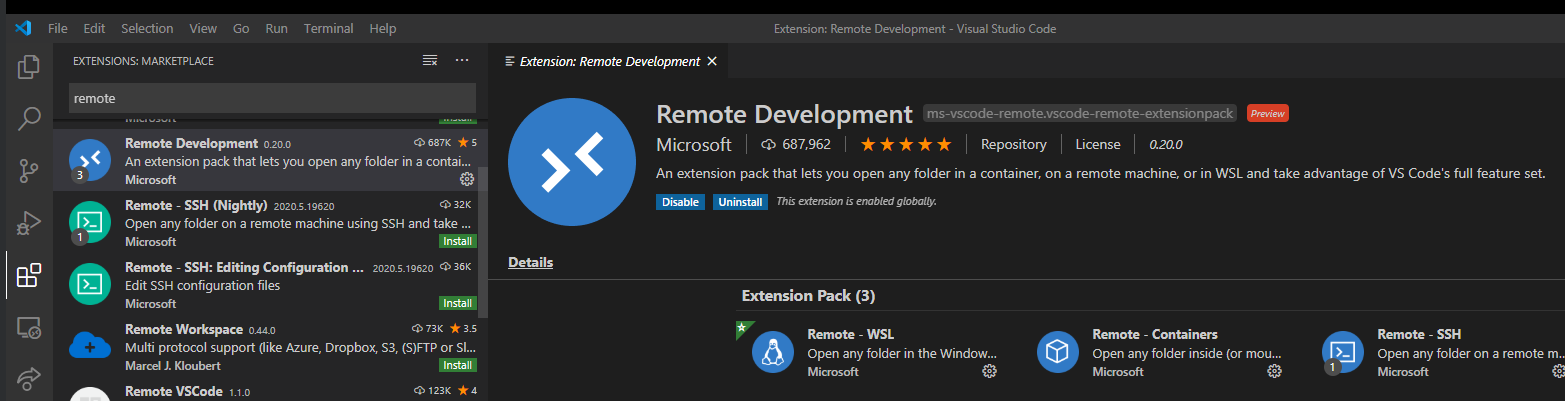
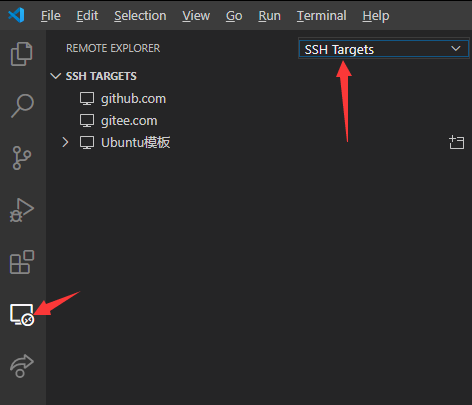
安装后可以看到一个新图标,点击后选中SSH Targets
添加链接方式
编辑这个文件,如果没有就新建:
C:/Users/用户名/.ssh/config
以下内容添加到末尾后编辑下:
Host 设备名称(不影响连接)
  HostName Linux的地址(域名或ip)
  Port 端口
  PreferredAuthentications 验证方式(password或publickey)
  User 用户名
  IdentityFile 私钥文件全路径,如果上面选择了publickey,需要用这个指出私钥文件的全路径
例子:
Host 新设备
  HostName 10.0.1.45
  PreferredAuthentications password
  Port 142
  User root
编辑完之后保存即可看到VSCode显示了新添加的链接方式:

链接
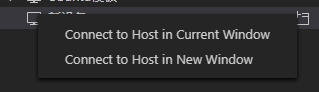
右键点击链接方式,选则一种打开方法(在当前VSCode打开或新开一个VSCode打开):
不管你上面选择哪个,后续都会让你选择系统类型,如果你是以密码方式验证,还会让你输入密码:

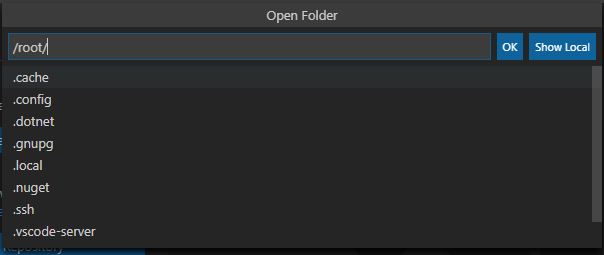
链接成功,接着打开个目录试试:

会列出Linux的文件系统,让你选择工作目录,选好后点击旁边的OK即可:
如果使用密码验证,此处有可能会让你再输入一次密码.后面很多步骤也有可能反复验证,如果可以尽可能使用证书验证,会流畅很多.
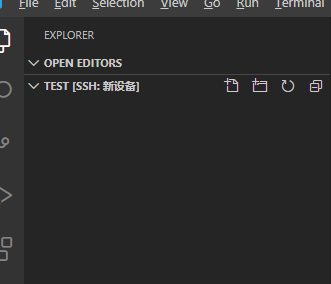
打开成功.可以看到目录里面什么都没有,下一步创建工程:
创建工程
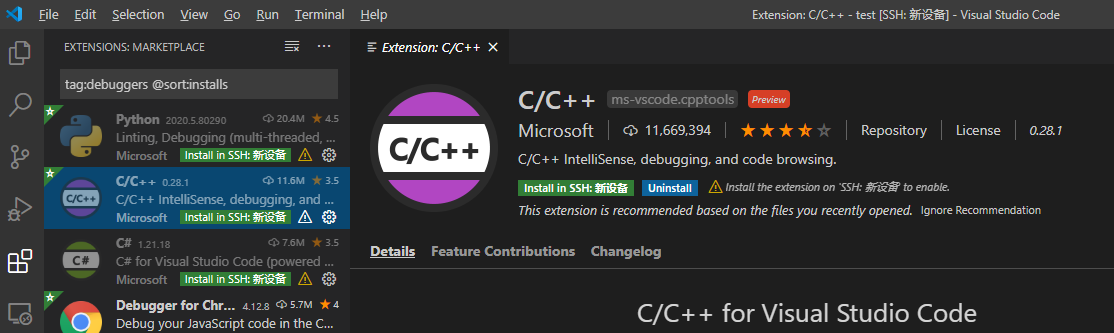
给Linux端安装VSCode扩展
注意,这些扩展必须安装到Linux端,VSCode需要链接上去再安装!
新建文件main.c:
#include<stdio.h>

void main()
{
	int a=0;
	a++;
	a+=2;
	a-=3;
	printf("a=%d\n",a);
	return;
}
新建文件Makefile:
# C compiler options
CC	= gcc
#CFLAGS	= -g -O2
RELEASE	= release.elf
DEBUG	= debug.elf
LIBS =
INC	=

# Source files
SRCS = main.c

# Make everything
all:	$(RELEASE) $(DEBUG)

# Make the application
$(RELEASE): $(OBJS)
	$(CC) -o $(RELEASE) $(SRCS) $(LIBS)

$(DEBUG): $(OBJS)
	$(CC) -o $(DEBUG) $(SRCS) $(LIBS) -ggdb3

#
# Clean all object files...
#
clean:
	$(RM) $(DEBUG) $(RELEASE)
新建文件.vscode/tasks.json:
{
	"version": "2.0.0",
	"tasks": [
			{
					"label": "make",
					"command": "make",
					"type": "process",
					"args": [],
					"problemMatcher": "$msCompile"
			}
	]
}
新建文件.vscode/launch.json:
{
	// Use IntelliSense to learn about possible attributes.
	// Hover to view descriptions of existing attributes.
	// For more information, visit: https://go.microsoft.com/fwlink/?linkid=830387
	"version": "0.2.0",
	"configurations": [
		{
			"name": "(gdb) Launch",
			"type": "cppdbg",
			"request": "launch",
			"program": "${workspaceFolder}/debug.elf",
			"args": [],
			"stopAtEntry": false,
			"cwd": "${workspaceFolder}",
			"environment": [],
			"externalConsole": false,
			"MIMode": "gdb",
			"logging": {
				"moduleLoad": true,
				"engineLogging": true,
				"trace": true
			},
			"setupCommands": [
				{
					"description": "Enable pretty-printing for gdb",
					"text": "-enable-pretty-printing",
					"ignoreFailures": true
				}
			],
			"preLaunchTask": "make",
			"miDebuggerPath": "/usr/bin/gdb"
		}
	]
}
开始调试
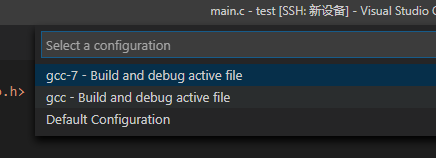
按F5,选择工程类型:

选择gcc版本:
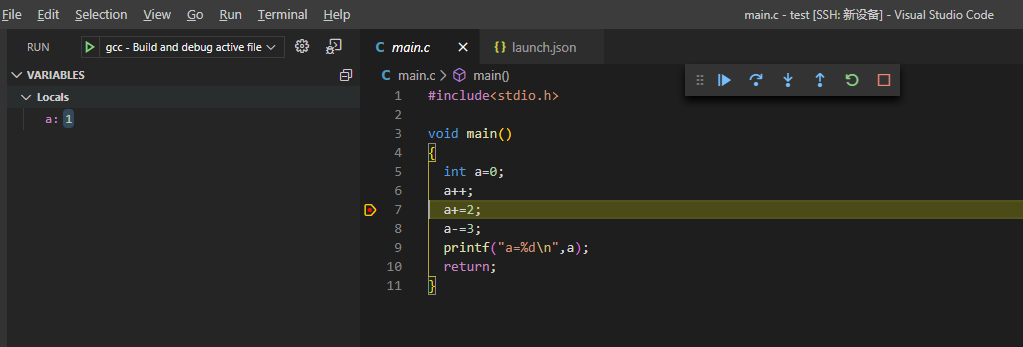
可以看到VSCode成功进入调试模式,左边还能显示所有变量的值:
"随笔"类型下的内容为原创,转载请注明来源. http://www.cnblogs.com/DragonStart/

 浙公网安备 33010602011771号