
在Docker容器里安装webshpere
<!--前提:已经安装好了docker,能够正常使用。-->
(1)docker安装websphere(需要账号和密码登录,不挂载数据卷)
- 获取镜像: docker pull ibmcom/websphere-traditional:8.5.5.12-profile
docker pull  #是将镜像拉取下来的命令,后面跟的是镜像名以及镜像版本信息
ibmcom/websphere-traditional   #websphere的镜像名
8.5.5.12-profile #镜像的版本,也就是websphere的版本 - 使用镜像生成容器并且启动容器:
docker run --name websphere \-h websphere \-e UPDATE_HOSTNAME=true \-p 9043:9043 \-p 9443:9443 \--restart=always \-d ibmcom/websphere-traditional:8.5.5.12-profiledocker run #启动容器的命令,后面跟各种参数 + 容器镜像信息
--name websphere #指定启动的容器名为 websphere
-e UPDATE_HOSTNAME=true #访问websphere的ip不是localhost时需要此参数
-p 9043:9043 #指定访问端口号
-d ibmcom/websphere-traditional:8.5.5.12-profile #后台运行该镜像生成的容器 - 查看生成登录的密码: docker exec websphere cat /tmp/PASSWORD
docker exec   #进入容器内部,访问容器
websphere #指定的容器名
cat /tmp/PASSWORD #输出容器内 /tmp/PASSWORD 文件中的内容 ,这条命令输出的内容就是用于登录的密码。 - 通过浏览器访问websphere: https://172.150.13.40:9043/ibm/console/login.do?action=secure
172.150.13.40    #当前虚拟机的ip地址(每个人的都不一样)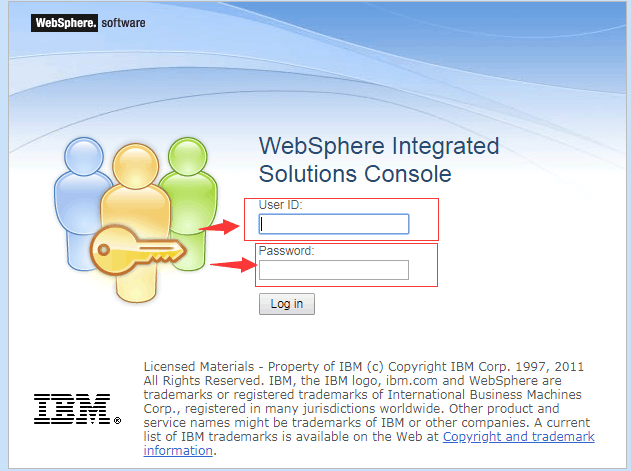
9043 #设定访问websphere的端口号 - 前面的步骤没出错,会进入如下登录页面
![]()
-
登录的账号和密码(登录的账号都是一样的,都是 wsadmin)
账号 :    wsadmin
密码 :    1+aIMDow  (就是前面使用 docker exec websphere cat /tmp/PASSWORD 命令输出的内容,每个人的都不一样)
登录成功后,进入websphere主页面。
如果忘记了websphere的密码,可以使用docker exec websphere cat /tmp/PASSWORD 命令来查看登录该容器的密码,账号都统一为 wsadmin。 (websphere为容器名)
如果容器启动不正常,可以使用 docker logs -f websphere 命令来查看容器启动的日志信息,确定错误原因。(websphere为容器名)
注意:websphere启动需要的时间会比较长,所以需要参考日志的输出来判断容器是否已经启动,不能立马访问,立马访问是不会有结果的。
(2)docker安装websphere(无需账号和密码登录,并且挂载数据卷到linux主机,映射到容器使用)
- 获取镜像: docker pull ibmcom/websphere-traditional:8.5.5.12-profile
docker pull  #是将镜像拉取下来的命令,后面跟的是镜像名以及镜像版本信息
ibmcom/websphere-traditional   #websphere的镜像名
8.5.5.12-profile #镜像的版本,也就是websphere的版本 - 使用镜像生成容器并且启动容器:
docker run --name websphere \-h websphere \-e UPDATE_HOSTNAME=true \-p 9043:9043 \-p 9443:9443 \--restart=always \-d ibmcom/websphere-traditional:8.5.5.12-profiledocker run #启动容器的命令,后面跟各种参数 + 容器镜像信息
--name websphere   #指定启动的容器名为 websphere
-e UPDATE_HOSTNAME=true    #访问websphere的ip不是localhost时需要此参数
-p 9043:9043     #指定访问端口号
-d ibmcom/websphere-traditional:8.5.5.12-profile   #后台运行该镜像生成的容器
3.使用docker cp命令,将容器内的../DefaultCell01目录复制到linux主机上,用于映射。
docker cp 8890fds8765f:/opt/IBM/WebSphere/AppServer/profiles/AppSrv01/config/cells/DefaultCell01 /root/docker/websphere/data
将websphere容器中的 DefaultCell01目录复制到 linux主机 /root/docker/websphere/data目录下。
注意:这里对目录权限是有限制的,要将f复制到 linux主机 /root/docker/websphere/data目录下的DefaultCell01目录的UID改为与容器中的DefaultCell01目录权限UID相同。
使用命令 : ls -l # 查看目录所属者
使用命令: id 用户名 #查看用户的详细信息,比如 uid gid 等等
3.1 先进入websphere容器,查看DefaultCell01目录的所属者的uid。命令如下:
docker exec -it websphere bash #进入容器
cd /opt/IBM/WebSphere/AppServer/profiles/AppSrv01/config/cells/DefaultCell01 #进入容器内的DefaultCell01目录
ls -l #查看DefaultCell01目录下的所有文件的详细信息,会得知所属用户为 was
id was #查看用户was的详细信息,会得知was的uid为1000
exit #退出容器,回到linux页面
3.2 进入linux的DefaultCell01目录下,更改用户的uid为1000
cd /root/docker/websphere/data #进入接收复制内容DefaultCell01文件的上一层目录
chown -R 1000:1000 DefaultCell01 #使用递归将DefaultCell01文件夹下的所有文件以及子文件的所属者的uid都更改为1000
cd DefaultCell01 #再进入DefaultCell01目录
chown -R 1000:1000 nodes #使用递归将nodes文件夹下的所有文件以及子文件的所属者的uid都更改为1000
4.停止启动的websphere容器,使用如下命令:
docker stop websphere
5.删除停止的websphere容器,使用如下命令:
docker rm websphere
6.再次启动容器,这时候需要添加-v参数来映射数据卷
docker run --name websphere-admin \
-p 9043:9043 \
-p 9443:9443 \
-h websphere-admin \
-e UPDATE_HOSTNAME=true \
-v /root/docker/websphere/data/DefaultCell01:/opt/IBM/WebSphere/AppServer/profiles/AppSrv01/config/cells/DefaultCell01 \
--restart=always \
-d ibmcom/websphere-traditional:8.5.5.12-profile
注: 使用数据卷挂载目录时, -v /本机上的目录:/容器内容的目录
例如: -v /root/docker/webpshere/data/DefaultCell01:/opt/IBM/WebSphere/DefaultCell01
意思是将本机的 /root/docker/webpshere/DefaultCell01文件中的内容挂载到容器内/opt/IBM/WebSphere/DefaultCell01目录下,如果指定的本机目录为空,则容器内指定的目录也会为空,所以需要向拷贝一份数据到本机指定被挂载的目录下。
也可以理解为将本机指定目录下的内容映射到容器内,供容器使用。
7.将linux主机上 /root/docker/webpshere/data/DefaultCell01目录下的security.xml文件中的第二行,enabled的值设置为false.
用户访问websphere时就不用再输入密码了。
使用 docker restart websphere 命令 ,重新启动websphere。
直接使用链接: https://172.150.12.32:9043/admin ,随便输入一个用户名便可以访问。
不需要密码访问的第二种方式,可以在用户使用账户和密码登录websphere以后,
选择 Security --> Global Sercurity 将 Administrative security取消选中,然后再重启websphere就可以了。
依旧使用 https://172.150.12.32:9043/admin 访问。
 posted on

 浙公网安备 33010602011771号