
SpringBoot使用thymeleaf
1.导入依赖
 <!-- 添加thymeleaf模版的依赖 -->
     <dependency>
            <groupId>org.springframework.boot</groupId>
            <artifactId>spring-boot-starter-thymeleaf</artifactId>
   </dependency>
2.application.yml文件中新增thymeleaf配置
###配置thymeleaf
spring:
  thymeleaf:
    cache: false
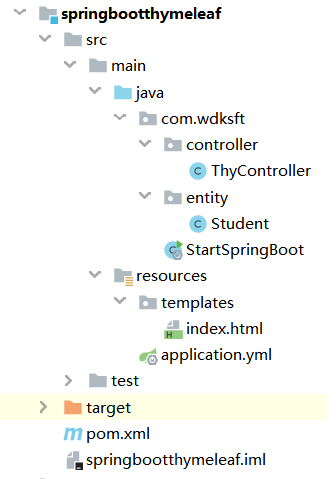
3.创建实体类
public class Student {
    private Integer stu_id;
    private String stu_name;

    public Integer getStu_id() {
        return stu_id;
    }

    public void setStu_id(Integer stu_id) {
        this.stu_id = stu_id;
    }

    public Student(Integer stu_id, String stu_name) {
        this.stu_id = stu_id;
        this.stu_name = stu_name;
    }

    public String getStu_name() {
        return stu_name;
    }

    public void setStu_name(String stu_name) {
        this.stu_name = stu_name;
    }
}
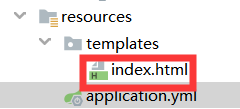
4.在src/main/resource文件夹下创建templates文件夹
并创建一个index.html以备后续使用
5.创建一个ThyController类
@Controller
@RequestMapping("/thyController")
public class ThyController {
    @RequestMapping("/thymeleaf")
    public String thymeleaf(Model model){
        List<Student> list=new ArrayList<>();
        Student stu1=new Student(1,"张三");
        Student stu2=new Student(2,"李四");
        Student stu3=new Student(3,"王五");

        list.add(stu1);
        list.add(stu2);
        list.add(stu3);

        model.addAttribute("stuList",list);
        return "index";
    }
}
6.hello.html页面
<!DOCTYPE html>
<html lang="en" xmlns:th="http://www.w3.org/1999/xhtml">
<head>
    <meta charset="UTF-8"/>
    <title>ss</title>
</head>
<body>
<ul th:each="stu:${stuList}">
    <li><span th:text="${stu.stu_id}"></span><span th:text="${stu.stu_name}"></span></li>
</ul>
</body>
</html>
7. 浏览器测试

