注意:这种方法只能在网页适用,如果是小程序或者app,可能无效。
需求:在请求封装里 根据请求返回的状态 提示不同的弹窗
这样所有操作请求都会有提示 如果不需要提示的 可以在api接口地址进行配置 ,很好的和用户交互 并且可以任意调用
第一步创建文件路径如下结构(下面创建两个文件都放这里)

第二步 创建组件index.vue
注意:这里使用到uview-ui组件里的u-toast(消息提示)组件为例进行了二次封装
<template>
    <view>
        <u-toast ref="uToast" />
    </view>
</template>

<script>
    export default {
        props: {
            title: { //显示的文本
              type: String,
              default: '消息'
            },
            type: {
            // 主题类型,不填默认为
            // default-灰黑色 ,error-红色 代表错误 ,primary-蓝色 uView的主色调
            // success-绿色 代表成功 ,
            // warning-黄色 代表警告 ,info-灰色 比default浅一点
              type: String,
              default: 'success'
            },
            duration:{ //toast的持续时间,单位ms
                type:Number,
                default: 2000
            },
            position:{ //toast出现的位置
                type: String,
                default:"center"
            },
            back:{ // toast结束后,是否返回上一页,优先级低于url参数
                type:Boolean,
                default:false
            },
            icon:{ // 是否显示显示type对应的图标,为false不显示图标
                type:Boolean,
                default:true
            },
            callback:Function ,//回调函数
            url:String// 弹窗时间结束后跳转到指定页面
        },
        created() {
            let that = this
            this.$nextTick(() => {
                this.$refs.uToast.show({
                    title: that.title,
                    type: that.type,
                    duration: that.duration,
                    back:that.back,
                    position:that.position,
                    icon:that.icon,
                    url:that.url,
                    callback:that.callback
                })
                // x秒后删除dom节点
                setTimeout(() => {
            if(document.body){
            that.$destroy();
                    document.body.removeChild(that.$el);
            }

                }, that.duration);
            })
        }
    }
</script>

<style scoped>

</style>
第三步 创建index.js
import fullNameVue from './index.vue'

const FullToast = {};

FullToast.install = function (Vue, option) {
  const FullNameInstance = Vue.extend(fullNameVue);
  let name;
  const initInstance = () => {
    name = new FullNameInstance();
    let nameSpan = name.$mount().$el;
    document.body.appendChild(nameSpan);
  }
  Vue.prototype.$uToast = {
    showToast(option){
      initInstance();
      if(typeof option === 'string'){
        name.firstName = option;
      }else if(typeof option === 'object'){
        Object.assign(name, option);
      }
      return initInstance;
    }
  };
}

export default FullToast;
第四步 在main.js 进行注册
import uToast from './components/uToast/index'
Vue.use(uToast);
第五步 完成后访问方式
1.普通页面访问

2.js文件中访问调用(这里是小马哥在uni-app的请求进行二次封装js里调用)
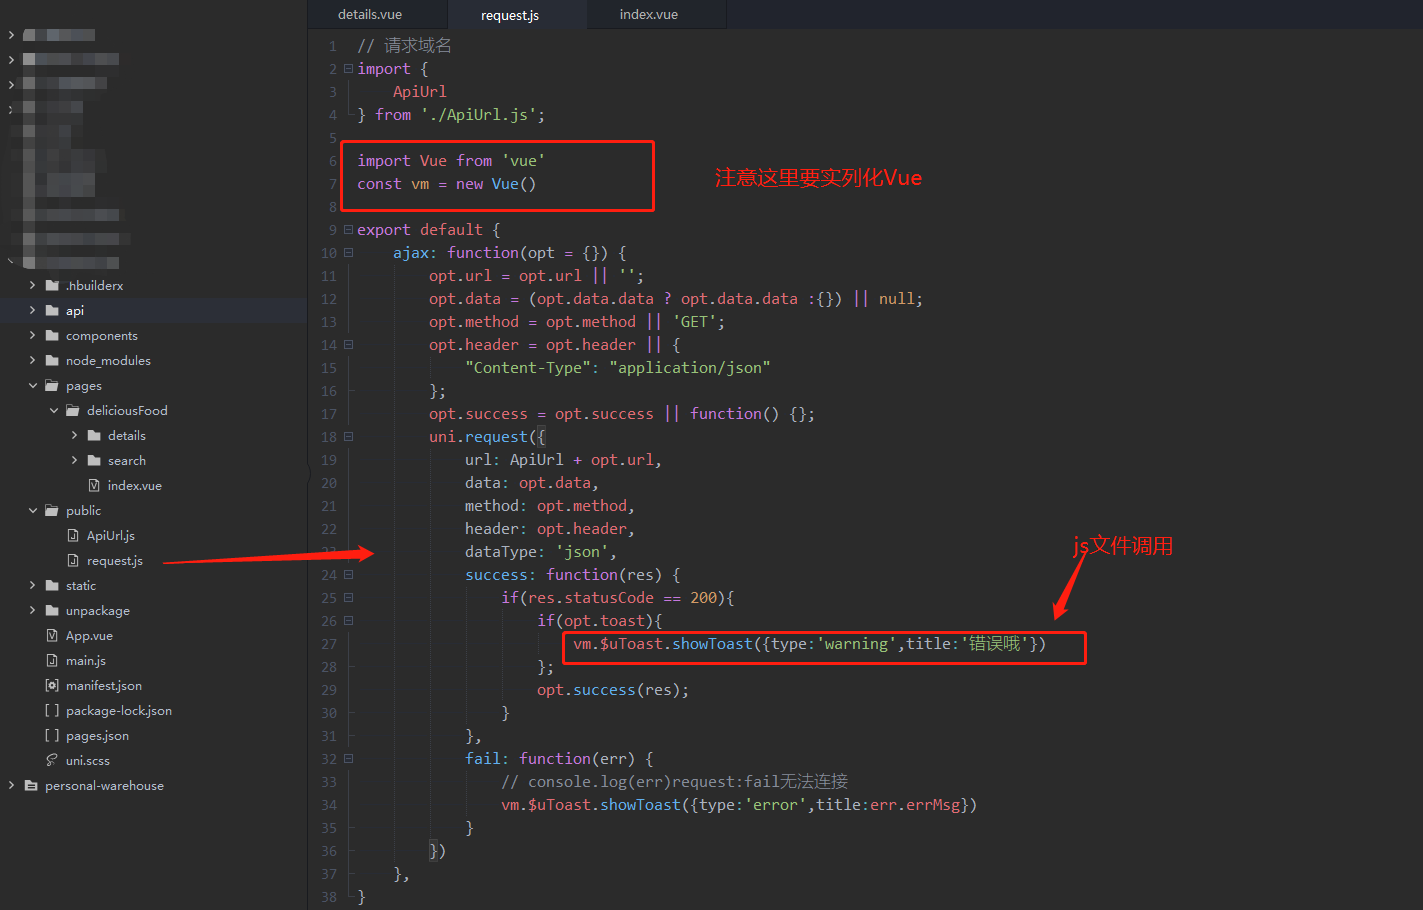
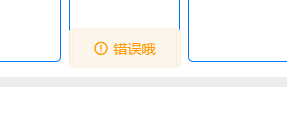
最后调用的效果图
我是马丁的车夫,欢迎转发收藏!

 浙公网安备 33010602011771号