
Html引入百度富文本编辑器ueditor
在日常工作用,肯定有用到富文本编辑器的时候,富文本编辑器功能强大使用方便,我用的是百度富文本编辑器,首先需要下载好百度编辑器的demo,
然后创建ueditor.html文件,引入百度编辑器,然后在html文件内引入,然后再用js实例化编辑器即可,代码如下:
<!DOCTYPE html>
<html>
<head>
<title>百度编辑器</title>
</head>
<body>
    <script type="text/javascript" charset="utf-8" src="ueditor/ueditor.config.js"></script>
    <script type="text/javascript" charset="utf-8" src="ueditor/ueditor.all.min.js"></script>
    <script type="text/javascript" charset="utf-8" src="ueditor/lang/zh-cn/zh-cn.js"></script>
    <script id="editor" type="text/plain" name="gdesc" style="width:100%;height:350px;"></script>
    <script type="text/javascript">
        //实例化编辑器
        var ue = UE.getEditor('editor', {});
    </script>
</body>
</html>
到这里在浏览器打开上面的ueditor.html文件就能看到如下图所示:
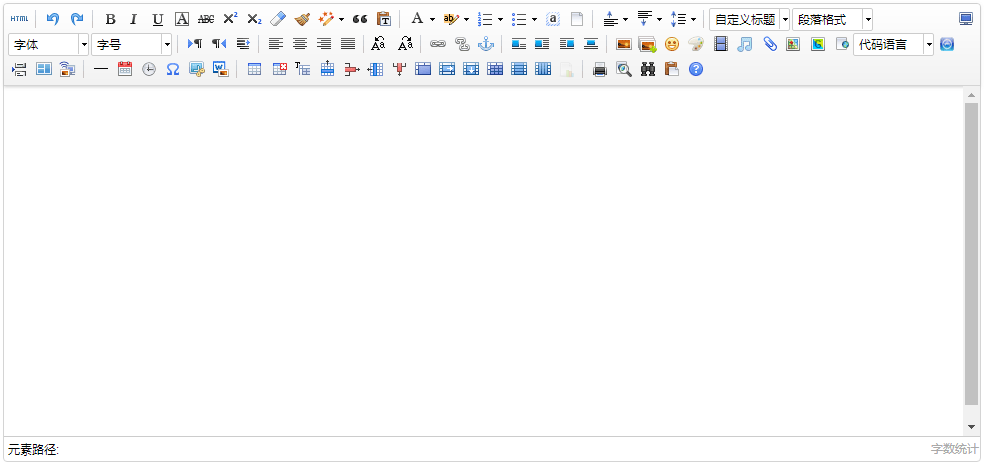
这是实例化后的初始编辑器,里面的功能有很多,其中有一部分可能是我们完全用不到的,想定制怎么办呢?别捉急,百度提供了可以定制的功能,将上面实例化编辑器的js代码改为以下代码:
    <script type="text/javascript">
        //实例化编辑器
        var ue = UE.getEditor('editor', {
        toolbars: [
            [
                'undo', //撤销
                'bold', //加粗
                'underline', //下划线
                'preview', //预览
                'horizontal', //分隔线
                'inserttitle', //插入标题
                'cleardoc', //清空文档
                'fontfamily', //字体
                'fontsize', //字号
                'paragraph', //段落格式
                'simpleupload', //单图上传
                'insertimage', //多图上传
                'attachment', //附件
                'music', //音乐
                'inserttable', //插入表格
                'emotion', //表情
                'insertvideo', //视频
                'justifyleft', //居左对齐
                'justifyright', //居右对齐
                'justifycenter', //居中对
                'justifyjustify', //两端对齐
                'forecolor', //字体颜色
                'fullscreen', //全屏
                'edittip ', //编辑提示
                'customstyle', //自定义标题
                'template', //模板
                 ]
            ]
        });
    </script>
刷新ueditor.html页面你就会看到变化了:
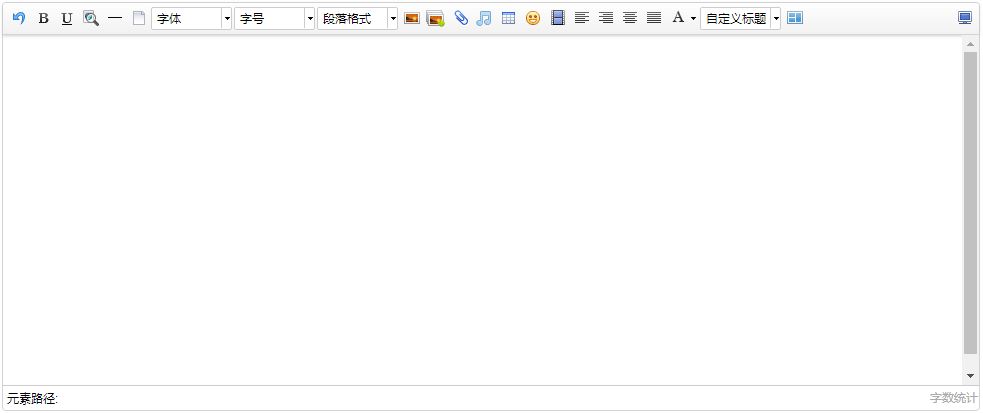
想定制什么功能,只需要参照上面下载的编辑器demo内的ueditor.config.js文件中toolbars属性,将对应的字符串添加进去即可:
        //工具栏上的所有的功能按钮和下拉框,可以在new编辑器的实例时选择自己需要的重新定义
        , toolbars: [[
            'fullscreen', 'source', '|', 'undo', 'redo', '|',
            'bold', 'italic', 'underline', 'fontborder', 'strikethrough', 'superscript', 'subscript', 'removeformat', 'formatmatch', 'autotypeset', 'blockquote', 'pasteplain', '|', 'forecolor', 'backcolor', 'insertorderedlist', 'insertunorderedlist', 'selectall', 'cleardoc', '|',
            'rowspacingtop', 'rowspacingbottom', 'lineheight', '|',
            'customstyle', 'paragraph', 'fontfamily', 'fontsize', '|',
            'directionalityltr', 'directionalityrtl', 'indent', '|',
            'justifyleft', 'justifycenter', 'justifyright', 'justifyjustify', '|', 'touppercase', 'tolowercase', '|',
            'link', 'unlink', 'anchor', '|', 'imagenone', 'imageleft', 'imageright', 'imagecenter', '|',
            'simpleupload', 'insertimage', 'emotion', 'scrawl', 'insertvideo', 'music', 'attachment', 'map', 'gmap', 'insertframe', 'insertcode', 'webapp', 'pagebreak', 'template', 'background', '|',
            'horizontal', 'date', 'time', 'spechars', 'snapscreen', 'wordimage', '|',
            'inserttable', 'deletetable', 'insertparagraphbeforetable', 'insertrow', 'deleterow', 'insertcol', 'deletecol', 'mergecells', 'mergeright', 'mergedown', 'splittocells', 'splittorows', 'splittocols', 'charts', '|',
            'print', 'preview', 'searchreplace', 'drafts', 'help'
        ]]
ueditor.config.js文件可以定制编辑器的很多功能,只需要将对应属性前面的'//'去掉,true为开启,false为关闭进行设置即可.比如:
        //elementPathEnabled
        //是否启用元素路径,默认是显示
        ,elementPathEnabled : false

        //wordCount
        ,wordCount:false          //是否开启字数统计
        //,maximumWords:10000       //允许的最大字符数
// 是否自动长高,默认true,autoHeightEnabled:false
按照上面代码修改完ueditor.config.js文件,刷新页面你会看到不一样的地方:

下面的元素路径和字数统计都消失了,是不是更加美观了呢O(∩_∩)O~
实际应用时我们还有可能在一个域名下上传百度编辑器编辑的内容(例如:在www.52lnamp.com域名下上传了一张图片),而需求不单单是要在这域名下展示,还需要可以在其它域名下展示,这时就会出现图片不存在的情况,
这是因为百度编辑器的配置文件中默认的上传路径是相对路径,也就是说上面上传的图片的地址是相对于当前的域名进行上传的,只有在你上传的域名下可以展示,其它域名是显示不出来的,
如果要在另外一个域名上展示的话只需要修改配置文件为绝对路径就可以了,打开上面下载的demo,找到php/config.json文件,打开后你会看到

其中imageUrlPrefix这个属性加上域名即可:"imageUrlPrefix": "http://www.xxx.com", /* 图片访问路径前缀 */
需要注意的是添加域名的时候必须带上http or https,只有这样写出来的才能正常显示,不加的话在你引用的时候会在前面重复加上一个域名,基本了解了这些足以应对日常的需求,有其它另类的需求可以参考百度编辑器文档,也欢迎补充互学.

 浙公网安备 33010602011771号