
2018-2019-2-20175332-实验四《Android程序设计》实验报告
一、Android Stuidio的安装测试
- 题目要求:
- 参考 http://www.cnblogs.com/rocedu/p/6371315.html#SECANDROID ,安装 Android Stuidio
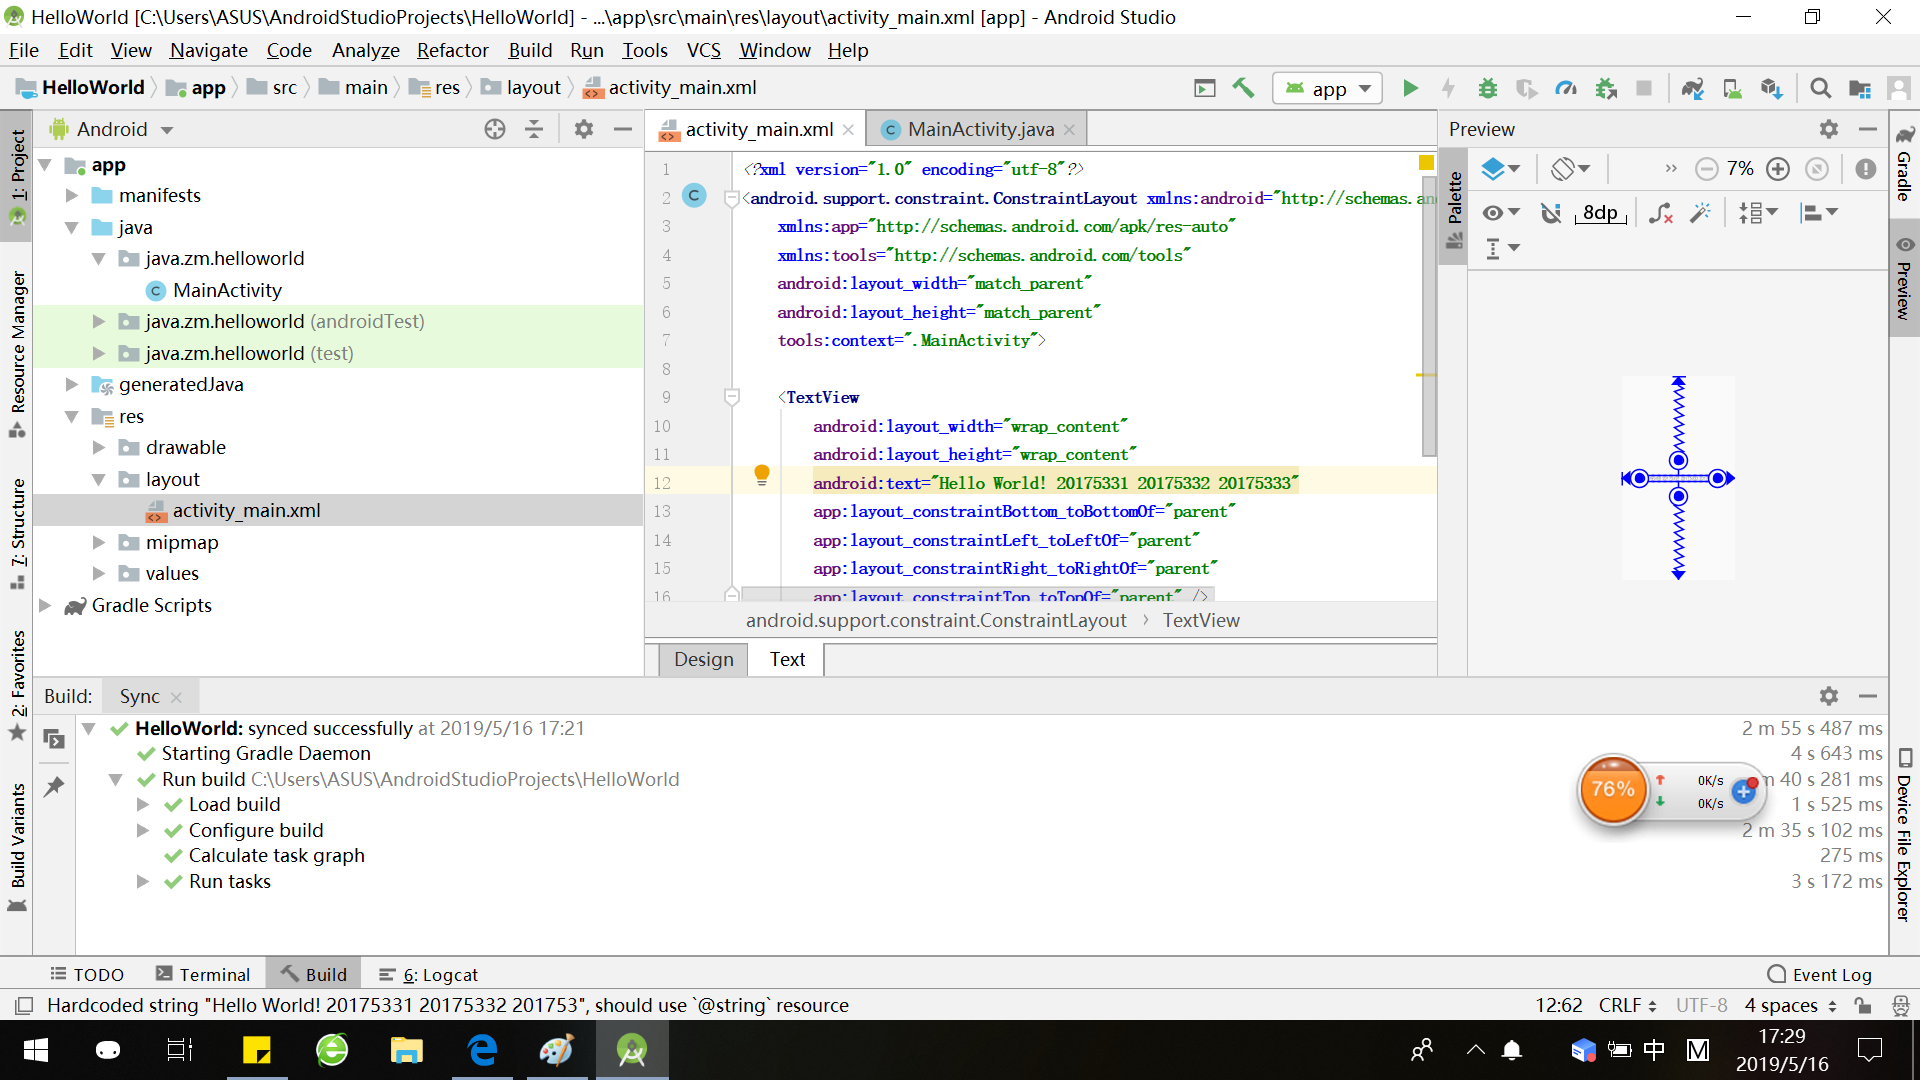
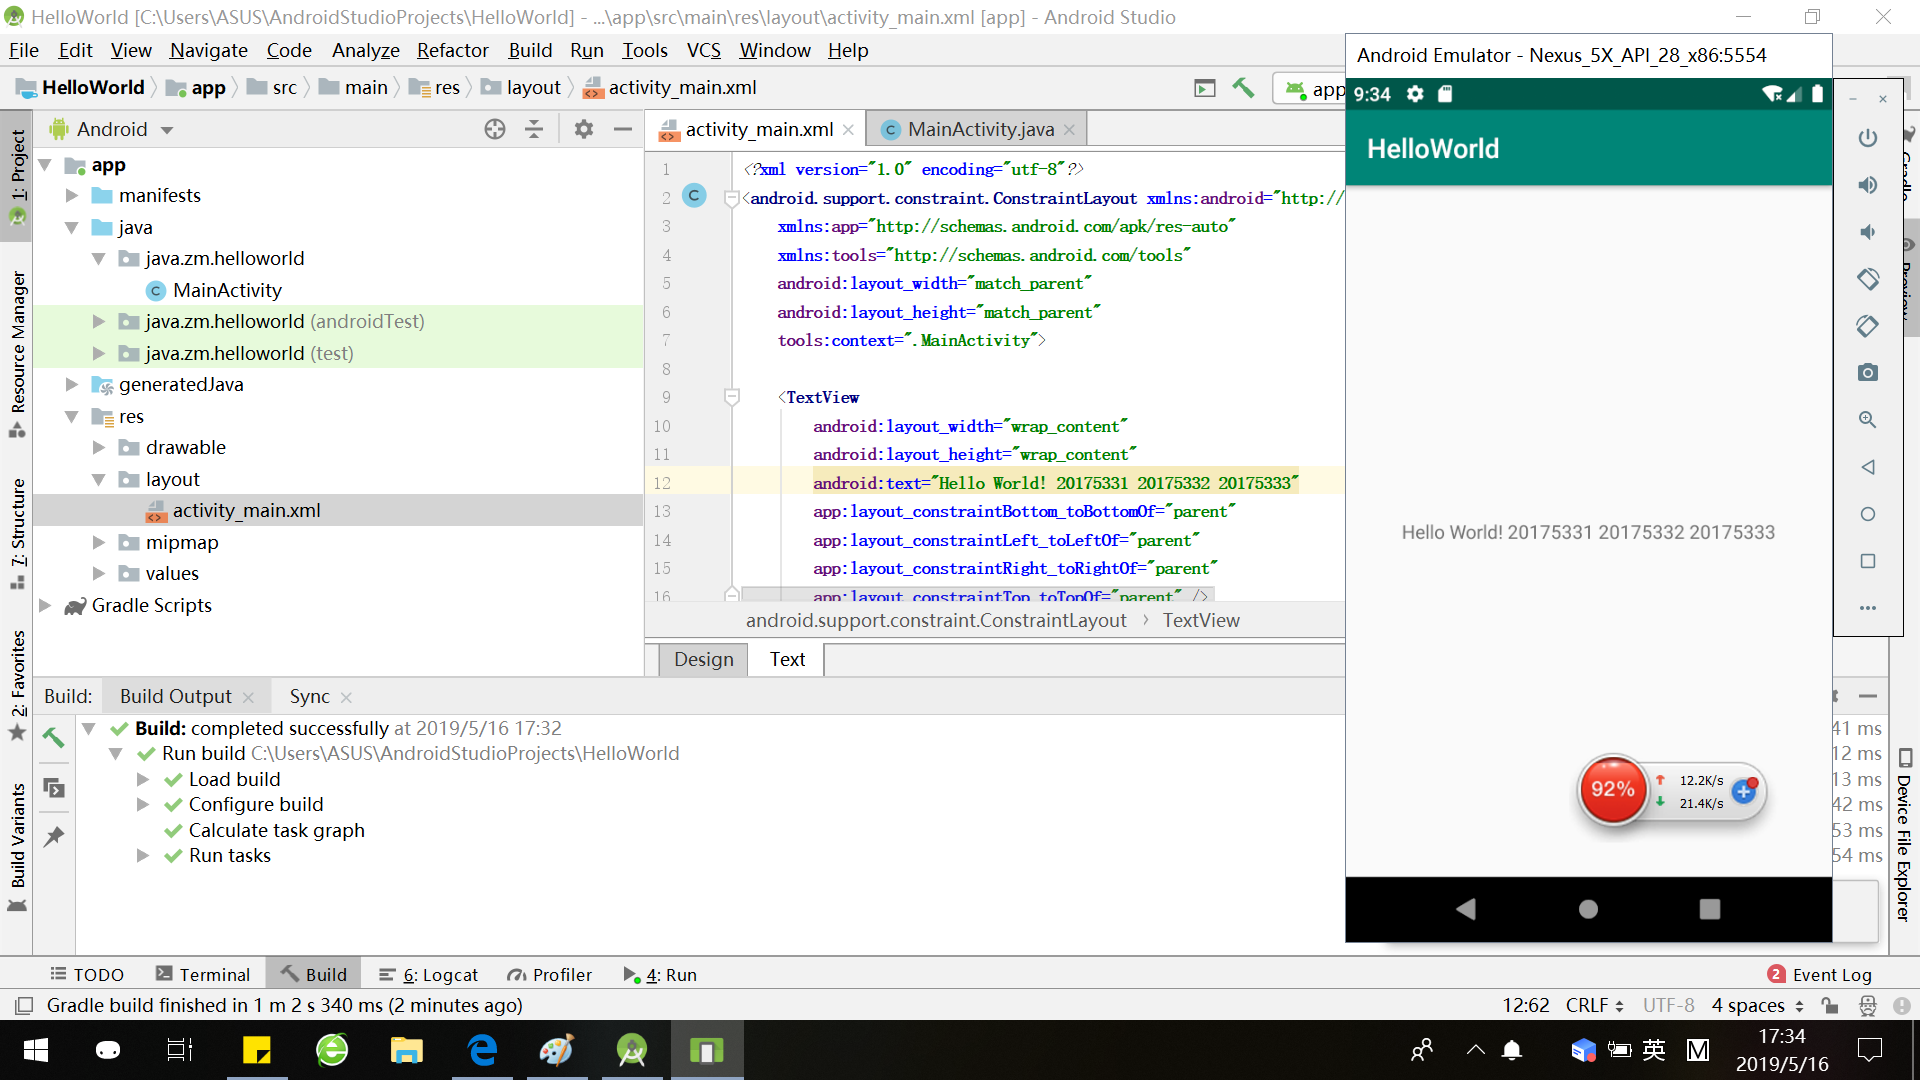
- 完成Hello World, 要求修改res目录中的内容,Hello World后要显示自己的学号,自己学号前后一名同学的学号,提交代码运行截图和码云Git链接,截图没有学号要扣分
- 学习Android Stuidio调试应用程序
- 实验结果:
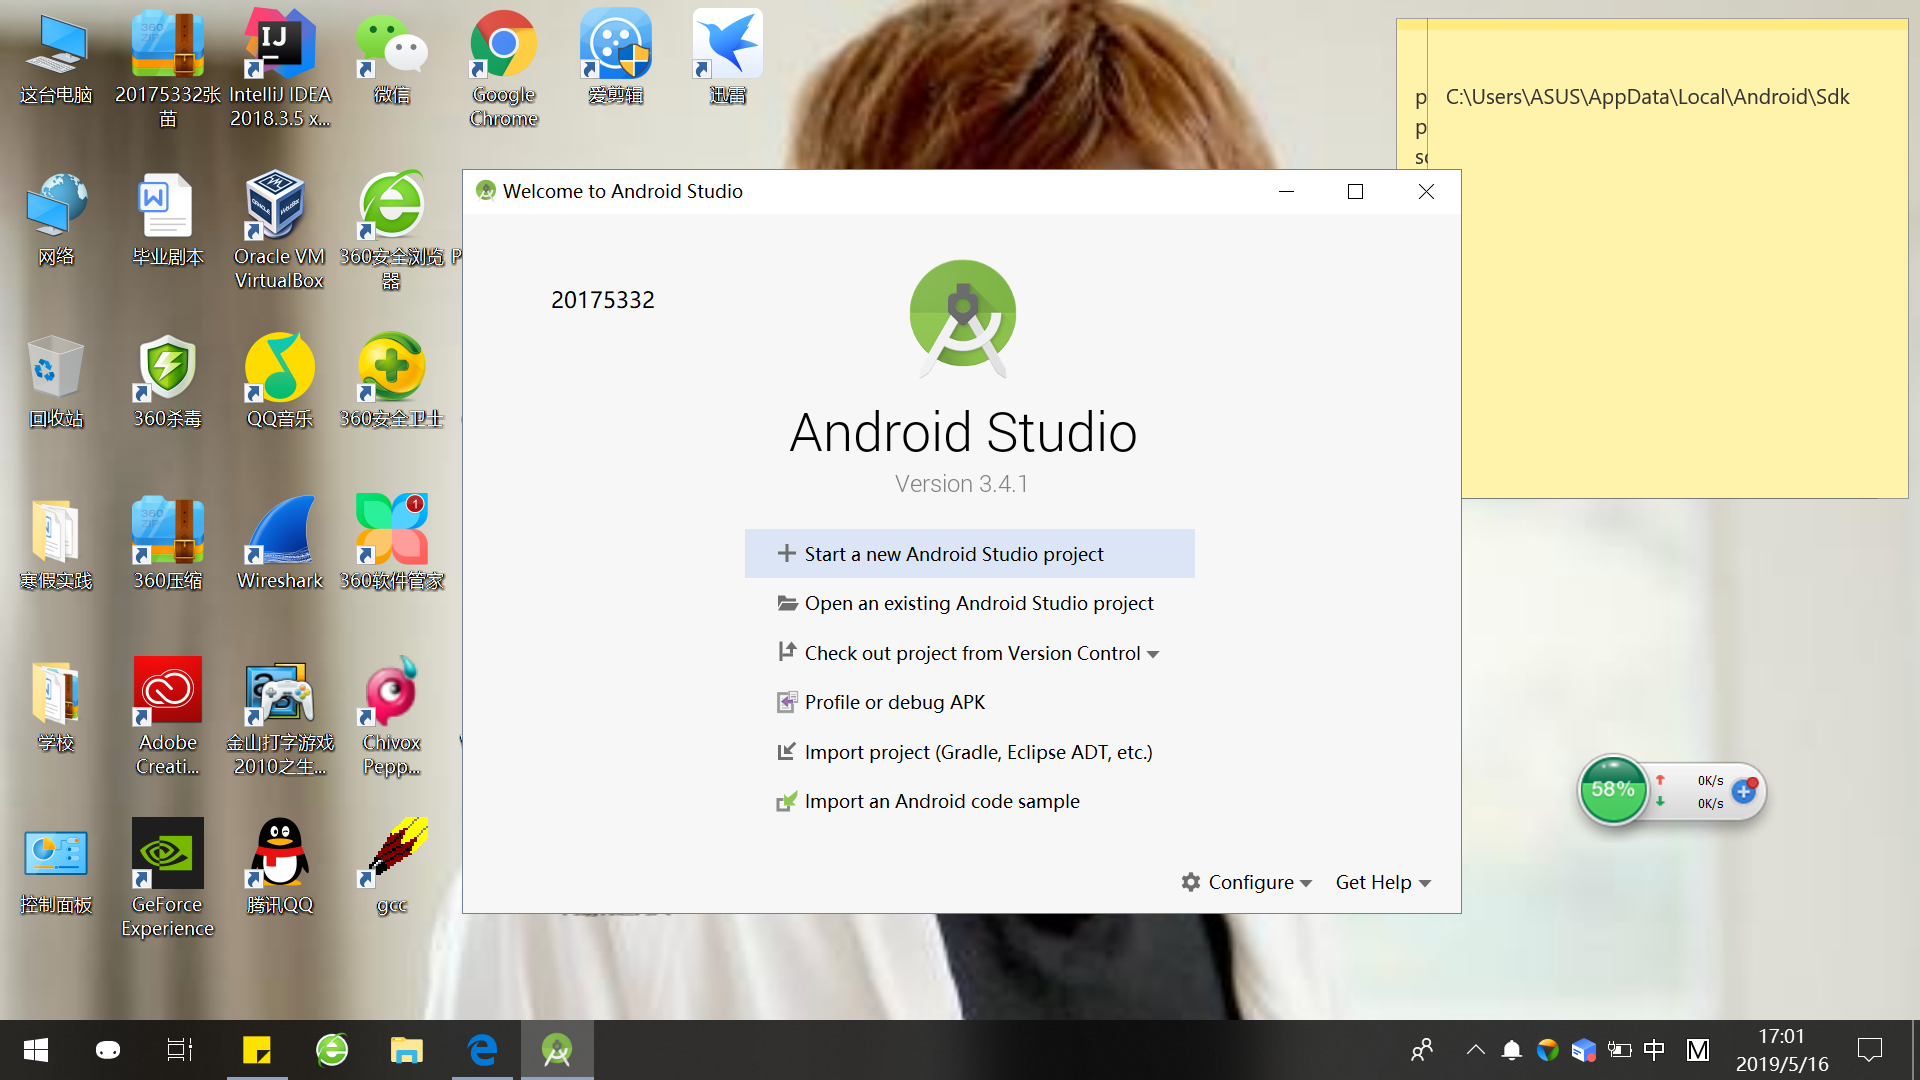
安装完毕
![]()
创建项目并更改代码
![]()
运行结果
![]()
实验代码
<android.support.constraint.ConstraintLayout xmlns:android="http://schemas.android.com/apk/res/android"
xmlns:app="http://schemas.android.com/apk/res-auto"
xmlns:tools="http://schemas.android.com/tools"
android:layout_width="match_parent"
android:layout_height="match_parent"
tools:context=".MainActivity">
</android.support.constraint.ConstraintLayout>
二、Activity测试
-
实验要求:
-
构建项目,运行教材相关代码
-
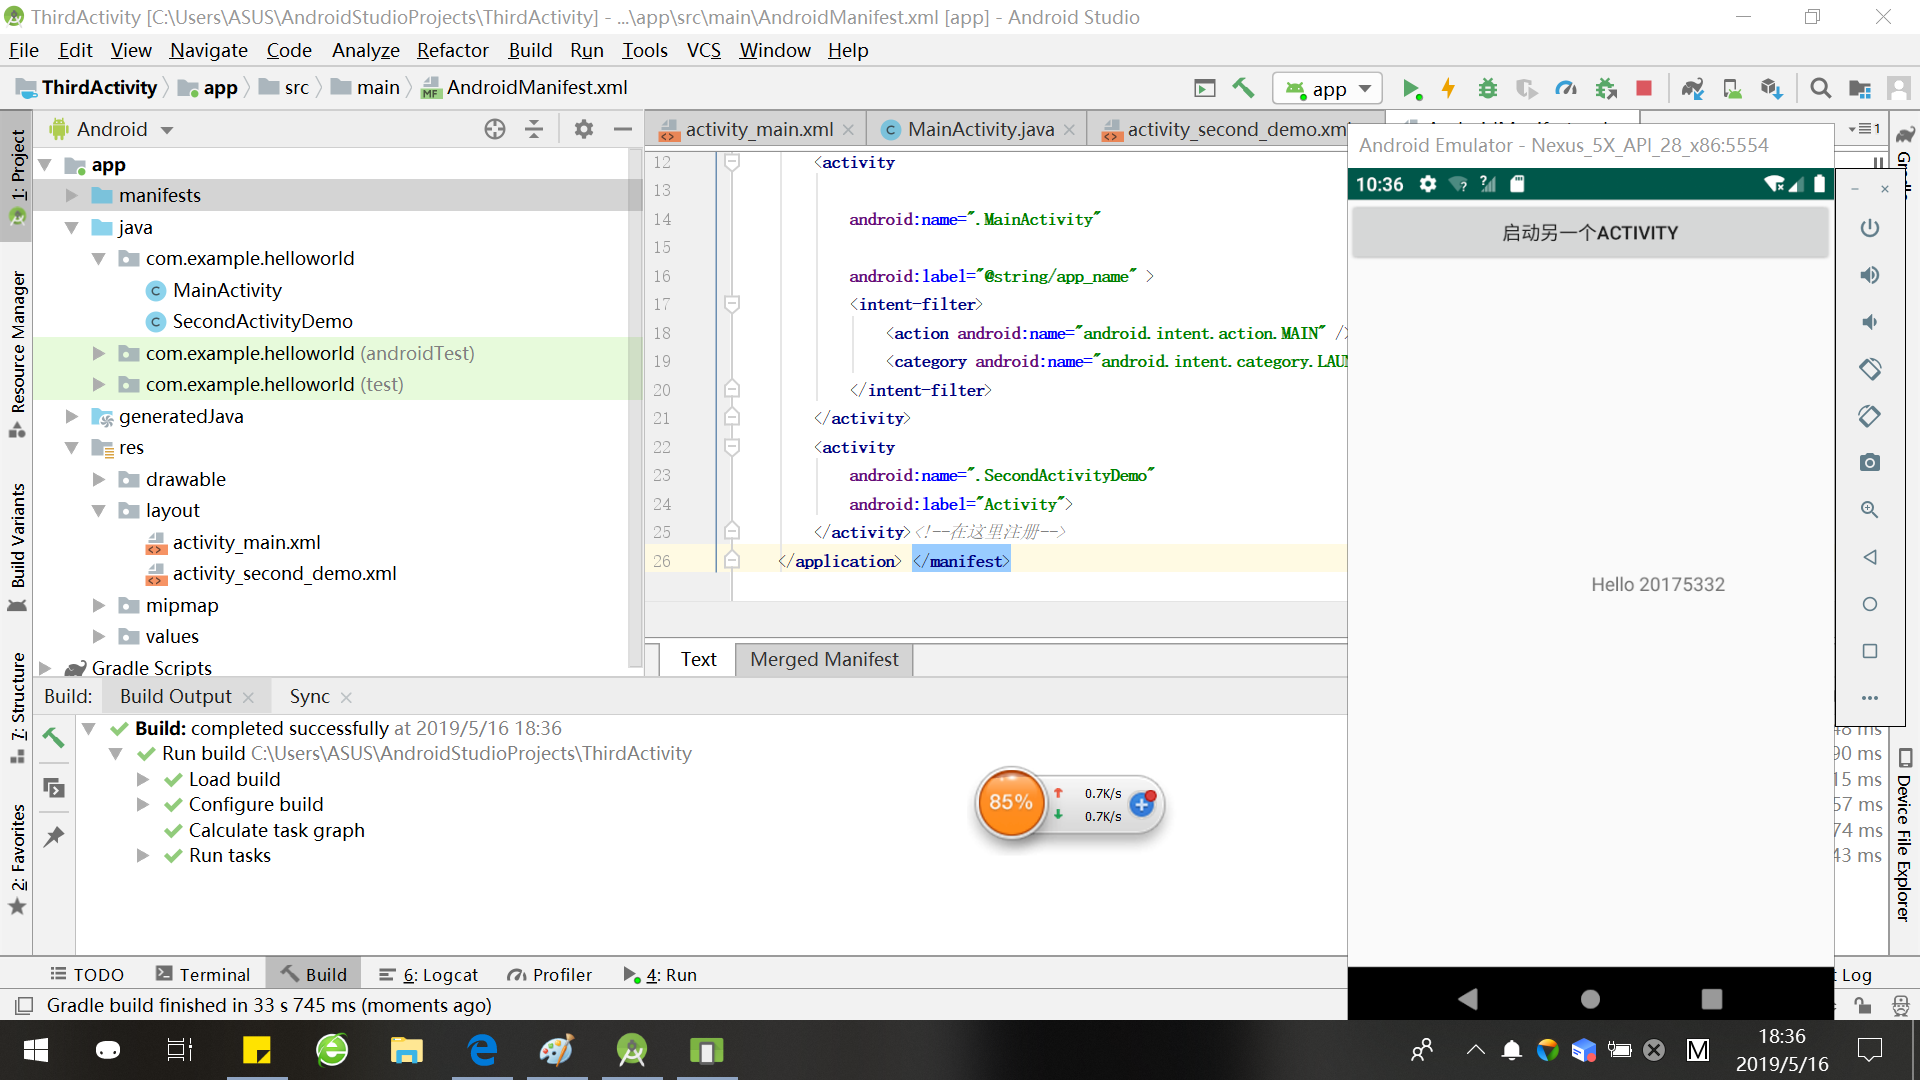
创建 ThirdActivity, 在ThirdActivity中显示自己的学号,修改代码让MainActivity启动ThirdActivity
-
提交代码运行截图和码云Git链接,截图要有学号水印,否则会扣分
-
实验结果:
1、更改activity_main.xml
代码:<android.support.constraint.ConstraintLayout
xmlns:android="http://schemas.android.com/apk/res/android"
xmlns:app="http://schemas.android.com/apk/res-auto"
xmlns:tools="http://schemas.android.com/tools"
android:layout_width="match_parent"
android:layout_height="match_parent"
tools:context=".MainActivity">
2、更改MainActivity.java
代码:
package com.example.helloworld;
import android.app.Activity;
import android.content.Intent;
import android.os.Bundle;
import android.view.View;
import android.view.View.OnClickListener;
import android.widget.Button;public class MainActivity extends Activity {
private Button button1;
@Override
protected void onCreate(Bundle savedInstanceState) {
super.onCreate(savedInstanceState);
setContentView(R.layout.activity_main);
button1 = (Button) findViewById(R.id.button1);
button1.setOnClickListener(new OnClickListener() {
@Override
public void onClick(View v) {
Intent intent = new Intent(
MainActivity.this, SecondActivityDemo.class); // 创建一个Intent对象
startActivity(intent);
}})
;}
}
3、新建SecondActivityDemo
SecondActivityDemo.java代码:
package com.example.helloworld;
import android.support.v7.app.AppCompatActivity;
import android.os.Bundle;public class SecondActivityDemo extends AppCompatActivity {
@Override
protected void onCreate(Bundle savedInstanceState) {
super.onCreate(savedInstanceState);
setContentView(R.layout.activity_second_demo);
}
}
activity_second_Demo代码:
<android.support.constraint.ConstraintLayout xmlns:android="http://schemas.android.com/apk/res/android"
xmlns:tools="http://schemas.android.com/tools"
android:layout_width="match_parent"
android:layout_height="match_parent"
android:orientation="vertical">
</android.support.constraint.ConstraintLayout>
4、更改AndroidMainfest.xml
代码:
xmlns:android="http://schemas.android.com/apk/res/android"
xmlns:tools="http://schemas.android.com/tools"
package="com.example.helloworld" >
<activity
android:name=".MainActivity"
android:label="@string/app_name" >
5、运行
三、UI测试
-
实验要求:
-
构建项目,运行教材相关代码
-
修改代码让Toast消息中显示自己的学号信息
-
提交代码运行截图和码云Git链接,截图要有学号水印,否则会扣分
-
实验结果:
1、更改MainActivity.java
代码:package com.example.helloworld;
import android.app.Activity;
import android.content.Intent;
import android.os.Bundle;
import android.view.View;
import android.view.View.OnClickListener;
import android.widget.Button;
import android.widget.Toast;public class MainActivity extends Activity {
private Button button1;
@Override
protected void onCreate(Bundle savedInstanceState) {
super.onCreate(savedInstanceState);
setContentView(R.layout.activity_main);
Toast.makeText(MainActivity.this, "20175332!", Toast.LENGTH_SHORT).show();
button1 = (Button) findViewById(R.id.button1);
button1.setOnClickListener(new OnClickListener() {
@Override
public void onClick(View v) {
Intent intent = new Intent(
MainActivity.this, SecondActivityDemo.class); // 创建一个Intent对象
startActivity(intent);
}})
;}
}
2、运行

四、布局测试
-
实验要求:
- 构建项目,运行教材相关代码
- 修改布局让P290页的界面与教材不同
- 提交代码运行截图和码云Git链接,截图要有学号水印,否则会扣分
-
实验结果:
1、更改activity_main.xml
代码:<android.support.constraint.ConstraintLayout
xmlns:android="http://schemas.android.com/apk/res/android"
xmlns:app="http://schemas.android.com/apk/res-auto"
xmlns:tools="http://schemas.android.com/tools"
android:layout_width="match_parent"
android:layout_height="match_parent"
tools:context=".MainActivity">
五、事件处理测试
- 实验要求:
- 构建项目,运行教材相关代码
- 提交代码运行截图和码云Git链接,截图要有学号水印,否则会扣分
- 实验结果:
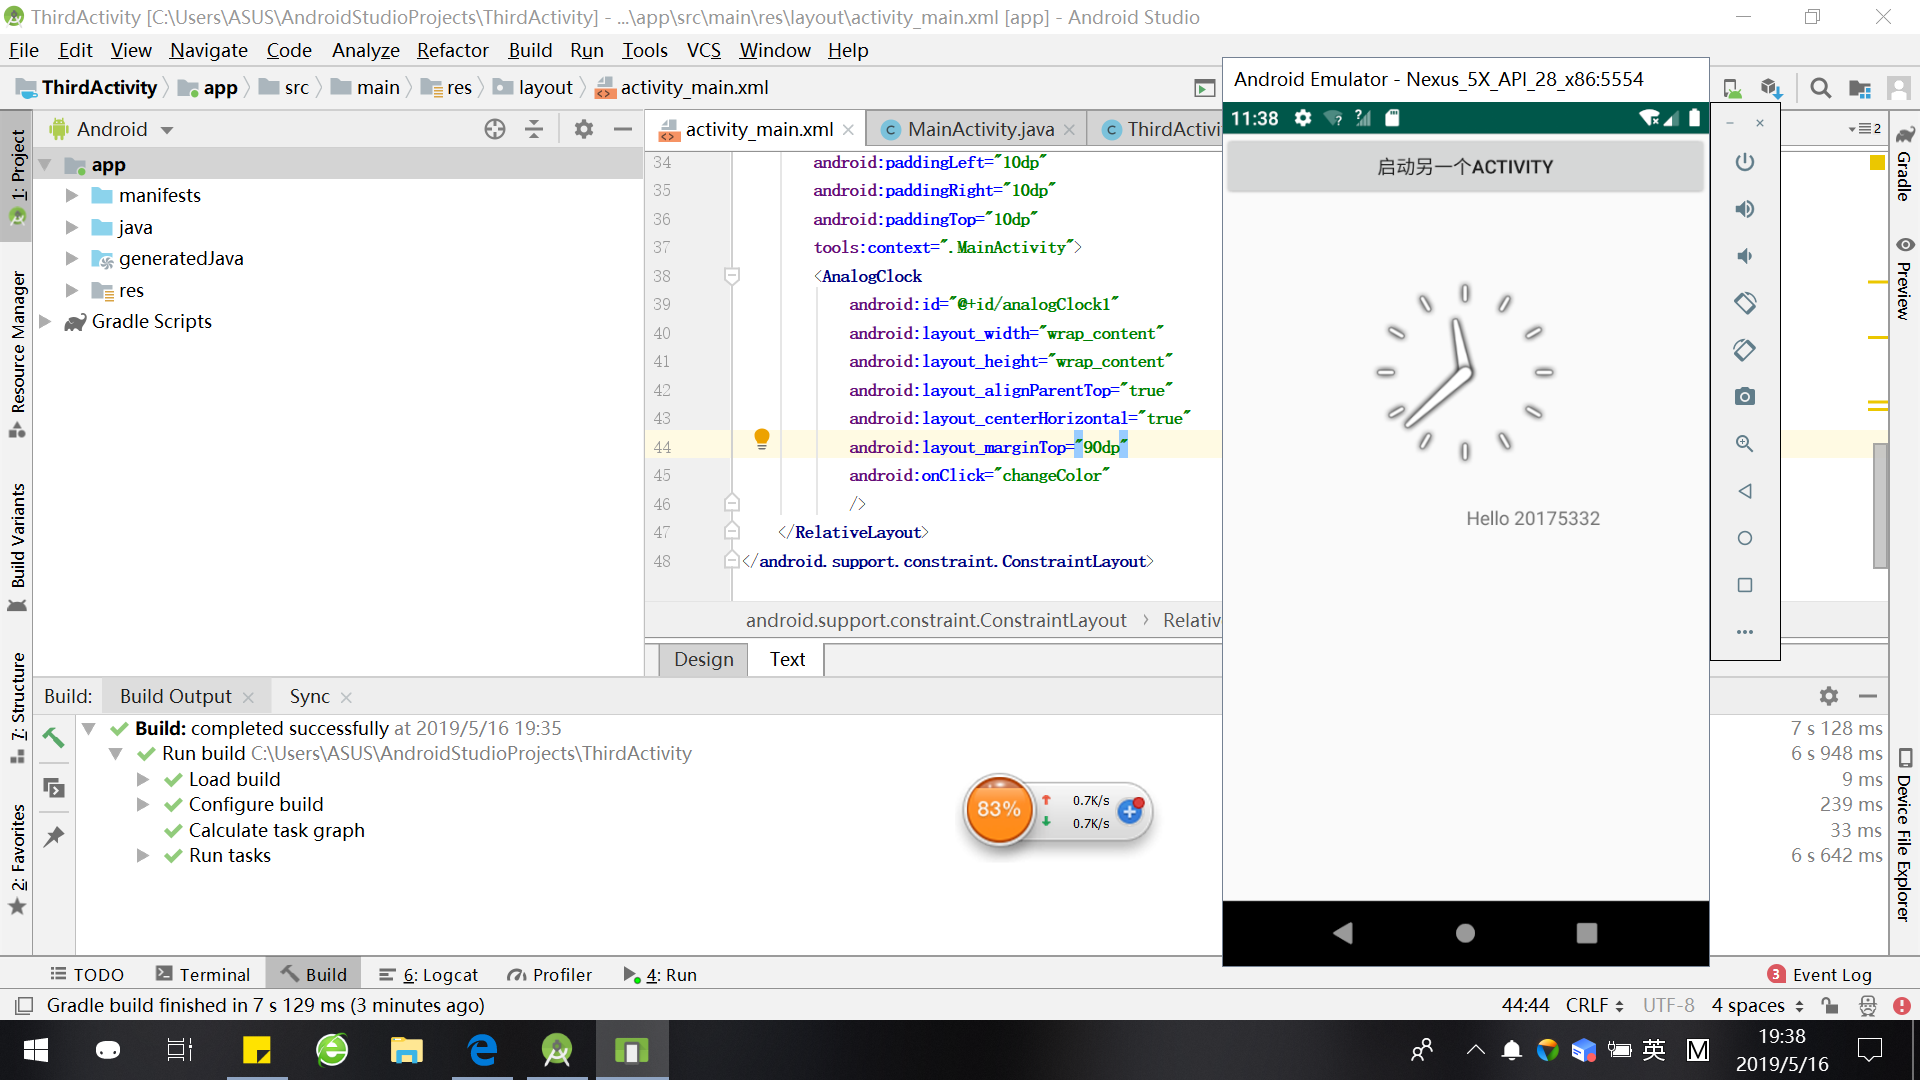
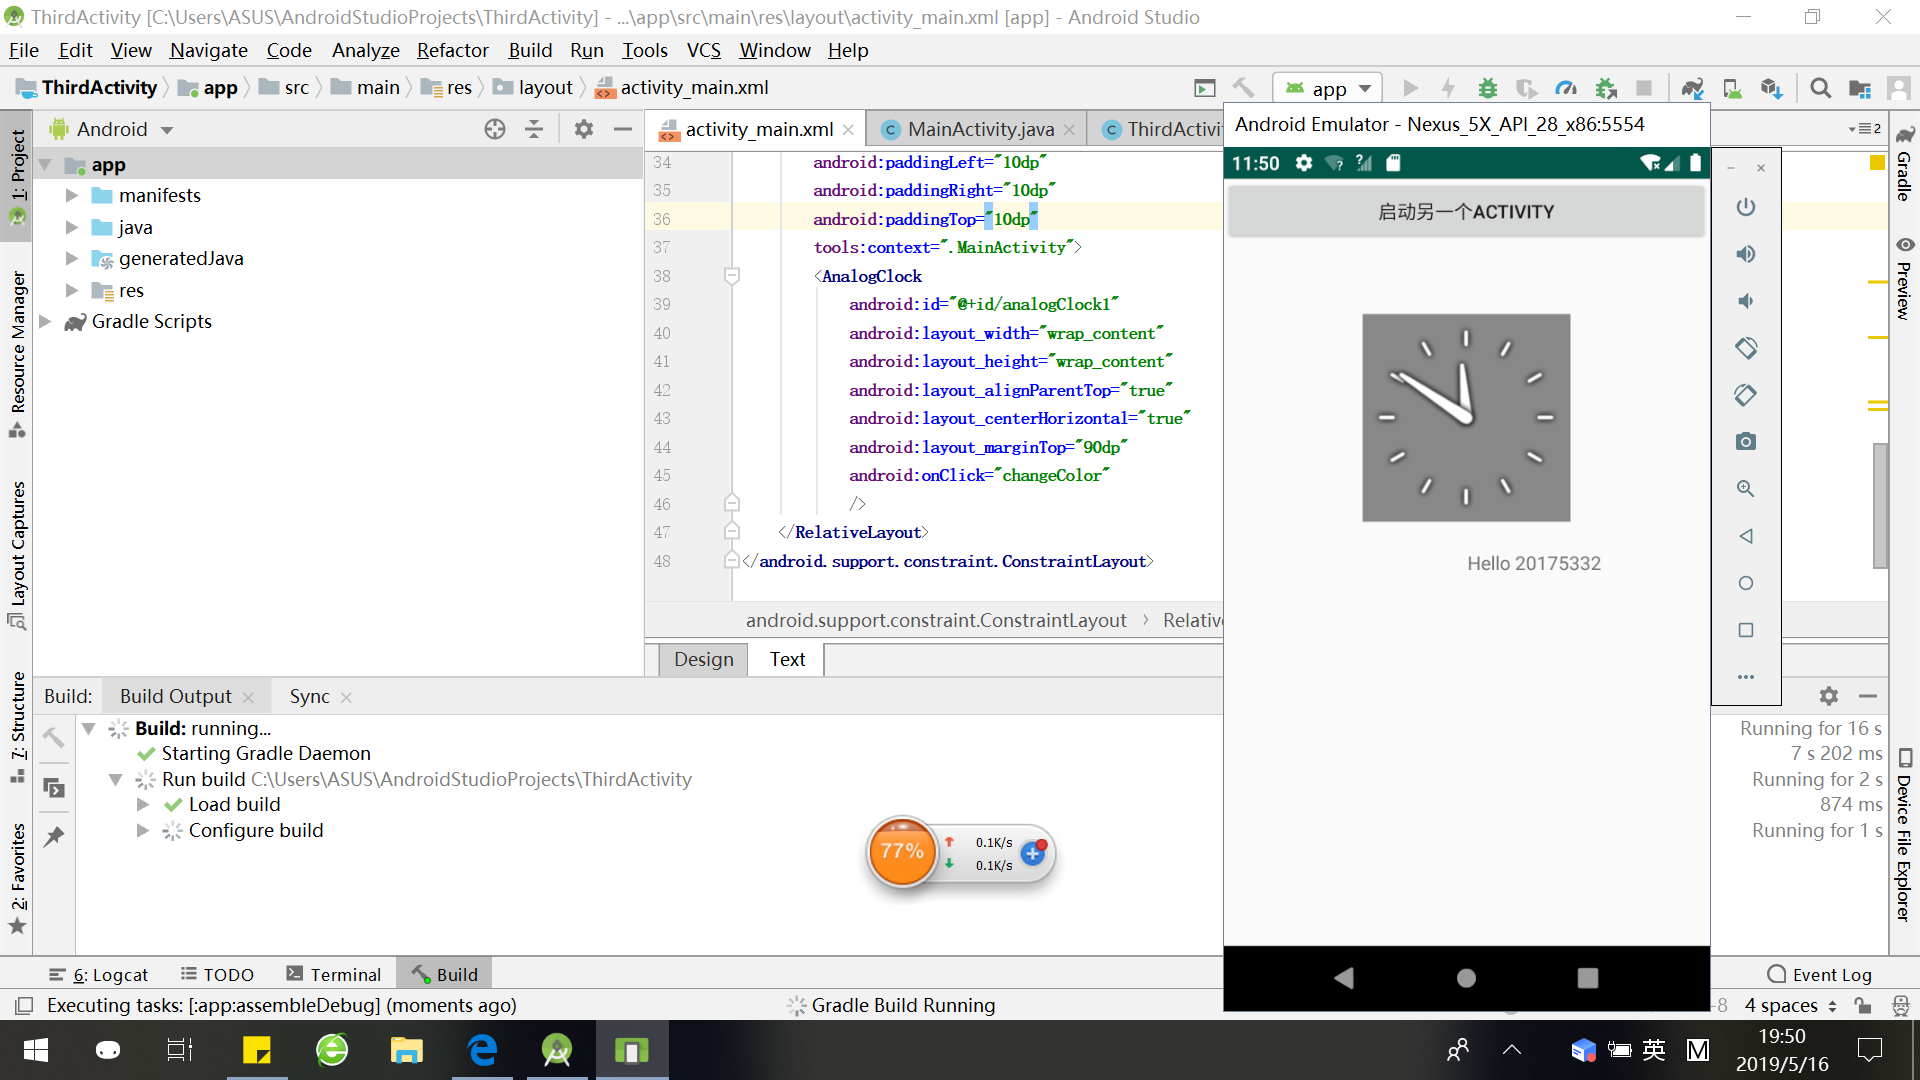
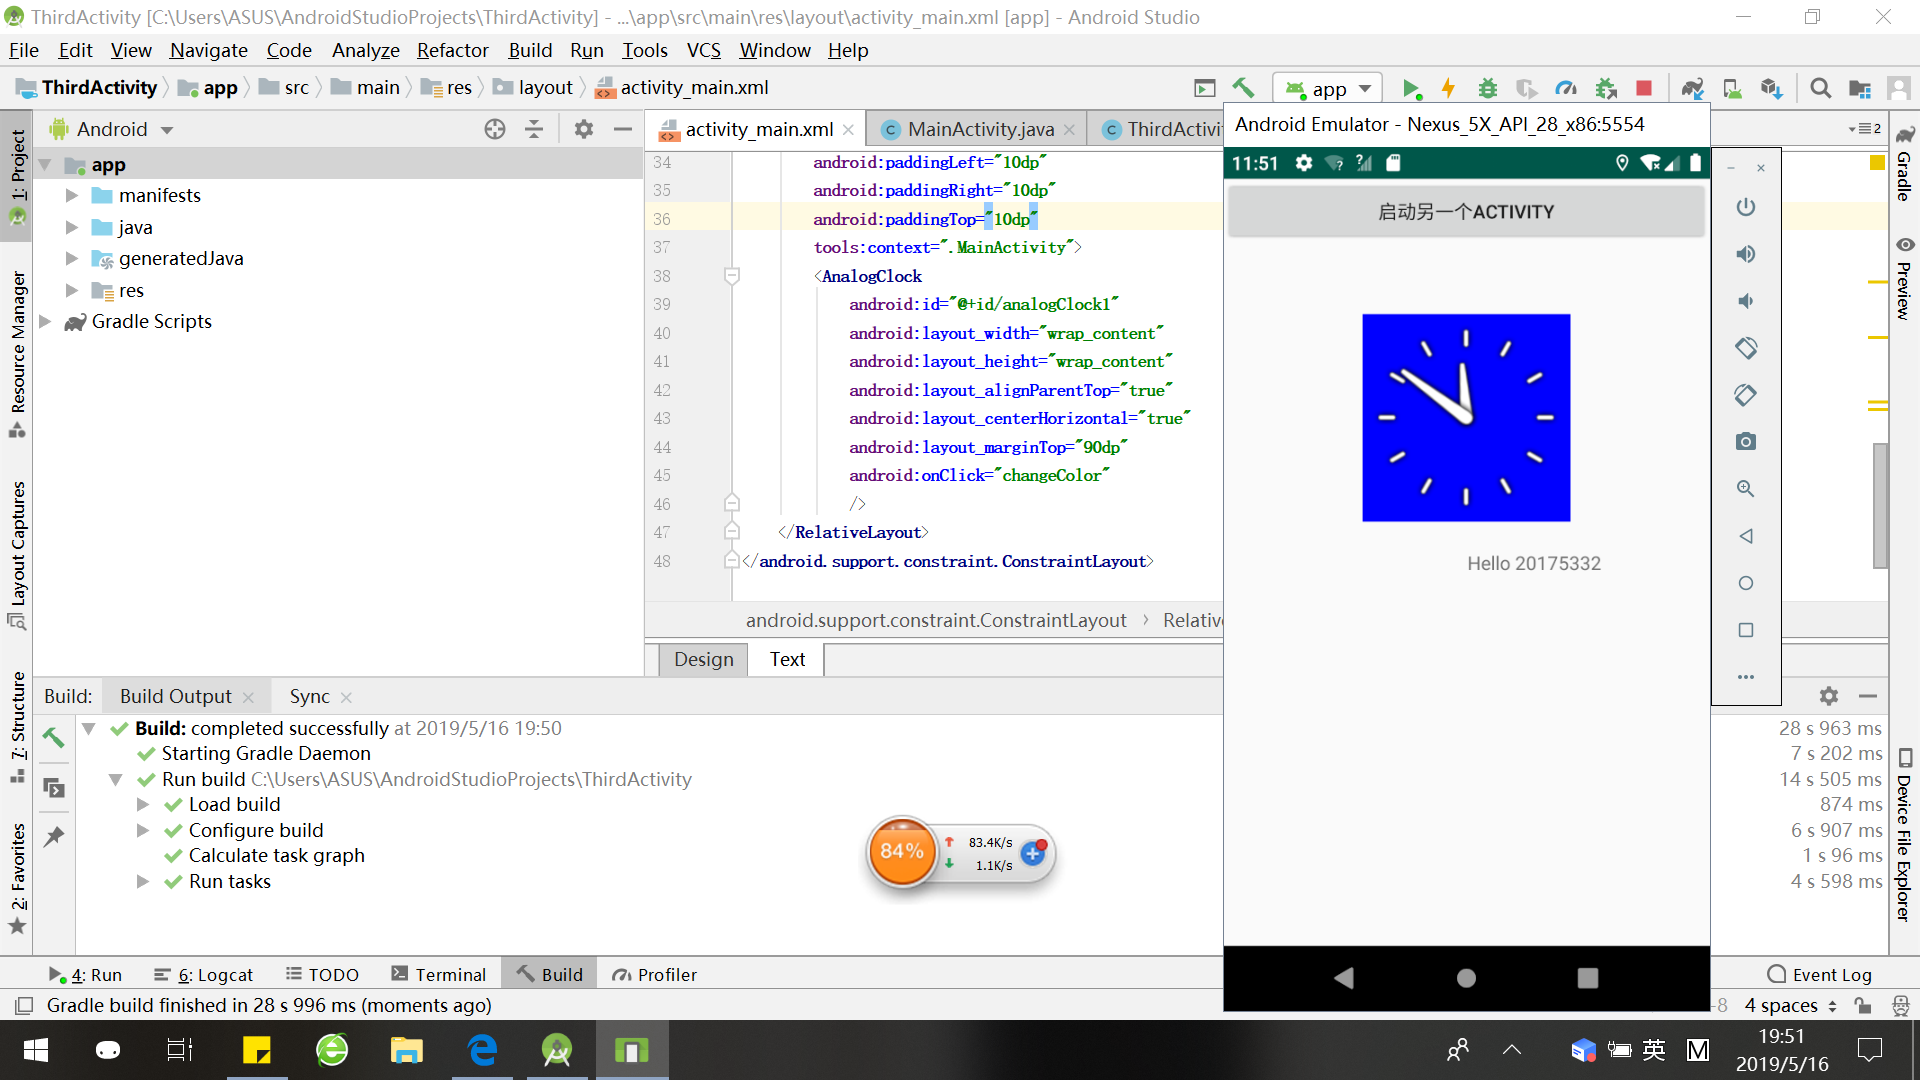
(在点击屏幕后,时钟背景颜色发生改变)
1、更改MainActivity.java
代码:
package com.example.helloworld;
import android.support.v7.app.AppCompatActivity;
import android.os.Bundle;
import android.app.Activity;
import android.graphics.Color;
import android.os.Bundle;
import android.view.Menu;
import android.view.View;
import android.widget.AnalogClock;
import android.app.Activity;
import android.graphics.Color;
import android.os.Bundle;
import android.view.Menu;
import android.view.View;
import android.widget.AnalogClock;import com.example.helloworld.R;
public class MainActivity extends Activity {
int counter = 0;
int[] colors = { Color.BLACK, Color.BLUE, Color.CYAN,
Color.DKGRAY, Color.GRAY, Color.GREEN, Color.LTGRAY,
Color.MAGENTA, Color.RED, Color.WHITE, Color.YELLOW };
@Override
protected void onCreate(Bundle savedInstanceState) {
super.onCreate(savedInstanceState);
setContentView(R.layout.activity_main);
}
@Override
public boolean onCreateOptionsMenu(Menu menu) {
// Inflate the menu; this adds items to the action bar if it
// is present.
getMenuInflater().inflate(R.menu.menu_main, menu);
return true;
}
public void changeColor(View view) {
if (counter == colors.length) {
counter = 0;
}
view.setBackgroundColor(colors[counter++]);
}
}
2、更改activity_main
<android.support.constraint.ConstraintLayout
xmlns:android="http://schemas.android.com/apk/res/android"
xmlns:app="http://schemas.android.com/apk/res-auto"
xmlns:tools="http://schemas.android.com/tools"
android:layout_width="match_parent"
android:layout_height="match_parent"
tools:context=".MainActivity">
3、运行
码云
https://gitee.com/zhangmiaomiao5332/java-besti-175332-zm.git
实验感想
本次实验是关于Android开发的,在进行实验过程中我对Java这个语言又有了进一步的认识。

 浙公网安备 33010602011771号