
ES elasticsearch-8.17.0-windows-x86_64使用
1、下载ES(elasticsearch 简称 ES 下载链接:https://www.elastic.co/downloads/elasticsearch)
ES 下载链接:https://artifacts.elastic.co/downloads/elasticsearch/elasticsearch-8.17.0-windows-x86_64.zip)),需要在修改ES配置,进入ES解压以后的文件下的config目录,找到elasticsearch.yml,打开后修改自己需要的配置
elasticsearch.yml配置如下,记事本打开保存时注意需要utf-8保存。
cluster.name: linjie
node.name: lj_node_1
network.host: 0.0.0.0
http.port: 9200
transport.port: 9300
#node.master: true
#node.data: true
#discovery.zen.ping.unicast.hosts: ["0.0.0.0:9300", "0.0.0.0:9301"]
#discovery.zen.minimum_master_nodes: 1
#node.ingest: true
bootstrap.memory_lock: false
#node.max_local_storage_nodes: 2

path.data: D:\Temp\1\elasticsearch-8.17.0-windows-x86_64\data
path.logs: D:\Temp\1\elasticsearch-8.17.0-windows-x86_64\logs

http.cors.enabled: true
http.cors.allow-origin: /.*/
# Enable security features
xpack.security.enabled: true
xpack.security.enrollment.enabled: true
# Enable encryption for HTTP API client connections, such as Kibana, Logstash, and Agents
xpack.security.http.ssl:
  enabled: true
  keystore.path: certs/http.p12
# Enable encryption and mutual authentication between cluster nodes
xpack.security.transport.ssl:
  enabled: true
  verification_mode: certificate
  keystore.path: certs/transport.p12
  truststore.path: certs/transport.p12
# Create a new cluster with the current node only
# Additional nodes can still join the cluster later
cluster.initial_master_nodes: ["lj_node_1"]
注意:elasticsearch.yml配置中修改JVM配置(必须修改,否则卡死)
修改 elasticsearch-8.7.0\config 下的 jvm.options 文件,否则会导致系统卡死
IMPORTANT: JVM heap size中取消注释即去掉前面的2个#
## -Xms4g
## -Xmx4g
修改为
-Xms2g
-Xmx2g
2、安装时遇到的问题:
A、浏览器无法访问127.0.0.1:9200
127.0.0.1:9200无法访问:https://blog.csdn.net/snowflakeying/article/details/125555010
访问后可能提示 localhost 未发送任何数据。 ERR_EMPTY_RESPONSE
查看控制台报错:
received plaintext htp traffic on an https channel, closing connection Netty4HttpChannel
此报错原因在于是因为开启了 ssl 认证。解决
查看configelasticsearch.yml
启动后增添了一些默认配置信息,需要将xpack.security.enabled,xpack.security.enrollment.enabled 修改为false,关闭ssl认证
B、用户密码未知的问题
Elasticsearch8 安装完成后,用 elasticsearch-head连接,提示需要用户名密码。
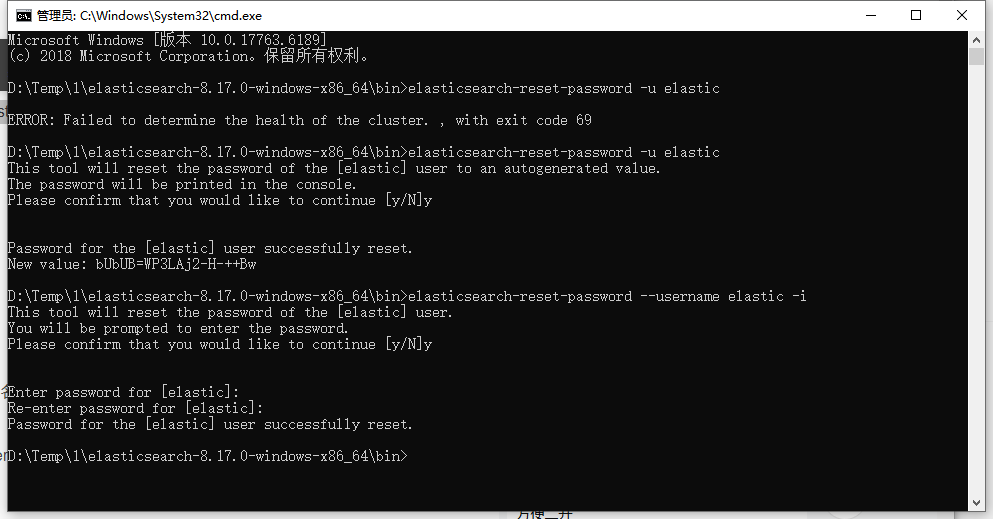
Elasticsearch8默认用户名为elastic, 密码可以使用以下命令进行重置(bin目录下)cmd输入:elasticsearch-reset-password -u elastic ,再选择y,然后密码会显示出来。
如:elastic,PE2BS78Sut28xUBrLIS1
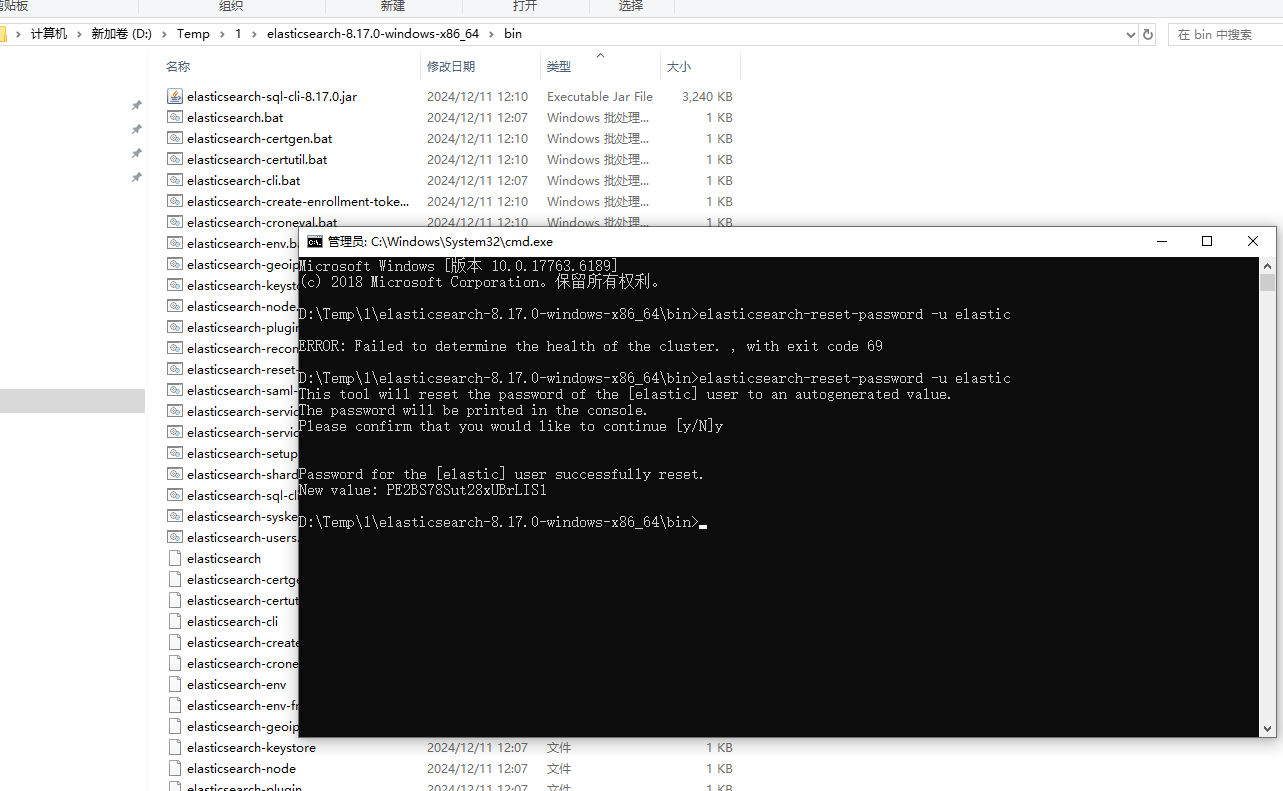
如果想修改为指定的密码需要输入:
elasticsearch-reset-password --username elastic -i
执行命令之后,输入y 在输入两次密码即可
修改密码需要在es启动,并cd到es的bin目录下执行:
1.重置密码并在控制台显示新密码(密码是自动生成的复杂度较高)
./elasticsearch-reset-password -u 用户名
例:重置 elastic 用户的密码 ./elasticsearch-reset-password -u elastic
- 给用户修改指定的密码
./elasticsearch-reset-password --username 用户名 -i
例:重置elastic 用户的密码
./elasticsearch-reset-password --username elastic -i
执行命令之后,输入y 在输入两次密码即可
3.给用户自动生成一个密码
./elasticsearch-reset-password --url "es的实际地址" --username '用户名' -i
例:重置elastic 用户:
bin/elasticsearch-reset-password --url "http://127.0.0.1:9200" --username elastic -i
执行命令之后,输入y 在输入两次密码即可
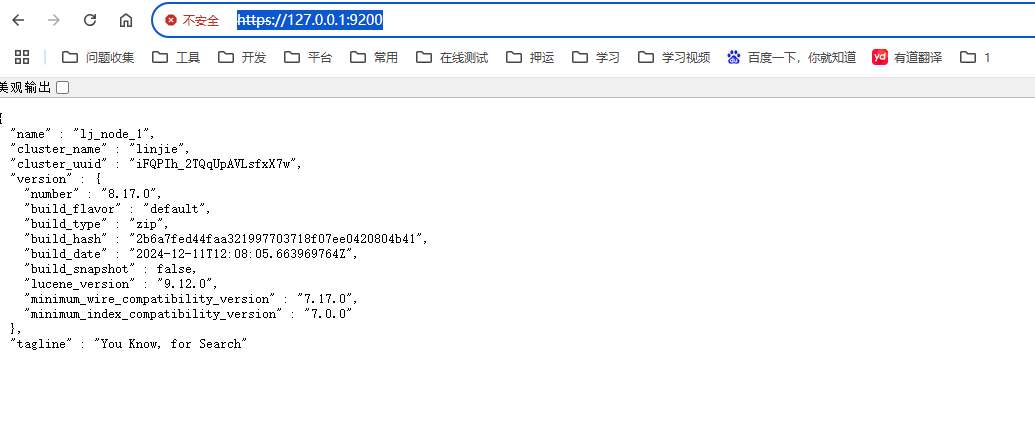
注意修改密码必须启动ssl 必须修改 elasticsearch.yml文件,将xpack.security.enabled改成true
在网址里面输入:https://127.0.0.1:9200/,界面如下:
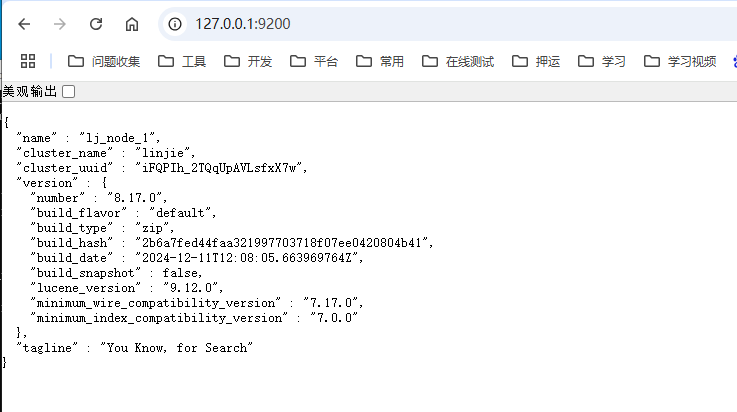
关闭了 ssl 认证以后即configelasticsearch.yml中将xpack.security.enabled,xpack.security.enrollment.enabled 修改为false,关闭ssl认证。
在网址里面输入:http://127.0.0.1:9200/,界面如下:
龙腾一族至尊龙骑

 浙公网安备 33010602011771号