
基于Netbeans的PHPUnit单元测试环境搭建
一、配置
PHPUnit截至2015-10-16,稳定版已更新至5.0.6,要求使用PHP v5.6及以上的环境才能使用。
PHPUnit的4.8系列要求在PHP v5.3.3以上环境使用。
Netbeans从Sun被Oracle收购后,更新越来越慢。
经过一番摸索,Netbeans 8.0.1集成环境中支持的PHPUnit的版本是4.8以下的版本,即支持的最高版本为4.7.7。
注:最新的Netbeans 8.1环境中,已经可以支持最新的phpunit-5.2.10.phar、phpunit-skelgen-2.0.1.phar。
去https://phar.phpunit.de 下载 https://phar.phpunit.de/phpunit-5.2.10.phar 以及脚手架工具 https://phar.phpunit.de/phpunit-skelgen-2.0.1.phar
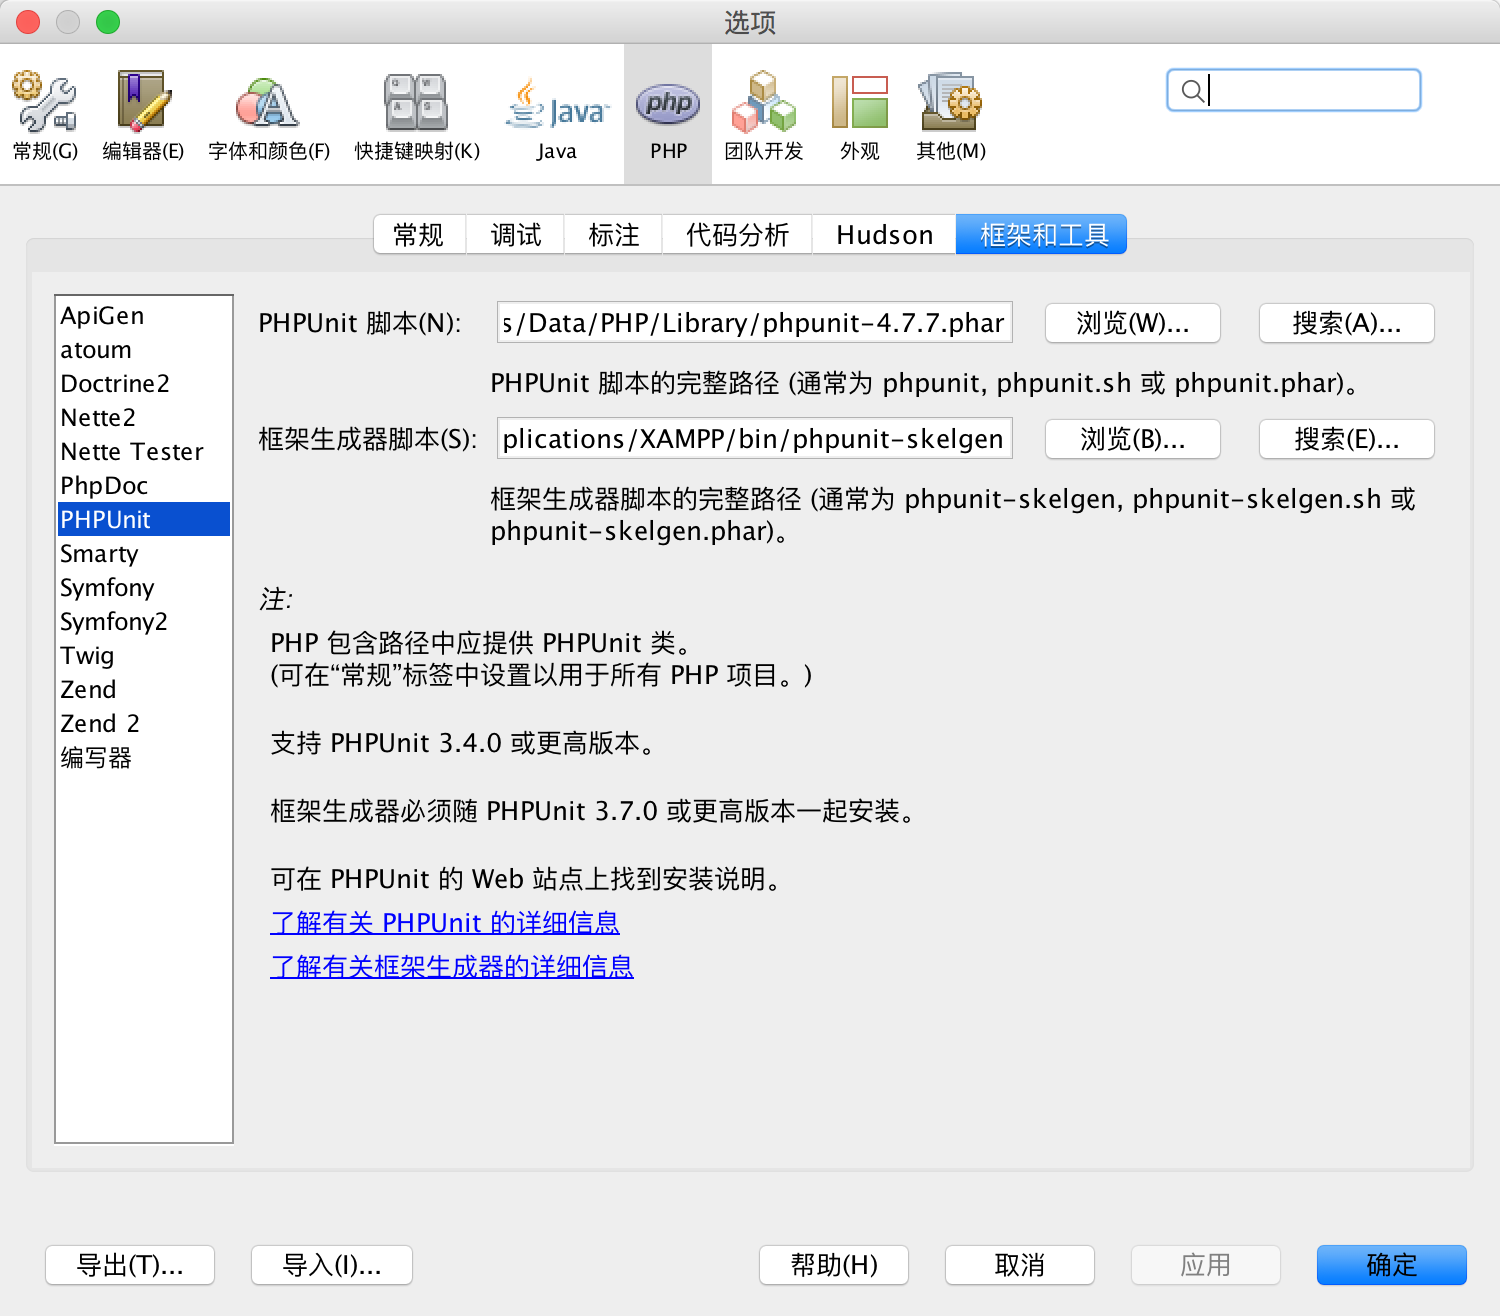
然后在Netbeans中参数面板,切换到PHP项,在“框架和工具”中对PHPUnit进行路径指定。
二、使用
既然是集成开发环境,所有操作都是可以在Netbeans中完成的。
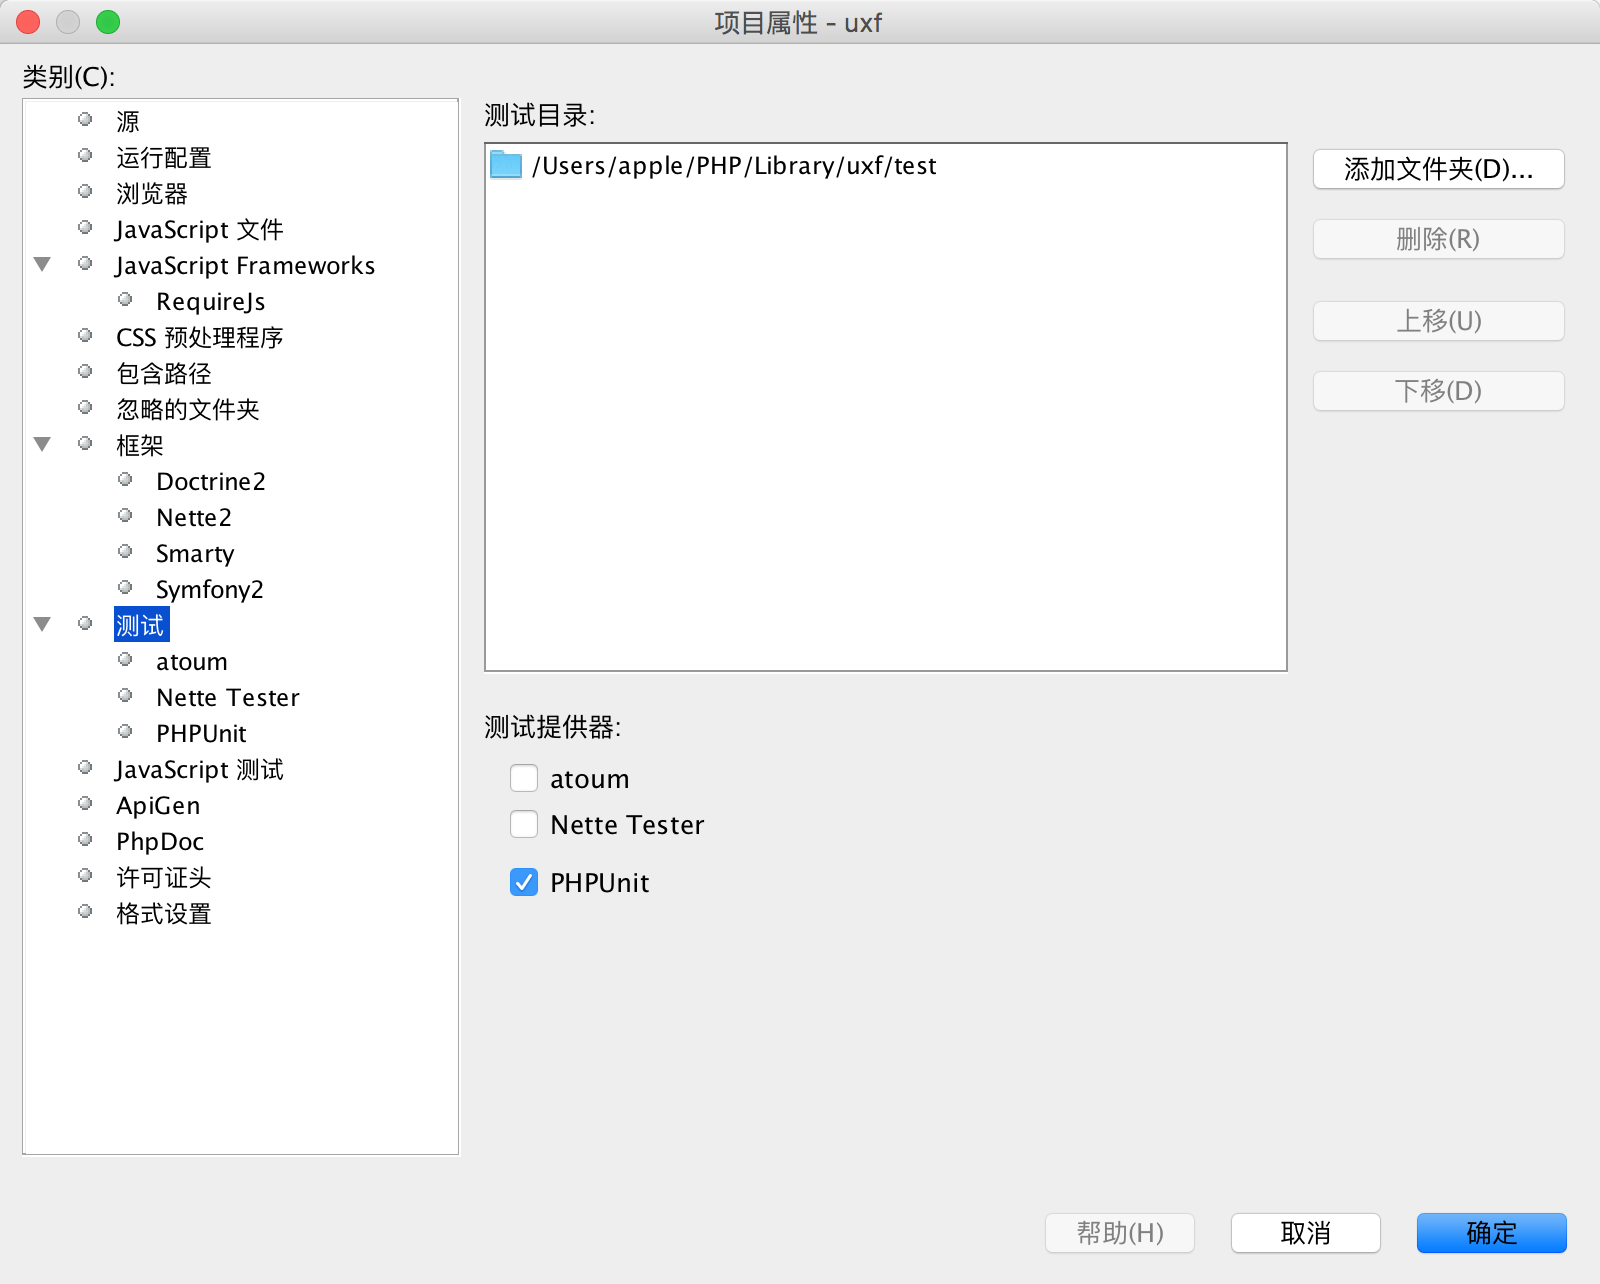
1.配置项目的PHPUnit参数
选择测试文件目录并勾选使用PHPUnit作为测试工具。
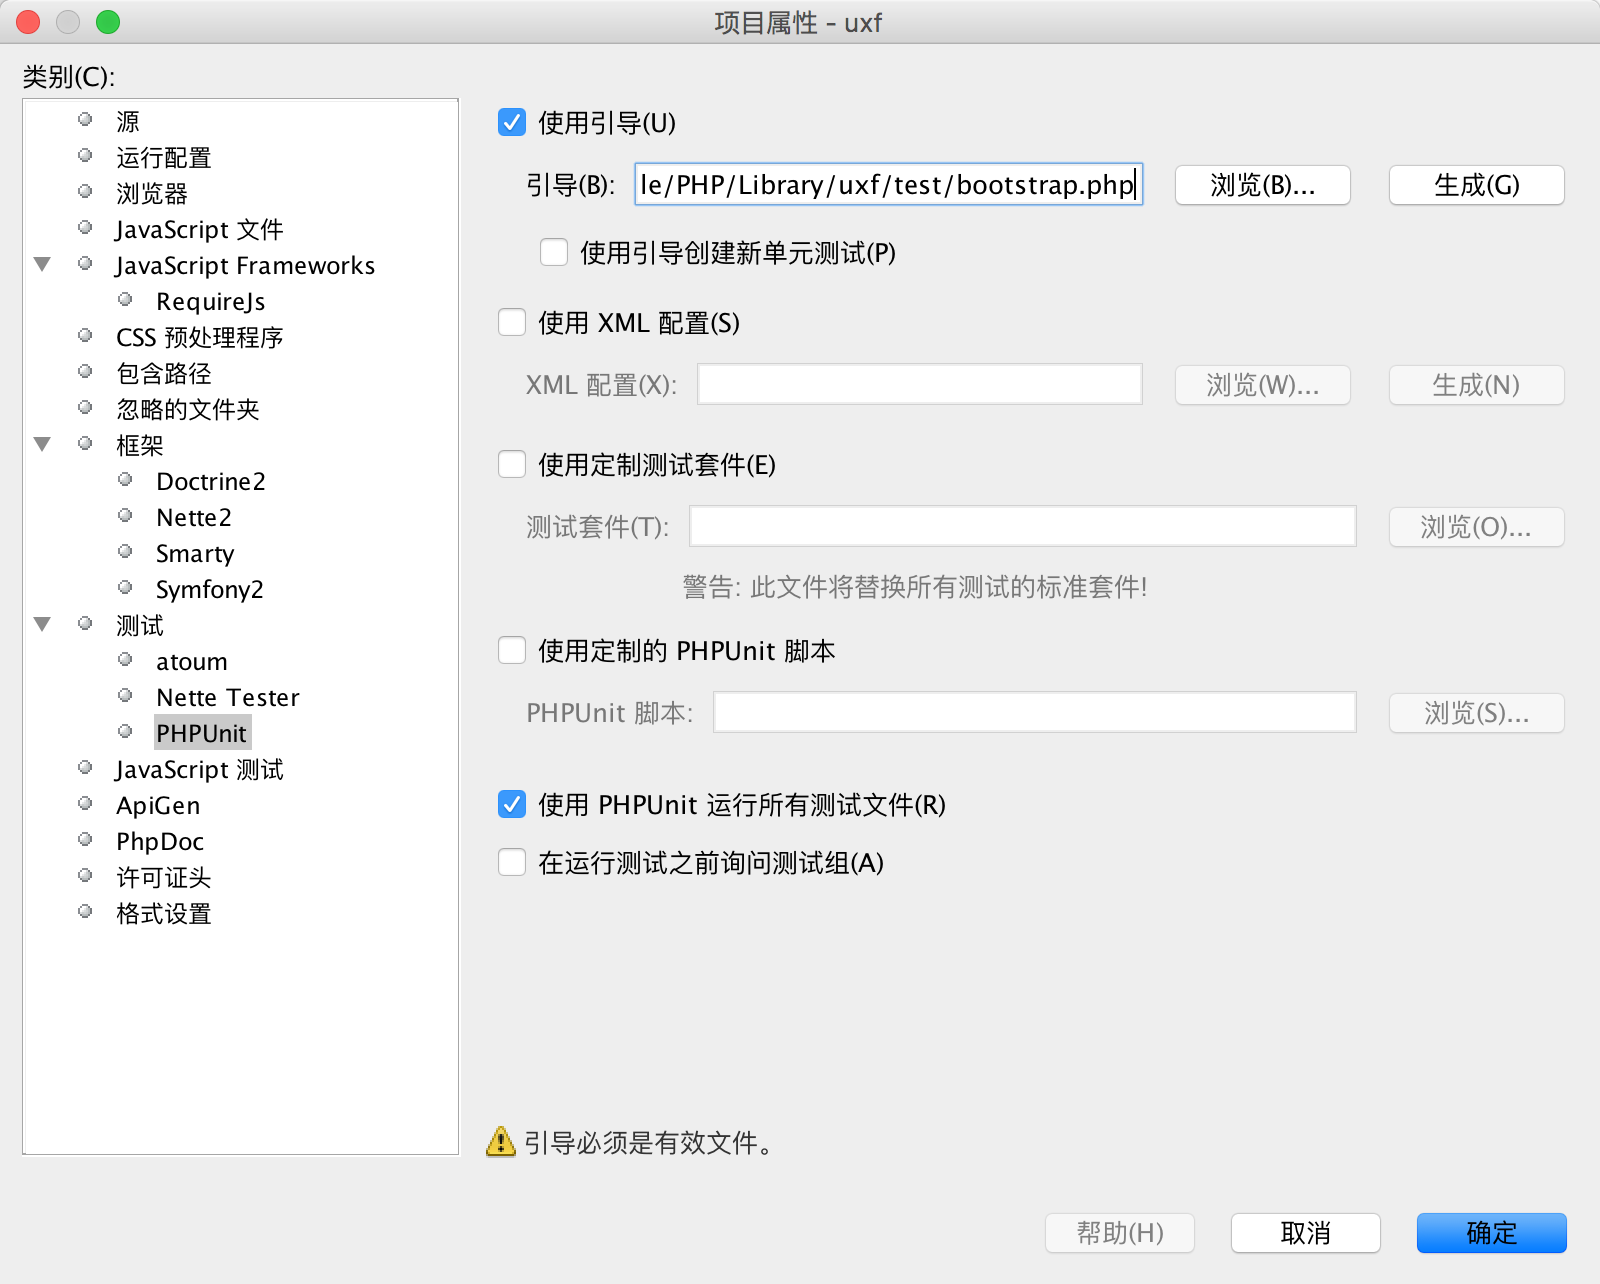
勾选使用引导并点击生成按钮。
- 编辑启动文件
根据你所用的框架,编制测试环境启动文件的内容。
一般主要是类自动加载、环境变量初始化。
如 bootstrap.php:
<?php

require __DIR__ . '/../core/base/CAutoloader.php';

CAutoloader::register();
3.生成测试类
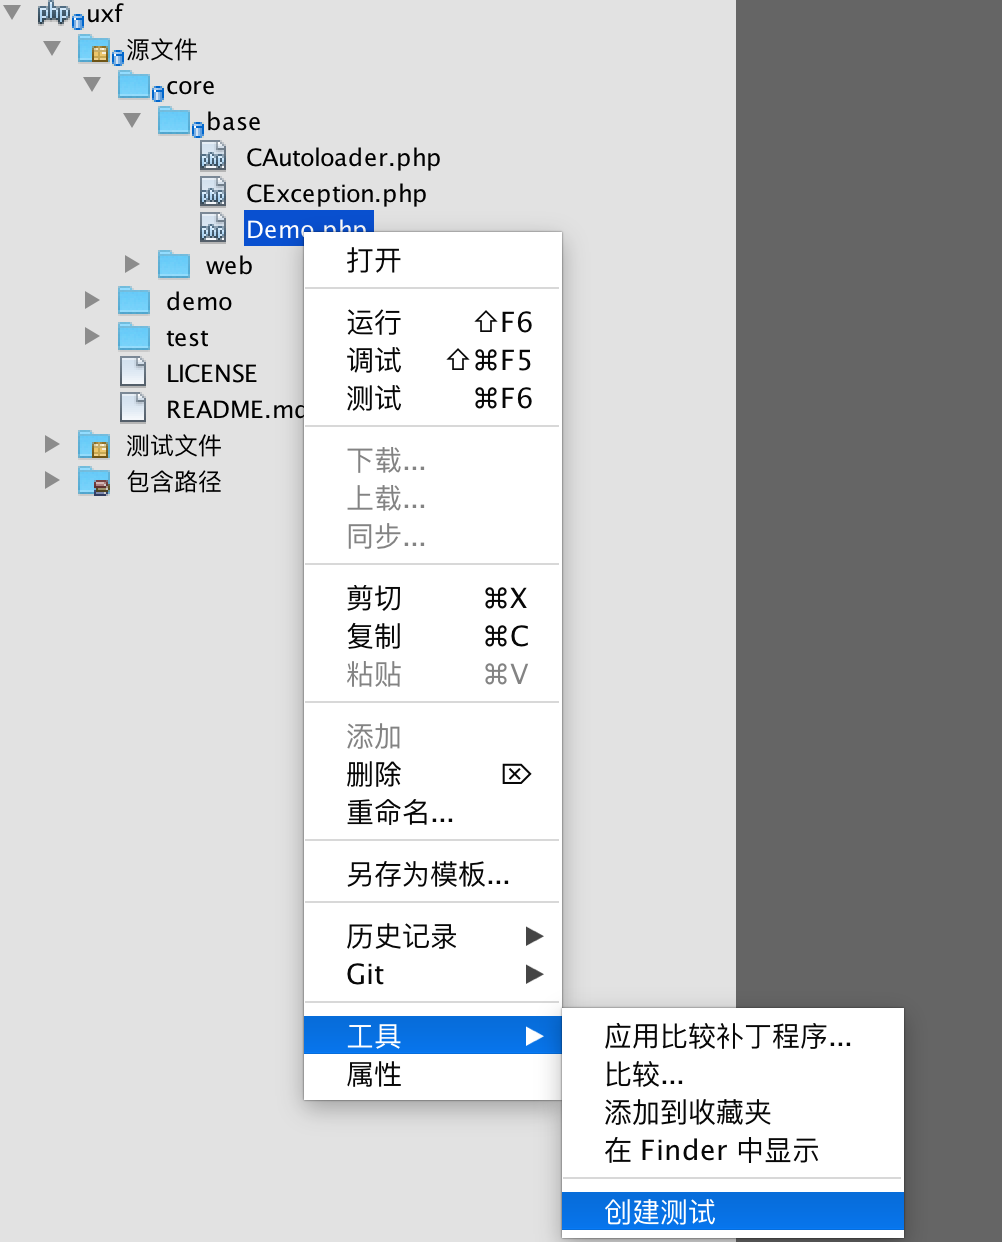
比如类文件内容:
<?php

class Demo {

    /**
     * @assert (11, 22) == 33
     * @assert (10, 11) == 21
     * @assert ('abc', 1) == 0
     * @param int $a
     * @param int $b
     * @return int
     */
    public function plus($a, $b) {
        return $a + $b;
    }

    public function subtract($a, $b) {
        return $a - $b;
    }

}
生成的测试类内容为:
<?php

/**
 * Generated by PHPUnit_SkeletonGenerator on 2015-10-16 at 02:23:33.
 */
class DemoTest extends PHPUnit_Framework_TestCase {

    /**
     * @var Demo
     */
    protected $object;

    /**
     * Sets up the fixture, for example, opens a network connection.
     * This method is called before a test is executed.
     */
    protected function setUp() {
        $this->object = new Demo;
    }

    /**
     * Tears down the fixture, for example, closes a network connection.
     * This method is called after a test is executed.
     */
    protected function tearDown() {

    }

    /**
     * Generated from @assert (11, 22) == 33.
     *
     * @covers Demo::plus
     */
    public function testPlus() {
        $this->assertEquals(
                33, $this->object->plus(11, 22)
        );
    }

    /**
     * Generated from @assert (10, 11) == 21.
     *
     * @covers Demo::plus
     */
    public function testPlus2() {
        $this->assertEquals(
                21, $this->object->plus(10, 11)
        );
    }

    /**
     * Generated from @assert ('abc', 1) == 0.
     *
     * @covers Demo::plus
     */
    public function testPlus3() {
        $this->assertEquals(
                0, $this->object->plus('abc', 1)
        );
    }

    /**
     * @covers Demo::subtract
     * @todo   Implement testSubtract().
     */
    public function testSubtract() {
        // Remove the following lines when you implement this test.
        $this->markTestIncomplete(
                'This test has not been implemented yet.'
        );
    }

}
其实际执行的命令为:
"/usr/bin/php" "/Applications/XAMPP/bin/phpunit-skelgen" "--ansi" "generate-test" "Demo" "/Volumes/Data/PHP/Library/uxf/core/base/Demo.php" "DemoTest" "/Users/apple/PHP/Library/uxf/test/core/base/DemoTest.php"
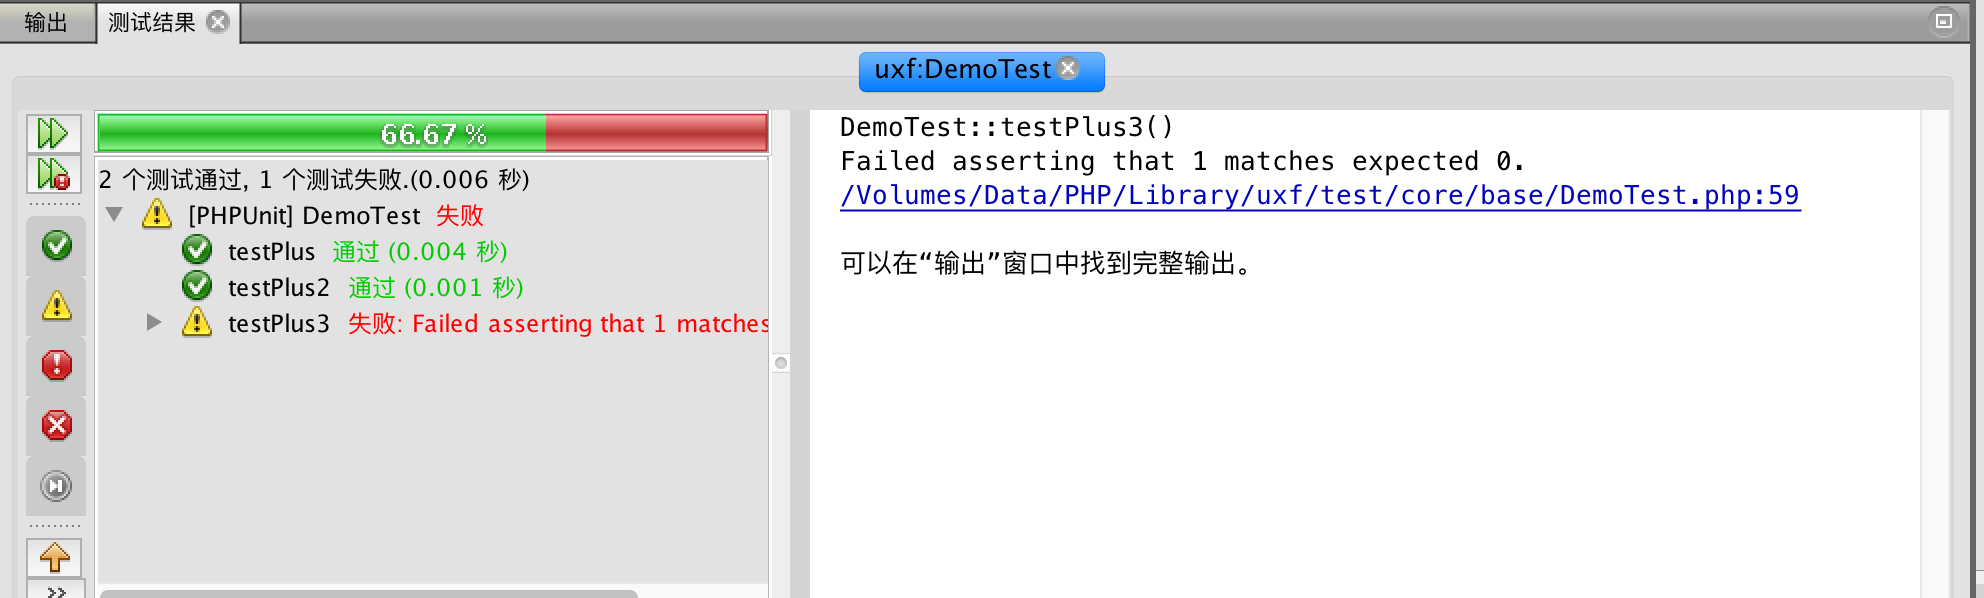
注:由于在Demo类中的注解部分使用了断言@assert,脚手架在生成测试类时,直接生成了相应的测试方法。
- 测试

测试结果会在相应面板输出:
其实际执行命令:
"/usr/bin/php" "/Volumes/Data/PHP/Library/phpunit-4.7.7.phar" "--colors" "--log-junit" "/var/folders/95/z2b73tg55795tq97k3qx6sd00000gn/T/nb-phpunit-log.xml" "--bootstrap" "/Users/apple/PHP/Library/uxf/test/bootstrap.php" "/Applications/NetBeans/NetBeans 8.0.app/Contents/Resources/NetBeans/php/phpunit/NetBeansSuite.php" "--run=/Users/apple/PHP/Library/uxf/test/core/base/DemoTest.php"
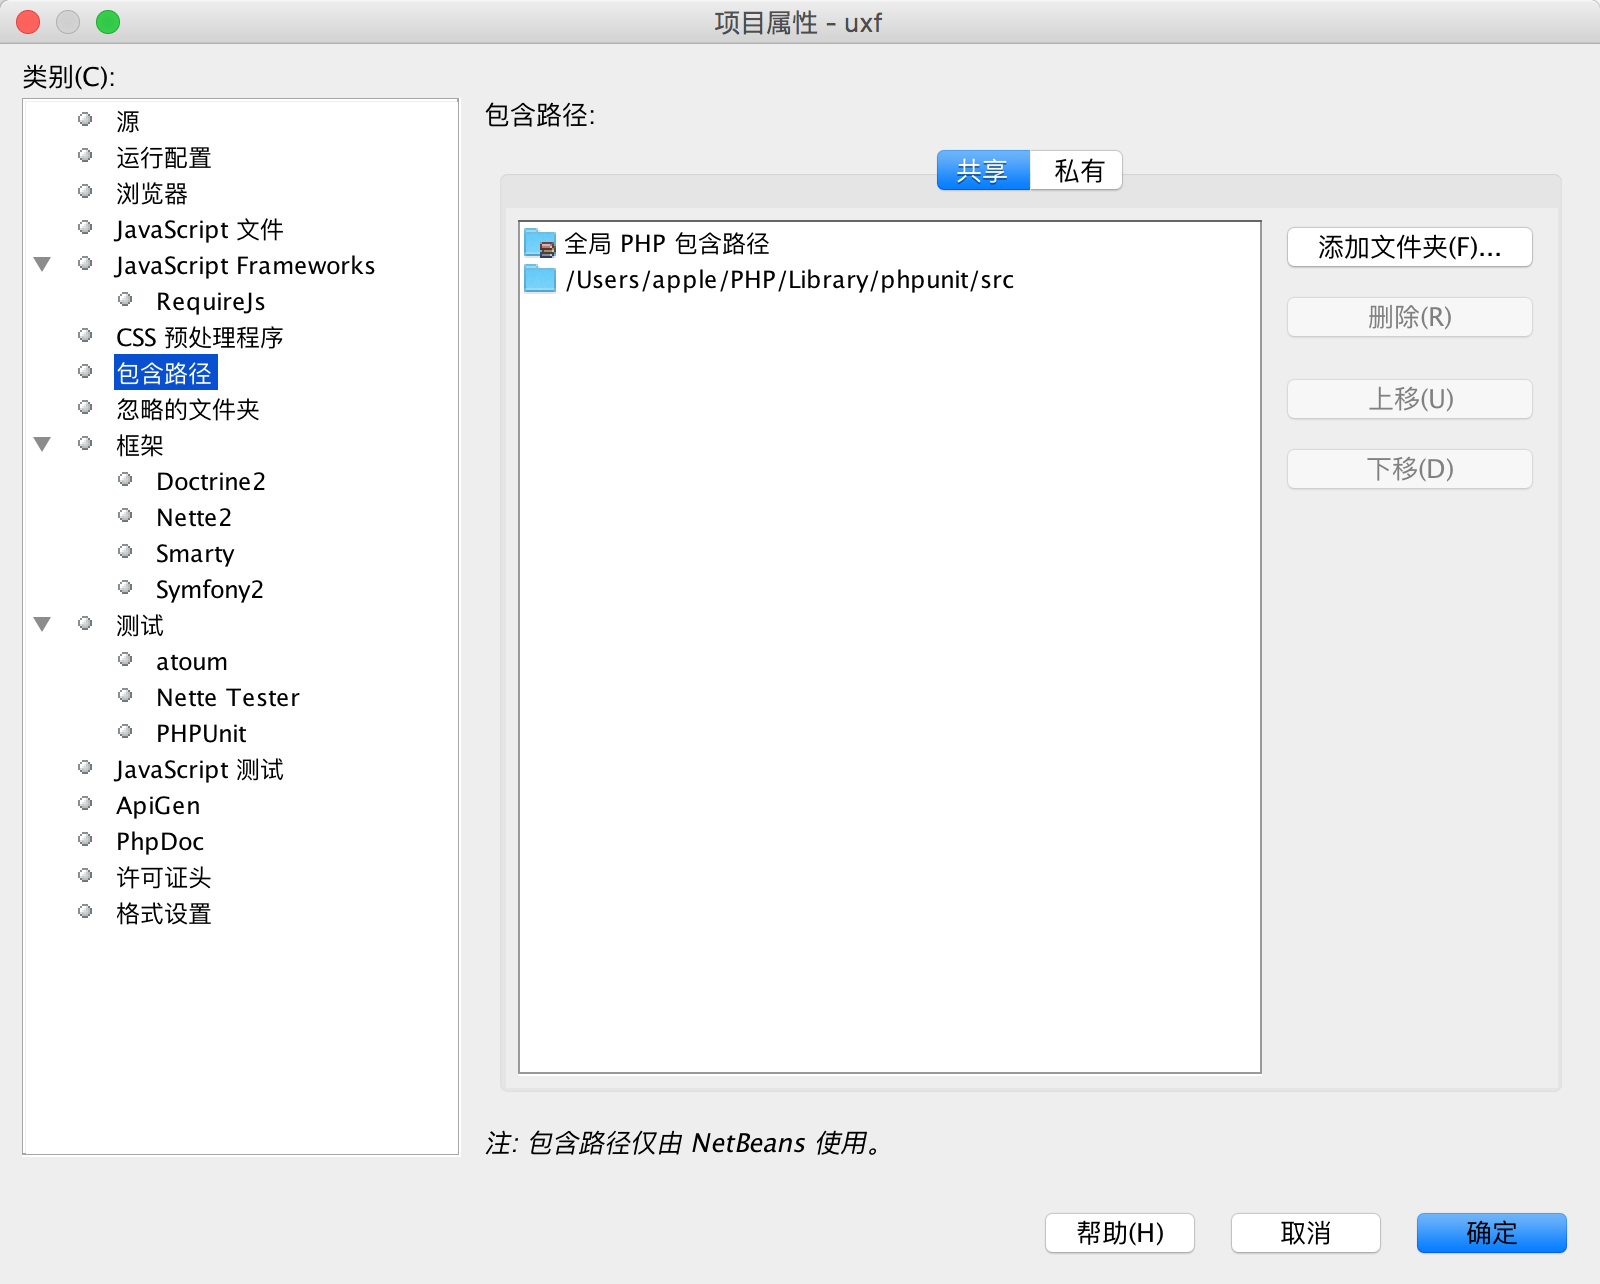
- 代码提示
Phar这种打包发布的方式,导致代码无法被IDE扫描索引形成提示。所以需要获取一份源码版的PHPUnit。
PHPUnit Github: https://github.com/sebastianbergmann/phpunit.git
DbUnit Github: https://github.com/sebastianbergmann/dbunit
PHPUnit Mock Objects Github: https://github.com/sebastianbergmann/phpunit-mock-objects
本地目录切换到4.7分支。
然后在项目的类包含设置中增加PHPUnit、DbUnit等库的本地目录。
以上即为NB中PHPUnit的基本配置和使用过程。

 浙公网安备 33010602011771号