
利用tox打造自动自动化测试框架
什么是tox
tox官方文档的第一句话 standardize testing in Python,意思就是说标准化python中的测试,那是不是很适合测试人员来使用呢,我们来看看他究竟是什么?
根据官方文档的解释,tox是一个管理测试虚拟环境的命令行工具,可以支持穿件隔离的python环境,在里面可以安装不同版本的python解释器和项目的各种依赖库,可以进行自动化测试、打包以及持续集成。
tox能做什么
- 创建测试虚拟环境
- 运行静态代码分析与测试工具
- 自动化构建包
- 针对 tox 构建的软件包运行测试
- 检查软件包是否能在不同的 Python 版本/解释器中顺利安装
- 统一持续集成(CI)和基于命令行的测试
怎么配置tox
安装tox
使用pip install tox安装,在命令行执行tox -e envname运行指定的测试环境
tox配置
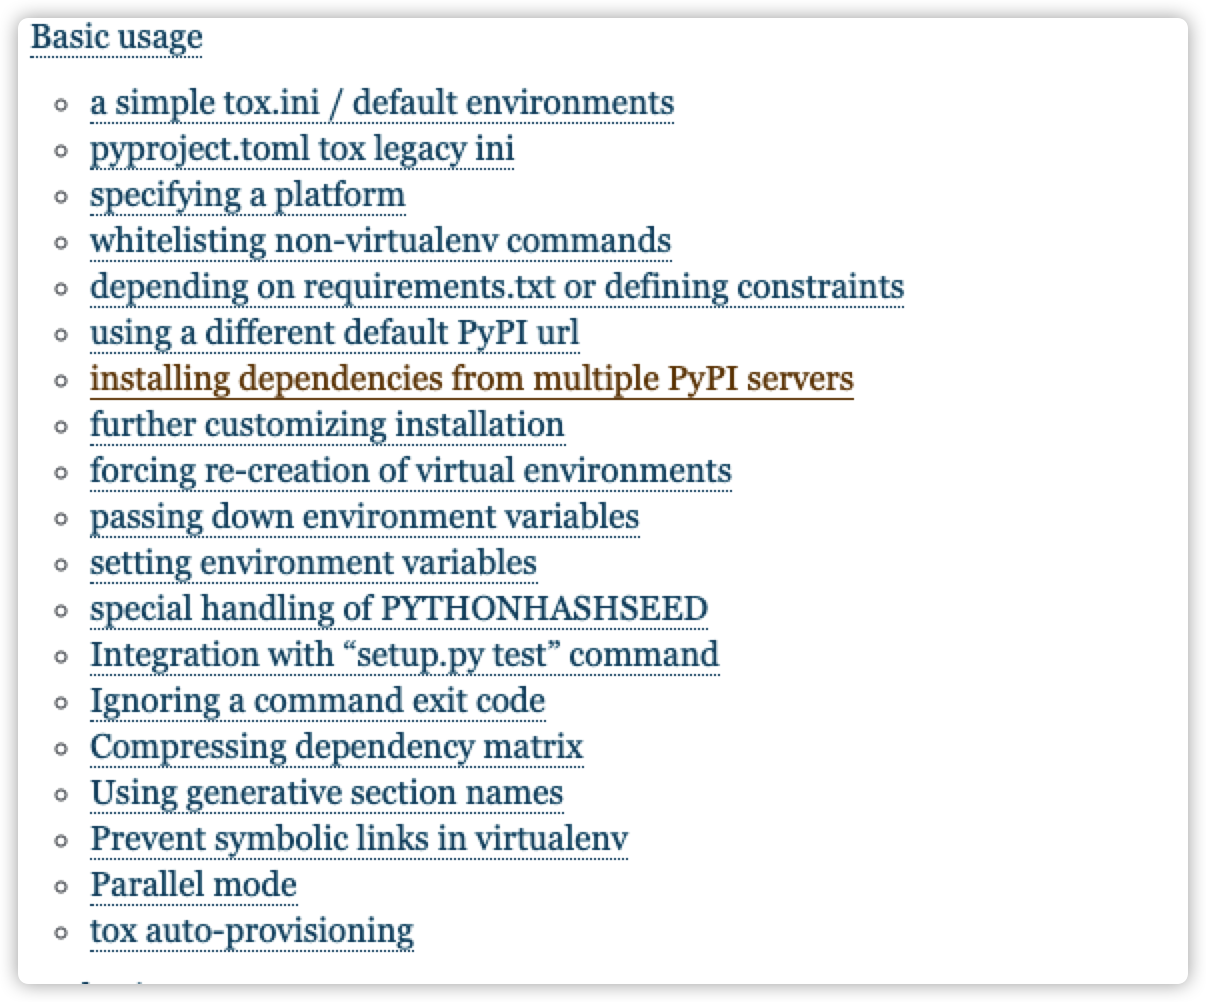
tox的行为既可以通过命令行来控制也可以通过配置文件进行控制,支持有以下三种形式的配置文件
-
pyproject.toml -
tox.ini -
setup.cfg
# tox (https://tox.readthedocs.io/) is a tool for running tests
# in multiple virtualenvs. This configuration file will run the
# tests suite on all supported python versions. To use it, "pip install tox"
# and then run "tox" from this directory.

[tox]
envlist = py36
skipsdist = True
# 设置pip源和依赖版本
indexserver =
    default = http://mirrors.aliyun.com/pypi/simple/

[testenv]
deps =
    pytest
    records
    pymysql
    jinja2
    requests
    objectpath
    arrow
    pytest-html
    redis
install_command = pip install --trusted-host mirrors.aliyun.com {opts} {packages}
[testenv:dev]
setenv = env = dev
; 告诉tox在每个测试环境里运行pytest
commands = pytest --junitxml=junit-{envname}.xml


;只运行广告相关的测试用例
[testenv:t_a]
setenv = env = dev
commands = pytest -v tests/ad--junitxml=junit-{envname}.xml


;只运行测试环境APP相关测试用例
;只运行APP相关测试用例
[testenv:t_i]
setenv = env = dev
commands = pytest -v tests/ivwen --junitxml=junit-{envname}.xml


[testenv:t1_i]
setenv = env = t1
commands = pytest -v tests/ivwen --junitxml=junit-{envname}.xml


[testenv:pro]
setenv = env = pro
; 通过command line往环境变量里写测试还是线上的标识,config根据标识从环境变量里去读取指定文件
; 或者通过插件的形式,能够配置各个环境的文件,根据命令行参数指定把那个文件放入指定读取目录
command = pytest


[testenv:smoke]

[pytest]
markers =
    smoke
    get

addopts = -rsxX -l --tb=short --strict
xfail_strict = true
minversion = 3.0
norecursedirs = .* venv src *.egg dist build
testpaths = tests
python_classes = *Test Test* *Suit
junit_family=xunit1
以上配置解释如下:
- [tox]节点是对tox进行配置
envlist指定环境列表,多个环境用逗号隔开,比如py36,py37
skipsdist 指定tox在运行过程中跳过打包环节,因为当前这个项目没有打包的需求,所以这里设置为true,这个和自动化测试框架的设计有关。
indexserver 指定pip的安装源
- [testenv]节点是对测试环境进行配置,这个是根测试环境的配置,下面还可以对不同的测试环境进行配置,都可以继承这个节点
deps 指定项目的python依赖的第三方包
install_command 定义pip安装命令参数
- [testenv:dev]这个节点是定义测试环境,继承根环境配置
setenv 设置环境变量,在项目中可以读取环境变量,从而决定要运行哪个环境的配置,比如tox -e dev,意思就是说在测试环境运行测试用例,tox -e prod在生产环境运行测试用例
commands 指定pytest的运行方式,其他环境的节点配置与此相似。
- [pytest]节点可以对pytest进行配置
- addopts 指定pytest的命令行参数
- xfail_strict 设置预期失败的case如果通过了,则标记为失败
- minversion 指定tox的最小版本
- norecursedirs 指定哪些目录不用递归查找测试用例
- testpaths 指定测试用例的搜索目录
- python_classes 指定测试用例的搜索规则
当然以上的配置只是tox一部分,还有很多,关注官方文档
tox项目实战
下面我们以 tox、pytest打造一个自动化测试框架
项目搭建
-
新建一个api-auto-test文件夹,在文件夹里添加一个tox.ini文件,输入上面的配置
-
再分别新建一个src和tests目录,src用于存放封装的一些共有的内容,tests用于存放测试用例
-
src目录内容如下
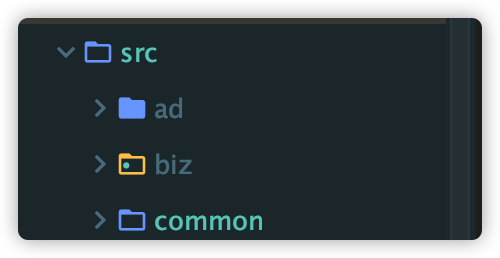
ad和biz是对不同业务进行的封装,里面包括接口调用以及数据库相关操作
common是各个业务模块公共的部分,包括请求发送、数据库链接基础操作封装、配置等,主要来看一下config的里的内容:
class Config:
  '''公共配置'''

class DevConfig(Config):
  '''测试环境配置'''

class ProdConfig(Config):
  '''生产环境配置'''


# 环境切换
_MAPPING = {
    'dev': DevConfig,
    't1': T1Config,
    'pro': ProConfig,
}
# 这里根据tox设置的环境变量,来决定使用哪一个环境的配置,从而实现不同环境环境的切换
config = _MAPPING.get(os.getenv("env"), DevConfig)
-
运行测试用例
tox -e dev
![image-20200719225503001]()
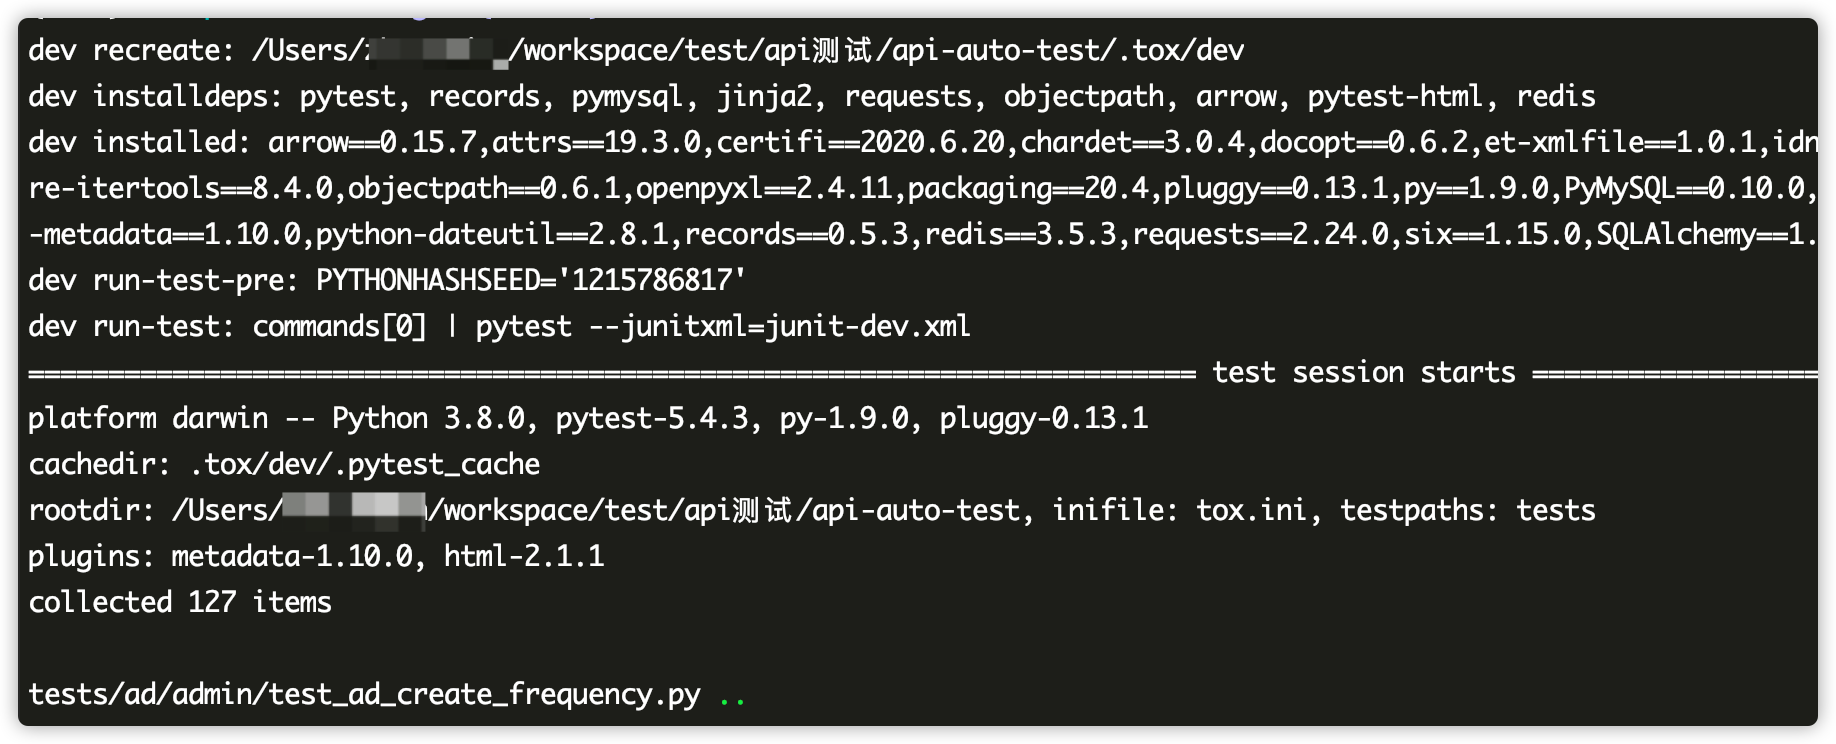

以上是执行过程以及测试结果,会生成junit.xml格式的测试报告,当然也可以使用pytest-html或者其他测试报告,都很方便。
欢迎大家去 我的博客 瞅瞅,里面有更多关于测试实战的内容哦!!

 浙公网安备 33010602011771号