
实验4:开源控制器实践——OpenDaylight
(一)基本要求
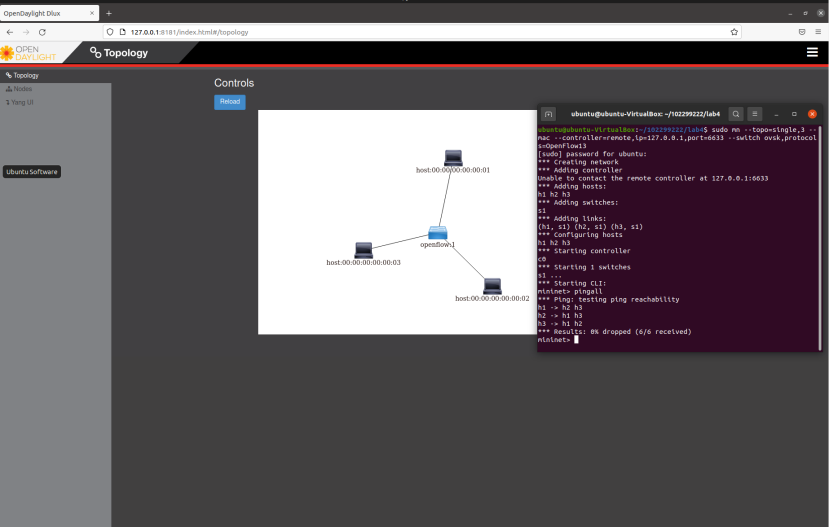
1.利用Mininet平台搭建下图所示网络拓扑,并连接OpenDaylight控制器;
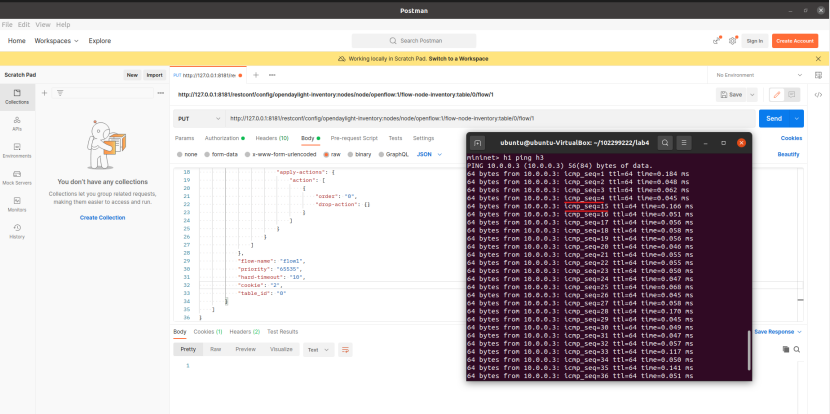
2.通过Postman工具调用OpenDaylight提供的API下发流表,实现拓扑内主机h1和h3网络中断10s。
(二)进阶要求
1.查找资料,整理和记录ODL控制器主要的REST API文档,包括但不限于ODL提供的文档链接,获取拓扑的交换机、获取流表状态数量、获取特定交换机端口的状态、新增修改和删除流表等。
获取拓扑的交换机:
http://127.0.0.1:8181/apidoc/explorer/index.html#!/opendaylight-inventory(2013-08-19)/GET_nodes_get_1

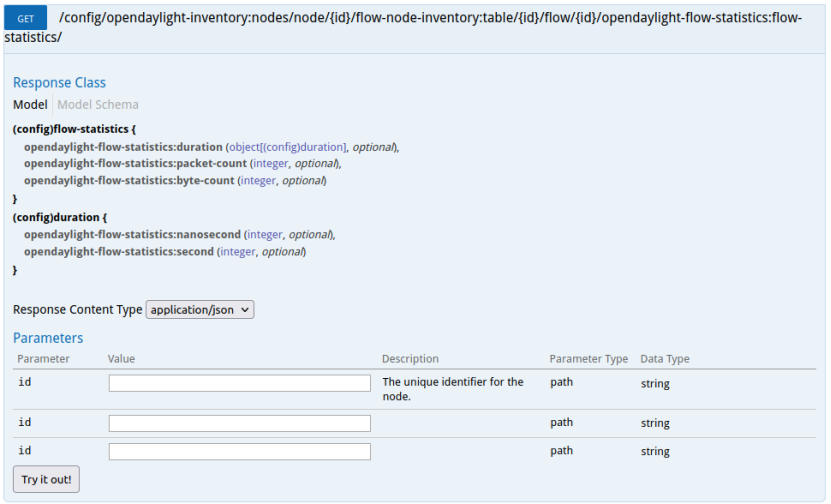
获取流表状态数量:
http://127.0.0.1:8181/apidoc/explorer/index.html#!/opendaylight-inventory(2013-08-19)/GET_flow_statistics_get_265
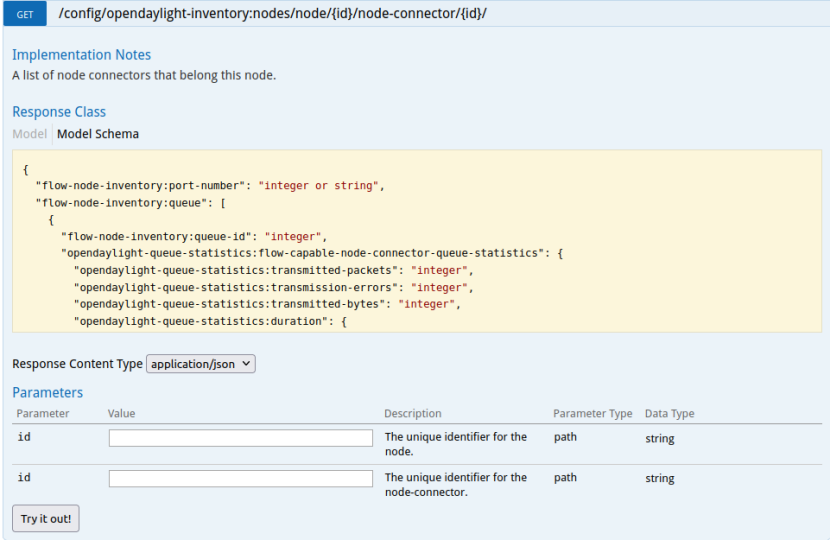
获取特定交换机端口的状态:
http://127.0.0.1:8181/apidoc/explorer/index.html#!/opendaylight-inventory(2013-08-19)/GET_node_connector_get_9
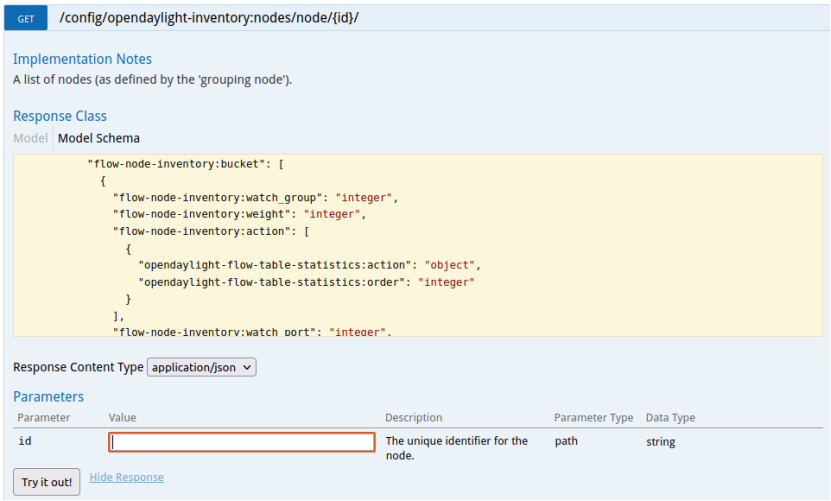
获取指定交换机信息:
http://127.0.0.1:8181/apidoc/explorer/index.html#!/opendaylight-inventory(2013-08-19)/GET_node_get_5
增、删、改、查流表:
http://127.0.0.1:8181/apidoc/explorer/index.html#!/opendaylight-inventory(2013-08-19)/GET_flow_get_198
http://127.0.0.1:8181/apidoc/explorer/index.html#!/opendaylight-inventory(2013-08-19)/PUT_flow_put_199
http://127.0.0.1:8181/apidoc/explorer/index.html#!/opendaylight-inventory(2013-08-19)/DELETE_flow_delete_200
http://127.0.0.1:8181/apidoc/explorer/index.html#!/opendaylight-inventory(2013-08-19)/POST_flow_post_201

个人总结
本次实验我学到了如何将网络拓扑连接OpenDaylight控制器以及通过Postman工具调用OpenDaylight提供的API下发流表。本次实验对于我来说较为简单,但还是遇到了一些困难。一开始进入http://127.0.0.1:8181/index.html#时出现ERROR 404的问题以及输入账号密码后 出现 unable to login 的问题,通过多次刷新得以成功登入OpenDaylight。同时由于不熟悉Postman,最初不知道如何开始本次实验基本要求的第二题,以及在Postman输入指令时,忘了选择 JSON 导致无法实现拓扑内主机h1和h3网络中断10s。最后,ODL控制器提供的API较多,查找进阶要求所需的API较为困难,花费了较多时间。

 浙公网安备 33010602011771号