
nginx-web基础入门
nginx-web基础入门
目录
1.nginx概述
nginx是一个开源并且高性能,可靠的Http Web服务、代理服务
	开源:可以直接获取源代码
	高性能:支持海量并发
	可靠:服务稳定
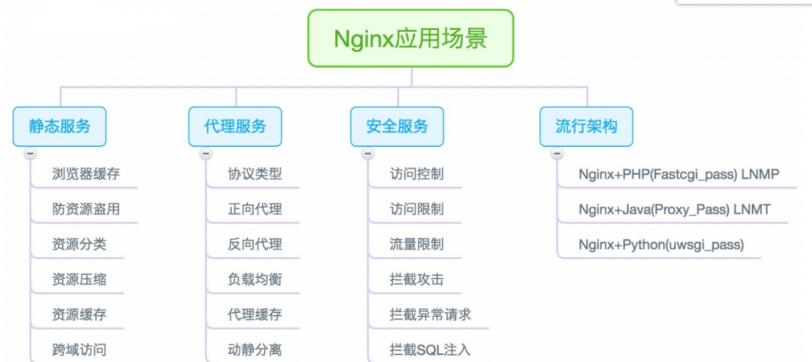
2.nginx应用场景
3.使用官方源安装nginx
1.先进入Nginx官方网站:http://nginx.org/
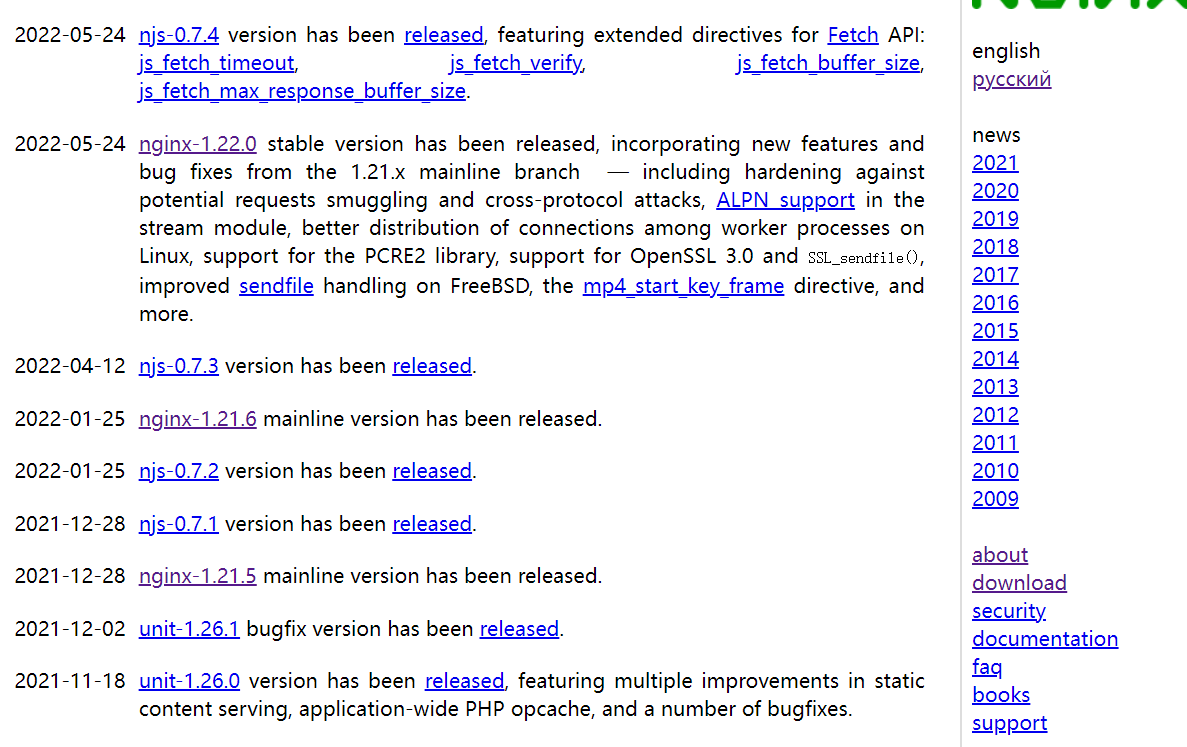
2.点击download
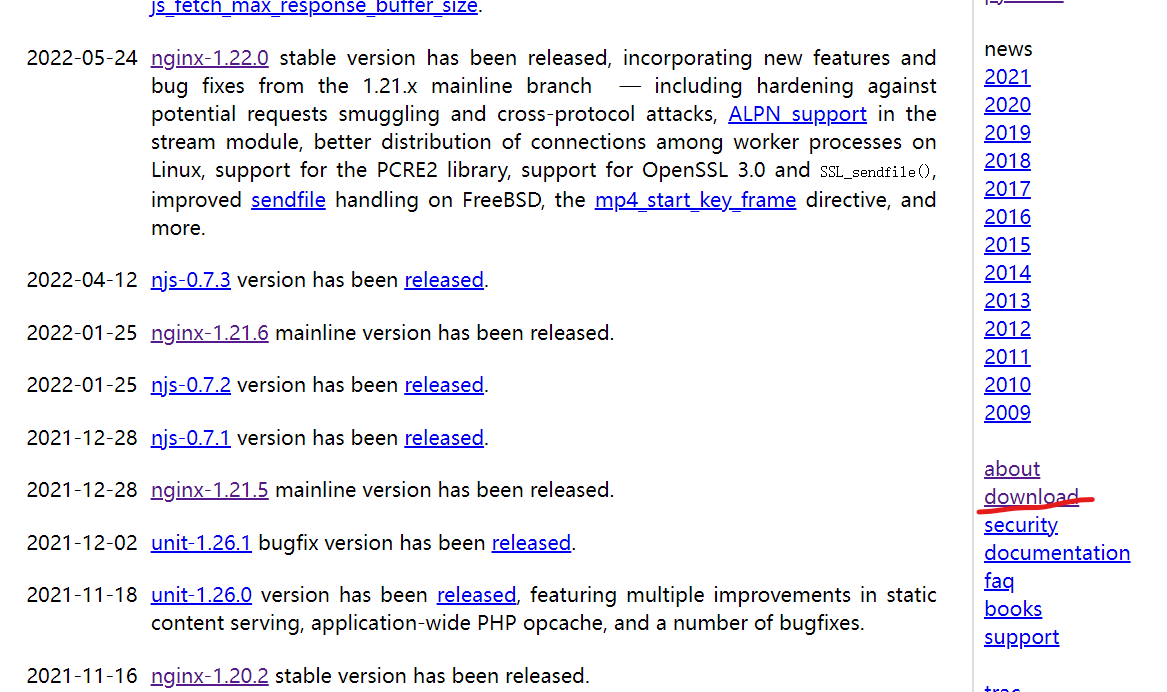
3.点击stable and mailine
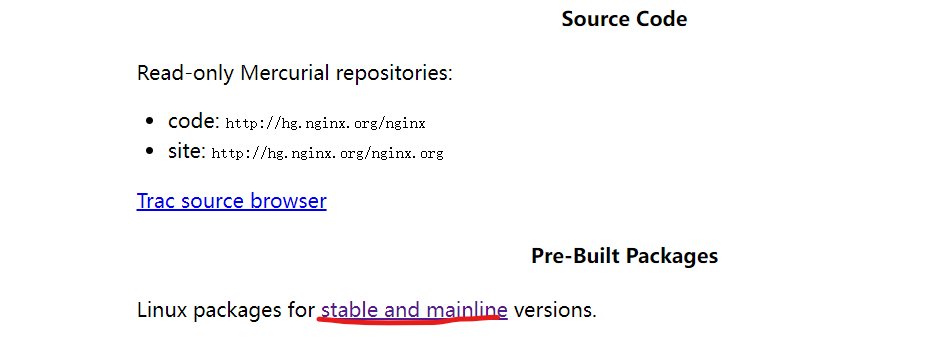
4.找到对应的版本
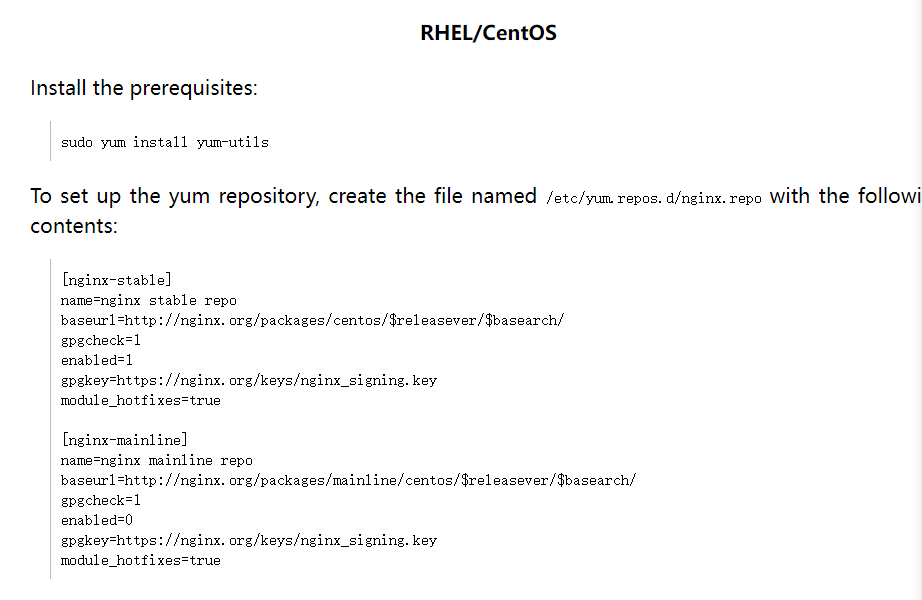
5.将内容编写进yum仓库中
    [root@web01 ~]# vim /etc/yum.repos.d/nginx.repo
    [nginx-stable]
    name=nginx stable repo
    baseurl=http://nginx.org/packages/centos/$releasever/$basearch/
    gpgcheck=1
    enabled=1
    gpgkey=https://nginx.org/keys/nginx_signing.key
    module_hotfixes=true
6.安装nginx:
	yum install -y nginx
7.启动nginx并加入开机自启
	systemctl start nginx
	systemctl enable nginx
4.nginx启停
1.启动
	systemctl start nginx
	nginx
	/usr/sbin/nginx
2.停止
	systemctl stop nginx
	nginx -s stop
	/usr/sbin/nginx -s stop
3.重新加载
	systemctl reload nginx
	nginx -s reload
	/usr/sbin/nginx -s reload
5.nginx的选项
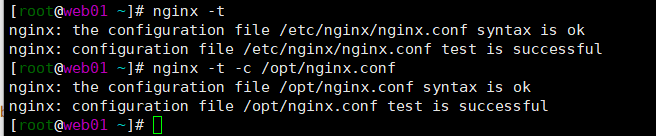
-c:指定配置文件的路径
-t:检查配置文件的语法
-s:启动重载,服务操作
-v:查看版本号

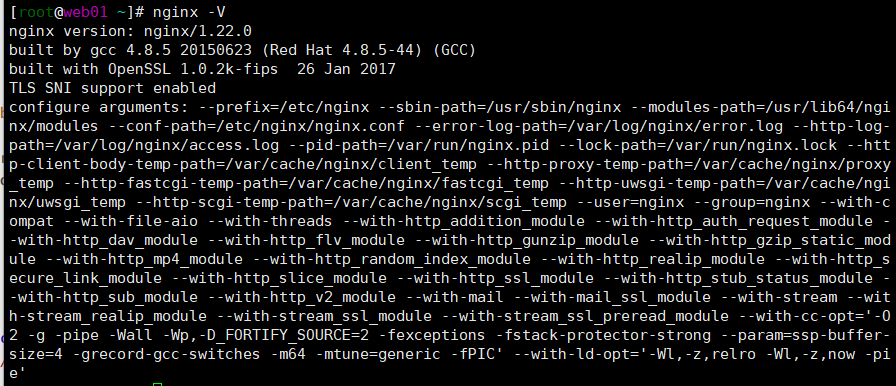
-V:查看版本和编译参数
	[root@web01 ~]# nginx -V
    nginx version: nginx/1.22.0
    built by gcc 4.8.5 20150623 (Red Hat 4.8.5-44) (GCC)
    built with OpenSSL 1.0.2k-fips  26 Jan 2017
    TLS SNI support enabled
    configure arguments: --prefix=/etc/nginx --sbin-path=/usr/sbin/nginx --modules-path=/usr/lib64/nginx/modules --conf-path=/etc/nginx/nginx.conf --error-log-path=/var/log/nginx/error.log --http-log-path=/var/log/nginx/access.log --pid-path=/var/run/nginx.pid --lock-path=/var/run/nginx.lock --http-client-body-temp-path=/var/cache/nginx/client_temp --http-proxy-temp-path=/var/cache/nginx/proxy_temp --http-fastcgi-temp-path=/var/cache/nginx/fastcgi_temp --http-uwsgi-temp-path=/var/cache/nginx/uwsgi_temp --http-scgi-temp-path=/var/cache/nginx/scgi_temp --user=nginx --group=nginx --with-compat --with-file-aio --with-threads --with-http_addition_module --with-http_auth_request_module --with-http_dav_module --with-http_flv_module --with-http_gunzip_module --with-http_gzip_static_module --with-http_mp4_module --with-http_random_index_module --with-http_realip_module --with-http_secure_link_module --with-http_slice_module --with-http_ssl_module --with-http_stub_status_module --with-http_sub_module --with-http_v2_module --with-mail --with-mail_ssl_module --with-stream --with-stream_realip_module --with-stream_ssl_module --with-stream_ssl_preread_module --with-cc-opt='-O2 -g -pipe -Wall -Wp,-D_FORTIFY_SOURCE=2 -fexceptions -fstack-protector-strong --param=ssp-buffer-size=4 -grecord-gcc-switches -m64 -mtune=generic -fPIC' --with-ld-opt='-Wl,-z,relro -Wl,-z,now -pie'
6.nginx启动脚本用systemd管理
[root@web01 ~]# vim /usr/lib/systemd/system/nginx.service

[Unit]
Description=nginx - high performance web server
Documentation=http://nginx.org/en/docs/
After=network-online.target remote-fs.target nss-lookup.target
Wants=network-online.target

[Service]
Type=forking
PIDFile=/var/run/nginx.pid
ExecStart=/usr/sbin/nginx -c /etc/nginx/nginx.conf
ExecReload=/bin/sh -c "/bin/kill -s HUP $(/bin/cat /var/run/nginx.pid)"
ExecStop=/bin/sh -c "/bin/kill -s TERM $(/bin/cat /var/run/nginx.pid)"

[Install]
WantedBy=multi-user.target
7.nginx配置文件
- nginx主配置文件
| 路径 | 类型 | 作用 |
|---|---|---|
| /etc/nginx/nginx.conf | 配置文件 | nginx的主配置文件 |
| /etc/nginx/conf.d/default.conf | 配置文件 | nginx网站示例配置文件 |
- nginx代理相关参数文件
| 路径 | 类型 | 作用 |
|---|---|---|
| /etc/nginx/fastcgi_params | 配置文件 | Fastcgi代理配置文件 |
| /etc/nginx/scgi_params | 配置文件 | scgi代理配置文件 |
| /etc/nginx/uwsgi_params | 配置文件 | uwsgi代理配置文件 |
- nginx编码相关配置文件
| 路径 | 类型 | 作用 |
|---|---|---|
| /etc/nginx/win-utf | 配置文件 | nginx编码转换映射文件 |
| /etc/nginx/koi-utf | 配置文件 | nginx编码转换映射文件 |
| /etc/nginx/koi-win | 配置文件 | nginx编码转换映射文件 |
| /etc/nginx/mime.types | 配置文件 | Content-Type与扩展名 |
- nginx管理相关命令
| 路径 | 类型 | 作用 |
|---|---|---|
| /usr/sbin/nginx | 命令 | nginx命令行管理终端工具 |
| /usr/sbin/nginx-debug | 命令 | nginx命令行与终端调试工具 |
- nginx日志相关目录与文件
| 路径 | 类型 | 作用 |
|---|---|---|
| /var/log/nginx | 目录 | nginx默认存放日志目录 |
| /etc/logrotate.d/nginx | 配置文件 | nginx默认的日志切割 |
8.nginx配置文件详解
1.nginx主配置文件
        [root@web01 ~]# grep -Ev '^$|#' /etc/nginx/nginx.conf
    ## 核心层(核心模块)、全局配置
    # nginx启动用户配置
    user  nginx;
    # nginx工作线程数量(cpu亲和)
    worker_processes  auto;(auto是自动根据cpu的核心数来启动对应的工作进程数)
    # 错误日志   错误日志存放路径         日志级别
    error_log  /var/log/nginx/error.log notice;
    # 程序启动进程号存放路径
    pid        /var/run/nginx.pid;

    ## 事件层(事件模块)
    events {
    	# -一个worker进程的最大连接数
        worker_connections  1024;
    }

    ## http层,http模块、网站配置
    http {
    	# 浏览器中默认可以解析的格式
        include       /etc/nginx/mime.types;
        # 浏览器中点击直接下载不解析(安装软件的格式)
        default_type  application/octet-stream;
        # 日志格式   格式名字     日志格式
        log_format  main  '$remote_addr - $remote_user [$time_local] "$request" '
                          '$status $body_bytes_sent "$http_referer" '
                          '"$http_user_agent" "$http_x_forwarded_for"';
        # 访问日志    日志路径                  调用日志格式名字
        access_log  /var/log/nginx/access.log  main;
        # 文件传输的优化配置
        sendfile        on;
        # 长链接超时时间
        keepalive_timeout  65;
        # 数据传输过程中,使用gzip压缩
        gzip  on;
        # 包含nginx的其他子配置文件(网络虚拟主机配置文件server)
        include /etc/nginx/conf.d/*.conf;
    }
2.虚拟主机配置文件
	[root@web01 ~]# grep -Ev '^$|#' /etc/nginx/conf.d/default.conf
    server {
    	# 该网站的监听端口
        listen       80;
        # 该网站的主机IP或域名
        server_name  localhost;
        # uri跳转
        location / {
            # 站点目录
            root   /usr/share/nginx/html;
            # 默认首页,索引页面
            index  index.html index.htm;
        }
    }
# nginx配置文件每一行都以‘;’结尾
9.日志格式
$remote_addr:远端IP(上一个节点的IP)
-:分隔符
$remote_user:登录的用户
[$time_local]:时间
"$request":请求方式、请求的uri、HTTP协议版本号
$status:状态码
$body_bytes_sent:nginx返回给客户端的响应体的字节数
"$http_referer":跳转地址
"$http_user_agent" :客户端信息
"$http_x_forwarded_for":记录透传IP地址(获取用户的真实IP)
10.多虚拟主机(多web网站配置)
在企业中,是不会用一个nginx对应一套业务,一般都是多个网站都在一个nginx中配置
- 基于ip的多虚拟主机
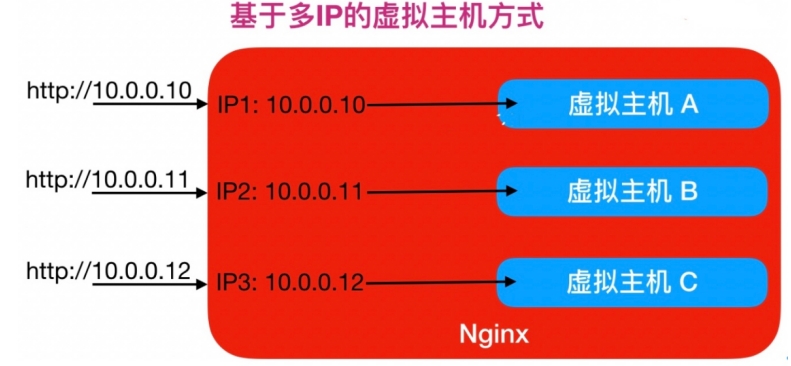
1.先创建一个虚拟网卡
	ifconfig eth0:0 10.0.0.10
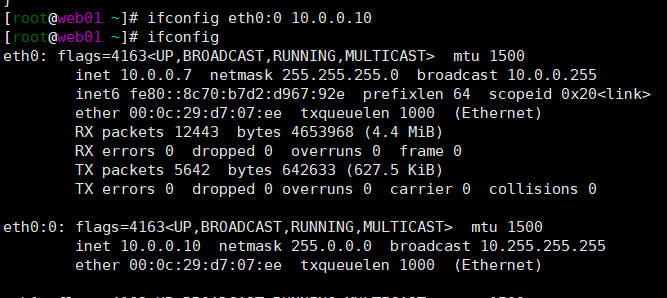
2.编写虚拟主机配置文件
[root@web01 ~]# vim /etc/nginx/conf.d/jl.conf
server{
listen 80;
server_name 10.0.0.10;
location /{
root /jl;
index index.html;
}
}
[root@web01 ~]# vim /etc/nginx/conf.d/htm.conf
server{
listen 80;
server_name 10.0.0.7;
location /{
root /htm;
index index.html;
}
}
3.根据配置文件创建站点目录
[root@web01 ~]# mkdir /{jl,htm}
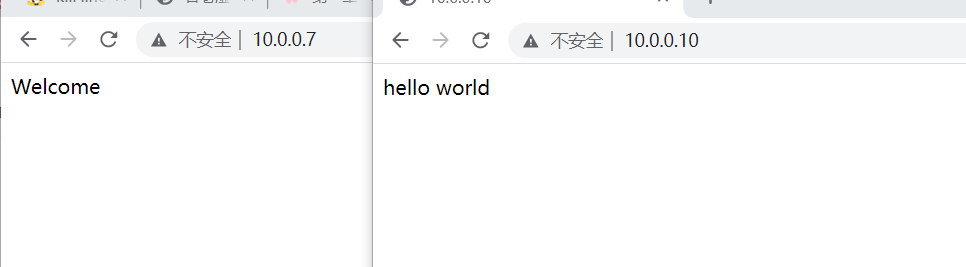
4.在站点目录下创建索引页面并写入内容
[root@web01 ~]# cat /jl/index.html
hello world
[root@web01 ~]# vim /htm/index.html
Welcome
5.重新启动nginx
systemctl reload nginx
6.打开浏览器分别访问各自的ip
- 基于多端口的虚拟主机
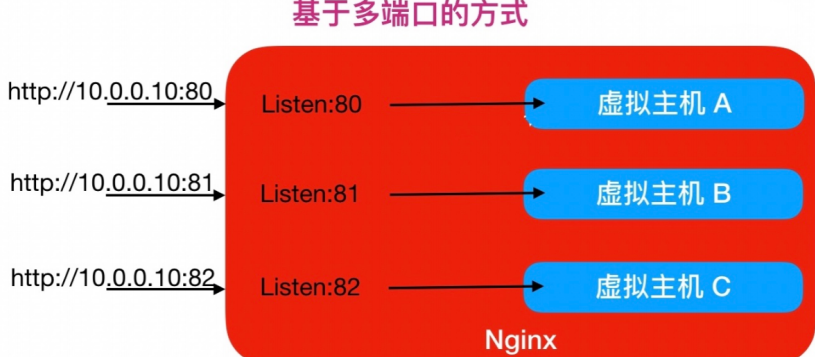
1.编写虚拟主机配置文件
[root@web01 ~]# vim /etc/nginx/conf.d/jl.conf

server{
        listen 8080;
        server_name 10.0.0.7;

        location /{
                root /jl;
                index index.html;
        }
}
[root@web01 ~]# vim /etc/nginx/conf.d/htm.conf

server{
        listen 8081;
        server_name 10.0.0.7;

        location /{
                root /htm;
                index index.html;
        }
}
3.根据配置文件创建站点目录
	[root@web01 ~]# mkdir /{jl,htm}
4.在站点目录下创建索引页面并写入内容
	[root@web01 ~]# cat /jl/index.html
	hello world
	[root@web01 ~]# vim /htm/index.html
	Welcome
5.重新启动nginx
systemctl reload nginx
6.打开浏览器访问网页

- 基于多域名的虚拟主机
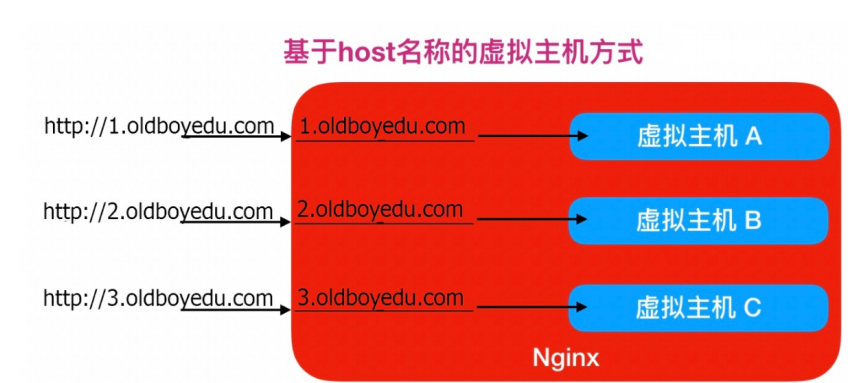
1.编写虚拟主机配置文件
[root@web01 ~]# vim /etc/nginx/conf.d/www.jl.com.conf
server{
        listen 80;
        server_name www.jl.com;
        root /jl;
        index index.html;
}
[root@web01 ~]# vim /etc/nginx/conf.d/blog.jl.com.conf
server{        listen 80;
        server_name blog.jl.com;
        root /htm;
        index index.html;
}
3.根据配置文件创建站点目录
	[root@web01 ~]# mkdir /{jl,htm}
4.在站点目录下创建索引页面并写入内容
	[root@web01 ~]# cat /jl/index.html
	hello world
	[root@web01 ~]# vim /htm/index.html
	Welcome
5.重新启动nginx
systemctl reload nginx
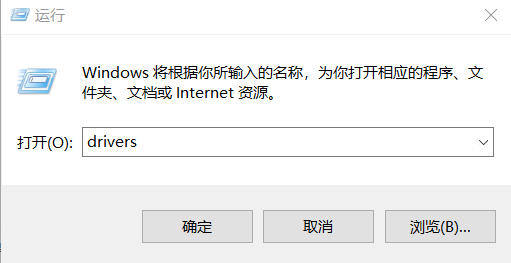
6.在windows系统中,配置本地的DNS
	1.按win+r打开运行,并输入drivers
2.点击etc目录
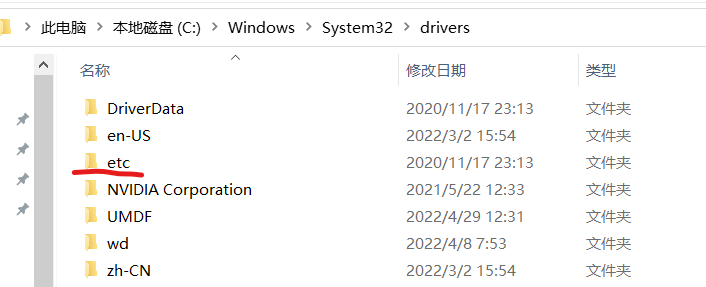
3.打开hosts配置文件
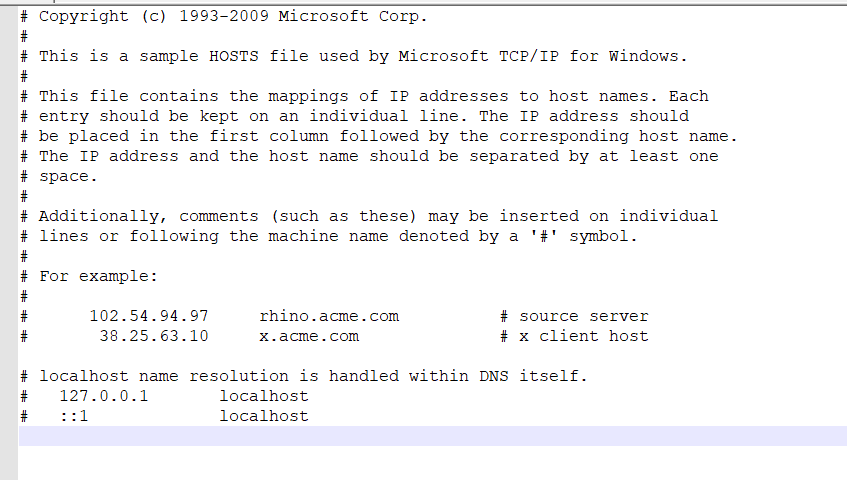
4.将ip地址和域名写进去,保存
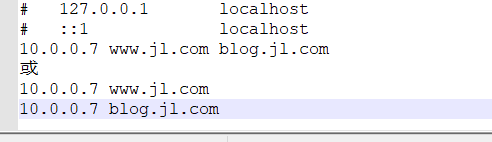
5.打开浏览器访问
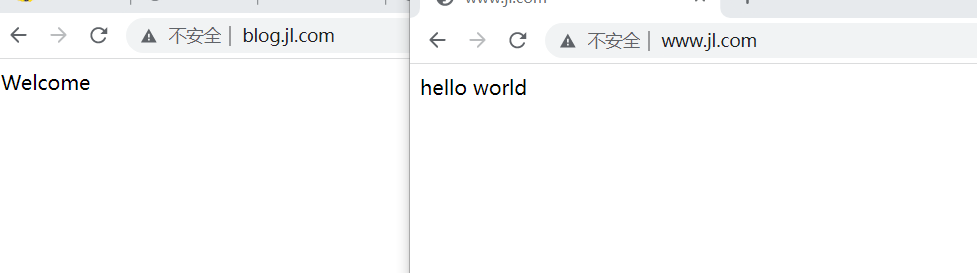
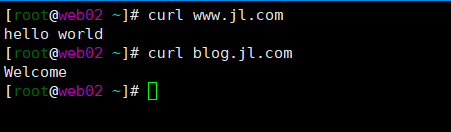
7.在虚拟机上访问该域名
	1.在虚拟机上配置本地DNS
	[root@web02 ~]# vim /etc/hosts
    127.0.0.1   localhost localhost.localdomain localhost4 localhost4.localdomain4
    ::1
    2.输入IP地址和域名

3.访问该域名
11.日志切割
[root@web01 ~]# cat /etc/logrotate.d/nginx
/var/log/nginx/*.log {
        daily		# 每天切割日志
        missingok	# 日志丢失忽略
        rotate 52	# 日志保留52天
        compress	# 日志文件压缩
        delaycompress	# 延迟压缩日志
        notifempty		# 不切割空文件
        create 640 nginx adm	# 日志文件权限
        sharedscripts
        postrotate		# 切割日志执行的命令
                if [ -f /var/run/nginx.pid ]; then
                        kill -USR1 `cat /var/run/nginx.pid`
                fi
        endscript
}


 浙公网安备 33010602011771号