MySQL root密码正确,却无法从本地登录MySQL
本文有许多废话,可以直接跳到分割线
补上周的博客,这个是最近遇到的坑,mac brew安装的mysql5.6 刚开始是正常的 但是 某天 我mysql root突然登录不上了 我觉得密码应该是正确的
报错图忘记截了(以后要记得遇到问题截图 写博客用) 报错内容如下(注意报错信息 )
1 ERROR 1045 (28000): Access denied for user 'root'@'localhost' (using password: YES);
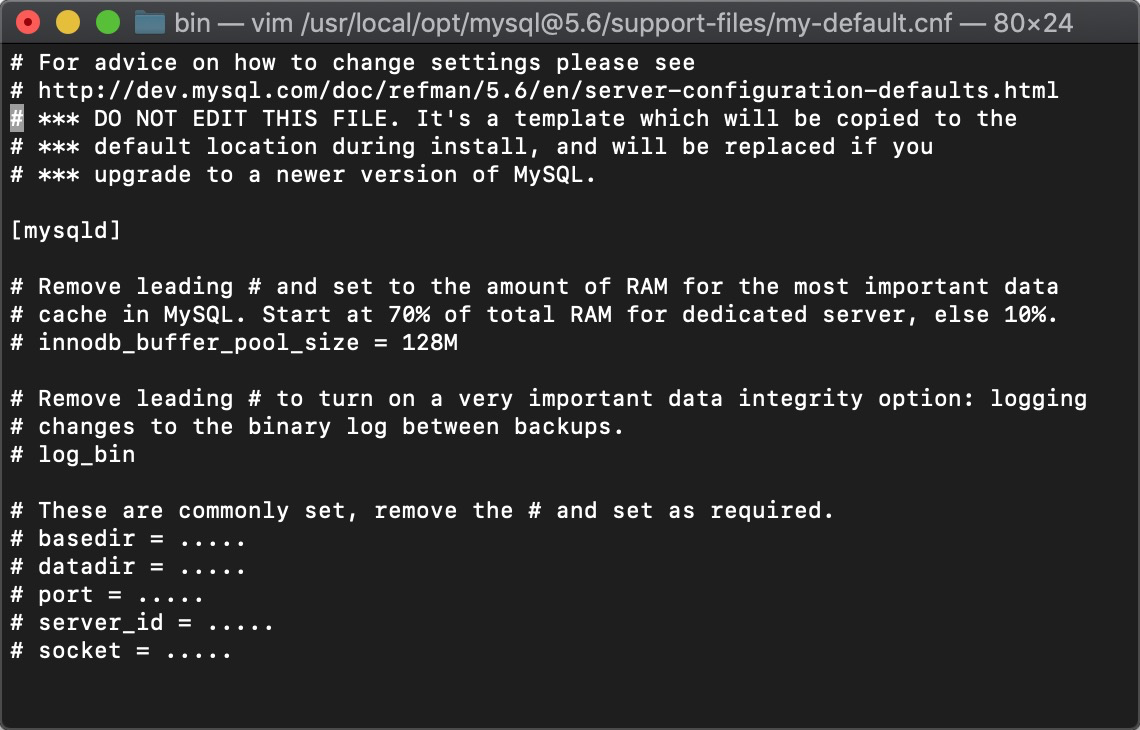
好的,登录不上 咋办 改root密码呗,首先要跳过密码认证skip-grant-tables 那么要找到mysql的配置文件,然后我发现mac安装mysql 在etc下根本没有my.cnf 后来发现在下列目录中有个默认配置文件,进去看了里面的内容,感觉配置项有点少 我就自建了my.cnf文件,网上找了配置复制下来(这个默认的也能用,不过我没试过,如果要用就拷到etc下改为my.cnf 然后配置一下就好了)
/usr/local/opt/mysql\@5.6/support-files/my-default.cnf

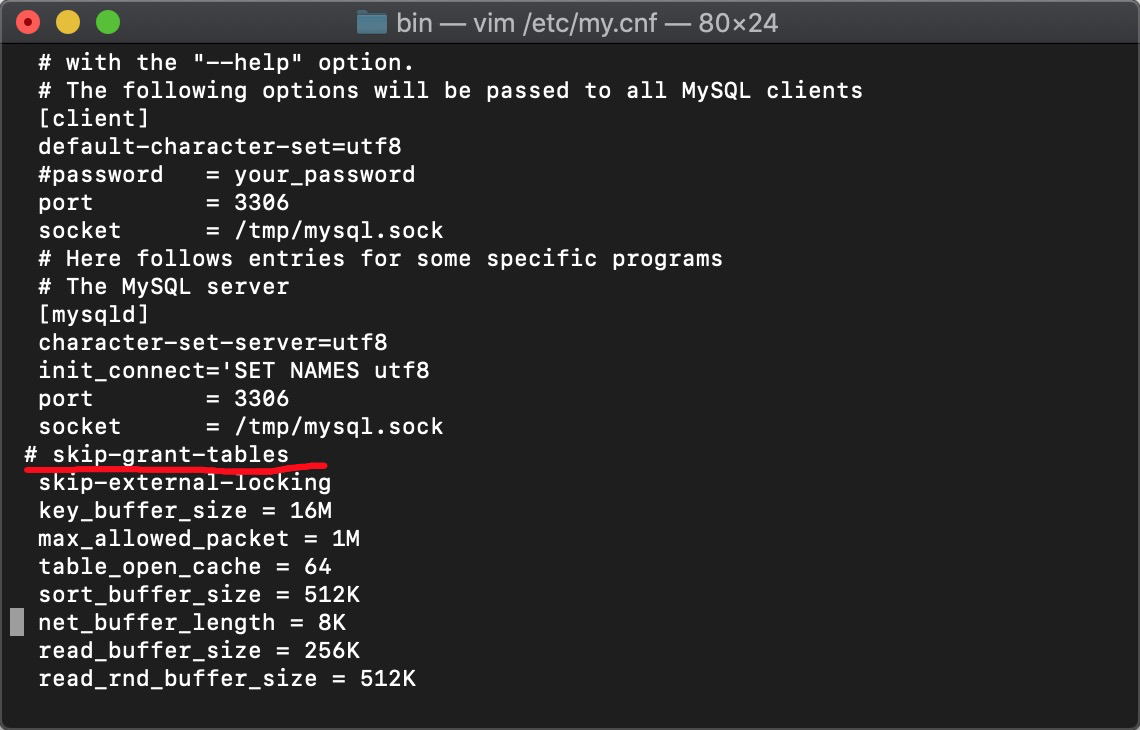
网上找的 my.cnf的配置 在etc下新建my.cnf然后复制进去就行了
    # Example MySQL config file for medium systems.

    #

    # This is for a system with little memory (32M - 64M) where MySQL plays

    # an important part, or systems up to 128M where MySQL is used together with

    # other programs (such as a web server)

    #

    # MySQL programs look for option files in a set of

    # locations which depend on the deployment platform.

    # You can copy this option file to one of those

    # locations. For information about these locations, see:

    # http://dev.mysql.com/doc/mysql/en/option-files.html

    #

    # In this file, you can use all long options that a program supports.

    # If you want to know which options a program supports, run the program

    # with the "--help" option.

    # The following options will be passed to all MySQL clients

    [client]

    default-character-set=utf8

    #password = your_password

    port = 3306

    socket = /tmp/mysql.sock

    # Here follows entries for some specific programs

    # The MySQL server

    [mysqld]
    # skip

    character-set-server=utf8

    init_connect='SET NAMES utf8

    port = 3306

    socket = /tmp/mysql.sock

    skip-external-locking

    key_buffer_size = 16M

    max_allowed_packet = 1M

    table_open_cache = 64

    sort_buffer_size = 512K

    net_buffer_length = 8K

    read_buffer_size = 256K

    read_rnd_buffer_size = 512K

    myisam_sort_buffer_size = 8M

    character-set-server=utf8

    init_connect='SET NAMES utf8'

# Don't listen on a TCP/IP port at all. This can be a security enhancement,

# if all processes that need to connect to mysqld run on the same host.

# All interaction with mysqld must be made via Unix sockets or named pipes.

# Note that using this option without enabling named pipes on Windows

# (via the "enable-named-pipe" option) will render mysqld useless!

#

#skip-networking


    # Replication Master Server (default)

    # binary logging is required for replication l

    og-bin=mysql-bin


        # binary logging format - mixed recommended

        binlog_format=mixed


            # required unique id between 1 and 2^32 - 1

            # defaults to 1 if master-host is not set

            # but will not function as a master if omitted

            server-id = 1


        # Replication Slave (comment out master section to use this)

        #

        # To configure this host as a replication slave, you can choose between

        # two methods :

        #

        # 1) Use the CHANGE MASTER TO command (fully described in our manual) -

        # the syntax is:

        #

        # CHANGE MASTER TO MASTER_HOST=<host>, MASTER_PORT=<port>,

        # MASTER_USER=<user>, MASTER_PASSWORD=<password> ;

        #

        # where you replace <host>, <user>, <password> by quoted strings and

        # <port> by the master's port number (3306 by default).

        #

        # Example:

        #

        # CHANGE MASTER TO MASTER_HOST='125.564.12.1', MASTER_PORT=3306,

        # MASTER_USER='joe', MASTER_PASSWORD='secret';

        #

        #OR

        #

        # 2) Set the variables below. However, in case you choose this method, then

        # start replication for the first time (even unsuccessfully, for example

        # if you mistyped the password in master-password and the slave fails to

        # connect), the slave will create a master.info file, and any later

        # change in this file to the variables' values below will be ignored and

        # overridden by the content of the master.info file, unless you shutdown

        # the slave server, delete master.info and restart the slaver server.

        # For that reason, you may want to leave the lines below untouched

        # (commented) and instead use CHANGE MASTER TO (see above)

        #

        # required unique id between 2 and 2^32 - 1

        # (and different from the master)

        # defaults to 2 if master-host is set

        # but will not function as a slave if omitted

        # server-id = 2

        #

        # The replication master for this slave - required

        #master-host = <hostname>

        #

        # The username the slave will use for authentication when connecting

        # to the master - required

        #master-user = <username>

        #

        # The password the slave will authenticate with when connecting to

        # the master - required

        #master-password = <password>

        #

        # The port the master is listening on.

        # optional - defaults to 3306

        #master-port = <port>

        #

        # binary logging - not required for slaves, but recommended

        #log-bin=mysql-bin


            # Uncomment the following if you are using InnoDB tables

            #innodb_data_home_dir = /usr/local/mysql/data

            #innodb_data_file_path = ibdata1:10M:autoextend

            #innodb_log_group_home_dir = /usr/local/mysql/data

            # You can set .._buffer_pool_size up to 50 - 80 %

            # of RAM but beware of setting memory usage too high

            #innodb_buffer_pool_size = 16M

            #innodb_additional_mem_pool_size = 2M

            # Set .._log_file_size to 25 % of buffer pool size

            #innodb_log_file_size = 5M

            #innodb_log_buffer_size = 8M

            #innodb_flush_log_at_trx_commit = 1

            #innodb_lock_wait_timeout = 50

                [mysqldump]

                quick

                max_allowed_packet = 16M


                    [mysql]

                    no-auto-rehash

                    # Remove the next comment character if you are not familiar with SQL

                    #safe-updates

                    default-character-set=utf8

                [myisamchk]

                key_buffer_size = 20M

                sort_buffer_size = 20M

                read_buffer = 2M

                write_buffer = 2M

                    [mysqlhotcopy]

                    interactive-timeout
然后在[mysqld]下 加入划红线的 (不用了就#号注释掉)

OK 然后mysql -uroot -p 登录数据库 不需要密码直接回车
mysql> use mysql;


# 改密码 新版本数据库需要把左边的password改成authentication_string
mysql> update user set password=password('123') where user='root' and host='localhost';


# 刷新权限
mysql> flush privileges;

# 退出
mysql> exit
之后进my.cnf 将跳过密码的skip-grant-tables 注释掉 退出,mysql -uroot -p 输入密码 还是报错,,, 好吧 那咋办呢,继续查呗
手动分割线
然后看到几个博客里说不能本地登录可能是localhost没有和host对应,那么看看呗,重复上面步骤,跳过密码登录(否则无密码游客登录是看不到mysql库的)
mysql> use mysql

Database changed

mysql> select user,host,password from user where user='root';
(无图,干说借助下图脑补)
我发现 host 这一栏没有对应 localhost 而是变成了我虚拟机的NAT映射的那个ip (这个真是坑)而host中 有127.0.0.1 那也就是说 通过mysql -uroot -p123 -h127.0.0.1 是可以登录的
那么解决问题也就很简单了
update user set host='localhost' where user='root' and host='我之前NAT映射的ip';
或者
insert into user(user,host) values('root',localhost);
再看
select user,host,password from user where user='root';
记得刷新权限
flush privileges;

然后退出 回配置文件 注释掉skip-grant-tables
mysql -uroot -p
password:
oK!


 浙公网安备 33010602011771号