
python3 marshmallow学习
python3 marshmallow学习
官方文档:https://marshmallow.readthedocs.io/en/stable/
安装:
pip install -U marshmallow
Object -> dict
1 简单的例子
from marshmallow import Schema, fields


class UserSchema(Schema):
    name = fields.String()
    email = fields.Email()
    age = fields.Integer()
    create_at = fields.DateTime(dump_only=True)


class User:
    def __init__(self, *, name, email, age):
        self.name = name
        self.email = email
        self.age = age


zhuyu = User(name="朱宇", email="33333@qq.com", age=22)
user_schema = UserSchema()
result = user_schema.dump(zhuyu, many=False)
print(result,isinstance(result, dict))
# {'age': 22, 'name': '朱宇', 'email': '33333@qq.com'} True
result = user_schema.dumps(zhuyu, many=False)
print(result,isinstance(result, str))
# {"age": 22, "name": "\u6731\u5b87", "email": "33333@qq.com"} True
这是一个将类转化为字典或者json格式的字典的例子,使用UserSchema实例的dump转为字典格式,dumps方法转为json格式的字符串。
这种就很像django中的序列化了。通过orm查询到的数据,转为字典格式数据,通过json进行前后台数据传输。
从上面这个例子中,我们的User对象并没有create_at这个对象,通过UserSchema的对象调用dump,得到的数据中也没有create_at这个数据。dump这个方法,对传入的参数的属性的规定不是很严格,只会对UserSchema存在的属性和User存在的属性进行操作。属性名必须要相同。
2 使用only,exclude的使用
对于上面的例子,假如有个需求,不需要看到user的age属性。
zhuyu = User(name="朱宇", email="33333@qq.com", age=22)
user_schema = UserSchema(only=("name", "email"))
result = user_schema.dump(zhuyu, many=False)
print(result)
# {'name': '朱宇', 'email': '33333@qq.com'}
user_schema = UserSchema(exclude=("age",))
result = user_schema.dump(zhuyu, many=False)
print(result)
# {'name': '朱宇', 'email': '33333@qq.com'}
3 fields.Nested的使用
就拿orm来说,两个model类型,很有可能存在一对一,一对多,多对多的关系,那么怎么进行序列化呢?
关于Nested具体使用:https://marshmallow.readthedocs.io/en/stable/nesting.html
from marshmallow import Schema, fields

class User:
    def __init__(self, name, pwd, email):
        self.name = name
        self.pwd = pwd
        self.email = email


class Blog:
    def __init__(self, title, author: User):
        self.title = title
        self.author = author


class UserSchema(Schema):
    name = fields.Str()
    pwd = fields.Str()
    email = fields.Email()


class BlogSchema(Schema):
    title = fields.Str()
    author = fields.Nested(UserSchema)


zhuyu = User(name="朱宇", pwd="123456", email="33333@qq.com")
blog = Blog(title="朱宇的博客", author=zhuyu)

user_schema = UserSchema()
result = user_schema.dump(zhuyu, many=False)
print(result)
# {'email': '33333@qq.com', 'name': '朱宇', 'pwd': '123456'}
blog_schema = BlogSchema()
result = blog_schema.dump(blog, many=False)
print(result)
# {'author': {'email': '33333@qq.com', 'name': '朱宇', 'pwd': '123456'}, 'title': '朱宇的博客'}
validate对数据校验
在我们写web的时候,经常会接受到携带参数的请求。我们通过这个携带的参数,完成相应的业务逻辑。但是服务器不能知道该请求是从哪种方式过来,携带的参数就会很多种,所以我们不能对前台传来的参数百分百信任,必须做参数校验。
当然对前台参数进行校验的包有很多,这里就说marshmallow
from marshmallow import Schema, fields, pprint
import datetime as dt


class UserSchema(Schema):
    name = fields.Str()
    email = fields.Email()


user_dict = {
    "name": "朱宇",
    "email": "3333333.com",
}
user_schema = UserSchema()
result = user_schema.validate(data=user_dict)
pprint(result)
# {'email': ['Not a valid email address.']}
调用UserSchema实例的validate方法,参数为字典格式的数据,返回值就是一个字典类型。如果参数符合校验规则的话,那么返回的就是一个空字典,不符合的话,返回的就是key为字段名,value为错误信息。上面这个例子,说email这个字段不是一个合法的邮箱地址。fields.Email它会有一套默认的校验规则,我们阔以通过validate这个关键参数,定义自己需要的验证规则。
validate关键字参数
from marshmallow import Schema, fields, validate, pprint
from hashlib import md5


class UserSchema(Schema):
    # 用户名为字符串,最短为2位,最长为8位
    name = fields.String(validate=validate.Length(min=2, max=8, error="用户名长度2-8位"))
    # 密码必须为32位字符串,这里我们使用md5加密
    password = fields.String(validate=validate.Length(equal=32, error="密码长度必须为32位"))
    # 年龄是14岁到77岁之间
    age = fields.Integer(validate=validate.Range(14, 77, error="必须为14-77之间"))
    # 性别必须是男,女,其他中的一个
    grade = fields.String(validate=validate.OneOf(choices=("男", "女", "其他"), error="必须为男,女,其他三个中的一个"))
    #
    email = fields.String(validate=validate.Email(error="邮箱格式错误"))


error_user_dict = {
    "name": "朱",
    "password": "333444",
    "age": 13,
    "grade": "不清楚",
    "email": "3333.com"
}
user_schema = UserSchema()
result = user_schema.validate(data=error_user_dict, many=False)
pprint(result)
# {'age': ['必须为14-77之间'],
#  'email': ['邮箱格式错误'],
#  'grade': ['必须为男,女,其他三个中的一个'],
#  'name': ['用户名长度2-8位'],
#  'password': ['密码长度必须为32位']}

user_dict = {
    "name": "朱春雨",
    "password": md5(bytes("1", encoding="utf-8")).hexdigest(),
    "age": 22,
    "grade": "男",
    "email": "333444@qq.com"
}
result = user_schema.validate(data=user_dict, many=False)
pprint(result)
# {}
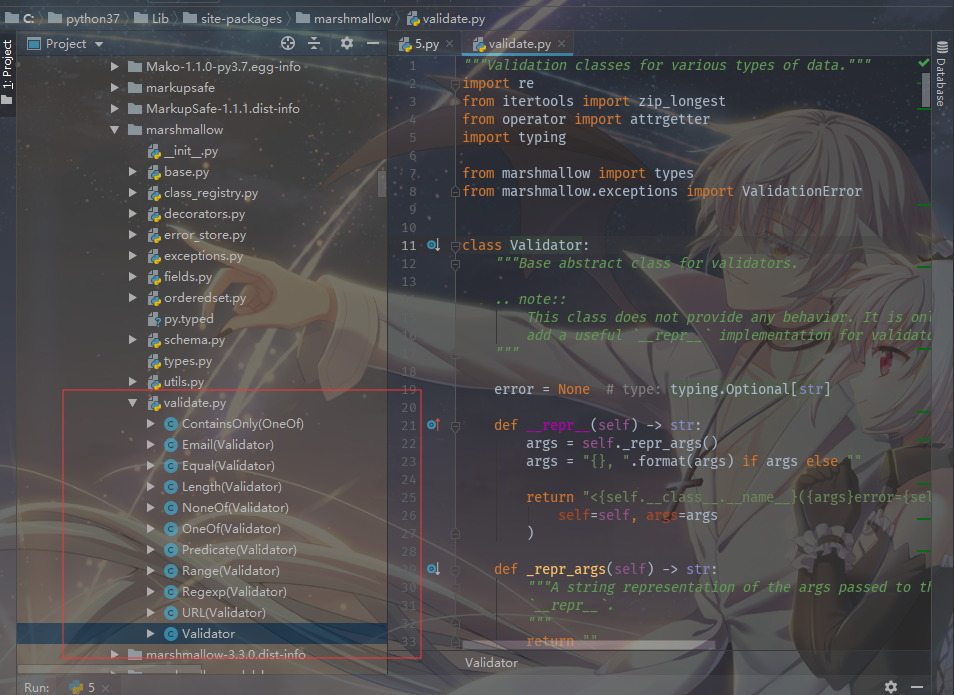
关于validate这个模块下还有其他的校验规则,具体可以去源码当中看。
除了本身提供的校验方法之外,我们同样可以自定义校验规则
# name = fields.String(validate=validate.Length(min=2, max=8, error="用户名长度2-8位"))
这是我们上面代码中,name字段的校验方法,validate的值为Length对象的实例,当要对name这个字段进行校验时,会将name对应的值会这样执行:validate.Length(min=2, max=8, error="用户名长度2-8位")(name的值),那么这样的话,就会调用Length对象里的__call__方法,将name的值传入。我们也可以这样去写自己的校验方法。大致的意思是validate=值,这个值他是可调用的,也就是有__call__方法。
# 方法一:类的方式
import typing
from marshmallow import Schema, fields, validate, ValidationError, pprint


class CustomizeVal(validate.Validator):

    def __init__(self, *, word: str, error: str = None):
        self.word = word
        self.error = error or "不能已什么开头{}".format(self.word)

    def __call__(self, value: str, *args, **kwargs) -> typing.Any:
        if value.startswith(self.word):
            raise ValidationError(self.error)

        return value


class TestSchema(Schema):
    name = fields.String(validate=CustomizeVal(word="SB"))


error_test_dict = {
    "name": "SB_SBSBBSBS"
}
test_schema = TestSchema()
res = test_schema.validate(data=error_test_dict, many=False)
pprint(res)
# 'name': ['不能已什么开头SB']}
test_dict = {
    "name": "朱宇"
}
res = test_schema.validate(data=test_dict, many=False)
pprint(res)
# {}

# 方法二:函数的方法
def func_val(value: str) -> typing.Any:
    """定义不能以SB结尾的校验规则"""
    if value.endswith("SB"):
        raise ValidationError("不能以SB结尾")
    return value


class Test2Schema(Schema):
    name = fields.String(validate=func_val)


error_test_dict = {
    "name": "朱宇_SB"
}
test_2_schema = Test2Schema()
res = test_2_schema.validate(data=error_test_dict,many=False)
pprint(res)
# {'name': ['不能以SB结尾']}
dict -> Object
1 简单的例子
from marshmallow import Schema, fields
import json


class User:
    def __init__(self, name, password):
        self.name = name
        self.password = password


class UserSchema(Schema):
    name = fields.String()
    password = fields.String()


user_dict = {
    "name": "朱宇",
    "password": "123"
}
user_dict_json = json.dumps(user_dict)
user_schema = UserSchema()
res = user_schema.load(data=user_dict, many=False)
print(res, isinstance(res, dict))
# {'password': '123', 'name': '朱宇'} True
res = user_schema.loads(user_dict_json, many=False)
print(res, isinstance(res, dict))
# {'password': '123', 'name': '朱宇'} True
调用load或者loads方法,它也会进行校验,但是一旦校验失败了,就会抛异常,且不会捕捉。所以一般的话,还是先调用validate方法进行校验,检验无误的话,再进行load方法调用。上面的例子中变量res的类型为dict。如果想要res的类型变为User类型呢?
from marshmallow import Schema, fields, post_load


class User:
    def __init__(self, name, password):
        self.name = name
        self.password = password

    def __repr__(self):
        return "<User-{}>".format(self.name)


class UserSchema(Schema):
    name = fields.String()
    password = fields.String()

    @post_load
    def make_user(self, data, **kwargs):
        return User(**data)


user_dict = {
    "name": "朱宇",
    "password": "123"
}
user_schema = UserSchema()
res = user_schema.load(data=user_dict, many=False)
print(res, isinstance(res, User))
# <User-朱宇> True
知识整理就写到这里。
最好是去看marshmallow的官方文档:https://marshmallow.readthedocs.io/en/stable/

