
zabixx安装
server端部署
IP:192.168.88.42
环境检查
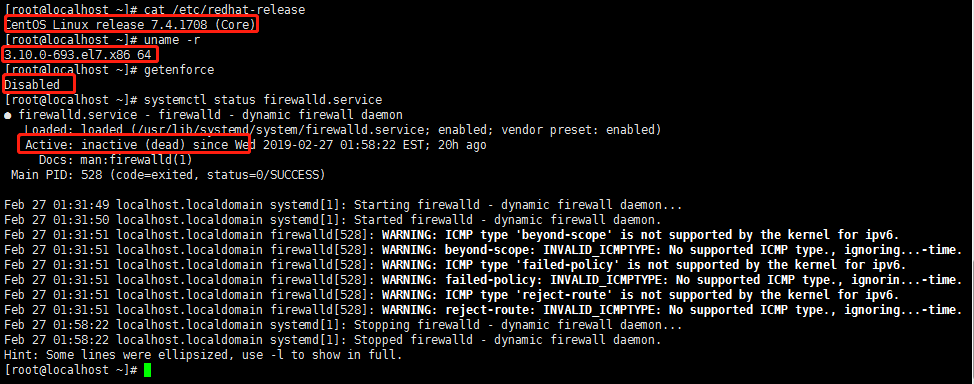
安装(使用yum安装)
#安装zabbix源、aliyun YUM源
curl -o /etc/yum.repos.d/CentOS-Base.repo http://mirrors.aliyun.com/repo/Centos-7.repo
curl -o /etc/yum.repos.d/epel.repo http://mirrors.aliyun.com/repo/epel-7.repo
rpm -ivh http://repo.zabbix.com/zabbix/3.0/rhel/7/x86_64/zabbix-release-3.0-1.el7.noarch.rpm
#安装zabbix
yum install -y zabbix-server-mysql zabbix-web-mysql

#安装启动 mariadb数据库
yum install -y  mariadb-server
systemctl start mariadb.service

#创建数据库
mysql -e 'create database zabbix character set utf8 collate utf8_bin;'
mysql -e 'grant all privileges on zabbix.* to zabbix@localhost identified by "zabbix";'
#导入数据
zcat /usr/share/doc/zabbix-server-mysql-3.0.25/create.sql.gz |mysql -uzabbix -pzabbix zabbix
#配置zabbixserver连接mysql
sed -i.ori '115a DBPassword=zabbix' /etc/zabbix/zabbix_server.conf

#添加时区
sed -i.ori '18a php_value date.timezone  Asia/Shanghai' /etc/httpd/conf.d/zabbix.conf
#解决中文乱码
yum -y install wqy-microhei-fonts
cp /usr/share/fonts/wqy-microhei/wqy-microhei.ttc /usr/share/fonts/dejavu/DejaVuSans.ttf
#写入开机自启动 chmod +x /etc/rc.d/rc.local cat >>/etc/rc.d/rc.local<<EOF systemctl start mariadb.service systemctl start httpd systemctl start zabbix-server EOF
客户端快速部署
客户端IP:192.168.88.41
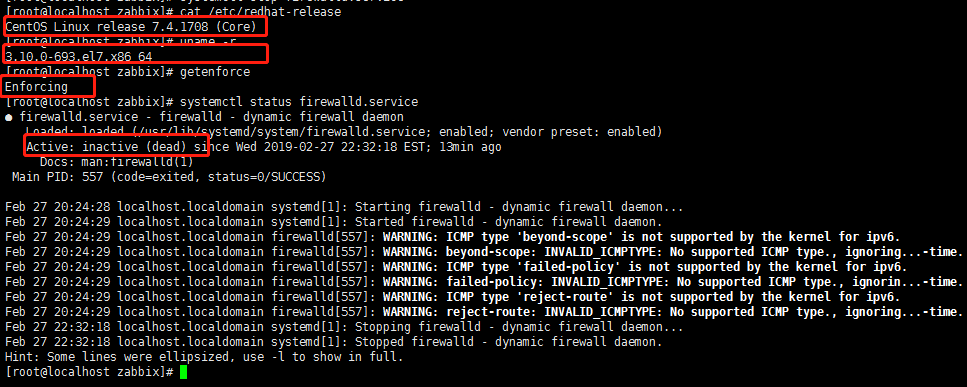
客户端环境
#安装zabbix源、aliyun YUM源
curl -o /etc/yum.repos.d/CentOS-Base.repo http://mirrors.aliyun.com/repo/Centos-7.repo
curl -o /etc/yum.repos.d/epel.repo http://mirrors.aliyun.com/repo/epel-7.repo
rpm -ivh http://repo.zabbix.com/zabbix/3.0/rhel/7/x86_64/zabbix-release-3.0-1.el7.noarch.rpm
#安装zabbix客户端
yum install zabbix-agent -y
sed -i.ori 's#Server=127.0.0.1#Server=192.168.88.41#' /etc/zabbix/zabbix_agentd.conf
systemctl start  zabbix-agent.service
#写入开机自启动
chmod +x /etc/rc.d/rc.local
cat >>/etc/rc.d/rc.local<<EOF
systemctl start  zabbix-agent.service
EOF
至此服务端和客户端安装完毕,服务端检查连通性
服务端安装zabbix-get检测工具
yum install zabbix-get
进行测试
zabbix_get -s 192.168.88.41 -p 10050 -k "system.cpu.load[all,avg1]"
测试结果

WEB界面操作
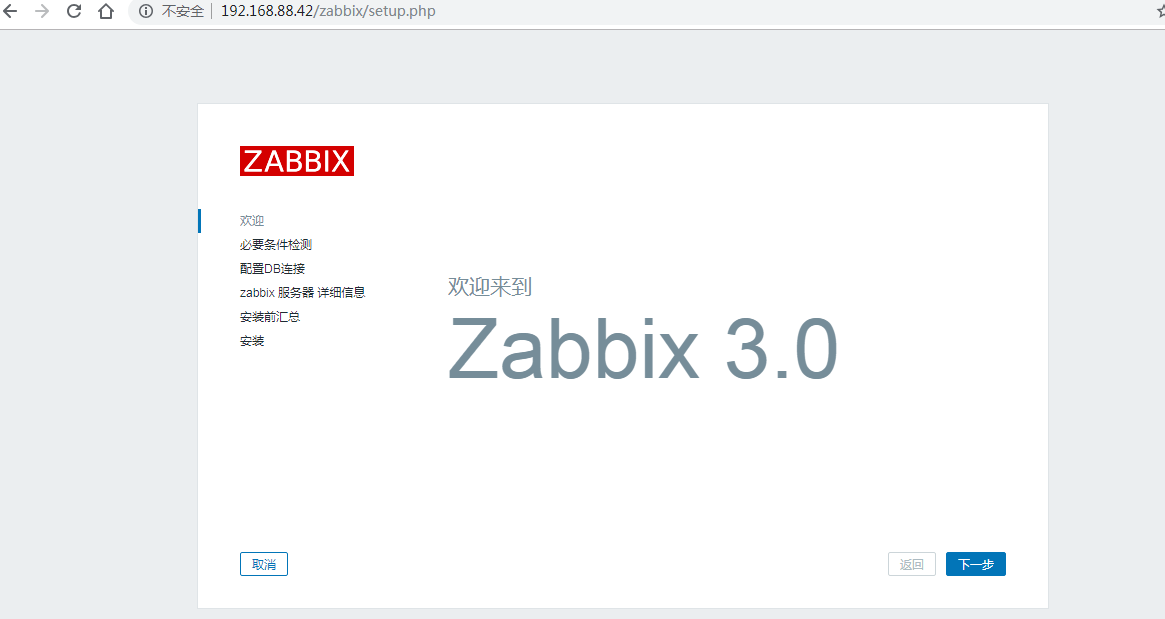
浏览器访问http://192.168.88.42/zabbix/setup.php
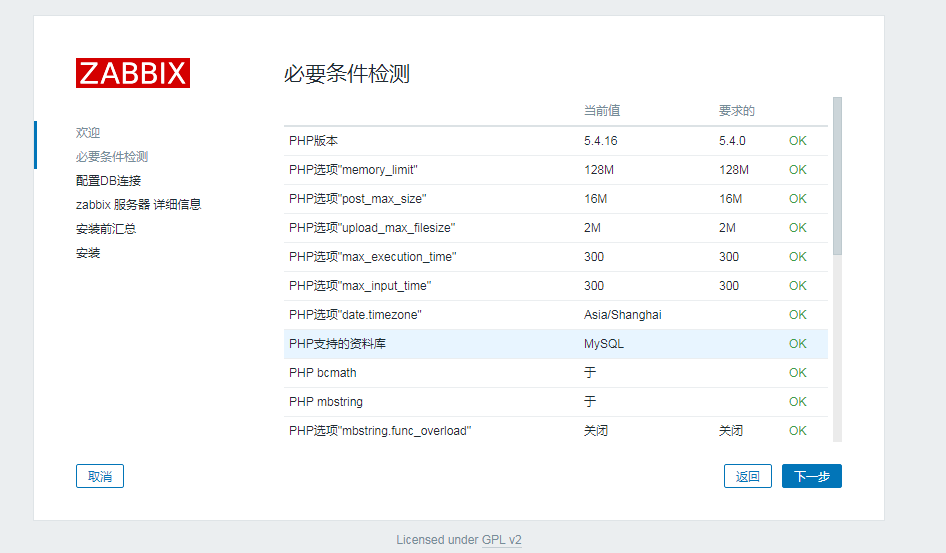
在检测信息时,可查看具体的报错信息进行不同的解决
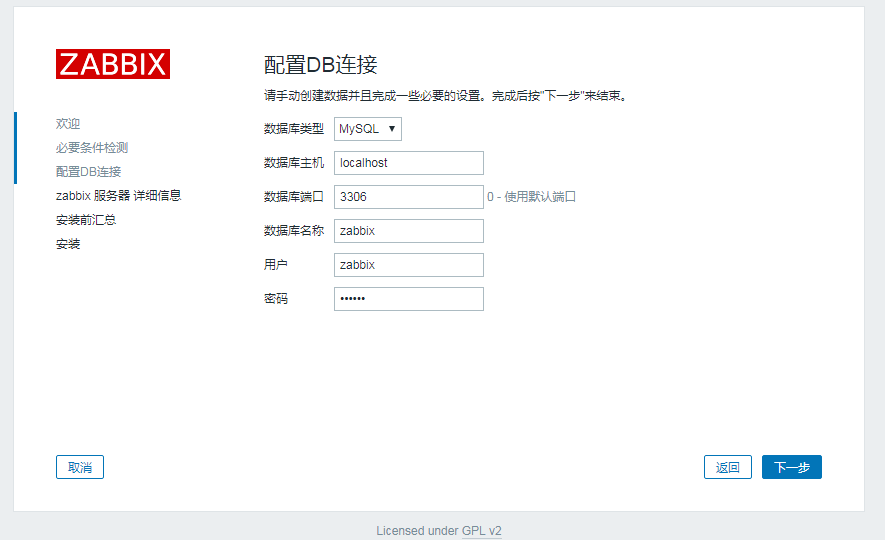
选择mysql数据库,填入相应配置
填入名字,下一步
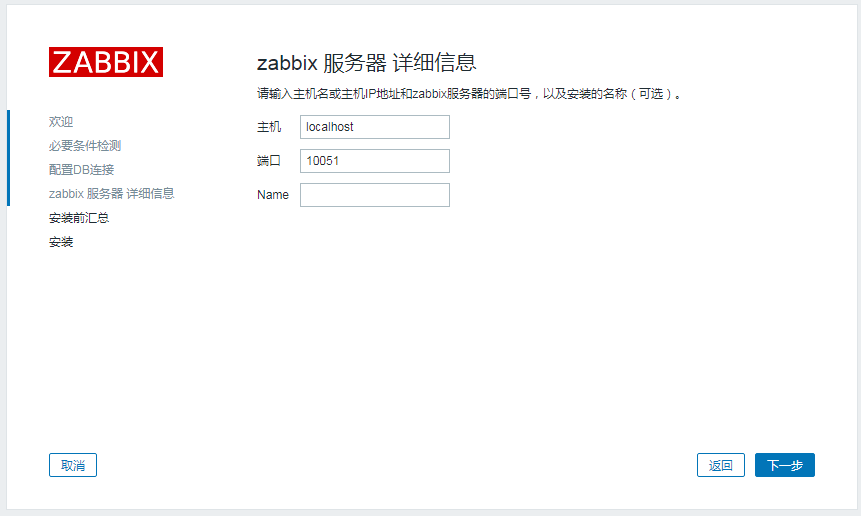
点下一步
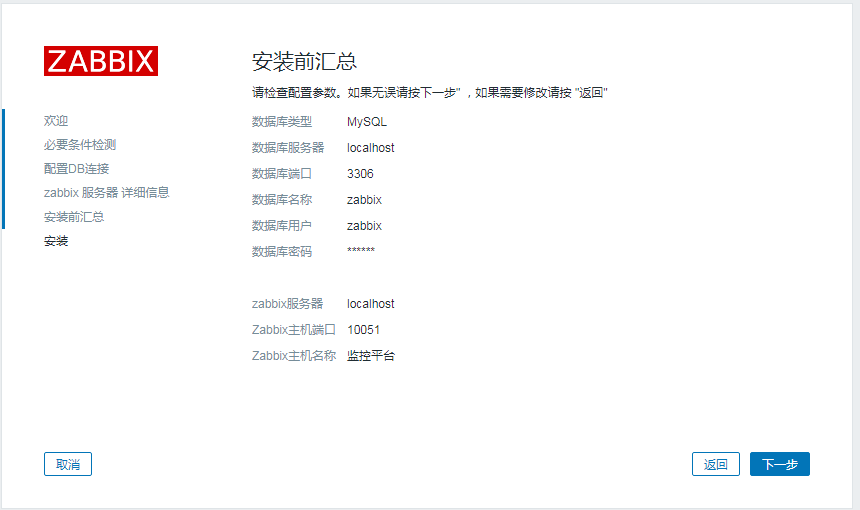
点完成

配置账户和密码
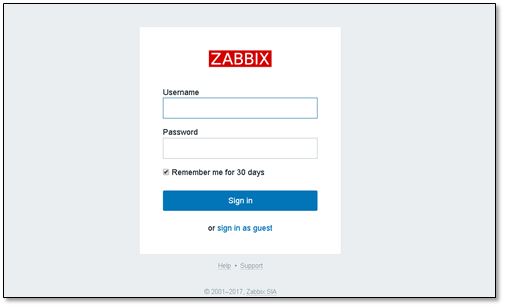
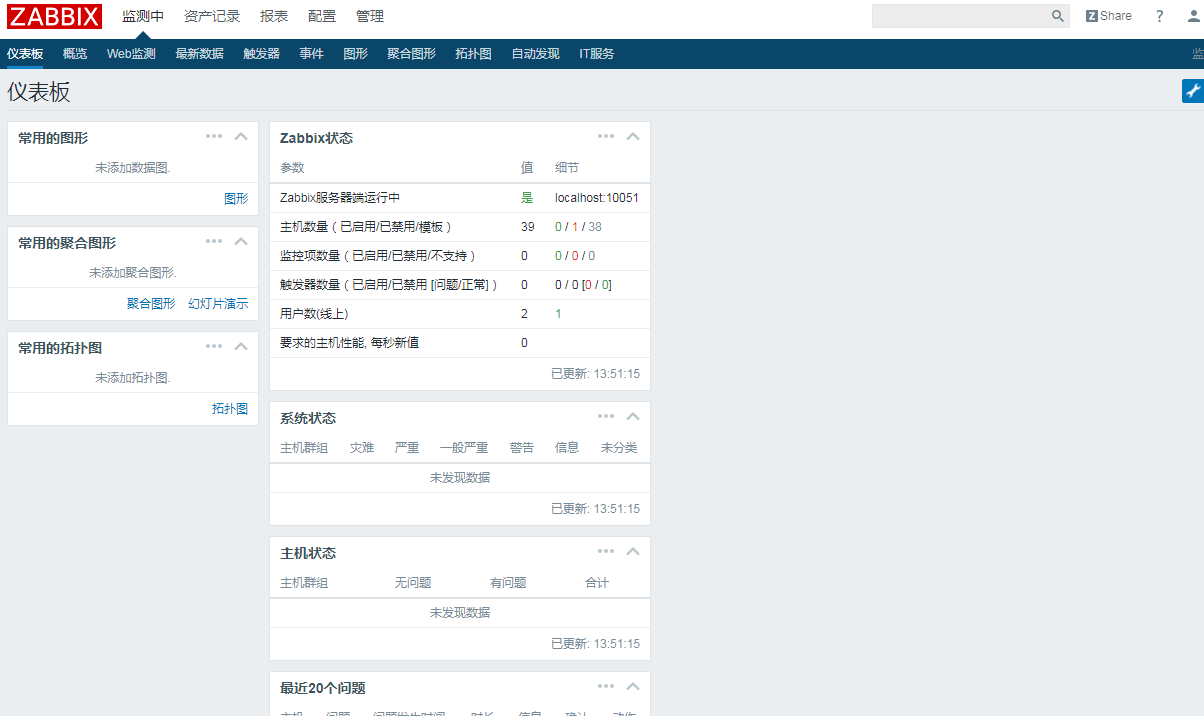
进去后如下图所示
Centos6安装部署客户端
#安装zabbix源、aliyu nYUM源
curl -o /etc/yum.repos.d/CentOS-Base.repo http://mirrors.aliyun.com/repo/Centos-6.repo
curl -o /etc/yum.repos.d/epel.repo http://mirrors.aliyun.com/repo/epel-6.repo
rpm -ivh http://repo.zabbix.com/zabbix/3.0/rhel/6/x86_64/zabbix-release-3.0-1.el6.noarch.rpm

yum clean all
yum clean all
#安装zabbix客户端
yum install zabbix-agent -y
sed -i.ori 's#Server=127.0.0.1#Server=192.168.88.51#' /etc/zabbix/zabbix_agentd.conf
/etc/init.d/zabbix-agent start

#写入开机自启动
chmod +x /etc/rc.d/rc.local
cat >>/etc/rc.d/rc.local<<EOF
/etc/init.d/zabbix-agent start
EOF

 浙公网安备 33010602011771号