
VS2017编译SNMP++步骤记录
1、下载地址:https://www.agentpp.com/download.html

三个都下
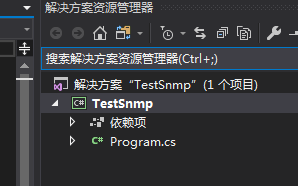
2、新建解决方案 TestSnmp
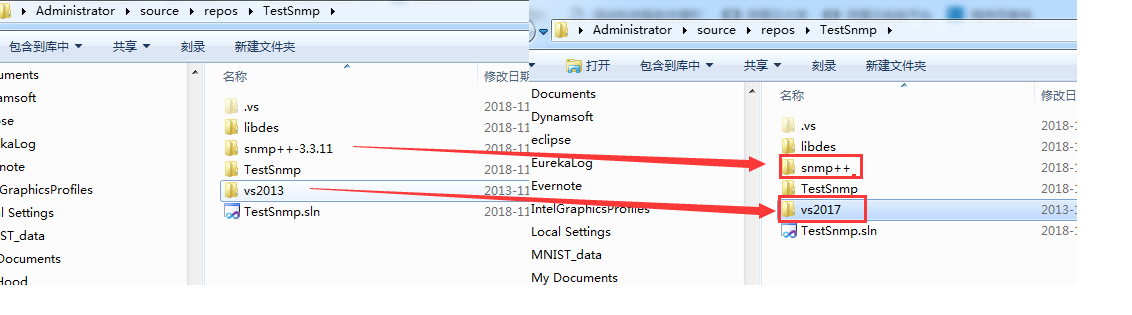
3、下载后解压到解决方案文件夹(注意,解压后的 snmp++的版本号要去掉,另外 vs2013改成 vs2017)
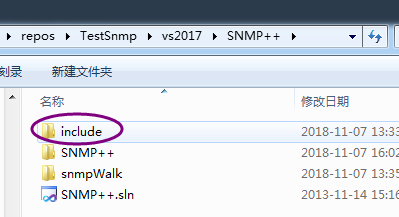
这个 include 目录里头有几个 .h 文件,需要替换掉 snmp++ 里头对应的文件 (其中 config.h 是新增加的)
4、打开vs2017文件夹下的 README.win32 看一下步骤。
README WIN32
============

The Visual Studio 2013 project files require that the
libdes, SNMP++, AGENT++, and/or AgentX++ sources
are extracted in the same directory as the Visual Studio
project files. The directory structure should then look
like (note: there must not be any version numbers in the
directory names):

common-root-dir
 |-- libdes
 |-- snmp++
 |-- agent++
 |-- agentx++
 |-- vs2013

Make sure, that you delete the file config_snmp_pp.h from
the snmp++\include\snmp_pp directory. Otherwise, the linked
programs crash on execution, because the different projects
might have used different versions of the config_snmp_pp.h
file.

The file with the right (default) settings for the WIN32 platform
is located in vs2013\SNMP++\include\snmp_pp and included from
there by the VS project files.

To build the libraries, use this order:

1. libdes (or openssh)
2. SNMP++
3. AGENT++
4. AgentX++
这里提示我们要用
vs2013\SNMP++\include\snmp_pp\config_snmp_pp.h 来替换掉 snmp++\include\snmp_pp\config_snmp_pp.h
我们可以先不删,直接将 snmp++\include\snmp_pp\config_snmp_pp.h 重命名一下为 delete_config_snmp_pp.h 即可
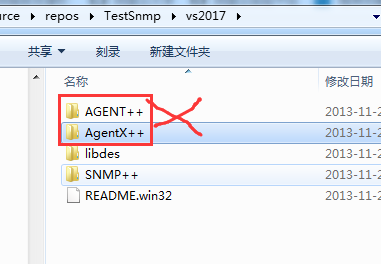
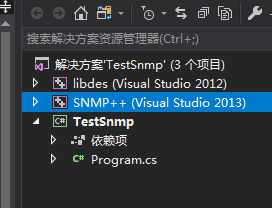
5、打开 vs2017文件夹删掉(AGENT++,AgentX++)两个项目,我们这里用不着。
6、在 TestSnmp解决方案上点右键添加现有项目,将 libdes 和 snmp++ 添加进来
路径分别为:
vs2017\libdes\libdes\libdes.vcxproj
vs2017\SNMP++\SNMP++\SNMP++.vcxproj
7、如果您的 windows sdk 版本不一致,需要将两个项目都进行“重定向项目”操作

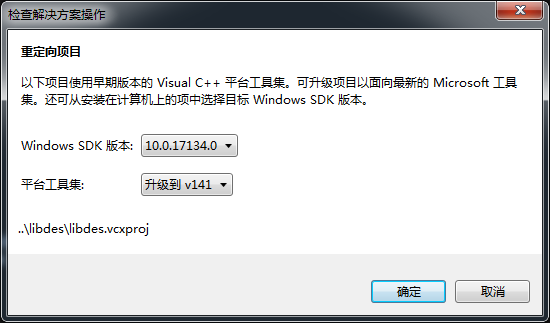
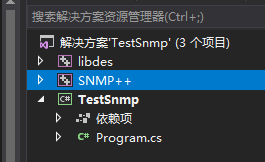
项目重定向后其后的(VS Studio 2013)会消失
8、尝试一下生成 libdes(直接成功了)
9、尝试一下生成 SNMP++(出错了,提示找不到 libsnmp.h

我们在整个项目文件夹里搜索一下 libsnmp.h 文件名,发现它在\TestSnmp\snmp++文件夹里,下面将这个路径添加到 include 路径里。
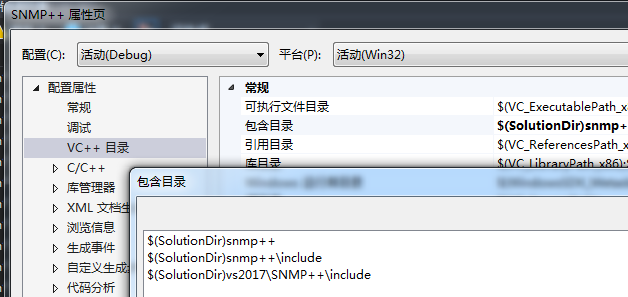
在VS2017里的SNMP++ 项目上点右键 -> 属性

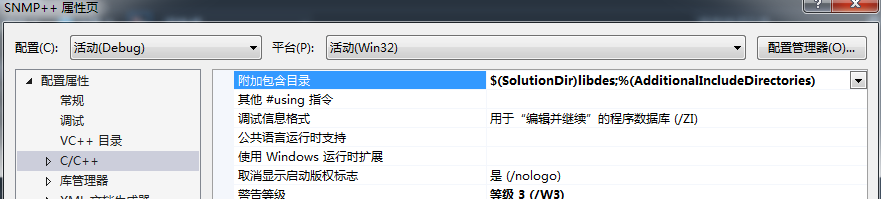
发现它这个路径配置有问题(是用的绝对路径)我们改一下改成【$(SolutionDir)】,然后把【$(SolutionDir)snmp++】也加进去
顺手把 C/C++ 里的附加目录也修改正确
它原来是【$(SolutionDir)\..\..\libdes】改成【$(SolutionDir)libdes】
10、再次编译snmp++项目(这次它提示无法打开包括文件: “unistd.h”)
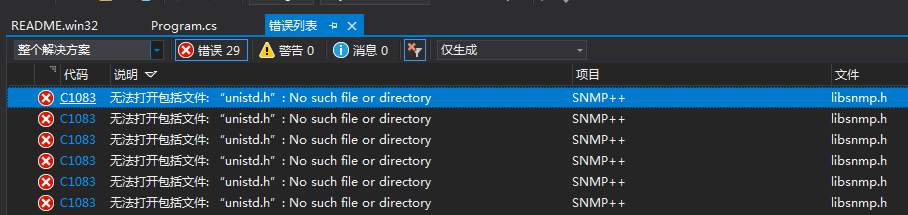
继续在解决方案文件夹里搜一下看看,发现它在 $(SolutionDir)vs2017\SNMP++\include
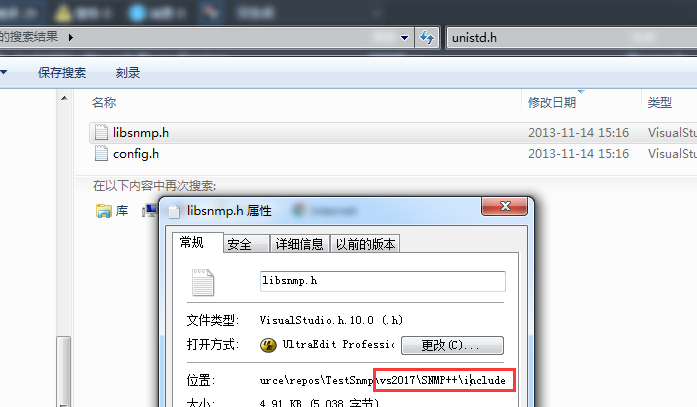
将【$(SolutionDir)vs2017\SNMP++\include】加入 c/c++目录

11、再一次尝试编译 SNMP++项目
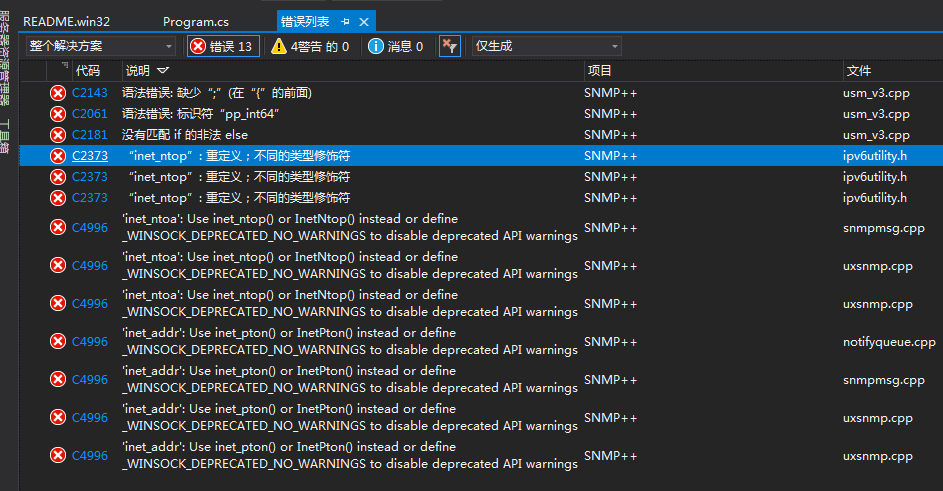
看着错误挺多,其实就只有三个主要错误【上头提示的什么 if 非法 else 之类的,想来作者不会有这么低级的错误,我们不要随便去怀疑,先把这三个明确的问题解决了说不定就跟着解决了】
1、pp_int64 标识符错误
2、inet_ntop 重定义
3、'inet_ntoa': Use inet_ntop() or InetNtop() instead or define _WINSOCK_DEPRECATED_NO_WARNINGS to disable deprecated API warnings SNMP++
解决办法:
1、在这里第一个错误,我们搜了一下解决方案文件内容,发现确实只有这一个地方用了 pp_int64,我们换成 int64_t 试试,发现是可以的,改了有啥后果,暂时不知道,后面我们再观察吧。
2、inet_ntop 重定义这个,我们定位到文件【IPv6Utility.h】将其屏蔽【//const char * inet_ntop(int af, const void *src, char *dst, size_t size);】
3、这个提示是 inet_ntoa 过期了,可以用 inet_ntop 或 InetNtop 代替,为了避免修改源码,我们按后面的提示,在工程属性里加 【_WINSOCK_DEPRECATED_NO_WARNINGS 】预编译项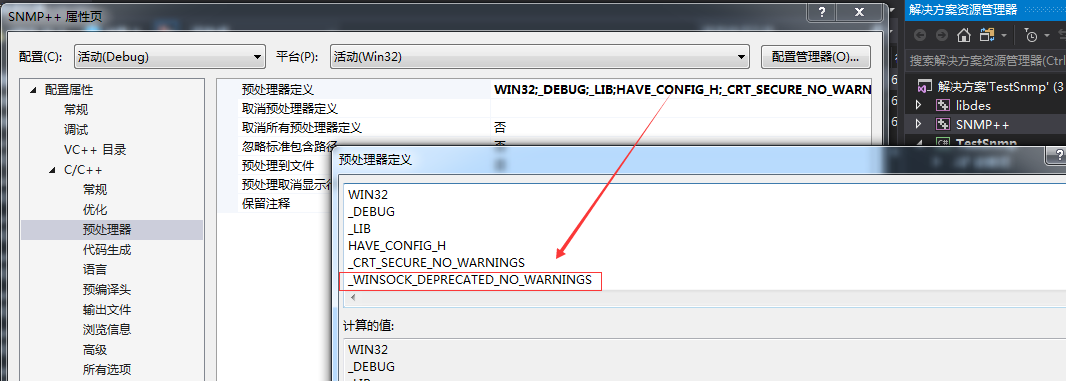
12、再一次编译 SNMP++项目,恭喜【========== 生成: 成功 1 个,失败 0 个,最新 0 个,跳过 0 个 ==========】
13、添加测试项目【vs2017\SNMP++\snmpWalk\snmpWalk.vcxproj】,并设置为启动项,修改VC++目录

14、Ctrl + F5 运行
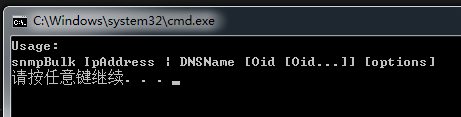
看来我们需要去命令行下带参数运行
15、开始 -> 运行 -> cmd 打开命令行
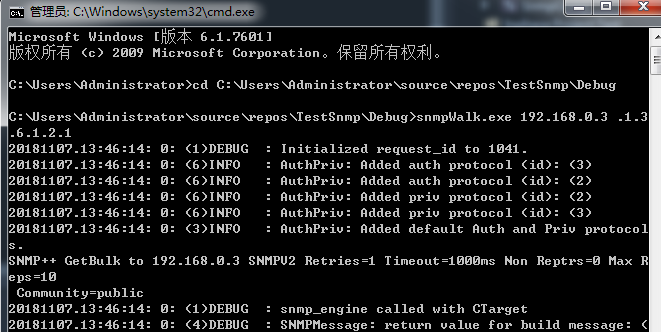
搞定,收工!!!!


 浙公网安备 33010602011771号